
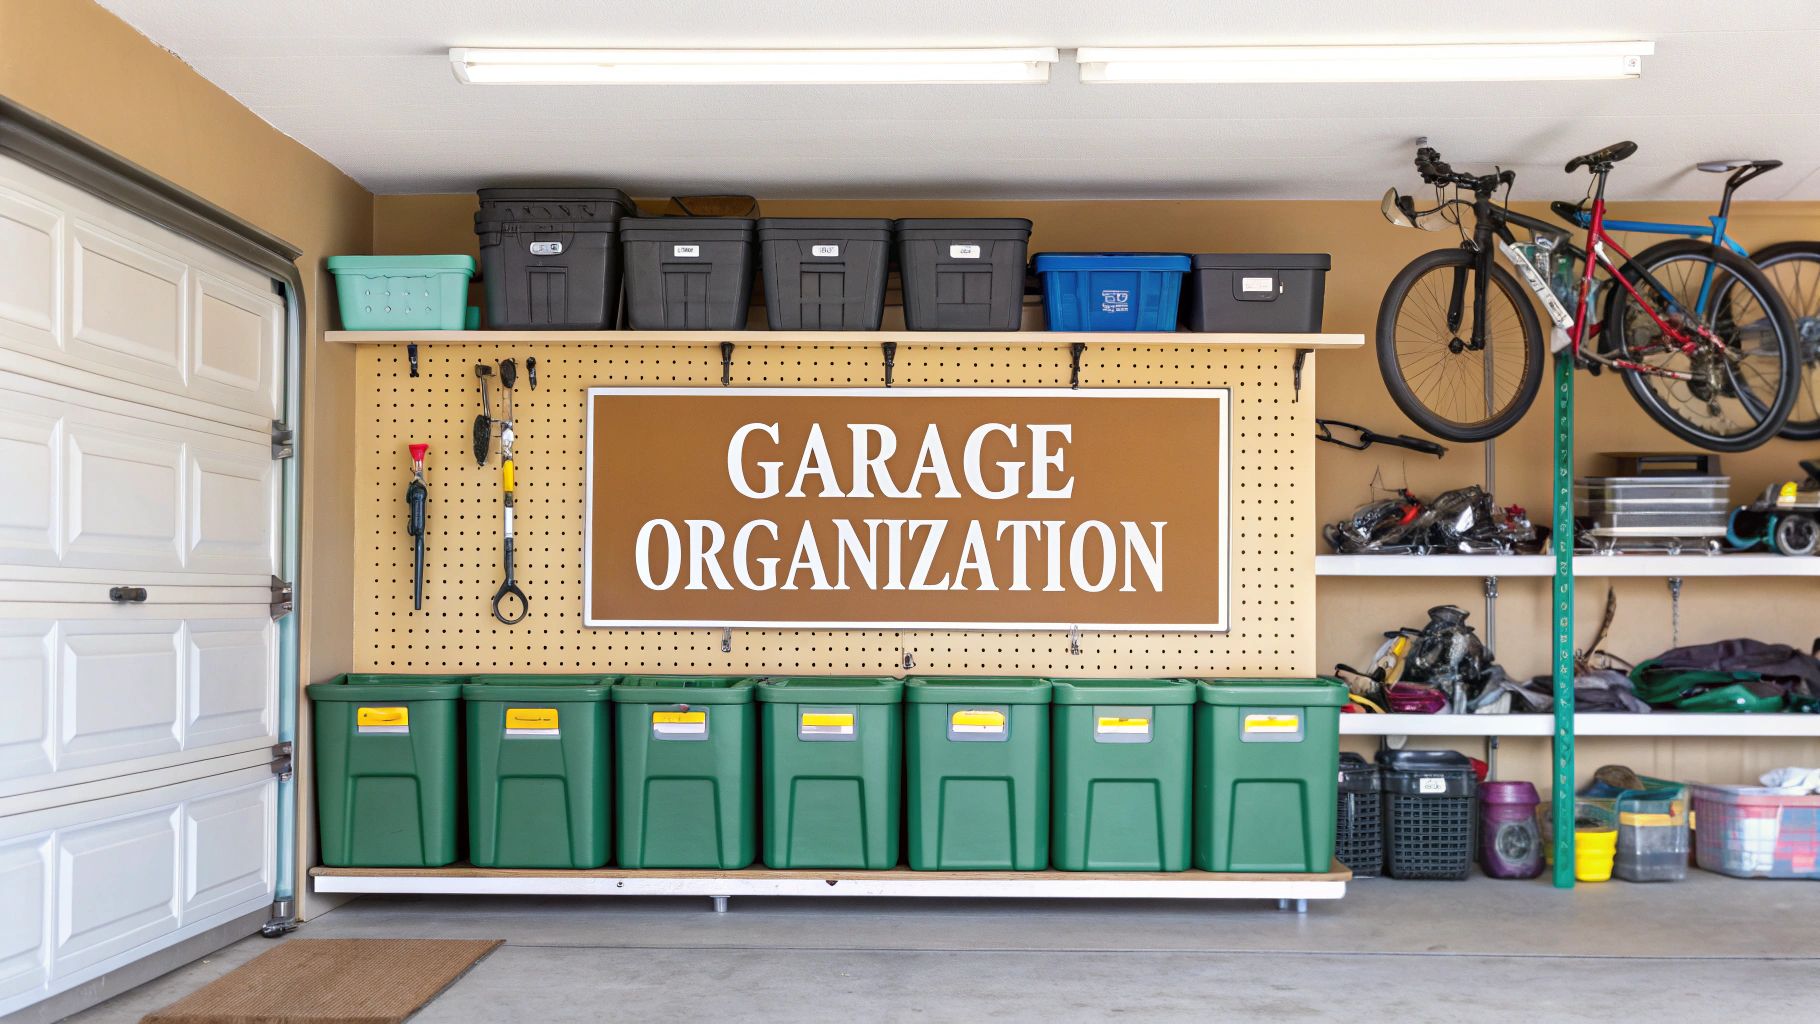
The garage often becomes the final frontier of home organization-a catch-all space for everything from holiday decorations and sports gear to tools we swear we'll use 'one day.' But what if this space could be more than just a cluttered storage unit on the side of your house? Transforming it into a functional, clean, and organized area isn't just possible; it's a game-changer for your entire home. Finding the best way to organize garage is about implementing smart, sustainable systems that work for your specific needs, whether you're managing a compact urban space or a larger workshop.
In this comprehensive guide, we'll break down the 10 most effective strategies to conquer the chaos and unlock your garage's full potential. We will explore everything from innovative wall-mounted pegboards and overhead ceiling racks to strategic zone-based methods. These aren't just abstract ideas; they are actionable systems designed for long-term success. If your vision extends to creating a dedicated workspace from the ground up, this detailed guide to a metal building home shop offers a blueprint for building the perfect canvas for these organizational efforts. Let's dive into the practical solutions that will help you reclaim your space for good.
1. Wall-Mounted Pegboard System
A wall-mounted pegboard system is a classic and versatile solution that transforms empty walls into highly efficient vertical storage. This method uses perforated hardboard or metal panels mounted directly onto your garage walls, allowing you to use an endless combination of hooks, shelves, bins, and other accessories. Its primary advantage is keeping tools and equipment visible, accessible, and off the floor, which is a major step in finding the best way to organize garage clutter.
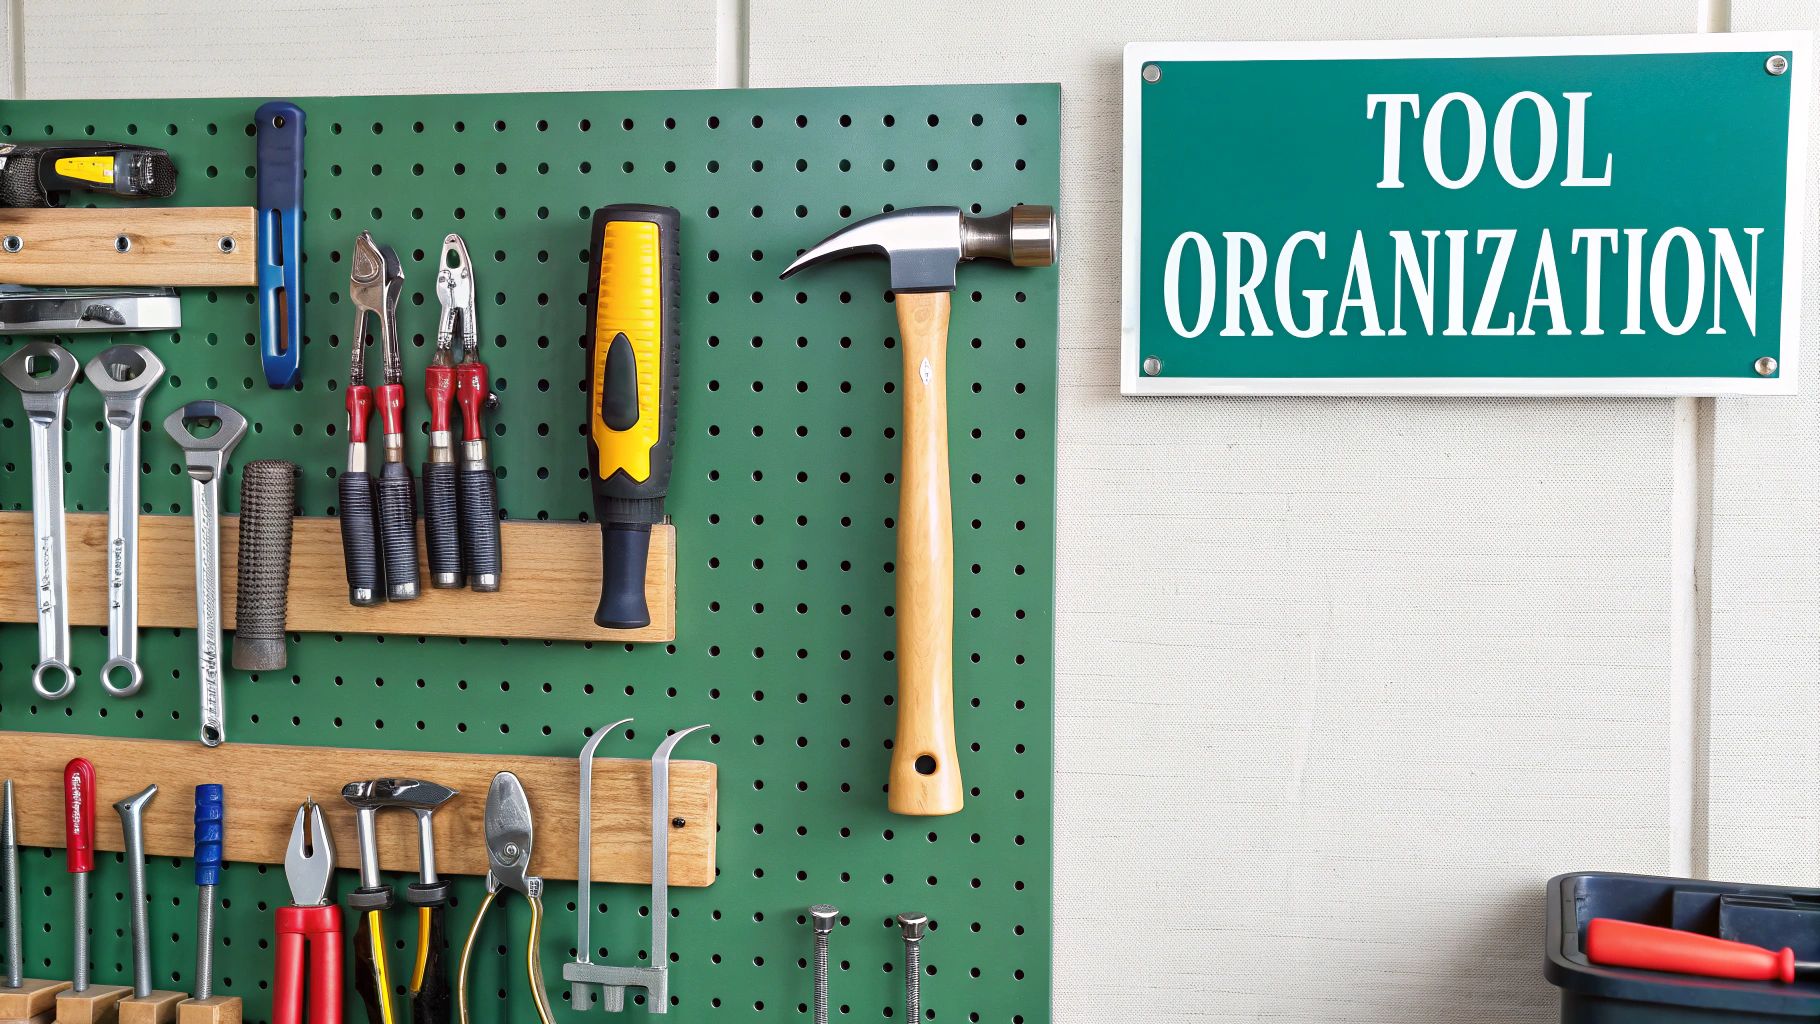
The true power of pegboard lies in its complete customizability. Professional workshops often dedicate entire walls to pegboard for meticulous tool organization, while home improvement stores use them to display hand tools effectively. You can easily rearrange the layout as your needs change, making it a flexible long-term investment.
Implementation Tips
To get the most out of your pegboard system, follow these actionable tips:
- Create Space: Mount the pegboard 1-2 inches away from the wall using spacers or a wood frame. This gap is essential for inserting and securing the hooks.
- Outline Tools: Use a permanent marker to trace the outline of each tool on the board. This creates a visual cue, making it quick to find what you need and even quicker to put it back.
- Use Locking Hooks: For heavier items or tools you use frequently, invest in locking pegboard hooks. These secure firmly to the board and prevent them from falling out when you remove a tool.
- Organize by Use: Place your most-used tools at eye level and within easy reach. Less frequently used items can go higher up or lower down.
For more creative and cost-effective ideas, you can explore various DIY storage projects to complement your new system. Get inspired with these DIY ideas for storage.
2. Overhead Ceiling Storage Racks
Overhead ceiling storage racks are a game-changer for reclaiming floor space by utilizing the often-ignored vertical area above your head. These heavy-duty platforms are mounted directly to the ceiling joists, creating a secure, elevated storage level for bulky or seasonal items. This approach is a cornerstone of the best way to organize garage space, as it keeps infrequently used belongings safely stored and out of your daily path.
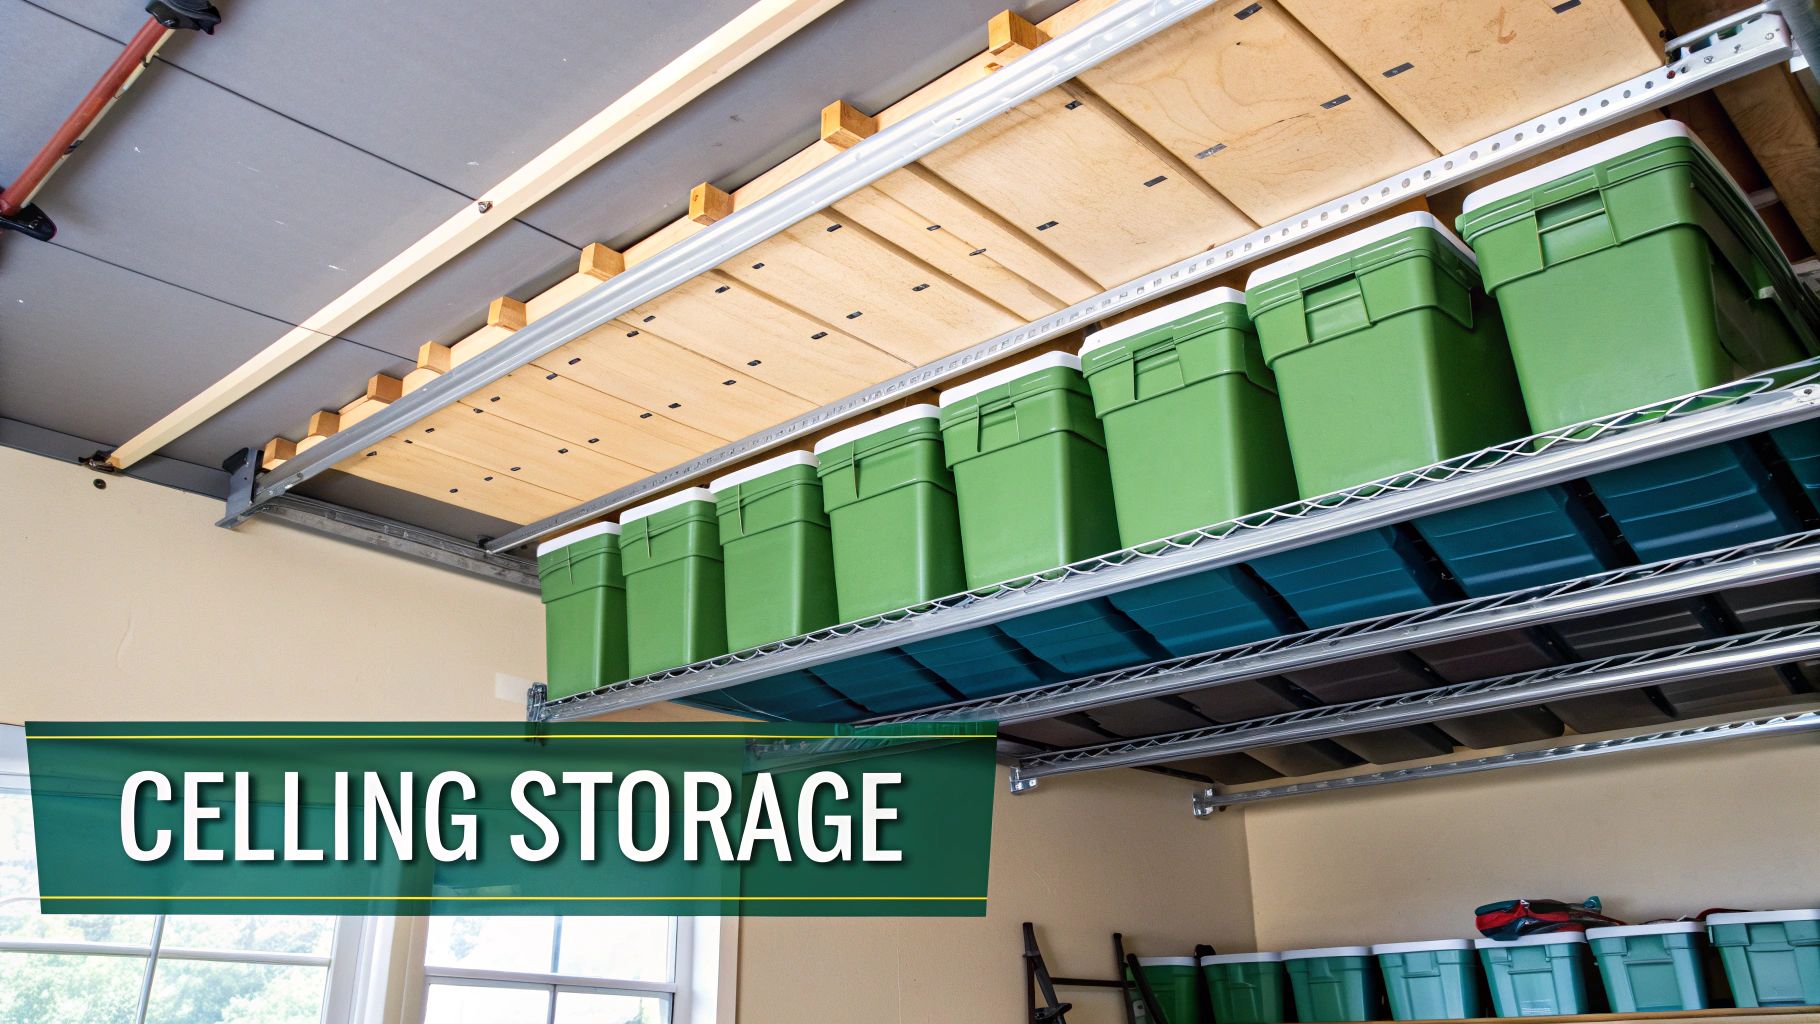
The primary benefit of overhead racks is their ability to hold a significant amount of weight, making them ideal for storing plastic bins filled with holiday decorations, camping equipment, or seasonal clothing. Homeowners often use them to store winter tires, skis, and other sports gear that would otherwise consume valuable floor or wall space. Leading brands like Fleximounts and SafeRacks have popularized these systems for their robust design and efficiency.
Implementation Tips
To safely and effectively install overhead storage, consider these essential tips:
- Anchor to Joists: Never mount racks directly into drywall. Use a stud finder to locate ceiling joists and ensure every anchor point is securely fastened into solid wood for maximum stability.
- Plan Your Clearance: Leave at least 12-16 inches of open space below the rack to make loading and unloading bins manageable. Also, check the path of your garage door to ensure the rack doesn't interfere with its operation.
- Use Labeled Bins: Store items in clear or well-labeled bins. This simple step allows you to identify contents at a glance from the ground, saving you the hassle of climbing a ladder just to check what’s inside.
- Distribute Weight Evenly: When loading the rack, spread the weight of your items across the entire platform. Avoid concentrating heavy boxes in one spot to prevent sagging and ensure structural integrity.
3. Slatwall Panel System
A slatwall panel system offers a sleek, heavy-duty alternative to traditional pegboards, elevating your space with a clean, modern aesthetic. Originally designed for retail displays, this system uses horizontally grooved panels that can support a wide range of specialized hooks, shelves, and baskets. Its primary advantage is its exceptional strength and versatility, making it the best way to organize garage spaces that need to store everything from heavy power tools to bulky sports equipment.
The beauty of slatwall lies in its seamless integration and robust performance. High-end custom garages and professional workshops often feature floor-to-ceiling slatwall for a fully configurable and polished look. The accessories slide easily along the grooves, allowing for effortless adjustments without removing and reinserting hooks, providing a superior user experience.
Implementation Tips
To maximize the benefits of your slatwall panel system, consider these practical tips:
- Plan Your Layout: Before purchasing accessories, sketch out where you want to store different categories of items. This helps you buy the right hooks, bins, and shelves from the start.
- Choose the Right Material: For garages in humid climates, opt for PVC or composite slatwall panels. They are resistant to moisture, mold, and warping, unlike traditional MDF panels.
- Start with a Kit: If you're new to slatwall, begin with a starter kit. These typically include a variety of basic hooks and bins, giving you a functional baseline to build upon.
- Mix Accessory Types: Combine different accessories for comprehensive organization. Use deep baskets for sports balls, specialized hooks for ladders and bikes, and small shelves for jars of screws and nails.
4. Modular Cabinet and Workbench System
A modular cabinet and workbench system offers a complete, integrated solution that transforms a cluttered garage into a functional workshop. This approach combines enclosed cabinets, deep drawers, and a sturdy workbench surface, creating a cohesive and professional-grade storage and workspace. It's an excellent way to organize garage tools and supplies behind closed doors, protecting them from dust while creating a clean, streamlined aesthetic.
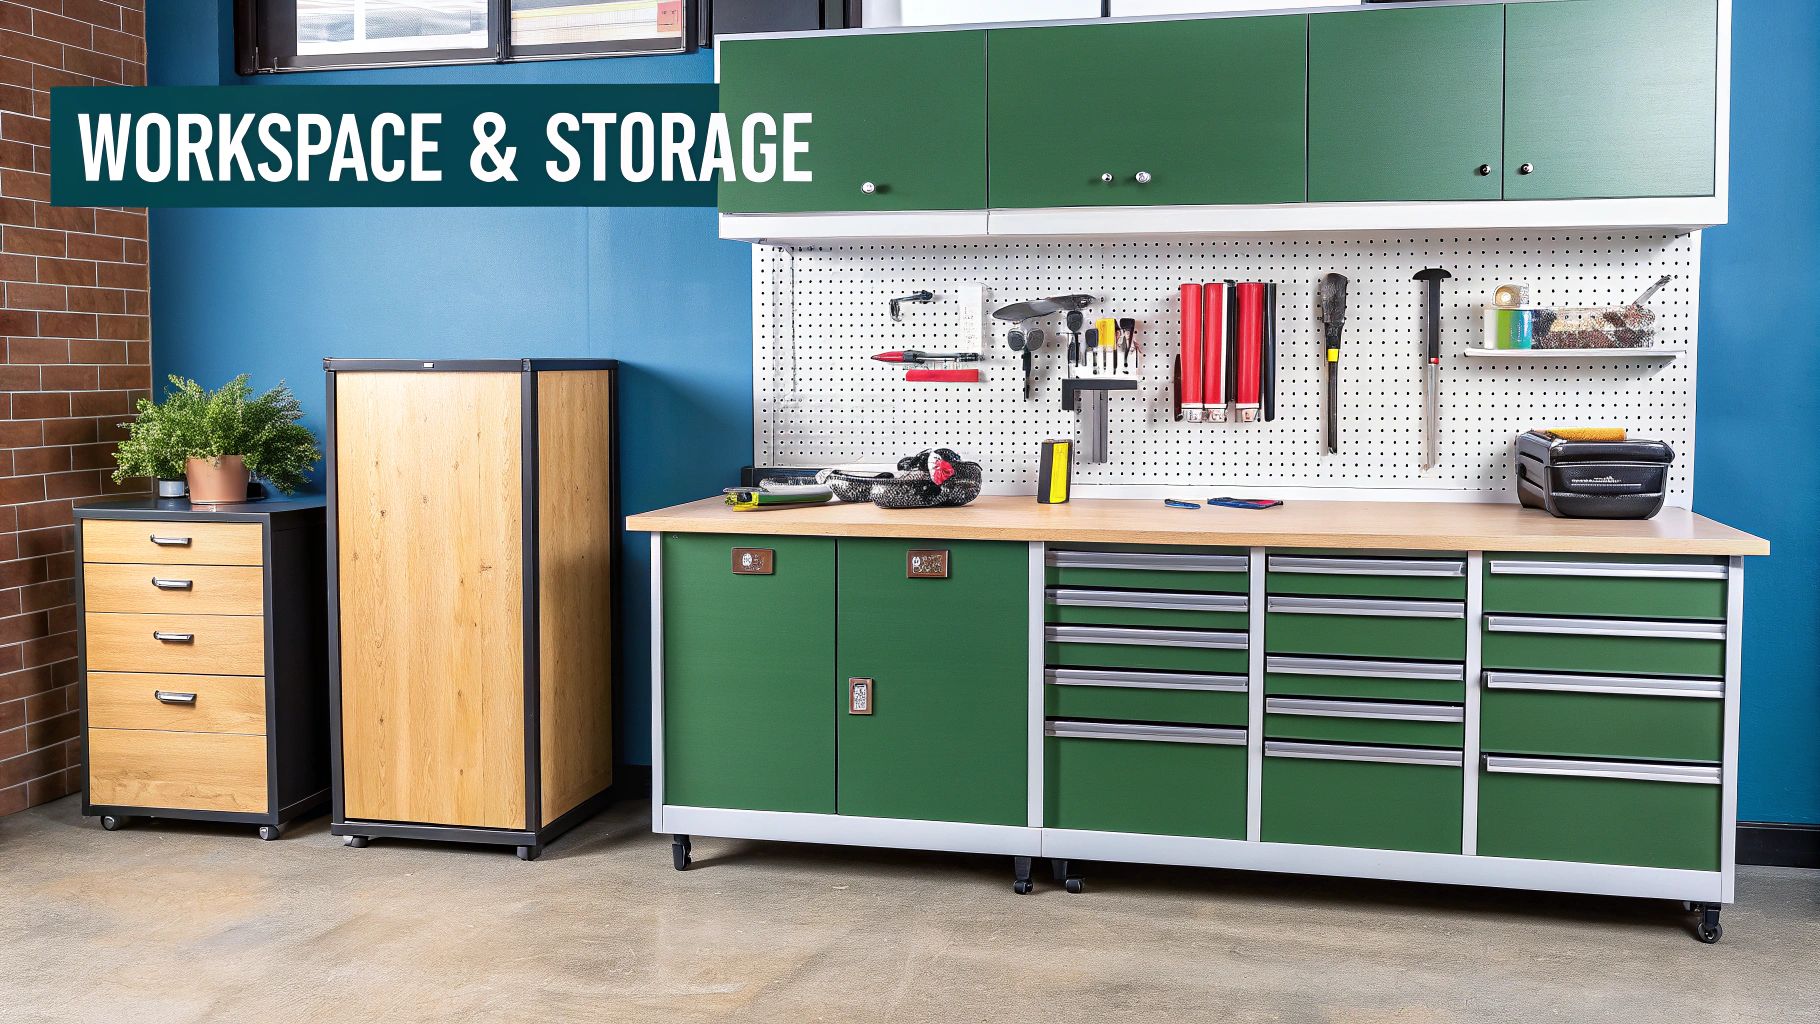
The primary benefit of a modular system is its all-in-one design, which provides both secure storage and a dedicated area for projects. Professional mechanics and passionate woodworkers often rely on these systems to keep their valuable tools organized and accessible. Brands like Gladiator GarageWorks and NewAge Products have popularized these setups, making professional-level organization achievable for homeowners.
Implementation Tips
To effectively install a modular cabinet and workbench system, consider these practical tips:
- Measure Precisely: Before purchasing, measure your garage dimensions carefully, accounting for wall outlets, door clearances, and vehicle parking space.
- Choose Durable Materials: Select cabinets made from steel or moisture-resistant materials, especially if your garage is prone to humidity, to ensure longevity.
- Add Under-Cabinet Lighting: Install LED strip lighting beneath the upper cabinets. This dramatically improves visibility on your workbench for detailed tasks.
- Optimize Drawer Space: Use custom foam inserts or drawer organizers to create designated spots for every wrench, screwdriver, and socket set, preventing them from sliding around.
- Consider Mobility: Opt for base cabinets on casters if you need flexibility. This allows you to reconfigure your workspace or easily clean behind the units.
5. Zone-Based Organization Method
The zone-based organization method is a strategic philosophy that divides your garage into dedicated areas based on activity or item category. Instead of just finding a spot for everything, you create logical hubs like a car care station, a gardening corner, or a workshop zone. This approach streamlines your workflow, making it intuitive to find what you need and, more importantly, put it away, establishing it as the best way to organize garage space for maximum efficiency.
Popularized by organization experts, this method focuses on function over fixtures. A family might designate one wall for active sports equipment and another for seasonal decorations, while a DIY enthusiast could create distinct zones for woodworking and automotive repair. The key is to group related items together, turning a chaotic space into a purposeful and productive environment.
The following infographic outlines the simple three-step process for implementing this powerful organizational strategy.

This process flow visualizes how to inventory your items, define zones based on those items, and finally assign appropriate storage solutions to each specific zone.
Implementation Tips
To effectively implement a zone-based system in your garage, follow these practical tips:
- Map It Out: Before moving a single item, sketch your garage layout on paper and map out where each zone will be located.
- Prioritize Access: Place zones you use most frequently, like sporting goods or daily tools, closest to the entry points for easy access.
- Define Boundaries: Use colored floor tape, paint, or even strategically placed shelving units to create clear visual boundaries for each zone.
- Label Everything: Clearly label each zone with signs so every family member understands the system and where items belong.
For a more detailed walkthrough, our hands-on guide to transforming your garage offers step-by-step instructions.
6. Mobile Storage Cart and Rolling Cabinet System
A mobile storage cart and rolling cabinet system offers unmatched flexibility, making it a dynamic choice for any garage. This approach uses wheeled storage units, tool chests, and utility carts that can be easily moved and repositioned. Its core advantage is mobility, allowing you to bring your entire toolset or supply station directly to your project, whether you're working on a car, a woodworking task, or a gardening project. This adaptability is a key part of finding the best way to organize garage space for multiple uses.
Popularized by professional mechanics and brands like Craftsman and Milwaukee, this system is ideal for multi-function spaces. Automotive enthusiasts can roll their entire tool chest next to a vehicle, while a homeowner can use a utility cart to transport gardening supplies from the garage to the yard. The ability to move large cabinets also means you can reconfigure the garage layout in seconds to make room for parking cars or a temporary workout area.
Implementation Tips
To maximize the benefits of a mobile storage system, consider these practical tips:
- Invest in Quality Casters: High-quality, locking casters are essential. They provide smooth movement when you need it and critical stability and safety when the unit is parked.
- Choose Appropriate Wheels: Select wheel sizes based on your floor surface. Larger wheels roll much more easily over cracks, cords, and rough concrete.
- Designate "Parking Spots": Create designated spots for each cart and cabinet. This ensures they are out of the way when not in use and maintains an organized look.
- Use Drawer Organizers: Don't let your mobile cabinets become cluttered. Use drawer dividers and organizers to keep tools and small parts neatly arranged and easy to find.
These mobile solutions are also fantastic for transporting items to and from off-site locations. You can explore more strategies for keeping your transportable items in order with these tips for organizing a storage unit.
7. Vertical Bike and Sports Equipment Storage
Bulky bikes, skis, kayaks, and other large sporting goods are often the biggest culprits of garage floor clutter. Vertical bike and sports equipment storage systems are a specialized solution that gets these awkward items up and off the floor, transforming unused wall and ceiling space into a highly functional storage zone. This method is a game-changer for finding the best way to organize garage space, especially for active families.
Specialized wall-mounted racks, ceiling hoists, and pulley systems are designed to securely hold heavy and oddly-shaped gear. For example, a family can hang four bikes vertically on a single wall rack, freeing up valuable floor space for parking a car. Similarly, kayak enthusiasts often use ceiling-mounted pulley systems to suspend their boats overhead during the off-season, keeping them safe and out of the way.
Implementation Tips
To maximize the effectiveness of your specialized sports storage, consider these tips:
- Check Weight Capacity: Before installing, always confirm the weight capacity of the rack or hoist and ensure it is properly anchored into wall studs or ceiling joists. A single bike can weigh 20-60 pounds.
- Use Locking Pulleys: For heavy items like kayaks or cargo boxes, opt for pulley systems with secure locking mechanisms to prevent accidental slips and ensure safety.
- Protect Your Gear: Add foam padding or protective coverings to metal hooks to prevent them from scratching your bike frames, skis, or surfboards.
- Create a Sports Zone: Group all your sports equipment in one dedicated area. Use a combination of vertical bike racks, ski racks, and shelves for helmets and accessories to create a comprehensive and organized station.
These dedicated systems not only organize your gear but also make it more accessible for your next adventure. If you're dealing with limited space, you can find more great tips in our guide on bike storage solutions.
8. Grid Wall and Track System
A grid wall or track system is an industrial-strength solution offering superior durability and a modern aesthetic. This method uses metal grid panels or heavy-duty aluminum tracks mounted to garage walls, which then accept a wide array of specialized hooks, shelves, and baskets. It combines the versatility of a pegboard with significantly greater weight capacity, making it the best way to organize garage space when dealing with heavy or bulky equipment like ladders, bicycles, and power tools.
Popularized by brands like Gladiator GarageWorks and Wall Control, these systems are a favorite in high-end garage makeovers and professional workshops. For example, motorcycle enthusiasts create dedicated gear walls for helmets and jackets, while contractors use them to organize tools by trade. The modular nature allows you to build out your system over time, adapting it perfectly to your changing storage needs.
Implementation Tips
To effectively install and use a grid wall or track system, consider these tips:
- Mount to Studs: Always use a stud finder and mount tracks or panels directly to wall studs. This is critical for safely supporting heavy items.
- Plan Your Layout: Before drilling any holes, lay the panels or tracks on the floor and arrange your largest accessories. This ensures you have proper spacing and prevents installation mistakes.
- Start with a Kit: Purchase a starter kit that includes a variety of basic hooks and bins. You can add more specialized accessories later as you identify specific organizational needs.
- Use a Level: The clean lines of a grid or track system make any misalignment very noticeable. Use a quality level during installation to ensure a professional, clean look.
9. Clear Bin and Label System
A clear bin and label system is a foundational strategy that brings order and visibility to your garage. This straightforward method involves using transparent storage containers paired with a detailed labeling process, creating an intuitive visual inventory. By seeing what’s inside each bin at a glance, you eliminate the guesswork and frustration of searching for specific items, making this one of the best ways to organize garage contents effectively.
The system’s strength lies in its simplicity and universal application. Families use it to store seasonal decorations and sports gear on overhead racks, while DIY enthusiasts can categorize project supplies for easy access. Its ability to work with any shelving unit makes it a versatile and budget-friendly approach to taming clutter.
Implementation Tips
To maximize the effectiveness of your clear bin and label system, follow these actionable tips:
- Choose Bins Wisely: Select bins with tightly sealing lids to protect contents from dust and moisture. Opt for consistent sizes within categories for stable and neat stacking.
- Label From All Angles: Use a label maker for durable, easy-to-read labels. Place them on multiple sides of the bin (front and side) so contents are identifiable no matter how they are stored on a shelf.
- Categorize with Color: Implement color-coded labels to create visual shortcuts for different categories. For example, use red for holiday items, blue for camping gear, and green for gardening supplies.
- Create a Digital Inventory: For a high-tech approach, number each bin and maintain a corresponding spreadsheet or app on your phone. This master list details the specific contents of every container.
A well-executed labeling strategy is crucial for this system's success. For more in-depth techniques, explore these ideas for the best way to label storage bins.
10. French Cleat System
A French cleat system is a highly versatile and robust mounting method, ideal for organizing heavy tools and creating interchangeable storage modules. This system uses interlocking 45-degree angled wood or metal strips. One strip is mounted to the garage wall, and a corresponding strip is attached to the back of a cabinet, shelf, or tool holder. This simple yet strong design allows items to be securely hung and easily repositioned without any tools.
Popularized by professional woodworkers and DIY creators, the French cleat is celebrated for its incredible strength and adaptability. Enthusiasts often dedicate entire walls to this system, creating custom holders for everything from power tools and lumber racks to small bins and spray paint cans. The ability to rearrange the layout on the fly makes it a superior long-term solution and one of the best ways to organize a garage that serves multiple functions.
Implementation Tips
To effectively install and use a French cleat system, consider these practical tips:
- Secure to Studs: For maximum weight-bearing capacity, ensure every wall cleat is securely fastened into the wall studs.
- Use Thick Plywood: Create your cleats and mounted components from 3/4-inch plywood or thicker to prevent warping or breaking under heavy loads.
- Precise 45-Degree Angle: Cut the bevels on your cleats at a precise 45-degree angle. This ensures a tight, secure fit when the components lock together.
- Standardize Your Modules: Build your various shelves, cabinets, and holders with a standardized depth. This creates a clean, uniform appearance across the wall.
For those looking to build their own custom modules, woodworking channels like Jay's Custom Creations offer fantastic tutorials. This video provides an excellent starting point for building a complete system.
Top 10 Garage Organization Methods Comparison
Your Organized Garage Awaits
Transforming a cluttered, chaotic garage into a streamlined and functional space can feel like a monumental task. Yet, as we've explored, finding the best way to organize garage space isn't about a single magic bullet. Instead, it’s about strategically combining the right systems to fit your specific needs, the dimensions of your space, and the items you own. By moving beyond a simple cleanup and implementing a sustainable system, you reclaim a valuable part of your home.
The journey begins with a clear vision. Whether you're drawn to the industrial efficiency of a grid wall system, the polished look of modular cabinets, or the adaptable nature of a DIY French cleat wall, the goal remains the same: create a designated home for everything. This systematic approach eliminates the frustrating search for tools, sports equipment, or seasonal supplies, turning your garage from a stressful "drop zone" into a functional extension of your living area.
Key Takeaways for Lasting Organization
To ensure your efforts last, remember these core principles we've discussed:
- Maximize Vertical Space: Your walls and ceiling are your greatest untapped assets. Systems like pegboards, slatwalls, and overhead racks lift items off the floor, dramatically increasing usable square footage and preventing clutter from accumulating.
- Create Functional Zones: The zone-based organization method is the foundational logic behind any successful garage layout. By grouping items by category-like automotive, gardening, or sports-you create an intuitive map that makes finding and putting away items effortless.
- Prioritize Accessibility: Not all stored items are created equal. High-frequency items should be placed in easily accessible locations, like mobile storage carts or eye-level shelving. Less-used items can be stored in higher or more remote spots, such as overhead racks.
- Visibility is Crucial: The clear bin and label system is non-negotiable for long-term success. When you can see what’s inside a container at a glance, you’re far more likely to maintain order and avoid re-buying items you already own.
Your Action Plan for a Transformed Garage
The ultimate goal is to build a system that works for you, not one that you have to constantly fight to maintain. The best way to organize a garage is one that integrates seamlessly into your daily routines. This transformation frees up not just physical space, but also mental energy. Imagine effortlessly grabbing your bike for a weekend ride, finding the right screwdriver in seconds, or even having enough clear space to pursue a new hobby.
For those items that don't fit into your daily or seasonal routines-such as sentimental keepsakes, archival documents, or bulky holiday decorations-consider an off-site solution. Freeing your prime garage real estate from these long-term storage items is the final step in creating a truly optimized space. This is where a modern storage approach can complete your organizational puzzle, allowing your garage to serve your immediate needs perfectly.
Ready to clear out the long-term clutter and make room for what truly matters? Endless Storage offers a convenient, box-by-box storage solution, handling the pickup, storage, and on-demand delivery for you. Visit Endless Storage to see how you can finally reclaim your garage for good.
Frequently Asked Questions
Unveiling the Secrets to Effortless Storage
Endless Storage is available nationwide. You pick a plan, tell us where to pickup, and we'll send a UPS van to collect, whichever state you're in.
Your shipping label will be sent to your email within a few minutes, if not instantaneously. It can also be accessed through your customer profile.
Your box will be shipped to one of our climate controlled self storage facilities in our closest self storage facility. Our manager will accept your package, notify you that your box has been received, and securely stored. Only our managers will have access to Endless Storage boxes.
Email us at admin@endless-storage.com click to live chat with us, or send us a message below.
Never! We're committed to transparent pricing with no surprises. You'll lock in your rate with no hidden fees and no long-term contracts.
Fast access guaranteed! Your boxes will arrive at your doorstep within 48 hours of requesting them back. Need to check on delivery? We provide tracking information for complete peace of mind.
Totally flexible! Store month-to-month with no long-term commitment and cancel anytime.
Everything's online! Use your account dashboard to:
• Set up automatic monthly payments
• Request box returns
• Update your address
• Order additional boxes
• Track shipments
Your boxes are insured up to $100 each. Our customer service team will help you file any necessary claims and resolve issues quickly.
Don't worry – we'll email you right away if there's a payment issue. Your items stay safe, though you may have temporary service interruption or late fees until payment is resolved.
When you request our free storage kits, you'll have 30 days to send in your boxes to activate your 3 months of free storage. Think of it like starting a gym membership – your activation window begins when you receive your kits, and your full free trial begins once you send in your first box. During your free months, you'll experience our complete storage service at no cost.
Your 30-day activation window begins when you receive your storage kits. We'll send you an email confirmation when your kits are delivered, marking the start of your activation period.
If you haven't sent any boxes for storage within your 30-day activation window, your free trial will expire and we'll begin charging the regular monthly rate of $9.99 per box. This helps ensure our storage kits go to customers who are ready to use our service.
A box costs $9.99 per month to store (plus sales tax). This price includes free shipping for standard boxes under 50 lbs. and smaller than 16"x16"x16"
Log into your Endless Storage account, locate the box you would like returned, and simply click Return My Box.
Yes, each box stored with us is insured for up to $100 throughout transit as well as the duration of storage within our facilities.
Your box will be at your doorstep within 48 hours of you requesting it back.
Store 10+ boxes? We'll pick them up for free! After your purchase, we'll contact you to schedule a convenient pickup time and arrange UPS collection.
We trust UPS with all shipments, and every box includes $100 insurance coverage. You'll receive tracking information to monitor your items' journey.
Yes! Visit any of our locations by appointment. Just bring a photo ID matching your customer profile.
For everyone's safety, we can't store hazardous materials, firearms, or perishables. All items must fit within our standard boxes.
It's easy! Order your storage kit online, and we'll ship it to you within 1-2 business days. Your shipping labels will be emailed instantly and available in your account.
We're here to help! Email us at admin@endless-storage.com, use our live chat, or send us a message through your account.
To cancel your storage service with Endless Storage, please email your cancellation request to admin@endless-storage.com. Our team will process your request within 2 business days and confirm your cancellation via email.
We understand packing takes time. However, to maintain your free trial benefits, you'll need to send at least one box within the 30-day activation window. If you need more time, you can always start with one box to activate your trial and send the rest later. You can always reach out to admin@endless-storage.com if you have any issues or concerns.
When you request our free storage kits, you're starting a 30-day window to begin using our storage service.
Important: To activate your free trial, send at least one box for storage within 30 days. If no boxes are sent within this 30-day window, a one-time $50 fee applies to cover materials and shipping costs. This fee is clearly disclosed before you sign up.
Think of it like reserving a hotel room – we're setting aside space and sending specialized packing materials for your use. The fee only applies if you request materials but don't begin storage, similar to a hotel's no-show charge.