Storage tips & guides
Expert advice on storage, decluttering, moving, and getting the most out of your space.
All articles
235 articles

Moving
Moving to Philadelphia PA: A 2026 Relocation Guide
May 16, 2026

Organization
8 Bedrooms Ideas for Small Rooms to Maximize Space
May 15, 2026
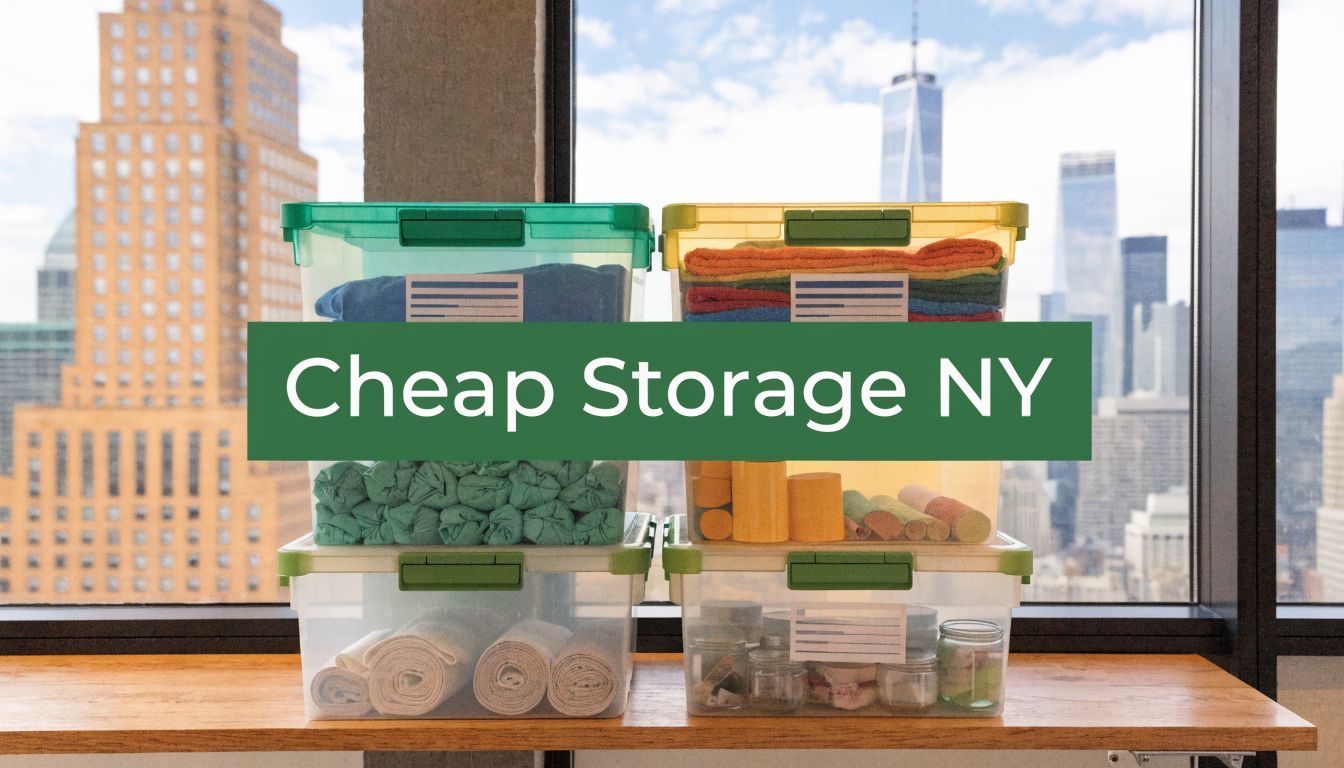
Storage
Cheap Storage New York NY: Top Deals & 2026 Guide
May 14, 2026
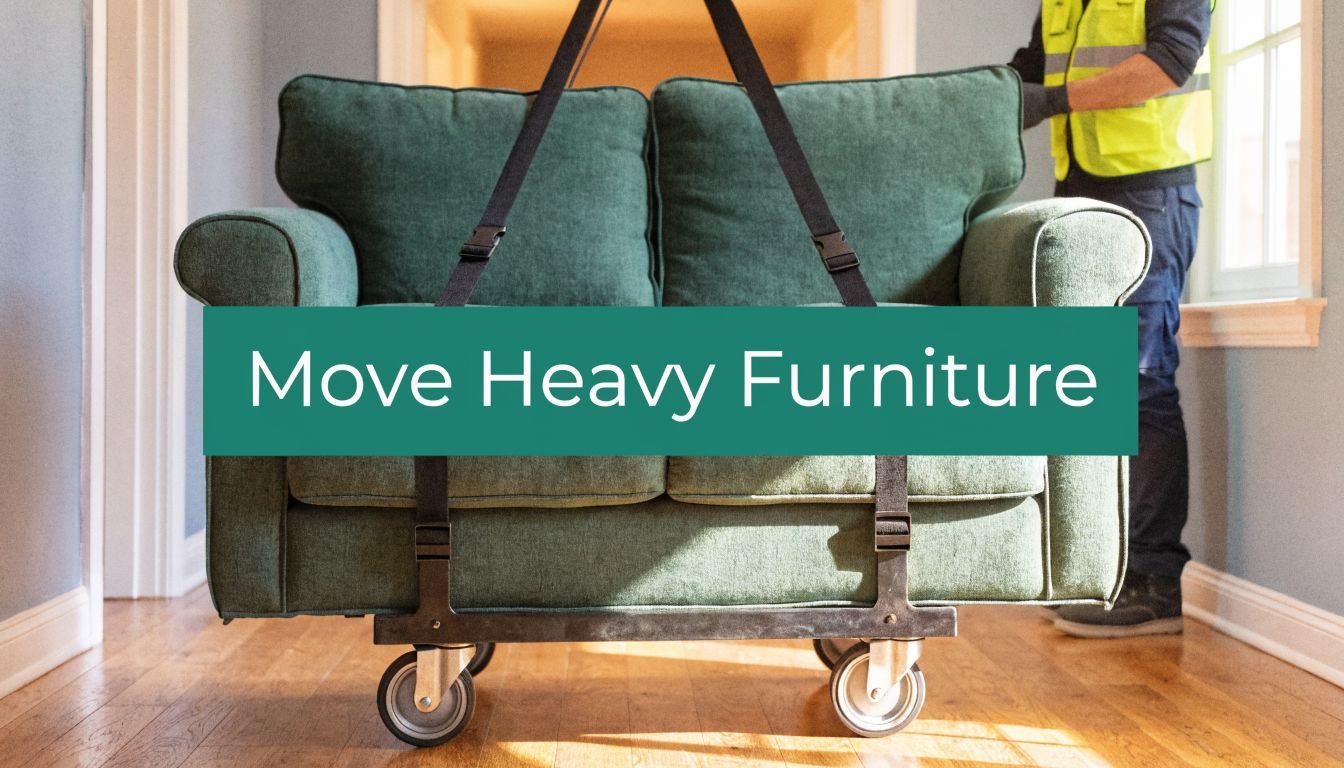
Storage
How to Move Heavy Furniture: A Safe 2026 Strategy Guide
May 13, 2026

Storage
Storage Fort Lauderdale: Your 2026 Local Guide
May 12, 2026
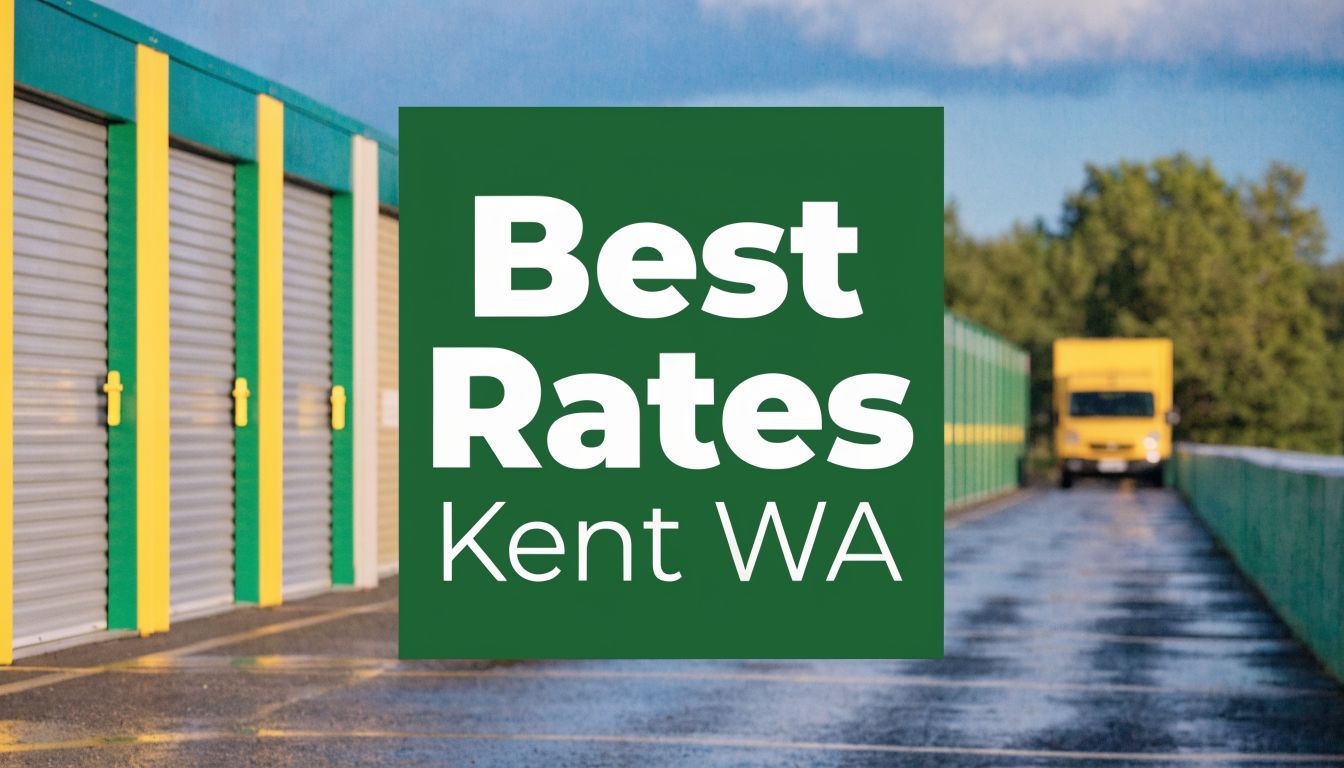
Storage
Best Rates on Storage Kent WA: 2026 Comparison Guide
May 11, 2026
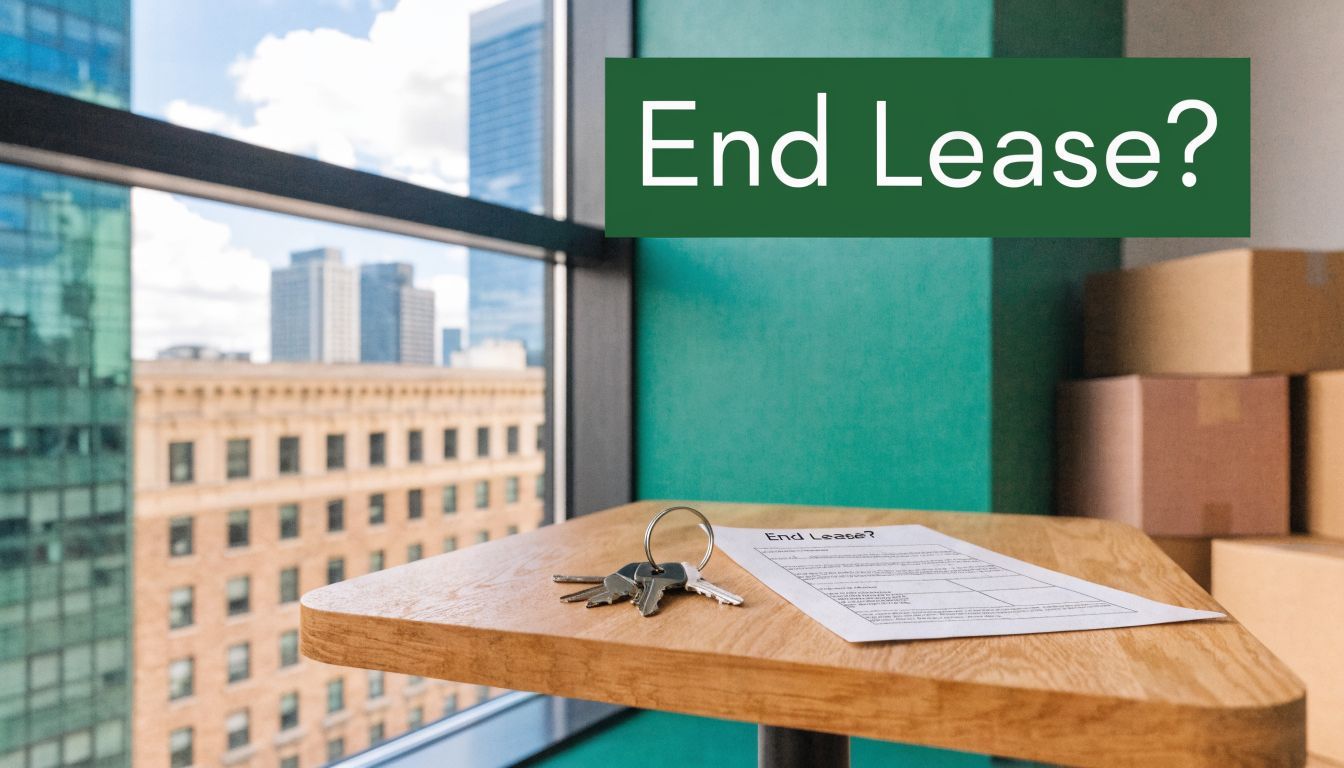
Storage
Can You End a Lease Early? Legal Rights and Costs
May 10, 2026

Storage
Backyard Landscaping DIY: A Start-to-Finish Guide
May 9, 2026

Storage
Best Time for Garage Sale: Your 2026 Profit Guide
May 8, 2026
Storage
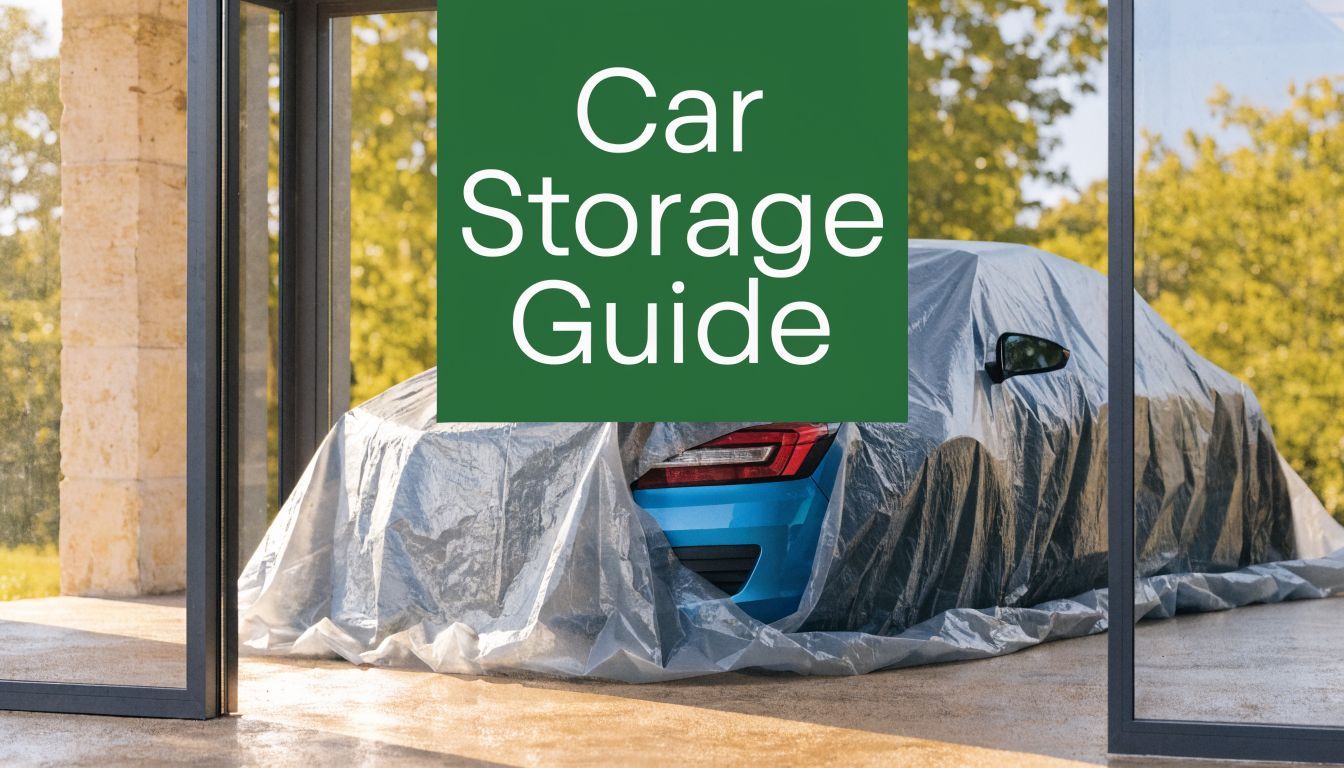
Car Storage Units: The Ultimate Explainer & Guide
May 4, 2026
Storage
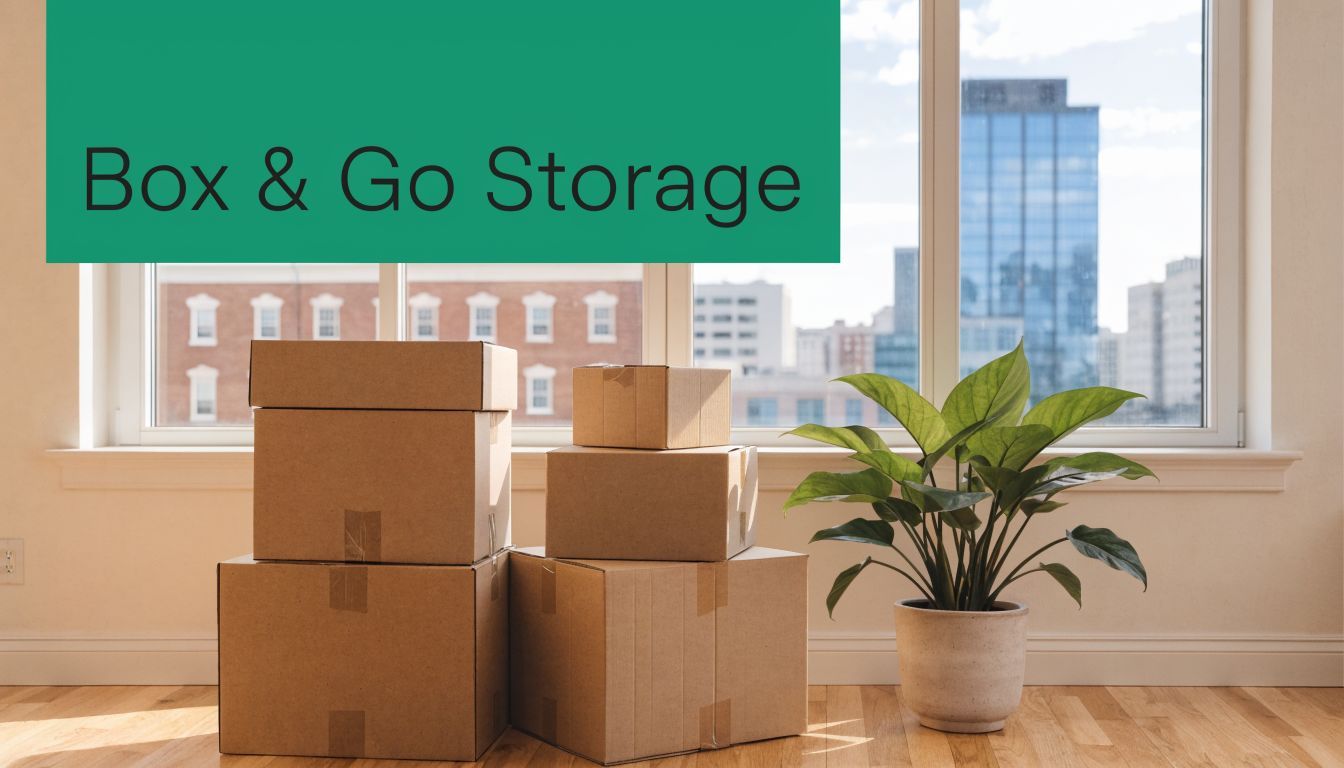
Box and Go Storage: Your Guide to Smarter Urban Living
May 3, 2026

Storage
Abandoned Storage Units for Sale: Your 2026 Profit Guide
May 2, 2026

Storage
Secure Car Storage Atlanta: Your 2026 Guide
May 1, 2026
Organization
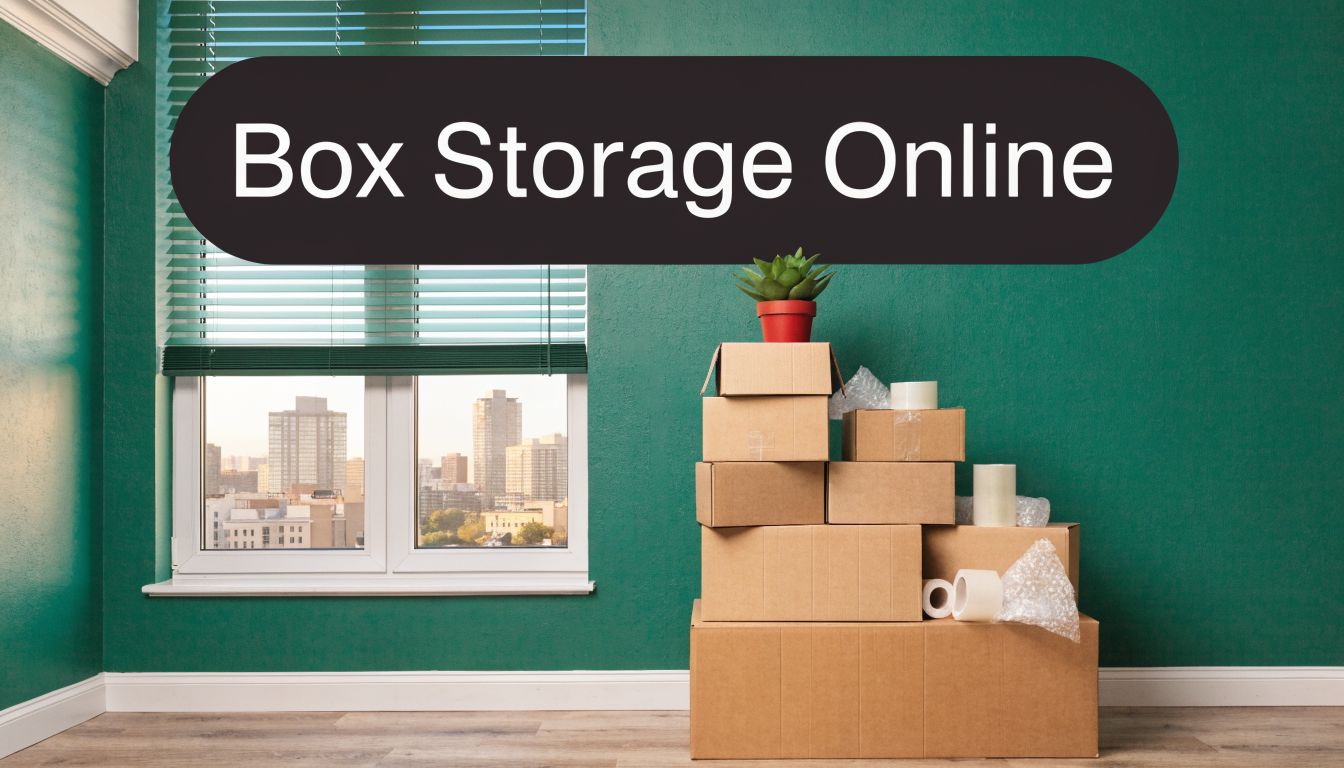
Box Storage Online: The Ultimate Guide for Small Spaces
Apr 30, 2026

Storage
Best Boat Storage Miami: 2026 Guide for Your Vessel
Apr 29, 2026
Storage
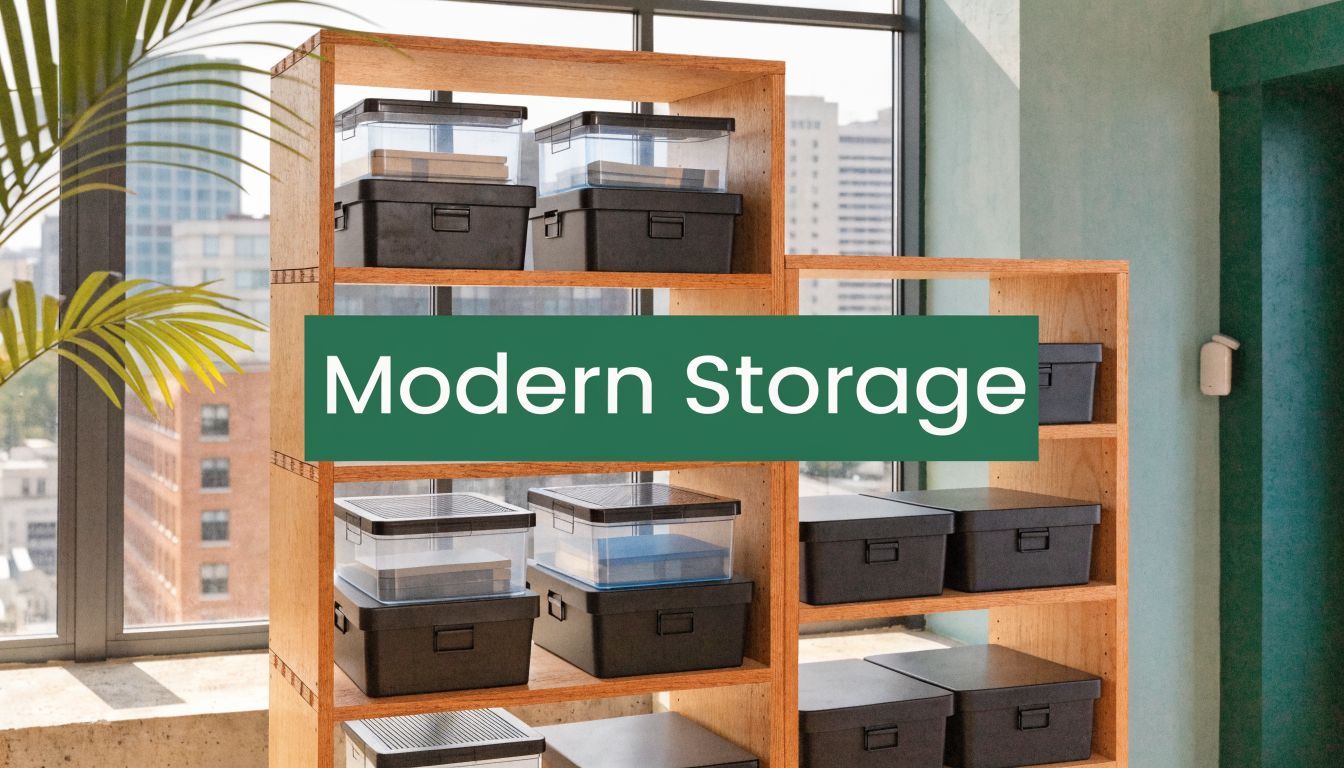
Modern Storage Solutions: Find Your Perfect Space in 2026
Apr 28, 2026
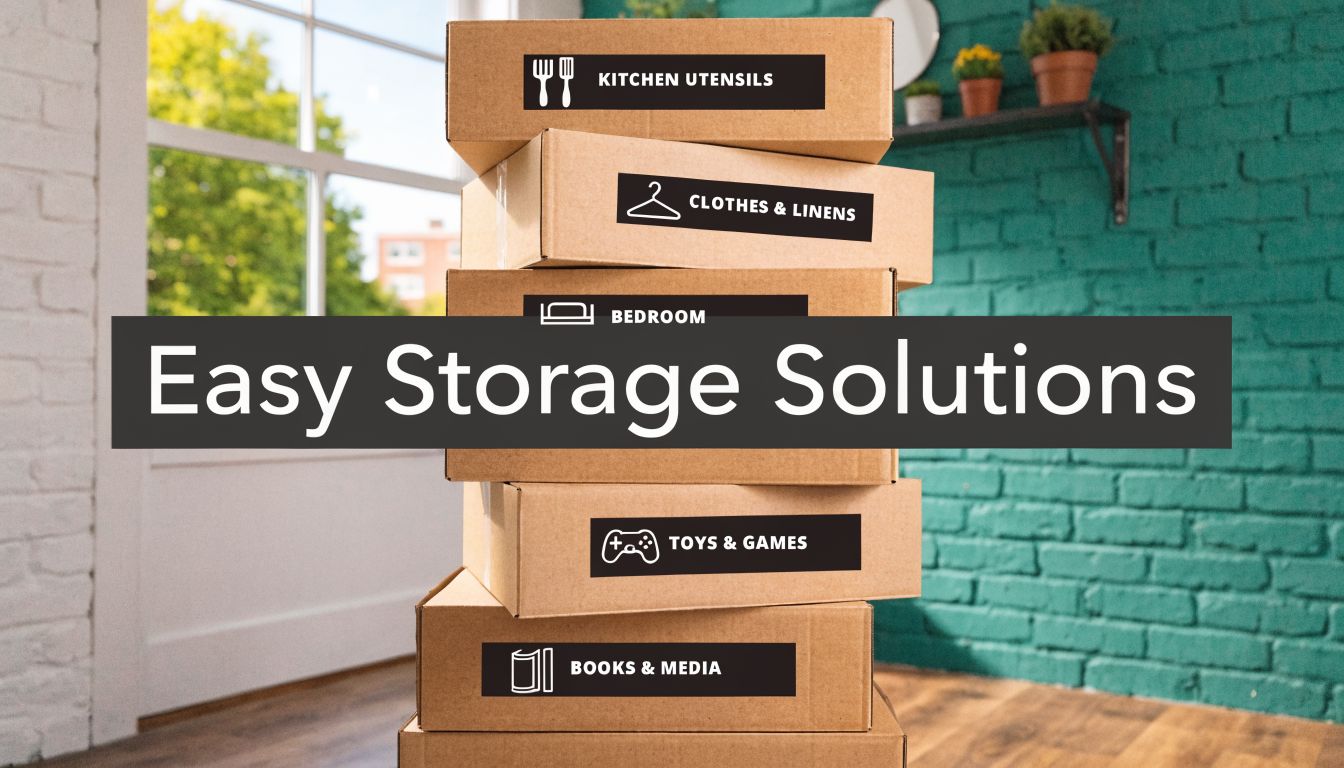
Organization
Easy Storage Solutions for Small Spaces: A Renter's Guide
Apr 27, 2026

Storage
Public Storage Boxes: The Modern User's Guide (2026)
Apr 26, 2026

Storage
Best Way to Store Wine: 8 Expert Methods for 2026
Apr 25, 2026

Storage
Storage Space for Furniture: The Complete 2026 Guide
Apr 24, 2026
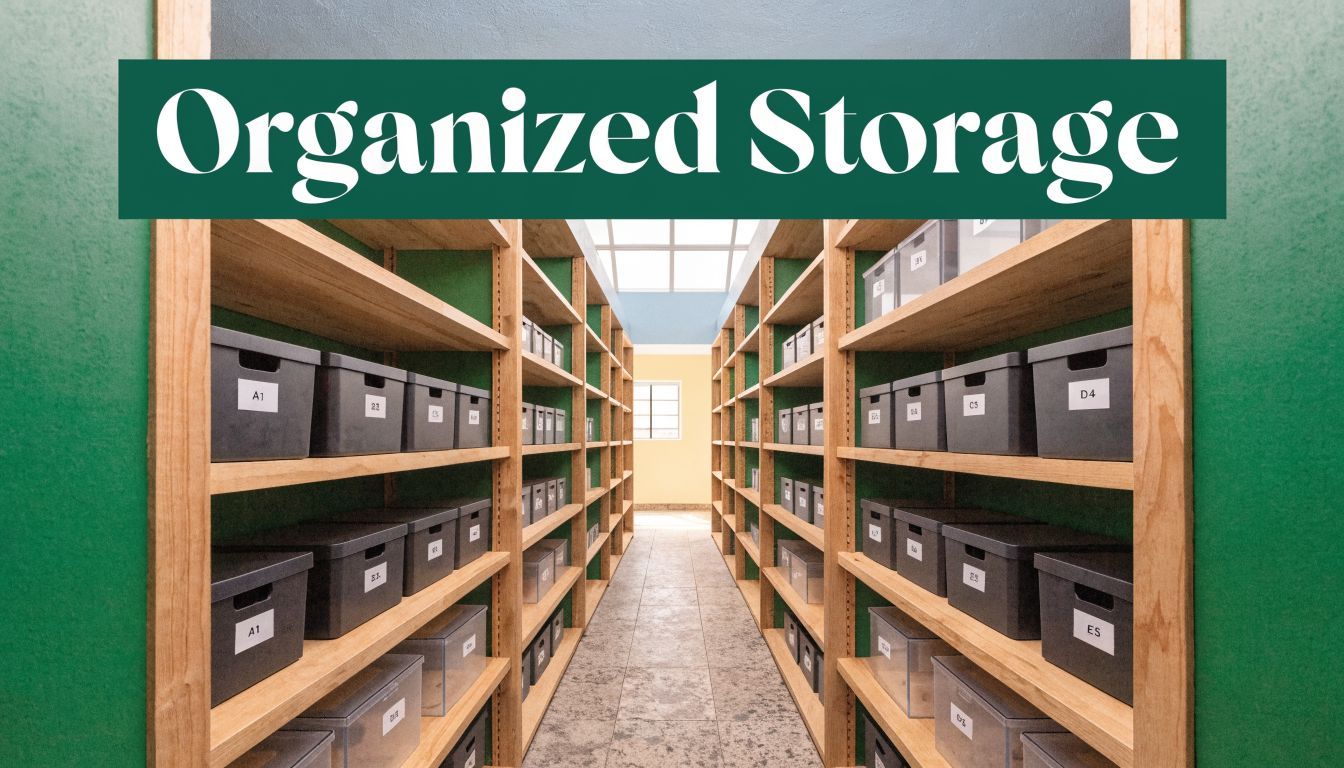
Organization
Organized Storage Unit: Your Ultimate Guide
Apr 23, 2026
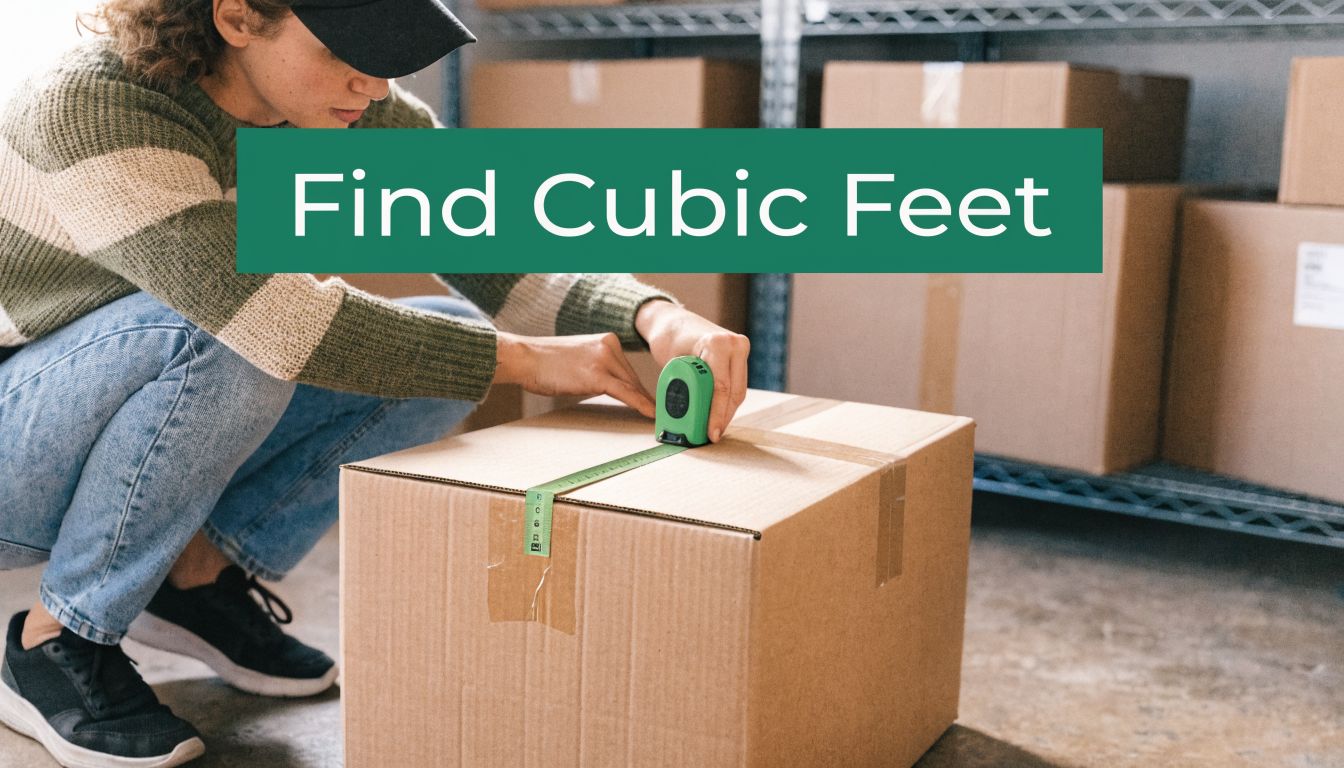
Storage
How to Find Cubic Feet: A Simple Guide for Storage
Apr 22, 2026

Storage
Storing Winter Tires: Your Ultimate How-To Guide for 2026
Apr 21, 2026
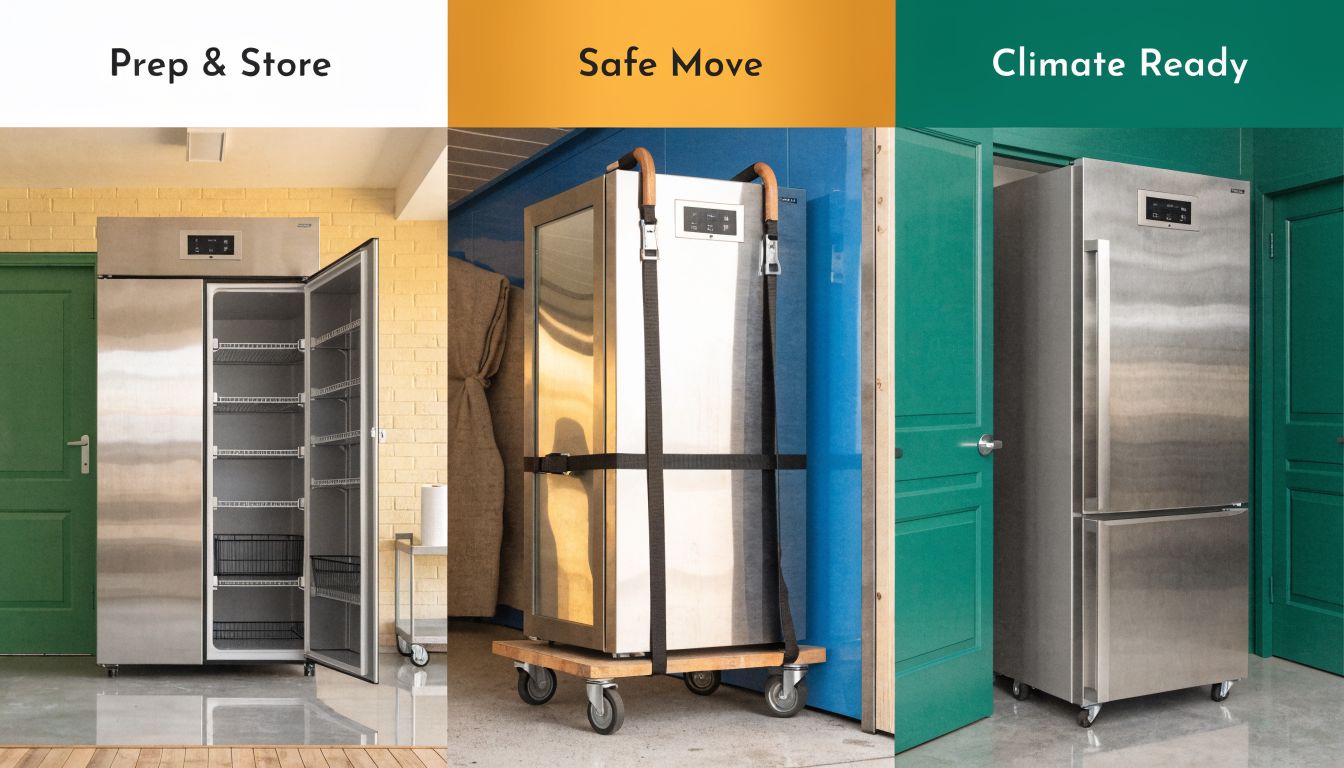
Storage
Storing a Refrigerator: The Complete Step-by-Step Guide
Apr 20, 2026