
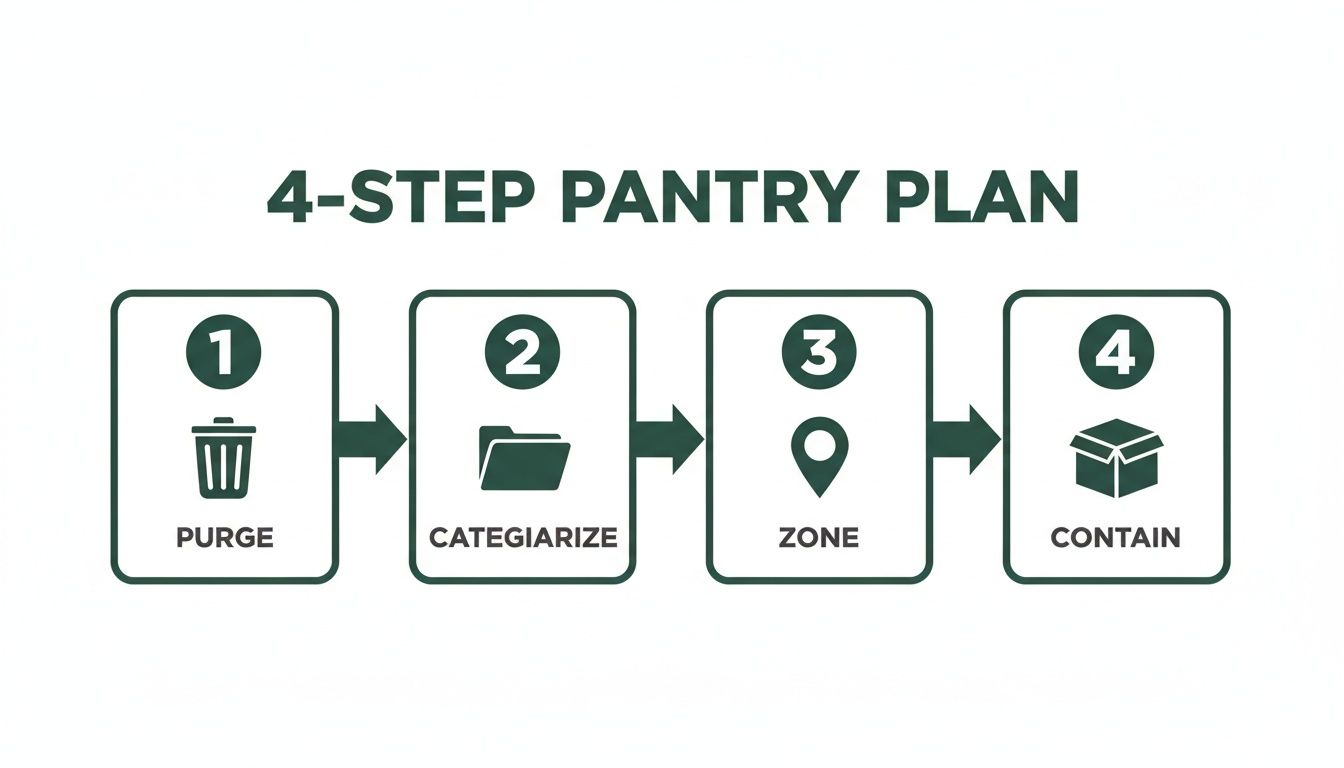
Arranging a kitchen pantry really comes down to four key steps: a complete purge of every item, categorizing similar foods together, creating strategic zones on your shelves, and using the right containers for long-term order. This simple framework is what transforms a cluttered, frustrating space into a functional, streamlined system.
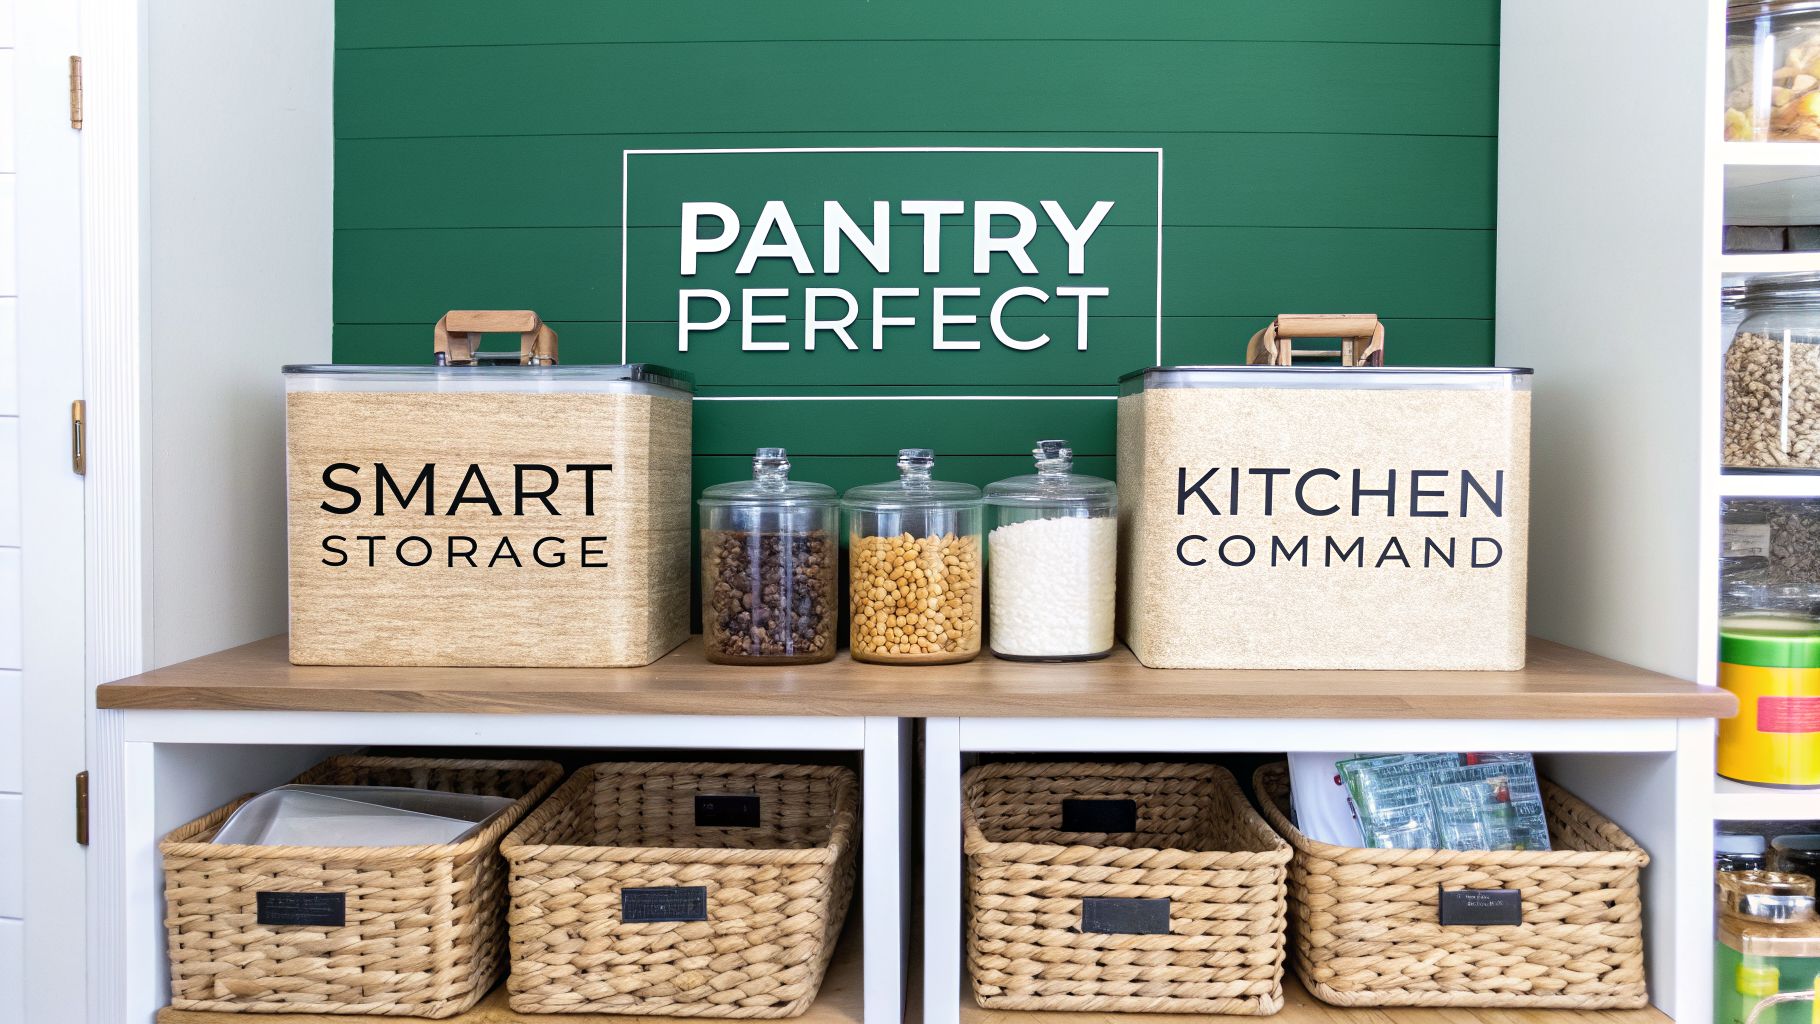
Your 4-Step Blueprint for a Perfectly Organized Pantry
Before you even think about buying a single bin or basket, you need a solid plan. I've seen it time and time again—without a roadmap, even the best intentions lead back to chaos in a few weeks. A truly well-arranged pantry isn't just about making it look neat for a photo; it’s about creating a sustainable system that simplifies meal prep, cuts down on food waste, and even saves you money on groceries.
Think of this as a full-scale reset for how you interact with your kitchen. You’ll move from that frustrating, chaotic search for the "lost" can of tomatoes to effortlessly grabbing exactly what you need. It’s a game-changer, and that's why a thoughtful, step-by-step approach is so crucial.
The Core Principles of Pantry Organization
The most effective and long-lasting pantry arrangements are all built on four foundational pillars. Get these right, and you're golden.
- Purge and Reset: This is the big one. It means completely emptying the pantry to see what you actually have, tossing expired items (be ruthless!), and giving yourself a clean slate to work with.
- Categorize Logically: Once everything is out, start grouping like items together. All your baking supplies in one pile, all breakfast foods in another, snacks over here, canned goods over there. This is the first step toward building an intuitive layout.
- Zone for Efficiency: Now we get strategic. This is where you assign specific locations for each category based on how often you use them. Want to dig deeper into this concept? You can learn more about the fundamentals by exploring the basics of what we call strategic space planning.
- Contain and Maintain: Finally, the fun part! Using the right bins, baskets, and canisters not only corrals your categories but also makes the whole system easy to maintain.
This visual breaks down the four-step plan that will guide your pantry from total chaos to a state of calm.
To help you visualize the process, here's a quick summary of the path we're about to take.
Pantry Arrangement At-a-Glance
Following this workflow ensures a logical progression, preventing that feeling of being overwhelmed and guaranteeing a much more functional outcome.
To truly optimize your pantry's potential and squeeze value from every inch, it’s worth exploring the various smart space saving kitchen storage solutions that are out there. This isn’t just a passing trend, either. The kitchen organization market is projected to hit an incredible $166.2 billion by 2030, largely because so many of us are trying to make smarter use of our space.
The Liberating Pantry Purge
The first, and honestly, non-negotiable step to arranging a kitchen pantry is to take everything out. Yes, I mean everything. This moment of temporary chaos is the secret ingredient for creating lasting order. It’s the only way you can see exactly what you have, what you’ve forgotten about, and what’s been hiding in the back corners for years.
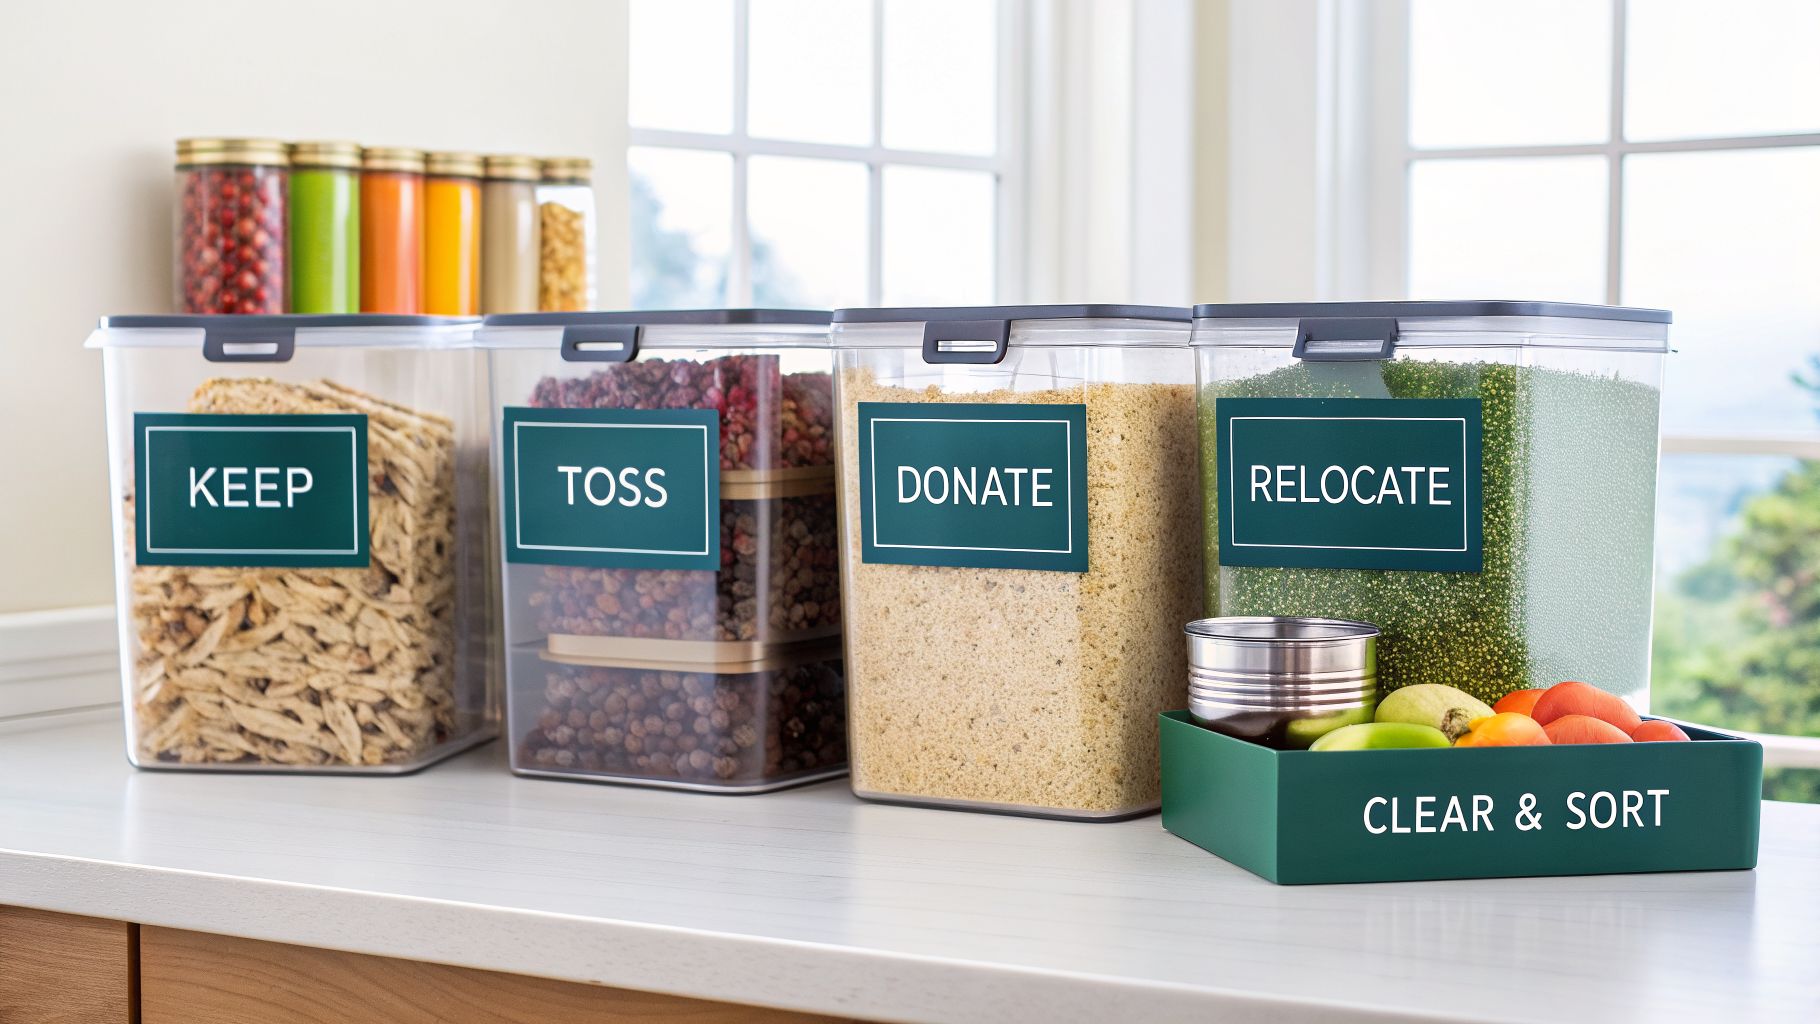
Before you start feeling overwhelmed, grab some boxes or just mark out a few spots on your floor. Every single item you pull from the pantry is going to fall into one of four categories. Using this simple sorting system makes the whole process faster and way more decisive.
The Four Essential Piles
Creating these distinct piles is the key to a successful purge. It forces you to make a conscious decision about every can, box, and bag. No more maybes.
- Keep: These are the staples you use regularly, everything is well within its expiration date, and they're items you genuinely need.
- Toss: This pile is for anything expired, stale, or frankly, unidentifiable. Be honest and ruthless here—there’s zero point in putting spoiled food back on a nice, clean shelf.
- Donate: Unopened, non-perishable items that are still in date but you know you’ll never use can go here. That extra can of chickpeas or the specialty vinegar from a gift basket can find a much better home with someone else.
- Relocate: Sometimes, things end up in the pantry that just don’t belong there. Think small appliances, extra dish towels, or your growing collection of water bottles. Set these aside to find a more appropriate spot for them later.
The goal isn’t just to declutter, but to create a 'pantry inventory' that reflects how you actually cook and eat today, not how you aspired to five years ago when you bought that bag of quinoa flour.
This initial cleanout feels incredibly freeing and sets the stage for building a truly functional space. For more guidance on making these tough decisions, our comprehensive decluttering checklist can help you work through any room in your home.
Why This Step Saves You Money
Beyond the immediate satisfaction of a clean space, this purge has a real financial upside. Forgotten and expired food is a huge source of household waste. A well-organized pantry directly combats this; simple things like effective arrangements and airtight containers have been shown to drastically cut down on spoilage.
This isn't just a tidy-up; it's a strategic move against waste. Statistics from industry reports show the average household loses around $1,500 annually on unused groceries. You can explore more insights on how organization impacts consumer habits on Coherent Market Insights.
Once you've sorted everything, take a minute to deep clean your now-empty shelves. A simple wipe-down with warm, soapy water is all it takes. Now, with a perfectly blank canvas, you’re ready to start building a system that truly works for you.
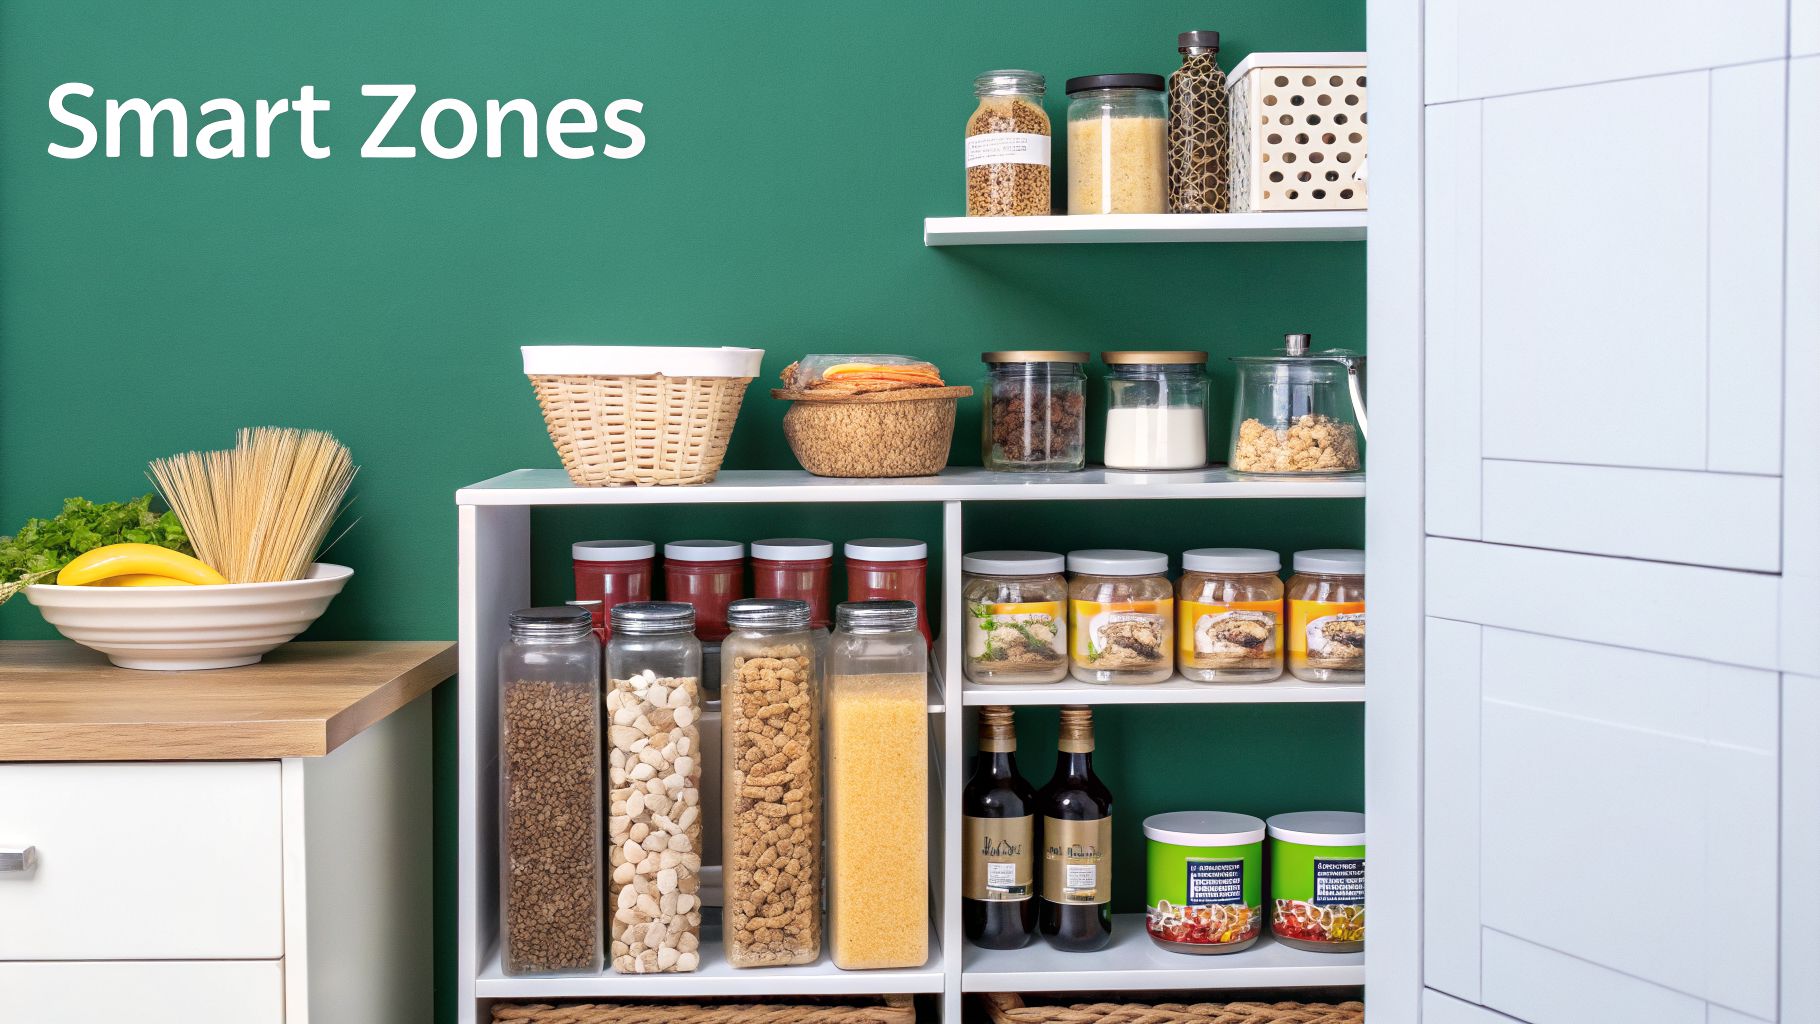
2. Create Smart Zones for Everyday Efficiency
With a completely empty and clean pantry, you have a blank canvas. This is your chance to design a layout that actually works for you, not against you. We're moving beyond simple sorting and getting into the strategic art of arranging your kitchen pantry. The real goal here is to create intuitive "zones" that make grabbing what you need second nature.
Zoning is just a fancy word for grouping similar things together. Think of it like a mini-supermarket right in your home. Instead of a chaotic mix of cans, bags, and boxes, everything has a designated home, making both cooking and writing a grocery list worlds easier.
Design Zones That Fit Your Lifestyle
The most effective pantry zones are a mirror of how your household actually eats. A family with toddlers will have a very different setup than a couple who loves to bake from scratch on weekends.
Get started with a few common zone ideas:
- Breakfast Station: Group everything for those hectic mornings in one spot. Think oats, cereal, coffee, tea, honey, and maybe that box of pancake mix for the weekend.
- Weeknight Dinners: This is your command center for quick meals. Stock it with pasta, rice, grains, canned tomatoes, various sauces, and broths.
- Snack Central: Make this area easily accessible for kids (and, let's be honest, adults). Use low, open bins for grab-and-go items like granola bars, crackers, fruit snacks, and pretzels.
- Baking Zone: Corral all your baking supplies so you're not hunting for things mid-recipe. This means flour, sugar, baking soda, vanilla extract, sprinkles, and chocolate chips all live together.
The best pantry is one that’s customized for you. If you’re a smoothie fanatic, create a dedicated smoothie zone. Have a non-negotiable taco night? Build a "Taco Tuesday" kit with tortillas, seasonings, and salsa all ready to go.
The Golden Rule of Placement
Once you've mapped out your zones, where you put them is just as important. The key is to arrange everything based on how often you use it and how heavy it is. This simple hierarchy turns your pantry into a model of ergonomic efficiency.
To help you visualize this, I’ve put together a quick guide for planning your pantry zones. Think of your shelves as real estate—the most valuable space is right at eye level.
Pantry Zone Planning Guide
This tiered system ensures your most-used items are always within easy reach, which means less bending, stretching, and frustration.
It’s a simple strategy, but it works. In fact, many of the same principles for organizing a pantry can be applied to other overwhelming storage areas. If you’re feeling inspired, you can find similar advice on how to declutter a garage for more efficient home storage.
By setting up smart zones and following the simple rules of placement, your pantry will stop feeling like a cluttered closet and start acting like the functional kitchen command center it was always meant to be.
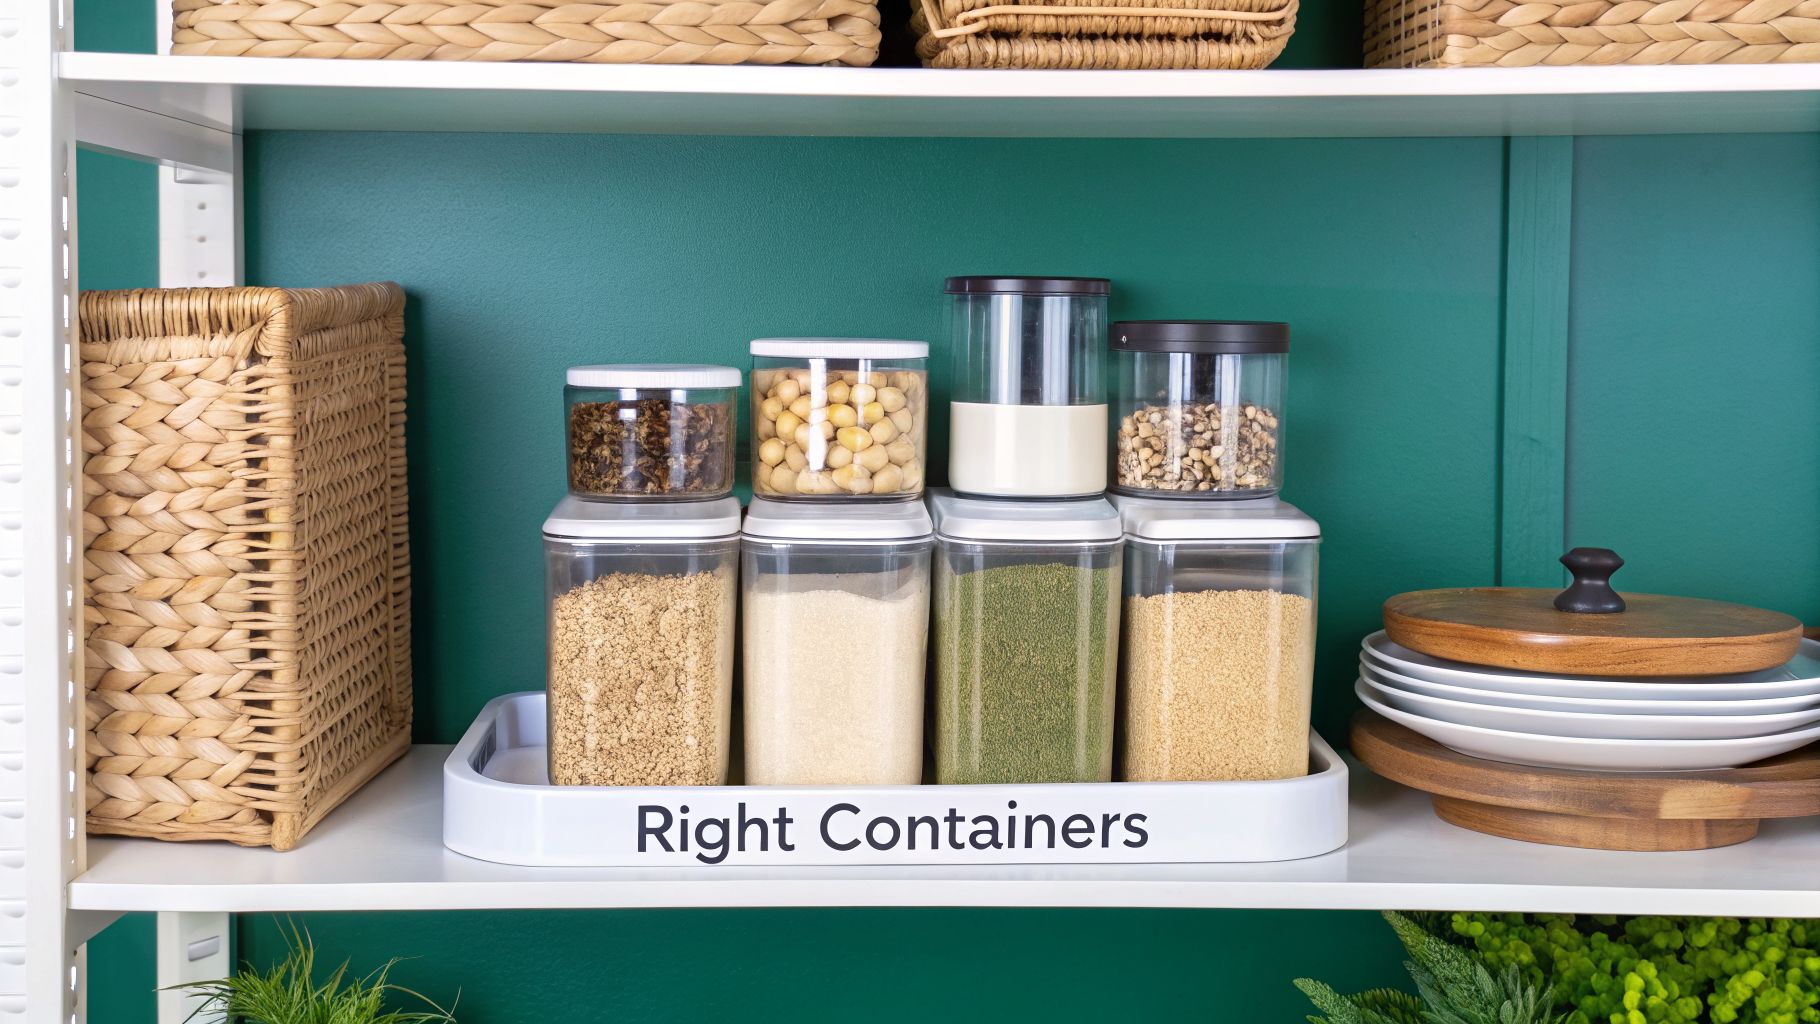
Selecting the Right Containers and Organizers
Once you've mapped out your pantry zones, it's time for the fun part: picking the containers and organizers that will actually bring your system to life. This isn't just about running to the store and buying a bunch of matching bins. It’s about being strategic and choosing tools that genuinely fit your food, your shelves, and your style.
Think of it this way: the right containers are the glue holding your whole organization system together. They create clear boundaries for each category, make items so much easier to grab, and even help keep your food fresh for longer. The real goal here is to invest in pieces that make your daily routine smoother, not just things that look pretty on a shelf.
Matching Containers to Your Pantry Zones
Choosing containers is a bit like putting together a puzzle. Different types have different jobs, so a mix-and-match approach usually works best. But before you even think about adding anything to your cart, measure your shelf depth, width, and height. Trust me, this one simple step will save you from the headache of returning bins that are just a millimeter too wide.
Clear Acrylic Bins: These are non-negotiable for visibility. I use them for grab-and-go snack zones, pasta packets, or collections of sauce jars. When you can see everything at a glance, nothing gets lost and forgotten in the back.
Woven Baskets: These are perfect for calming the visual chaos. Use them to group together things that are just plain messy to look at, like bags of chips, extra paper towels, or mismatched backstock items. They bring a nice warmth and texture to the pantry while keeping the clutter contained.
Airtight Canisters: An absolute must for anything you decant. Things like flour, sugar, oats, and cereal stay fresh for so much longer when they’re protected from air and pests. The bonus? You can see exactly when you're running low, which makes writing your grocery list a breeze. If you're looking for the right fit, our guide on choosing the best storage boxes can point you in the right direction.
Decanting isn't just for looks; it's a game-changing functional strategy. Transferring items from bulky, half-empty packaging into uniform, stackable containers can easily double your usable shelf space.
Essential Organizers for Tricky Spaces
Beyond the basic bins and jars, a few specialty organizers can completely change the game in those hard-to-use areas of your pantry. These tools are specifically designed to squeeze function out of every last inch, turning awkward corners and deep shelves into prime real estate.
Game-Changing Pantry Helpers
By combining the right containers with these smart organizers, you create a dynamic system that isn't just beautiful but is incredibly efficient to use. It’s an approach that ensures all the hard work you put into arranging your kitchen pantry pays off for years to come.
The Finishing Touches: Labeling and Maintenance
You’ve done the hard work, and your pantry looks fantastic. But the real victory isn’t just getting it organized—it’s keeping it that way. This final step is all about creating a sustainable system, one that stops the slow creep of chaos from returning.
And the secret weapon in this ongoing battle? Clear, consistent labeling. It’s probably the single most important thing you can do for long-term pantry success.
Think of your labels as the instruction manual for your pantry. They completely eliminate the guesswork, ensuring everyone in the house knows exactly where the quinoa goes and where to find the crackers. This simple act turns your personal system into a household system, making it so much more likely to stick.
Choosing Your Labeling Style
Honestly, the best label is the one you’ll actually use. You don't need to get fancy here, but picking one uniform style will create that clean, cohesive look we're all after.
- Label Makers: A simple handheld label maker is a fantastic investment for pretty much any organization project. They're quick, the labels are durable, and you get a crisp, uniform look on everything from tiny spice jars to large bins.
- Vinyl Labels: If you're going for a more designed, aesthetic touch, pre-made vinyl labels are a hugely popular choice. You can find beautiful sets for common staples like "Flour," "Sugar," and "Pasta," which instantly adds a chic, polished feel.
- Chalkboard or Whiteboard Labels: These offer incredible flexibility. Since they're reusable and easy to update, they are perfect for canisters where the contents might change, like different types of grains or whatever snacks are on rotation that week.
If you want to dive a little deeper, we have a whole guide on the best way to label storage bins that covers even more creative and practical options.
Creating a Simple Inventory System
Going one step beyond just labeling, a lightweight inventory system will stop you from accidentally buying a third jar of paprika when you already have two hiding on the shelf. This doesn't need to be complicated at all.
A small magnetic whiteboard on the inside of the pantry door is a total game-changer. When you use the last of the olive oil, just jot it down. Before you head to the store, snap a quick photo of the list with your phone. Simple.
Another great, modern option is a shared note on your phone. Everyone in the household can add items as they run out, creating a live, collaborative grocery list that’s always up to date.
This final layer of organization is what transforms your one-time project into a permanent, functional part of your home. By making it easy to see what you have and even easier to know what you need, you’ve officially mastered how to arrange your kitchen pantry for good.
Managing Overflow and Seasonal Items
Let's be real: even the most perfectly organized pantry has its limits. A big Costco run, all those special baking supplies for the holidays, or the pasta maker you pull out maybe twice a year can completely derail your hard work. The trick is to fiercely protect your prime pantry real estate. That space is sacred—it’s only for the things you use daily and weekly.
This means you need a dedicated "backstock" zone somewhere else in your home. It doesn't need to be fancy. A sturdy shelf in the garage, a clear bin tucked into a hall closet, or even a low-profile container that slides under a bed will do the job perfectly. The goal is simple: separate your long-term storage from what you need right now.
Create a Secondary Storage System
Think of this as your pantry's own little satellite location. This strategy is a game-changer because it keeps your main kitchen functional and free of clutter, but you still get to take advantage of those sweet bulk-buy savings.
Here’s how you might break it down:
- Holiday & Seasonal Gear: That giant turkey roasting pan, holiday cookie cutters, and specialty flours for fruitcake season can all live together in a clearly labeled bin.
- Bulk Backstock: Extra paper towels, those six backup jars of pasta sauce, or that case of sparkling water can hang out here until they’re called up for a "restock."
- Small Appliances: The bread machine, ice cream maker, or that dehydrator you were so excited about can be safely stored away from the high-traffic kitchen countertops.
I see this all the time—people let their overflow items slowly creep back into the main pantry. You have to be disciplined about maintaining this boundary. When you use the last jar of peanut butter, you go to your backstock, grab the replacement, and immediately add peanut butter to your shopping list.
For things you're storing long-term, it's also smart to think about keeping them as fresh as possible. To protect foods from freezer burn and spoilage, it's worth learning about the best vacuum seal bags—they’re a fantastic option for extending the life of your bulk purchases.
Pantry Organization FAQs
Even with the best intentions and a solid plan, a few questions always seem to pop up right in the middle of a pantry organization project. Getting these little details right is what makes your new system stick for the long haul. Here are some quick answers to the most common pantry puzzles I hear about.
How Often Should I Reorganize My Pantry?
A full, top-to-bottom reorganization is really only a once-or-twice-a-year project. The real secret to keeping things in order is the quick monthly tidy-up.
Seriously, just set aside 15 minutes once a month. Use that time to wipe down shelves, combine any nearly empty packages, and jot down what you need on your shopping list. This little bit of consistent upkeep is what stops the clutter from creeping back in.
Think of the monthly reset not as another deep clean, but as a quick course correction. It’s what keeps the system you worked so hard to create actually working for you week after week.
What Is the Best Way to Store Spices?
When it comes to spices, it's all about visibility and easy access. If you can't see it, you won't use it. A few solutions work like a charm every time:
- Tiered Spice Racks: These are fantastic for creating stadium-style seating on a shelf, letting you see every single label at a glance. No more digging!
- Turntables (Lazy Susans): A total game-changer for corners or deep cabinets. A quick spin brings every spice jar to the front.
- Drawer Inserts: If you're lucky enough to have a spare drawer, angled inserts are a beautiful way to lay out your spices so they don't roll around.
For an extra level of organization, try arranging them alphabetically or grouping them by how you cook—like putting all your taco seasonings together or keeping baking spices in one spot.
How Can I Stop Losing Items in a Deep Pantry?
Ah, the deep pantry. It’s a notorious black hole where good intentions (and that can of pumpkin purée from last fall) go to disappear. The most effective fix I've found is to use containers that act like drawers.
Look for long, narrow bins or baskets. Instead of blindly reaching into the darkness, you just slide the entire bin out and can see everything inside. I like to group categories into these pull-out bins—one for "Baking Mixes," another for "Pasta & Grains." It makes every inch of those deep shelves totally accessible.
If you've sorted everything and still find that seasonal bakeware or bulk buys are eating up precious space, Endless Storage can help. We offer simple, by-the-box storage and pick it up right from your door, so your pantry stays perfectly organized and your home feels clutter-free. You can learn more about how it works on our website.
Frequently Asked Questions
Unveiling the Secrets to Effortless Storage
Endless Storage is available nationwide. You pick a plan, tell us where to pickup, and we'll send a UPS van to collect, whichever state you're in.
Your shipping label will be sent to your email within a few minutes, if not instantaneously. It can also be accessed through your customer profile.
Your box will be shipped to one of our climate controlled self storage facilities in our closest self storage facility. Our manager will accept your package, notify you that your box has been received, and securely stored. Only our managers will have access to Endless Storage boxes.
Email us at admin@endless-storage.com click to live chat with us, or send us a message below.
Never! We're committed to transparent pricing with no surprises. You'll lock in your rate with no hidden fees and no long-term contracts.
Fast access guaranteed! Your boxes will arrive at your doorstep within 48 hours of requesting them back. Need to check on delivery? We provide tracking information for complete peace of mind.
Totally flexible! Store month-to-month with no long-term commitment and cancel anytime.
Everything's online! Use your account dashboard to:
• Set up automatic monthly payments
• Request box returns
• Update your address
• Order additional boxes
• Track shipments
Your boxes are insured up to $100 each. Our customer service team will help you file any necessary claims and resolve issues quickly.
Don't worry – we'll email you right away if there's a payment issue. Your items stay safe, though you may have temporary service interruption or late fees until payment is resolved.
When you request our free storage kits, you'll have 30 days to send in your boxes to activate your 3 months of free storage. Think of it like starting a gym membership – your activation window begins when you receive your kits, and your full free trial begins once you send in your first box. During your free months, you'll experience our complete storage service at no cost.
Your 30-day activation window begins when you receive your storage kits. We'll send you an email confirmation when your kits are delivered, marking the start of your activation period.
If you haven't sent any boxes for storage within your 30-day activation window, your free trial will expire and we'll begin charging the regular monthly rate of $9.99 per box. This helps ensure our storage kits go to customers who are ready to use our service.
A box costs $9.99 per month to store (plus sales tax). This price includes free shipping for standard boxes under 50 lbs. and smaller than 16"x16"x16"
Log into your Endless Storage account, locate the box you would like returned, and simply click Return My Box.
Yes, each box stored with us is insured for up to $100 throughout transit as well as the duration of storage within our facilities.
Your box will be at your doorstep within 48 hours of you requesting it back.
Store 10+ boxes? We'll pick them up for free! After your purchase, we'll contact you to schedule a convenient pickup time and arrange UPS collection.
We trust UPS with all shipments, and every box includes $100 insurance coverage. You'll receive tracking information to monitor your items' journey.
Yes! Visit any of our locations by appointment. Just bring a photo ID matching your customer profile.
For everyone's safety, we can't store hazardous materials, firearms, or perishables. All items must fit within our standard boxes.
It's easy! Order your storage kit online, and we'll ship it to you within 1-2 business days. Your shipping labels will be emailed instantly and available in your account.
We're here to help! Email us at admin@endless-storage.com, use our live chat, or send us a message through your account.
To cancel your storage service with Endless Storage, please email your cancellation request to admin@endless-storage.com. Our team will process your request within 2 business days and confirm your cancellation via email.
We understand packing takes time. However, to maintain your free trial benefits, you'll need to send at least one box within the 30-day activation window. If you need more time, you can always start with one box to activate your trial and send the rest later. You can always reach out to admin@endless-storage.com if you have any issues or concerns.
When you request our free storage kits, you're starting a 30-day window to begin using our storage service.
Important: To activate your free trial, send at least one box for storage within 30 days. If no boxes are sent within this 30-day window, a one-time $50 fee applies to cover materials and shipping costs. This fee is clearly disclosed before you sign up.
Think of it like reserving a hotel room – we're setting aside space and sending specialized packing materials for your use. The fee only applies if you request materials but don't begin storage, similar to a hotel's no-show charge.