Finding the Best Vacuum Seal Bags for Freshness
When you start looking for the best vacuum seal bags, the single most important thing to check is compatibility. It really is that simple. Textured bags are a must-have for clamp-style sealers to get all the air out, while smooth bags are made specifically for chamber machines. Nailing this one detail is the first step to perfect food preservation.
Your Quick Guide to Choosing the Right Bags
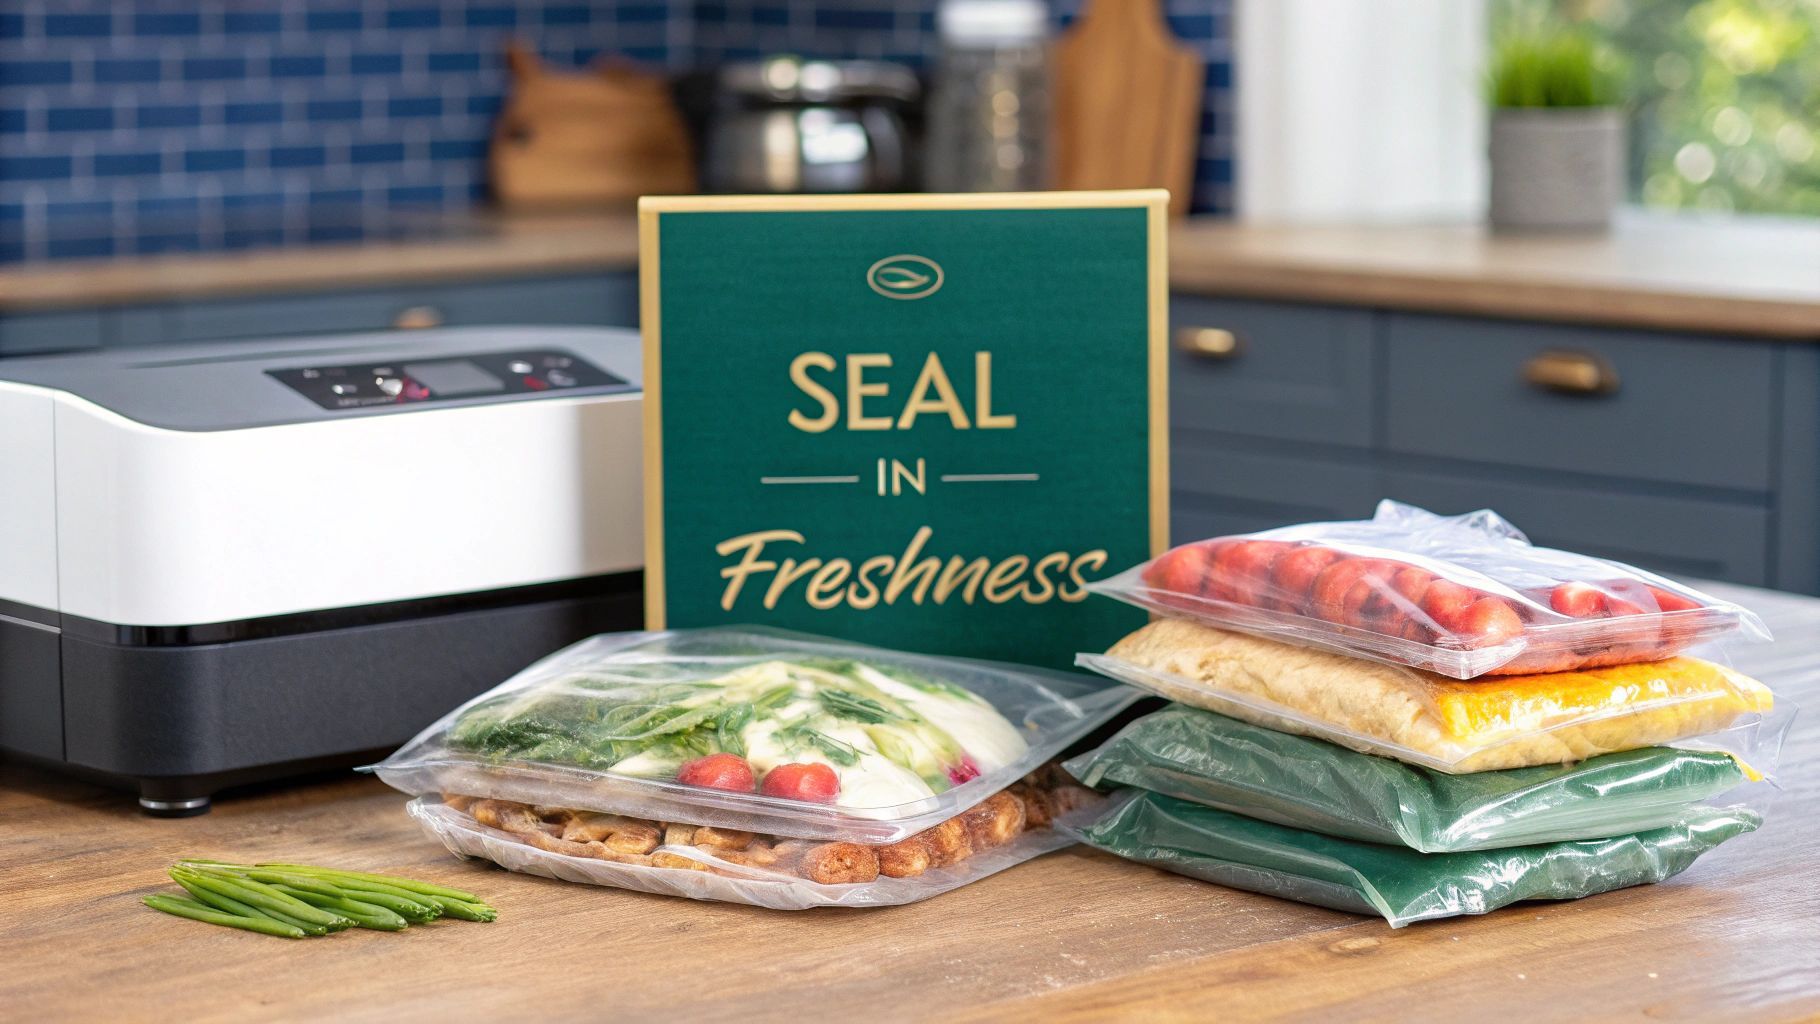
Finding the right vacuum seal bags can feel like a chore, but it all comes down to a few key decisions. Think of it less like a complex technical choice and more like picking the right tool for the job. You wouldn't store soup in a paper bag, right? In the same way, you need the right kind of vacuum bag to shield your food from freezer burn, moisture, and spoilage.
The whole point is to create an airtight seal that locks in freshness, flavor, and nutrients for months—or even years. High-quality bags are your first line of defense against everything that makes food go bad.
Key Factors For a Smart Purchase
To make this easy, just focus on three main things. Each one plays a critical role in how well the bag works and how long your food will last.
- Material and Durability: Look for bags with multi-layer construction, usually a blend of polyethylene and nylon. This combo gives them the toughness to resist punctures from sharp bones or pesky ice crystals.
- Bag Type and Texture: Like we mentioned, textured bags have tiny micro-channels that help guide air out, which is absolutely essential for external clamp sealers. Smooth bags are for chamber sealers that pull the air from the entire chamber at once.
- Size and Format: Pre-cut bags are great for grab-and-go convenience. Rolls, on the other hand, give you the freedom to cut custom-sized bags for anything from a small steak to a whole roast, which also helps cut down on plastic waste.
This infographic breaks down the hierarchy of choices you'll face when picking out the perfect vacuum seal bags for your kitchen.
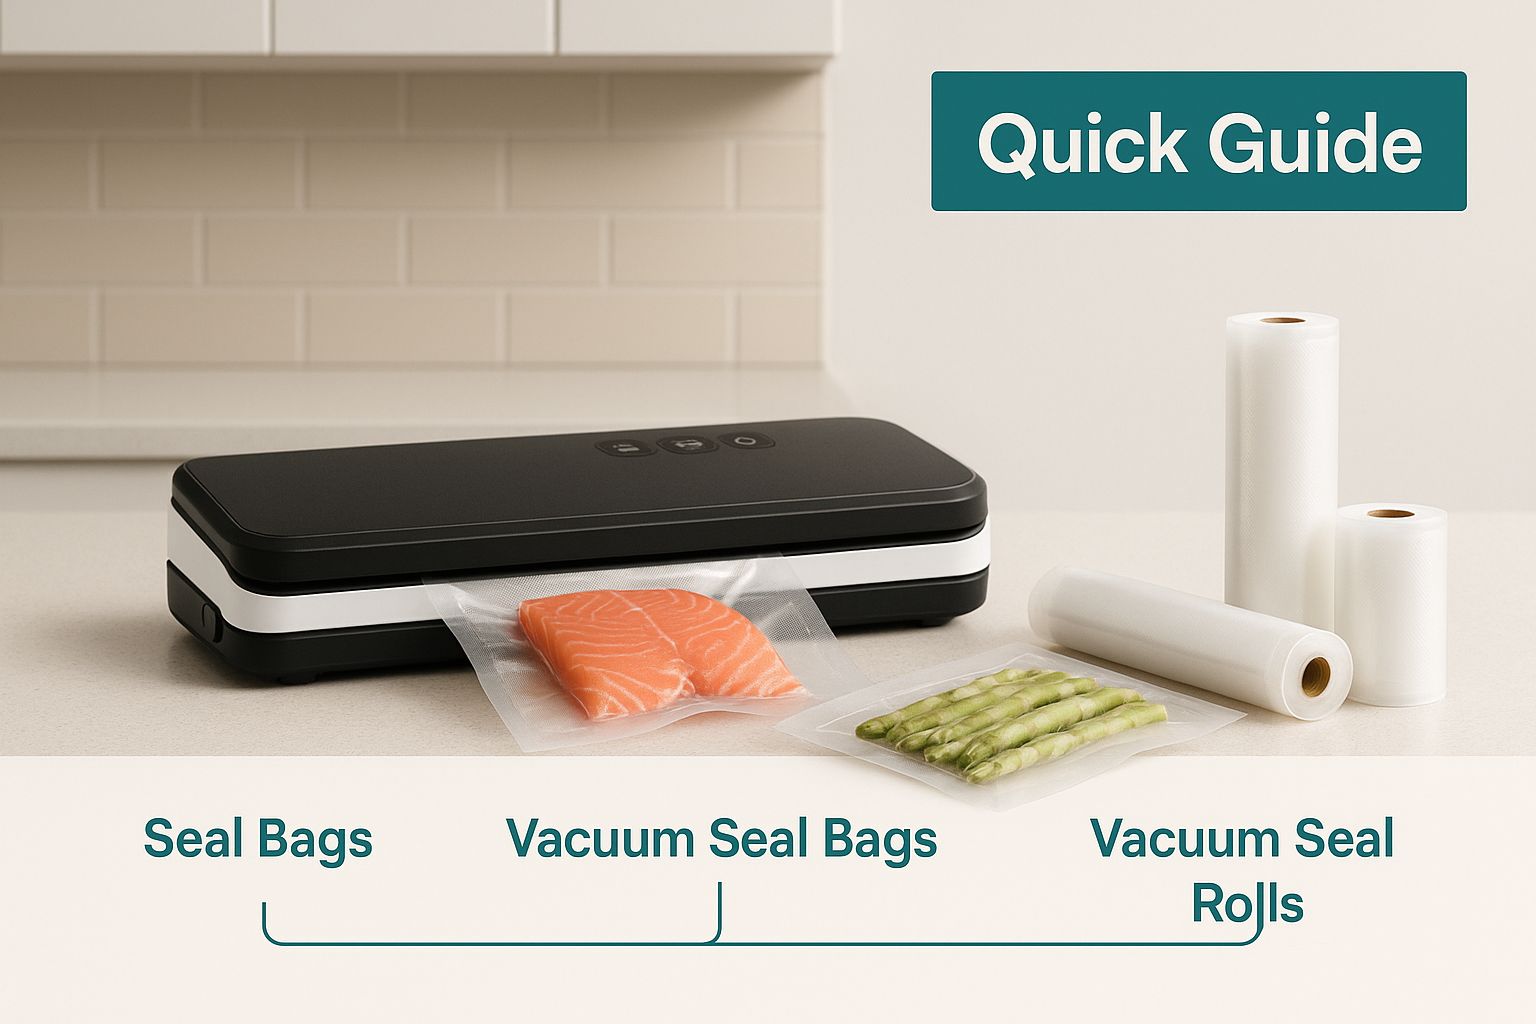
As you can see, the type of sealer you own is the first domino to fall—it directly dictates the bag texture you need and all the other features that follow.
To help you compare your options at a glance, we've put together a table highlighting the essential features to look for in a quality vacuum seal bag.
Key Features of Top Vacuum Seal Bags at a Glance
Keeping these points in mind will steer you toward a product that delivers consistent, reliable results every time you seal.
The core purpose of vacuum sealing is to slow down oxidation by removing oxygen. This simple action dramatically extends the life of food, preventing the chemical reactions that cause it to spoil.
Knowing what causes food to go bad helps you appreciate why a good bag is so important. For example, understanding coffee spoilage and storage tips shows just how damaging oxygen and moisture can be to delicate items.
While these bags are phenomenal for food, their usefulness doesn't stop there. Many people also use them for non-food items. If you're looking to protect clothing or bedding, check out our guide on the best vacuum storage bags for advice tailored to those needs. At the end of the day, matching the bag’s features to your specific use case is how you get the best performance and value from your efforts.
What Really Makes a Great Vacuum Seal Bag
Not all plastic is created equal, especially when it’s the only thing standing between your fresh food and the forces of spoilage. To find the best vacuum seal bags, you have to look past the marketing fluff and get a feel for what’s happening at a microscopic level. A great bag isn't just a container; it's a meticulously engineered shield built for a specific job.
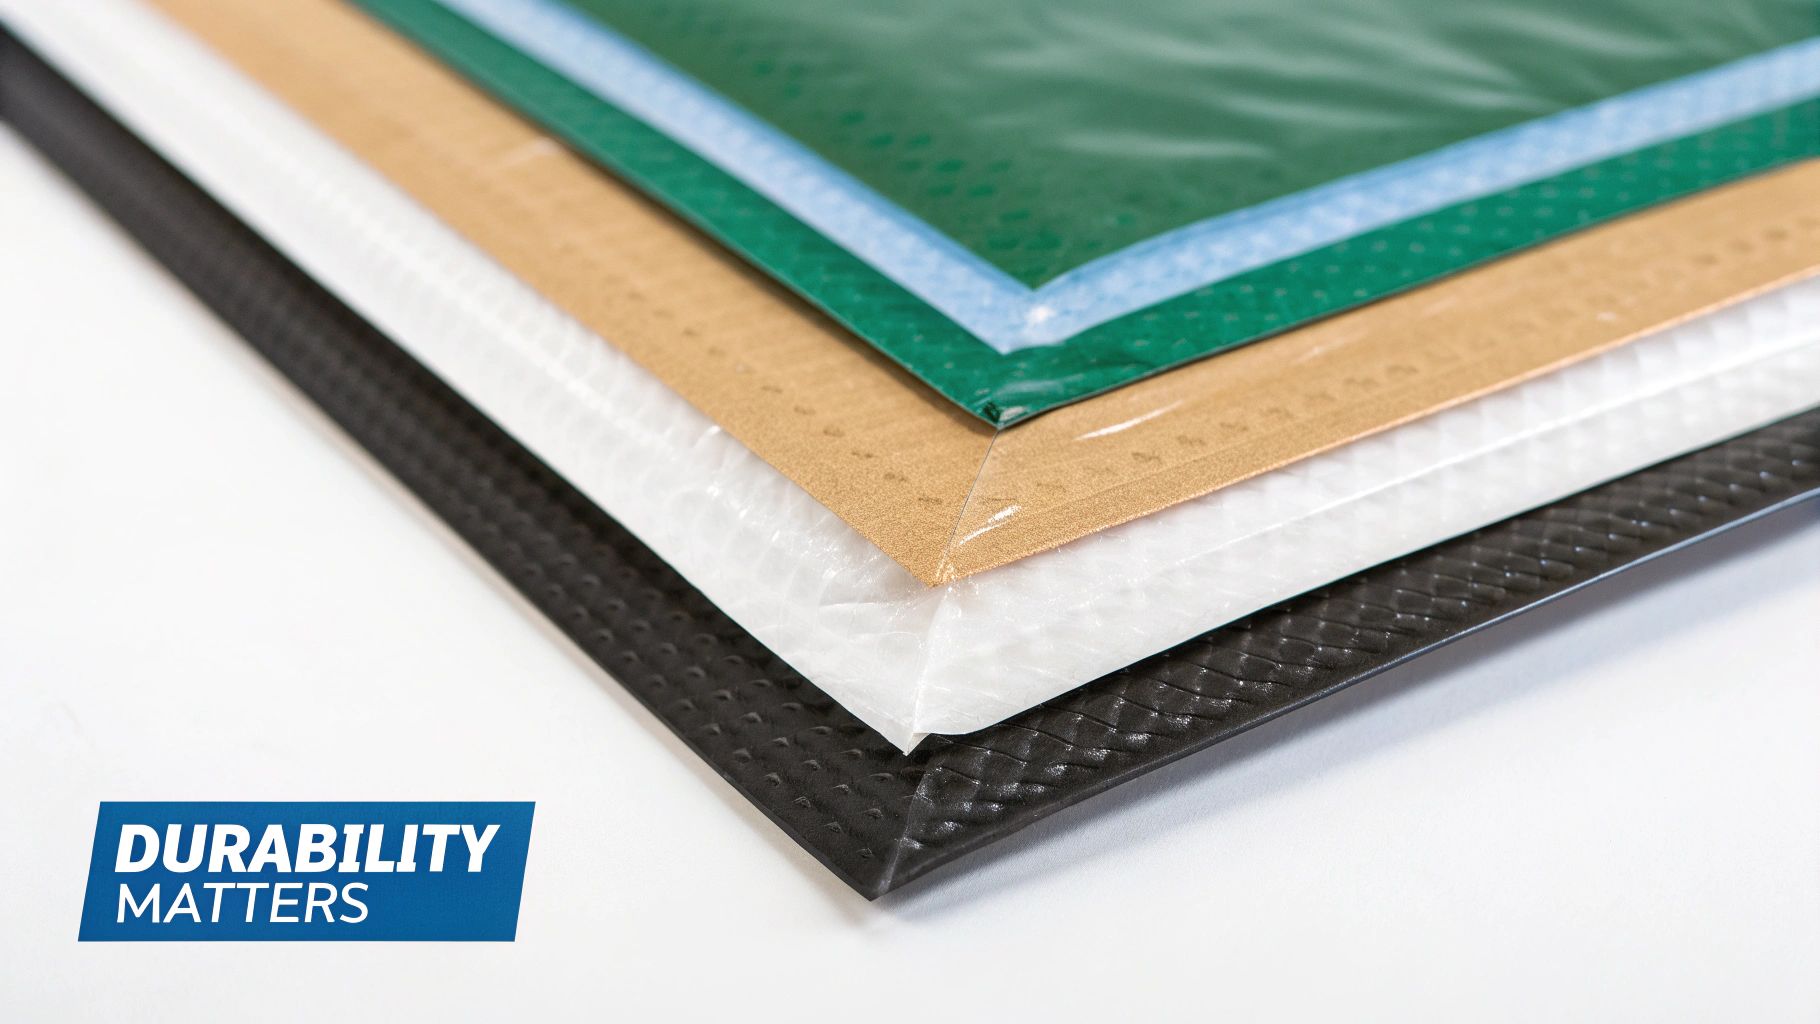
Think of a high-quality vacuum seal bag like a suit of armor for your food. A single, flimsy layer of plastic is like leather armor—it offers some protection, but it won’t stop a determined attack from oxygen and moisture. The best bags use a multi-layer construction, combining different materials to create a truly formidable defense.
The Power of Multi-Layer Construction
The two most common materials you'll find in these bags are polyethylene and nylon. Each one plays a unique and absolutely vital role in keeping your food safe.
- Polyethylene (PE): This is the inner layer, the part that actually touches your food. It’s food-safe, flexible, and most importantly, it’s what creates that strong, reliable seal when heated by your machine.
- Nylon: This forms the tough outer shell. Nylon is durable, but its real superpower is acting as an excellent oxygen barrier. It stops air from creeping back in over time, which is the primary culprit behind freezer burn and spoilage.
Together, these layers work in perfect harmony. The polyethylene ensures a perfect seal right now, while the nylon provides the long-term strength and protection needed to keep food fresh for months, or even years. This multi-ply design is what separates a truly effective bag from a cheap imitation.
This growing demand for better food preservation is why the U.S. vacuum sealer bags market is expanding so quickly. In fact, the market is expected to see a huge revenue surge from 2025 to 2034, all driven by a collective desire for food safety, longer shelf life, and protection from contaminants. You can read more about the US market for vacuum sealer bags on towardspackaging.com.
Textured vs. Smooth Bags: A Tale of Two Technologies
Another critical detail that separates vacuum seal bags is their texture. The surface of the bag isn't just for show; it’s a functional design feature that's directly tied to the type of vacuum sealer you own. Making the wrong choice here will lead to a failed seal, every single time.
Imagine trying to suck the air out of a Ziploc bag with a straw. If the two smooth sides press together, they block the straw's path, and you can't get all the air out. This is exactly the problem that textured bags solve for clamp-style (or external) vacuum sealers.
Key Takeaway: The texture of a vacuum seal bag is not an aesthetic choice—it's a functional necessity. Textured bags create micro-channels that allow clamp-style sealers to efficiently remove all air before sealing.
These textured bags have tiny embossed channels or a diamond pattern on one or both sides. These channels act as little escape routes for the air, ensuring your machine can create a true vacuum before it applies the heat seal. Without them, the machine simply can't pull the air out effectively.
On the other hand, smooth bags are made for chamber vacuum sealers. These machines work very differently by placing the entire bag inside a chamber and removing air from the chamber itself. Because the air pressure equalizes inside and outside the bag, the smooth walls don’t stick together, allowing all the air to be evacuated before the bag is sealed.
While these bags are fantastic for preserving food, the underlying technology of creating an airtight, space-saving seal is incredibly versatile. It's the same principle used in other storage solutions, and our guide on how to store clothes long term explores similar concepts for protecting textiles from dust, moisture, and pests. Understanding this core idea helps you appreciate its many applications.
Choosing the Right Bag Size and Format
Once you've got a handle on the materials that make a great vacuum seal bag, the next logical step is figuring out what size and shape you actually need. This isn't just about saving a bit of plastic—it's about getting the most effective, airtight seal possible every single time. Using the wrong size bag can lead to wasted material, a weak vacuum, and a leaky seal that completely defeats the purpose.
Think of it like packing a shipping box. Too small, and your item won't fit. Too big, and you're just wasting space and packing peanuts. Picking the right vacuum seal bag is the same game: you need to match the format to the food you're sealing. Your decision really boils down to two choices: convenient pre-cut bags or versatile, budget-friendly rolls.
Pre-Cut Bags vs Customizable Rolls
The debate between pre-cut bags and rolls is a classic tug-of-war between convenience and flexibility. Neither one is "better" across the board; the right choice for you depends entirely on what you seal most often and whether you value your time or your material costs more.
Pre-Cut Bags: These come in standard sizes you’ll recognize—pint, quart, and gallon. They’re incredibly easy to use. Just grab one, fill it up, and seal it. This format is perfect for portioning out uniform items like chicken breasts, a pound of ground beef, or chopped vegetables. The only real downside is that they aren’t great for oddly shaped or oversized foods.
Bag Rolls: A roll is basically a long, continuous tube of bag material that's sealed on two sides. You just pull out as much as you need, cut it, and then use your sealer to create a custom-sized bottom seal. This approach is unbelievably versatile and way more cost-effective. You can create a bag that perfectly fits anything from a single fish fillet to a massive pork shoulder, which drastically cuts down on plastic waste.
Pro Tip: When you're making a bag from a roll, always leave at least three inches of extra space at the top. This "headspace" is absolutely critical. It gives the vacuum sealer enough room to clamp down properly and create a strong, wrinkle-free seal without sucking moisture or food particles into the machine.
Specialty Bags for Specific Needs
Beyond the standard bags and rolls, there's a whole world of specialty bags out there, each designed to tackle a unique storage problem. Using the right one can take your food preservation from pretty good to genuinely great.
Take gusseted bags, for example. They have expandable sides that are a lifesaver for bulky, three-dimensional items. Imagine you're storing coffee beans; a flat bag would just awkwardly crush them, but a gusseted bag expands to perfectly accommodate their volume. This is key for protecting the integrity of delicate items you don't want to compress. In fact, proper storage is crucial for things like coffee, where air and light can ruin the flavor in no time. You can dive deeper into that by reading this guide on how to store coffee beans to keep them fresh.
Another handy option is the zippered vacuum seal bag. These are fantastic for foods you get into frequently, like a block of cheese, deli meats, or snacks for the week. You can vacuum seal the bag for long-term freshness, and then use the reusable zipper for easy access after you've opened it. It’s a hybrid approach that gives you the best of both worlds.
This whole concept of matching the container to the item isn’t just for food. For instance, bulky textiles like blankets need a totally different storage strategy than delicate clothes do. If you're tackling home organization, you might find that exploring different comforter storage ideas teaches similar lessons about picking the right solution for specific items. Building an efficient storage system—whether for your pantry or your linen closet—always starts with having the right tools for the job. By mixing and matching different bag formats, you can build a system that’s both incredibly effective and efficient.
Features That Boost Durability and Safety
Once you move past the basic construction of a vacuum seal bag, it's the little details that truly set the great products apart from the merely good ones. These features aren't just fancy marketing terms; they have a direct impact on how well the bag performs, keeping your food safe, fresh, and easy to use.
Think of it this way: buying bags with the right attributes is an investment in both durability and your own peace of mind. The difference often comes down to specific features designed to handle the brutal cold of a freezer or the sustained heat of a sous vide bath. These are the unsung heroes of food preservation, working behind the scenes to give you the results you’re counting on.
The Critical Role of Bag Thickness
One of the most important specs, and one that's easy to overlook, is the bag's thickness. This is measured in mils, where one mil is a thousandth of an inch. It sounds tiny, but a small increase makes a huge difference in durability. It's like the difference between a flimsy, single-ply tissue and a heavy-duty paper towel—one shreds under pressure while the other holds strong.
When it comes to vacuum sealing, a higher mil count gives you better protection against two major threats: punctures and freezer burn.
- Puncture Resistance: A bag that’s 3 mils or thicker creates a tough barrier against sharp edges like bones, uncooked pasta, or even the corners of other frozen items. Thinner bags are prone to tiny, almost invisible holes that let air creep back in, completely undoing your seal.
- Freezer Burn Prevention: Freezer burn happens when moisture is pulled from frozen food, forming those dreaded ice crystals on the surface. Thicker bags are a much more formidable shield against this moisture loss, which is key to keeping your food tender and full of flavor.
A thicker bag is your best defense against the harsh realities of long-term freezer storage. It's what separates a perfectly preserved steak after six months from a dry, ice-encrusted disappointment.
Ensuring Food Safety with BPA-Free Materials
Whenever plastic touches your food, its chemical makeup matters. A lot. The absolute gold standard for the best vacuum seal bags is a BPA-free certification. Bisphenol A (BPA) is an industrial chemical that has been used to make certain plastics, and there are well-founded concerns about its potential health effects.
By choosing bags that are explicitly labeled as BPA-free, you ensure that no unwanted chemicals can leach into your food, especially during heating or freezing. This is a non-negotiable for anyone planning to use their bags for sous vide cooking or even reheating in the microwave, since heat can increase the chances of chemical transfer. Always check for this label to guarantee your storage solution is as safe as it is effective.
The growing awareness of food safety is a big reason this market is expanding. The global vacuum sealer bags market was estimated to be worth $2.5 billion in 2025 and is projected to keep growing, largely driven by trends like sous vide cooking and a collective push to reduce food waste. You can dig into more data on this growth in the vacuum sealer bags market research report at archivemarketresearch.com.
Convenience Features That Make a Difference
Beyond toughness and safety, a few simple design elements can make your experience a whole lot better. These small additions are real time-savers and make the bags much more versatile.
One great feature is a tear notch. This is just a small, pre-cut nick near the top seal of the bag. It lets you rip the bag open cleanly and easily without having to hunt for scissors, which is a lifesaver when you're ready to start cooking.
Another crucial feature is a boil-safe rating. This tells you the bag was designed to handle the high temperatures of boiling water, making it perfect for sous vide or for reheating food right in the bag. Tossing a non-boil-safe bag into hot water is a bad idea—it can melt or release harmful chemicals. For certain cooking styles, this rating is an absolute must.
Mastering the Perfect Sealing Technique
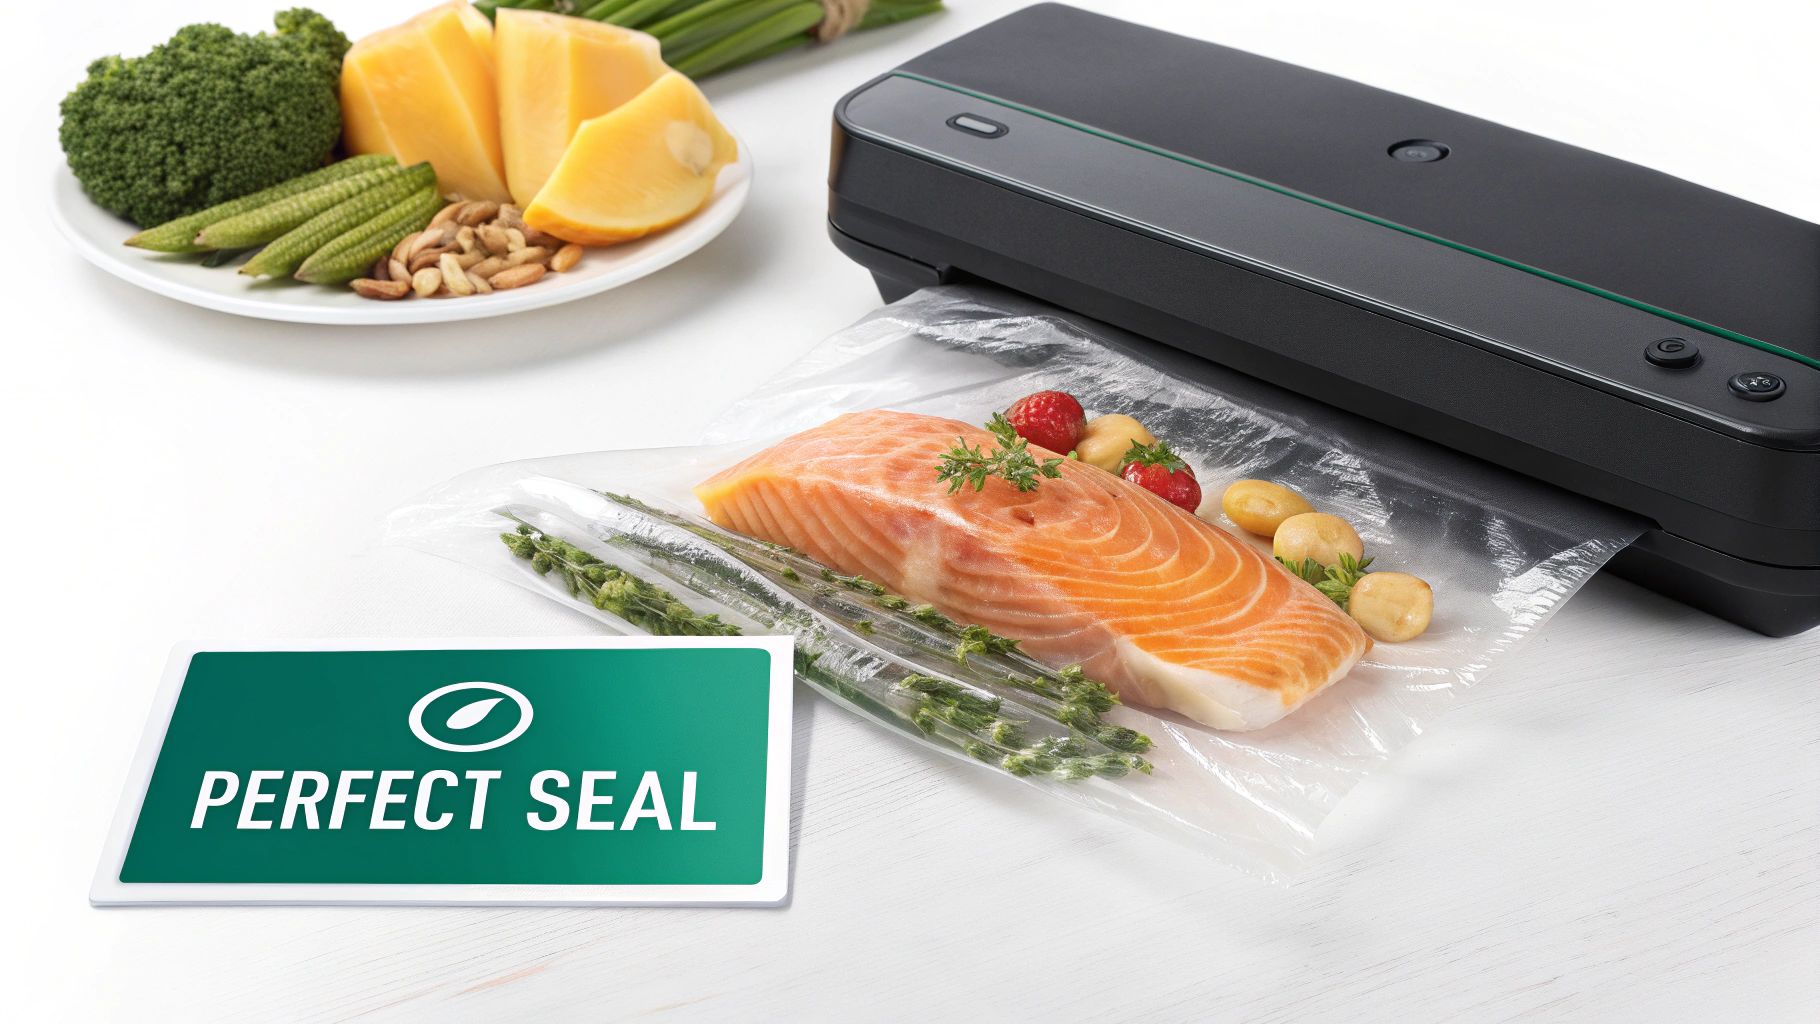
Owning the best vacuum seal bags is a great start, but it's only half the story. The other half is all about technique. A truly flawless, airtight seal is the difference between a good bag and a perfect preservation tool, and it all comes down to proper prep and knowing how to handle a few common challenges.
Think of your vacuum sealer and bags as a high-performance team. The bag is the durable shield, but it’s your technique that creates that impenetrable lock. Even tiny mistakes—a small wrinkle or a single drop of moisture—can create microscopic channels for air to sneak back in, undoing all your hard work over time.
Preparing Your Food and Bags
Good prep work is the foundation of a successful seal. A few simple steps before you even switch on your machine will head off most common sealing failures, guaranteeing your food stays fresh for months or even years to come.
First and foremost, the open end of the bag must be completely clean and dry. Any food residue, grease, or moisture in the sealing area will prevent the plastic from melting together properly. A quick wipe with a paper towel is all it takes to get it right.
Also, when you're making a bag from a roll, always give yourself at least three to four inches of headspace at the top. This empty space is crucial. It keeps the bag’s contents from getting sucked into the sealing zone and gives the machine a clean, flat surface to work its magic.
Sealing Moist and Liquid-Rich Foods
Sealing foods with a lot of moisture—think soups, stews, or marinated meats—is where many people run into trouble. It's easy for the vacuum process to pull liquid into the machine's drip tray, or worse, into the motor itself. The good news? There’s an easy workaround: pre-freezing.
Just follow this simple process:
- Portion and Freeze: Pour your soup, sauce, or marinade into a solid container or an ice cube tray and freeze it until it's solid.
- Transfer to Bag: Once frozen solid, pop the blocks out and place them right into your vacuum seal bag.
- Seal with Confidence: Now you can vacuum and seal the bag without any risk of sucking up liquid. The solid contents stay put, allowing for a perfect, dry seal every time.
For items that are just a little damp, like fresh fish or washed veggies, try this trick: fold a small paper towel and place it inside the bag, just below where you plan to seal. The towel will soak up any excess moisture that gets pulled up during the vacuum process, protecting your sealer and ensuring a strong seal.
Expert Tip: For anything you're storing long-term, always use a double seal. After the first seal is complete, just make a second one about a quarter-inch away from the first. This creates a redundant barrier that acts as extra insurance against seal failure in the deep freeze.
It’s interesting how the principles of good storage carry over from the kitchen to other parts of the home. Just like you protect food, you need to properly prepare other items, like clothing, to prevent damage from compression. If you’re organizing your closet for the long haul, learning how to pack clothes for storage offers valuable insights into protecting fabrics, mirroring the same care we take with our food.
Sometimes, even with the best technique, things don't go as planned. A weak seal or a bag that won't vacuum properly can be frustrating, but the cause is usually simple to fix.
Common Sealing Problems and Solutions
Here's a quick troubleshooting guide to help you overcome the most common hiccups you might encounter.
By mastering these techniques and learning how to troubleshoot, you'll move from simply using a vacuum sealer to truly maximizing its potential. You’ll have the confidence to preserve any type of food, knowing your efforts will result in perfectly fresh meals down the road.
Exploring Sustainable Food Storage Options
https://www.youtube.com/embed/-pUzYRDeqNQ
Let's be honest, single-use plastics are a hot topic, and for good reason. As we all become more mindful of our environmental footprint, the conversation has naturally shifted to the world of vacuum sealing. The big question is: can we get that amazing long-term food preservation without the long-term plastic waste?
Manufacturers are definitely listening. We're seeing more and more "eco-friendly" options pop up, but you have to be careful. It's easy to get lost in the world of "greenwashing," where products sound a lot better for the planet than they actually are. The real progress comes down to the science behind the materials and how they're made.
Innovations in Eco-Friendly Materials
The hunt for the best vacuum seal bags that won't haunt a landfill for centuries has led to some pretty cool developments. While the perfect solution isn't quite here yet, a few key types of bags are leading the charge.
- Compostable Bags: Think of these as bags made from plant-based materials, like cornstarch. They're designed to break down completely, but there's a catch—they usually need the specific high-heat conditions of an industrial composting facility to do so.
- Recycled Content Bags: Some companies are now making bags that include post-consumer recycled plastics. This is a smart move because it cuts down on the need to create new plastic from fossil fuels, giving old plastic a new job.
- Reusable Bags: While most standard bags are a one-and-done deal, some are built tough enough to be washed and used again. This works especially well if you've only stored dry goods like grains or coffee beans. Reusing even once or twice makes a big difference.
This push for greener packaging isn't just a niche trend; it's a massive global movement. In fact, the Asia-Pacific region, which makes up a huge 32.48% of the entire vacuum packaging market, is heavily invested in developing these exact kinds of sustainable materials and smart packaging.
When you're looking for sustainable alternatives, don't forget to think outside the bag. Options like collapsible silicone food containers are fantastic because you can use them over and over, plus they save a ton of space. A good kitchen strategy often involves a mix of different storage solutions.
Making an Informed Choice
Figuring out which "green" option is truly green can be tricky. My advice? Look for legitimate third-party certifications (like BPI for compostability) that back up a company's claims. Be wary of vague terms like "biodegradable," which don't mean much without specific details on how long it takes and under what conditions.
Here's something to keep in mind: The most sustainable choice is often the one that prevents food waste most effectively. A durable, high-quality traditional bag that prevents spoilage may have a lower overall environmental footprint than a "green" bag that fails and leads to discarded food.
At the end of the day, a huge part of reducing waste starts before you even seal a bag. A well-organized pantry is your best friend. When you know exactly what you have, you're less likely to buy duplicates or let things expire. If you need some help getting started, check out our guide on how to organize a kitchen pantry.
The most powerful approach is combining smarter consumption habits with the right storage technology. That's how you build a truly sustainable kitchen.
Frequently Asked Questions
Even after covering the basics, a few specific questions always pop up. Let's tackle the most common ones we hear, giving you clear, straightforward answers so you can seal with confidence.
Can I Reuse Vacuum Seal Bags?
You bet, but with a couple of important caveats. If the bag was holding dry goods—think nuts, beans, or coffee—you can absolutely reuse it. Just give it a good wash with hot, soapy water, let it dry completely, and it's good to go. Keep in mind you'll have to snip off the old seal, so the bag will get a little smaller each time.
However, you'll want to toss any bags that held raw meat, fish, or poultry. The risk of cross-contamination from nasty bacteria is just too high, and it’s nearly impossible to sanitize the bag perfectly. When it comes to raw proteins, it’s always smarter (and safer) to grab a fresh bag.
Are All Bags Safe for Sous Vide?
Definitely not, and this is a big one for safety. If you're planning on sous vide cooking, the bag must be certified as BPA-free and specifically rated as "boil-safe" or "simmer-safe." This means the plastic is engineered to handle long periods in hot water without breaking down or, worse, leaching chemicals into your food.
Always take a second to check the manufacturer's specs before you start cooking. Using a standard bag that isn't built for heat can wreck the seal and compromise the safety of your meal.
Why Are Some Bags Textured and Others Smooth?
That texture isn't for looks—it’s a clever design feature that's all about how your sealer works.
- Textured Bags: These bags have tiny embossed channels that act like escape routes for air. They are a must-have for clamp-style (or external) vacuum sealers, which work by sucking the air out from the bag's opening.
- Smooth Bags: These are made to work only with chamber vacuum sealers. A chamber machine removes the air from the entire chamber at once, making those little air channels unnecessary.
If you try using a smooth bag with a clamp sealer, you'll almost always get a failed seal. The two smooth sides will just press together and block the air from getting out.
How Do I Keep Bags from Losing Their Seal?
When a bag loses its seal in the freezer, it's almost always because of a tiny imperfection. The usual suspects? A stray bit of moisture or a wrinkle right on the seal line. To head this off, always wipe the sealing area of the bag clean and dry before you hit the seal button.
For anything you're planning to store long-term, give yourself some extra peace of mind and create a double seal. Just run a second seal about a quarter-inch away from the first one. It’s a simple trick that provides a solid backup and drastically cuts down the odds of a seal failing.
Ready to master your food storage and stop wasting money on spoiled groceries? Let Endless Storage help you reclaim your space and keep your food fresh. Explore our smart storage solutions today!