If you want to pack picture frames like a pro, it all starts before you even touch the first frame. Getting your materials together first is the single most important step you can take to prevent damage. It’s the difference between a smooth move and a heartbreaking discovery when you unpack.
Your Essential Toolkit for Damage-Free Packing
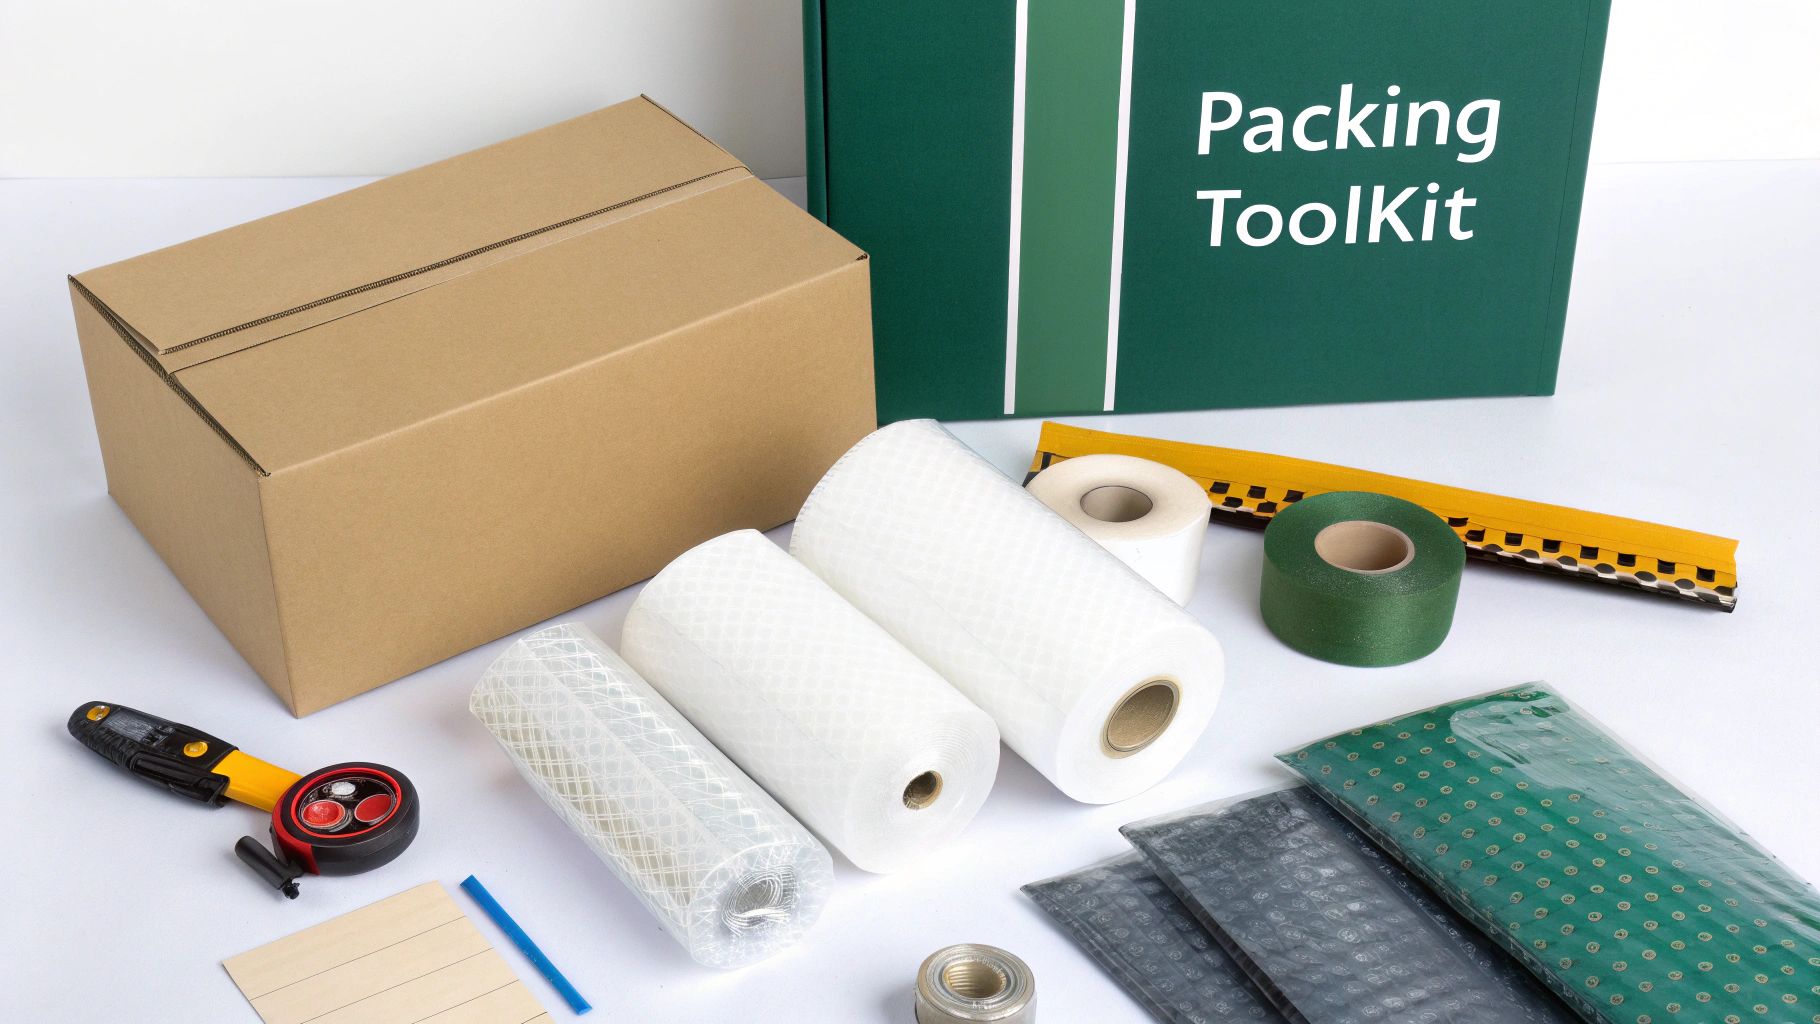
Think of your packing supplies as an insurance policy. Skimping on materials—or using the wrong ones—is a gamble you just don't want to take with your favorite photos or valuable art. Each tool has a specific job, and they all work together to create a protective cocoon around your frames.
The foundation of it all is the box. Sure, any old cardboard box might seem fine, but there's a reason the pros swear by double-walled corrugated boxes. They offer way more structural integrity, which is crucial when your stuff is stacked high in a moving truck.
Core Protective Materials
Your main goal is to protect the frame and glass from scratches and direct hits. This isn't complicated, but it does require a few key supplies:
- Acid-Free Paper or Glassine: This is always your first layer. Newspaper might seem tempting, but the ink can transfer and the acid in the paper can actually cause photos to yellow over time. Acid-free paper is a clean, safe barrier.
- Bubble Wrap: The classic shock absorber. Go for the small-bubble kind for smaller frames and the larger bubbles for your big, heavy pieces. The whole point is to create a soft cushion that can handle vibrations and bumps.
- Cardboard or Foam Corner Protectors: Frame corners are magnets for damage. Even a small drop can lead to a nasty dent or crack. These little protectors are non-negotiable for keeping those vulnerable points safe.
- Strong Packing Tape: This isn't the place to use cheap tape. Good quality packing tape ensures your bubble wrap stays put and your boxes stay sealed from start to finish.
To make it even clearer, here’s a quick breakdown of what you need and why.
Essential Packing Supplies and Their Purpose
Having these items on hand turns a daunting task into a manageable one.
The Importance of Proper Cushioning
Here’s a startling fact from the packaging industry: about 40% of damage to fragile items like frames is due to poor cushioning inside the box. It’s not always about big drops; it’s about the constant little shifts and bumps.
Using double-walled boxes can prevent over 50% of shipping damage simply by resisting those crushing forces. By following these professional methods, you can slash breakage rates from a painful 15% down to less than 2%.
The most common mistake I see is leaving empty space inside the box. Any room for the frame to slide around completely defeats the purpose of all that careful wrapping. Fill every gap!
While we're focused on picture frames here, these principles are gold for packing almost anything fragile. You can explore these universal tips for packing smart for more great advice. And if you want a deeper dive into sourcing the right gear for your entire move, our guide on the best packing supplies for moving has you covered.
The Professional Glass Protection Method
When you're trying to figure out the best way to pack picture frames, the glass is always your biggest weak spot. A single crack can destroy a print, scratch the frame, and leave you with a dangerous mess of sharp shards. It's a real headache, which is why professional movers rely on a simple but incredibly effective technique to handle the risk.
This method is all about creating a large "X" across the glass with painter's tape. The idea isn't to make the glass shatterproof—a hard enough hit will still cause a break. Instead, it's about controlling what happens if it breaks. The tape adds just enough stability to hold the pieces together, preventing them from shifting around and shredding your artwork.
Choosing the Right Tape Is Crucial
Before you go digging in your junk drawer, know that the type of tape you use here really matters.
- Painter's Tape: This is your best bet, hands down. It's made with a low-tack adhesive that peels right off without leaving that stubborn, sticky residue you'll have to scrub off later.
- Masking Tape: This works in a pinch, but it's known for leaving more residue than painter's tape, especially if it sits for a long time or gets exposed to heat.
- Avoid Duct Tape or Packing Tape: Just don't. The aggressive adhesive on these tapes is a nightmare to get off glass and can end up permanently marring the surface.
For any large frames or pieces that have sentimental or monetary value, this "X-Tape" method is non-negotiable. The bigger the pane of glass, the more it's prone to flexing and shattering while being moved.
Taping the glass is a quick, two-minute job that can easily prevent hundreds of dollars in damage. It’s one of the smartest and simplest precautions you can take when packing anything fragile.
Applying the X-Tape Correctly
First, make sure the glass is clean and totally dry. Take your first strip of painter's tape and run it diagonally from one corner to the opposite one. Press it down firmly so it gets a good grip. Then, just do the same with a second strip to form a big "X" that covers most of the glass.
If you’re dealing with a really large frame—anything over 24 inches—it’s a good idea to add more tape. You can create a star or asterisk pattern to give it extra support, making sure even the center of the glass is held securely. This technique is just as important for other fragile glass items. In fact, we recommend a very similar strategy in our guide on how to pack mirrors for moving, since they need the same level of care. This one small step is what separates an amateur packing job from a professional one.
Mastering a Multi-Layered Wrapping Technique
Once the glass is taped up and secure, it's time to create a protective cocoon for the entire frame. Think of it like building a custom suit of armor for each piece. This layered approach is hands-down the best way to pack picture frames, as it guards against scratches, absorbs shocks, and keeps those delicate corners from getting dinged up.
Your first layer should always be something soft and non-abrasive. Lay the frame face-down on a big sheet of acid-free paper or glassine. This initial wrap is a critical barrier, protecting the art from direct contact with materials like bubble wrap plastic and preventing any moisture from getting trapped inside.
Wrap it up like you’re wrapping a present, making sure every surface is covered. A few small pieces of packing tape will hold it in place. Just be careful not to stick tape directly onto the frame itself, especially if it has a nice painted or ornate finish. The idea is just to keep the paper snug, not to mummify it.
Applying Bubble Wrap for Impact Protection
With that first layer on, you can now bring in the bubble wrap. The trick here is to wrap it with the bubbles facing inward, touching the frame. This lets each little bubble act as an individual air cushion, which is way more effective at absorbing bumps and shocks during a move.
Roll the bubble wrap around the frame, overlapping the edges so everything is covered. You'll want at least two full layers. If you've got a particularly heavy or valuable frame, a third layer can give you some extra peace of mind. Again, use tape sparingly to hold the wrap together. You don't want to pull it too tight, as that can create pressure points on the frame or glass—completely defeating the purpose.
The infographic below shows the essential steps for protecting the glass before you even start this wrapping process.
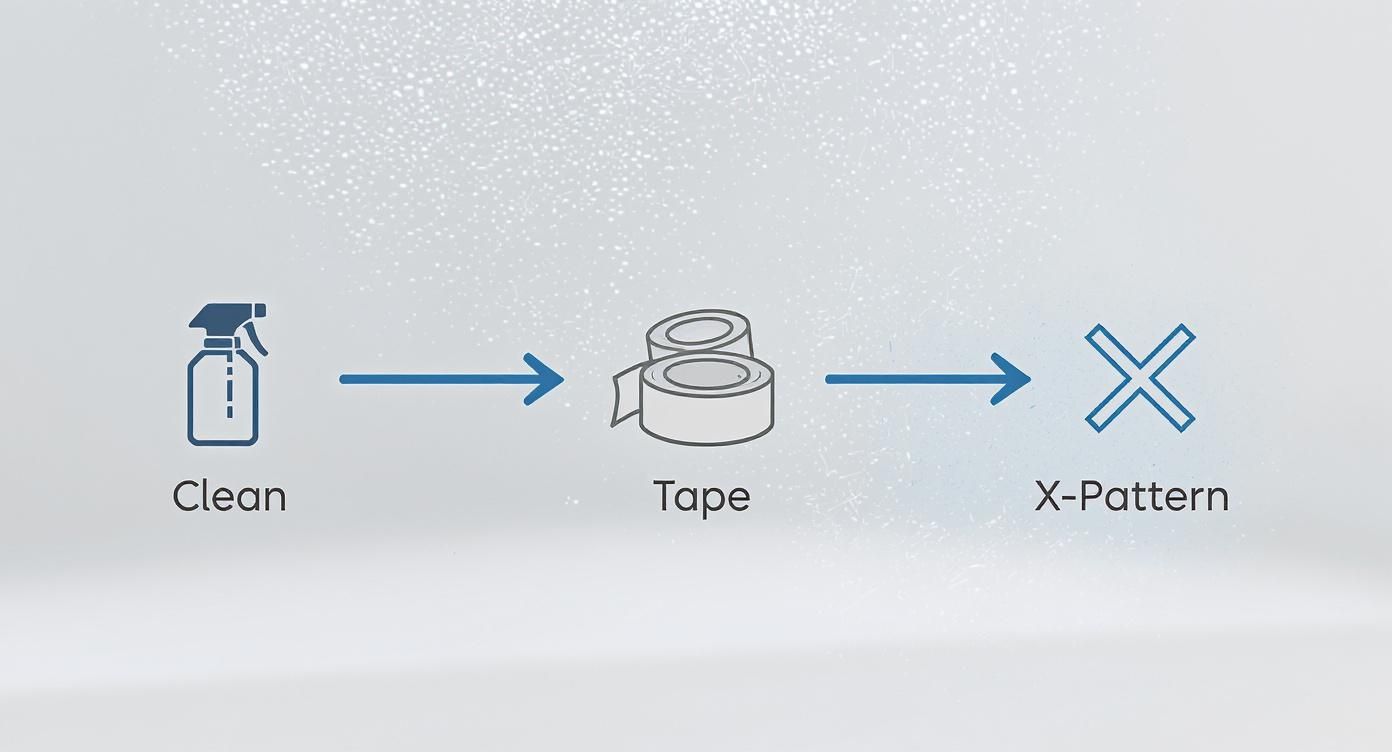
This simple three-step sequence—Clean, Tape, X-Pattern—is what the pros do. It stabilizes the glass and contains any shards if an accident does happen.
Perfecting the Quadrant Wrapping Method for Corners
Corners are almost always the first casualty when a frame gets damaged. I’ve seen it happen countless times. The "quadrant wrapping" technique is your best defense. It involves creating four separate cushions, one for each corner, which provides way better shock absorption than just a single, uniform wrap.
Here’s my go-to method:
- Cut four extra squares of bubble wrap. They should be roughly twice the size of the frame's corner.
- Fold each square into a triangle. This creates a thick, padded pocket.
- Slip one folded triangle over each corner of the frame you've already wrapped.
- Secure each corner protector with a small piece of packing tape to hold it snug.
This method focuses the cushioning exactly where it's needed most. You can dive deeper into choosing the right protective materials in our guide to the best packing materials for fragile items, which covers everything from bubble wrap to foam inserts.
Properly wrapping a frame is less about speed and more about technique. Taking an extra five minutes to secure the corners and apply layers correctly can prevent a lifetime of regret over a damaged piece of art.
Adapting Your Strategy for Different Frames
Let's be honest: packing a small, modern metal frame is a completely different ballgame than prepping a massive, antique wooden one for a move. A one-size-fits-all approach here is just asking for trouble. The real secret to packing picture frames like a pro is tailoring your technique to the specific size, material, and fragility of each piece.
Think of it this way—you wouldn't use the same box for a teacup and a bowling ball. The forces acting on a large frame during a move are exponentially greater than those on a small one. This means your strategy has to shift from simple cushioning to serious structural reinforcement.
Handling Oversized and Heavy Frames
Anything bigger than roughly 20x30 inches jumps into the "oversized" category and needs a lot more support. For these larger pieces, the biggest risk isn't just a simple bump or drop; it's flexing. A large pane of glass can easily bend under its own weight or from outside pressure, which is a fast track to a crack or a full-on shatter.
Your goal is to build a rigid sandwich around the frame. Here's how the professionals do it:
- Reinforce with Foam Boards: Head to a hardware store and grab two sheets of rigid foam insulation board. Cut them so they're slightly larger than your frame.
- Create a Protective Sandwich: Once your frame is fully wrapped, place it between the two foam boards. This simple step prevents the frame from bending and distributes any pressure evenly across the entire surface.
- Secure It Tightly: Use packing tape or strapping to hold the foam boards firmly together. The key is to make sure the frame can't shift at all inside its new, rigid casing.
This technique essentially transforms a flexible, vulnerable item into a solid, protected block, making it far safer for the trip ahead.
Don't underestimate the sheer weight of some of these large frames. A heavy wooden frame with a big pane of glass can be deceptively awkward and heavy. Always get a second person to help you lift and move these pieces to avoid accidents before you even start packing.
Customizing for Different Frame Materials
A frame's material tells you exactly where its weak points are. A durable plastic frame can take a knock that would completely shatter an ornate plaster one.
Globally, wood and metal frames still dominate, making up over 65% of the market, but newer materials like acrylic and composites have their own unique needs. For example, industry data shows that poorly packed large frames break at a rate 2-3 times higher than smaller ones. To fight this, about 80% of professional packers swear by "quadrant wrapping" and sandwiching larger frames between protective boards to distribute pressure. This one technique can slash shipping damage by an incredible 70%. You can dive deeper into these market trends and packing insights on Straits Research.
Because the material matters so much, you need to adjust your packing strategy accordingly. Here’s a quick breakdown of how to handle different frame types and their unique challenges.
Packing Strategy by Frame Type
By identifying the unique risks that come with each frame, you can apply targeted protection right where it's needed most. This kind of careful planning is also crucial for long-term storage, a topic we cover in detail in our guide on how to store artwork safely.
Boxing and Labeling for a Safe Transit
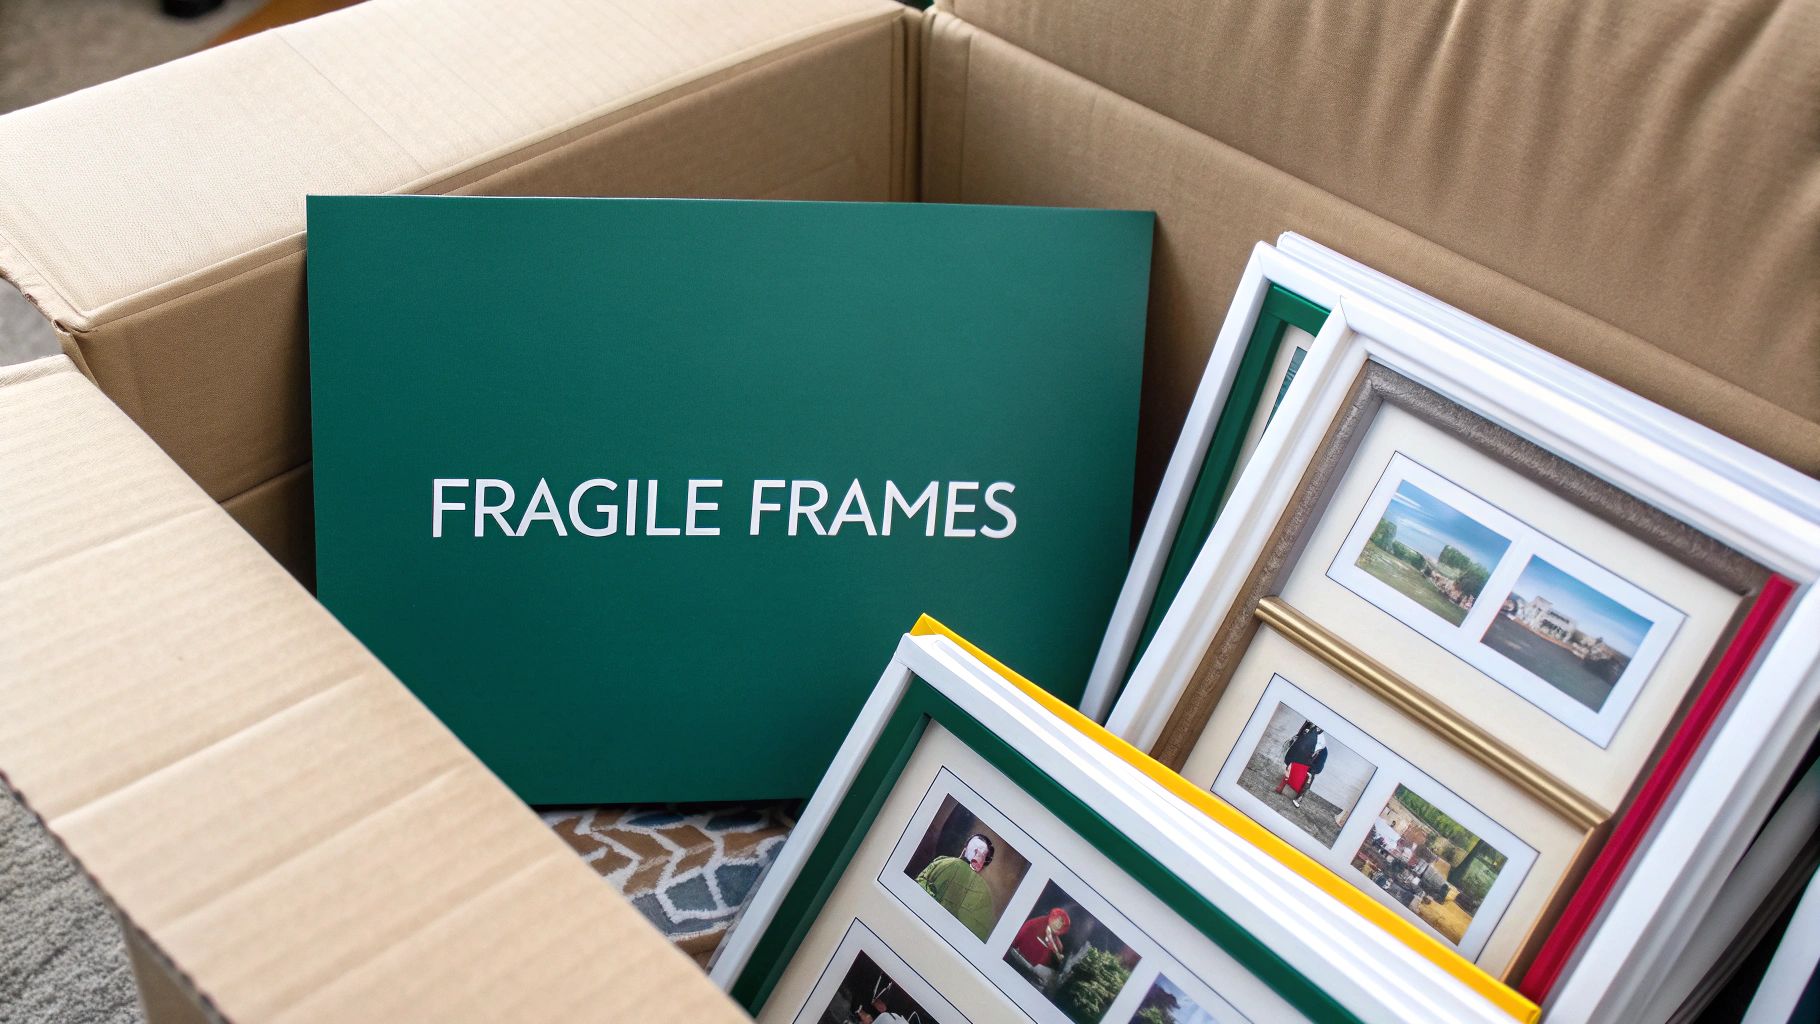
After all that careful wrapping, it's time to box up your frames. This isn't just about putting them in a container; it's about creating a final, rigid shell of protection that will keep them safe on the move. The key is picking the right box for the job—not too big, not too small.
The perfect box is just slightly larger than your wrapped frame, leaving about two inches of wiggle room on all sides for cushioning. If there's too much extra space, the frame will slide around, which is a recipe for disaster. Too little space, and there's no buffer to absorb impacts. For odd sizes or especially valuable pieces, it's worth investing in a dedicated picture or mirror box designed for this exact purpose.
Creating a Safe Haven Inside the Box
Before you even think about putting a frame inside, you need to build a protective nest at the bottom. Crumple up some packing paper or lay down a layer of bubble wrap to create a soft cushion about two to three inches deep. This simple foundation is your frame's first line of defense against being dropped or set down too hard.
Now, gently slide your wrapped frame into the box. Here’s a pro tip I’ve learned from years of moving: always position frames on their sides, standing up vertically like records in a crate. Never, ever lay them flat. Stacking frames horizontally puts a ton of pressure on the glass and the frame at the bottom of the pile.
If you’re packing multiple frames in one box, slide a thin piece of cardboard between each one. This little extra step prevents them from rubbing against each other during transit.
The Fill and Shake Test
With your frame or frames nestled inside, it's time to perform the "fill and shake" test. Stuff all the remaining empty spaces—on the sides and on top—with more crumpled packing paper or bubble wrap. You're aiming for a snug fit with absolutely no room for things to shift.
Before you tape it up, close the box flaps and give it a gentle shake. Can you feel or hear anything moving? If so, you need to add more packing material. Any movement inside the box completely negates all the careful wrapping you just did.
Once everything is secure, seal the box tightly with good-quality packing tape. I always use the "H" pattern: tape the center seam first, then tape across both side seams. This method makes the box much stronger and prevents it from popping open under stress.
Why Clear Labeling Is Non-Negotiable
Proper labeling is how you communicate with movers—or your future self—about what's inside. Use a thick, black marker and write in big, bold letters on at least three sides of the box.
- FRAGILE - HANDLE WITH CARE
- GLASS
- THIS SIDE UP ↑ (don't forget the arrows!)
Don't be subtle about it. Clear, direct instructions can make all the difference between a picture arriving safely and one arriving in pieces. For a more systematic approach, our complete guide on how to label boxes for a move is a fantastic resource. This is more important than ever, as research shows companies see a 30-50% reduction in breakage when they use better packing and labeling. You can read more about these packaging innovations and market trends on Cognitive Market Research.
Finally, when it's time to load the truck, make sure these boxes get a safe spot where they won't be crushed. Slide them in between soft items like a mattress and a box spring, or place them securely along a wall. Just never, ever stack heavy boxes on top of them.
Common Questions About Packing Picture Frames
Even with the best step-by-step guide, you're bound to run into a few tricky situations that leave you scratching your head. Knowing how to pack picture frames like a pro often comes down to handling the exceptions. Let's tackle some of the most common questions I hear.
What about frames without any glass? It's so tempting to just wrap them in a blanket and call it a day, but that's a huge mistake. The frame itself, especially if it's ornate, carved wood, or delicate plaster, is still incredibly vulnerable to dings, chips, and scratches. And the artwork—whether it's a canvas or a print—is completely exposed to punctures.
You'll want to treat these frames with almost the same care as their glass-covered cousins. You can skip the painter's tape "X," but you should still wrap the entire piece in acid-free paper to protect the surface, followed by a solid two layers of bubble wrap. And don't even think about skipping the corner protectors; they’re just as critical here.
To Remove or Not to Remove Artwork
This question comes up all the time: should you take the art out of the frame before packing? My answer is almost always a firm no. The frame, glass, and backing work together as a single, protective unit. It provides essential structural support, especially for prints and photos. Taking it apart leaves the art flimsy and far more susceptible to damage.
The only time this rule might change is for extremely high-value art being handled by professional movers who use specialized techniques. For any standard DIY move, keeping everything assembled is your safest bet.
Think of the frame, glass, and backing as a complete protective unit. Disassembling it is like taking a knight's helmet off right before a joust—it just removes a critical layer of defense.
Handling Unframed Canvas or Prints
So, what do you do with art that hasn't been framed yet? An unframed canvas painting or a loose print definitely requires a different approach. The main goal is to prevent any creasing, punctures, or surface damage.
- For Canvas: Start by placing a sheet of acid-free glassine paper over the painted surface. Then, wrap the entire canvas in bubble wrap and secure it with tape. For extra peace of mind, I like to sandwich the wrapped canvas between two slightly larger pieces of rigid cardboard.
- For Loose Prints: Your best friend here is a sturdy mailing tube. Gently roll the print with a sheet of acid-free paper on the inside to protect the image. Make sure the tube is wide enough so you aren't rolling the print too tightly, which can cause it to retain a curl.
Getting your artwork ready is just as important as the packing itself. If you're wondering about the best way to frame your pieces before they even see a moving box, this DIY framing guide has some fantastic, comprehensive instructions. A solid frame is the first line of defense, making the whole packing process that much simpler.
Navigating a move can be overwhelming, but storing your valuables doesn't have to be. For a simple, secure solution for your carefully packed frames and other belongings, trust Endless Storage. We offer hassle-free, by-the-box storage with pickup and delivery, so you can declutter or move with total peace of mind. Learn more and get started at https://www.endless-storage.com.
Frequently Asked Questions
Unveiling the Secrets to Effortless Storage
Endless Storage is available nationwide. You pick a plan, tell us where to pickup, and we'll send a UPS van to collect, whichever state you're in.
Your shipping label will be sent to your email within a few minutes, if not instantaneously. It can also be accessed through your customer profile.
Your box will be shipped to one of our climate controlled self storage facilities in our closest self storage facility. Our manager will accept your package, notify you that your box has been received, and securely stored. Only our managers will have access to Endless Storage boxes.
Email us at admin@endless-storage.com click to live chat with us, or send us a message below.
Never! We're committed to transparent pricing with no surprises. You'll lock in your rate with no hidden fees and no long-term contracts.
Fast access guaranteed! Your boxes will arrive at your doorstep within 48 hours of requesting them back. Need to check on delivery? We provide tracking information for complete peace of mind.
Totally flexible! Store month-to-month with no long-term commitment and cancel anytime.
Everything's online! Use your account dashboard to:
• Set up automatic monthly payments
• Request box returns
• Update your address
• Order additional boxes
• Track shipments
Your boxes are insured up to $100 each. Our customer service team will help you file any necessary claims and resolve issues quickly.
Don't worry – we'll email you right away if there's a payment issue. Your items stay safe, though you may have temporary service interruption or late fees until payment is resolved.
When you request our free storage kits, you'll have 30 days to send in your boxes to activate your 3 months of free storage. Think of it like starting a gym membership – your activation window begins when you receive your kits, and your full free trial begins once you send in your first box. During your free months, you'll experience our complete storage service at no cost.
Your 30-day activation window begins when you receive your storage kits. We'll send you an email confirmation when your kits are delivered, marking the start of your activation period.
If you haven't sent any boxes for storage within your 30-day activation window, your free trial will expire and we'll begin charging the regular monthly rate of $9.99 per box. This helps ensure our storage kits go to customers who are ready to use our service.
A box costs $9.99 per month to store (plus sales tax). This price includes free shipping for standard boxes under 50 lbs. and smaller than 16"x16"x16"
Log into your Endless Storage account, locate the box you would like returned, and simply click Return My Box.
Yes, each box stored with us is insured for up to $100 throughout transit as well as the duration of storage within our facilities.
Your box will be at your doorstep within 48 hours of you requesting it back.
Store 10+ boxes? We'll pick them up for free! After your purchase, we'll contact you to schedule a convenient pickup time and arrange UPS collection.
We trust UPS with all shipments, and every box includes $100 insurance coverage. You'll receive tracking information to monitor your items' journey.
Yes! Visit any of our locations by appointment. Just bring a photo ID matching your customer profile.
For everyone's safety, we can't store hazardous materials, firearms, or perishables. All items must fit within our standard boxes.
It's easy! Order your storage kit online, and we'll ship it to you within 1-2 business days. Your shipping labels will be emailed instantly and available in your account.
We're here to help! Email us at admin@endless-storage.com, use our live chat, or send us a message through your account.
To cancel your storage service with Endless Storage, please email your cancellation request to admin@endless-storage.com. Our team will process your request within 2 business days and confirm your cancellation via email.
We understand packing takes time. However, to maintain your free trial benefits, you'll need to send at least one box within the 30-day activation window. If you need more time, you can always start with one box to activate your trial and send the rest later. You can always reach out to admin@endless-storage.com if you have any issues or concerns.
When you request our free storage kits, you're starting a 30-day window to begin using our storage service.
To avoid any charges, simply send at least one box for storage within 30 days to activate your 3-month free trial. If you decide not to use our service and don't send any boxes within the 30-day window, a one-time $50 fee will apply to cover the costs of materials and shipping. This helps ensure our storage kits go to customers who are ready to use our service.
Think of it like reserving a hotel room – we're setting aside space and sending specialized packing materials for your use. The fee only applies if you request materials but don't begin storage, similar to a hotel's no-show charge.
