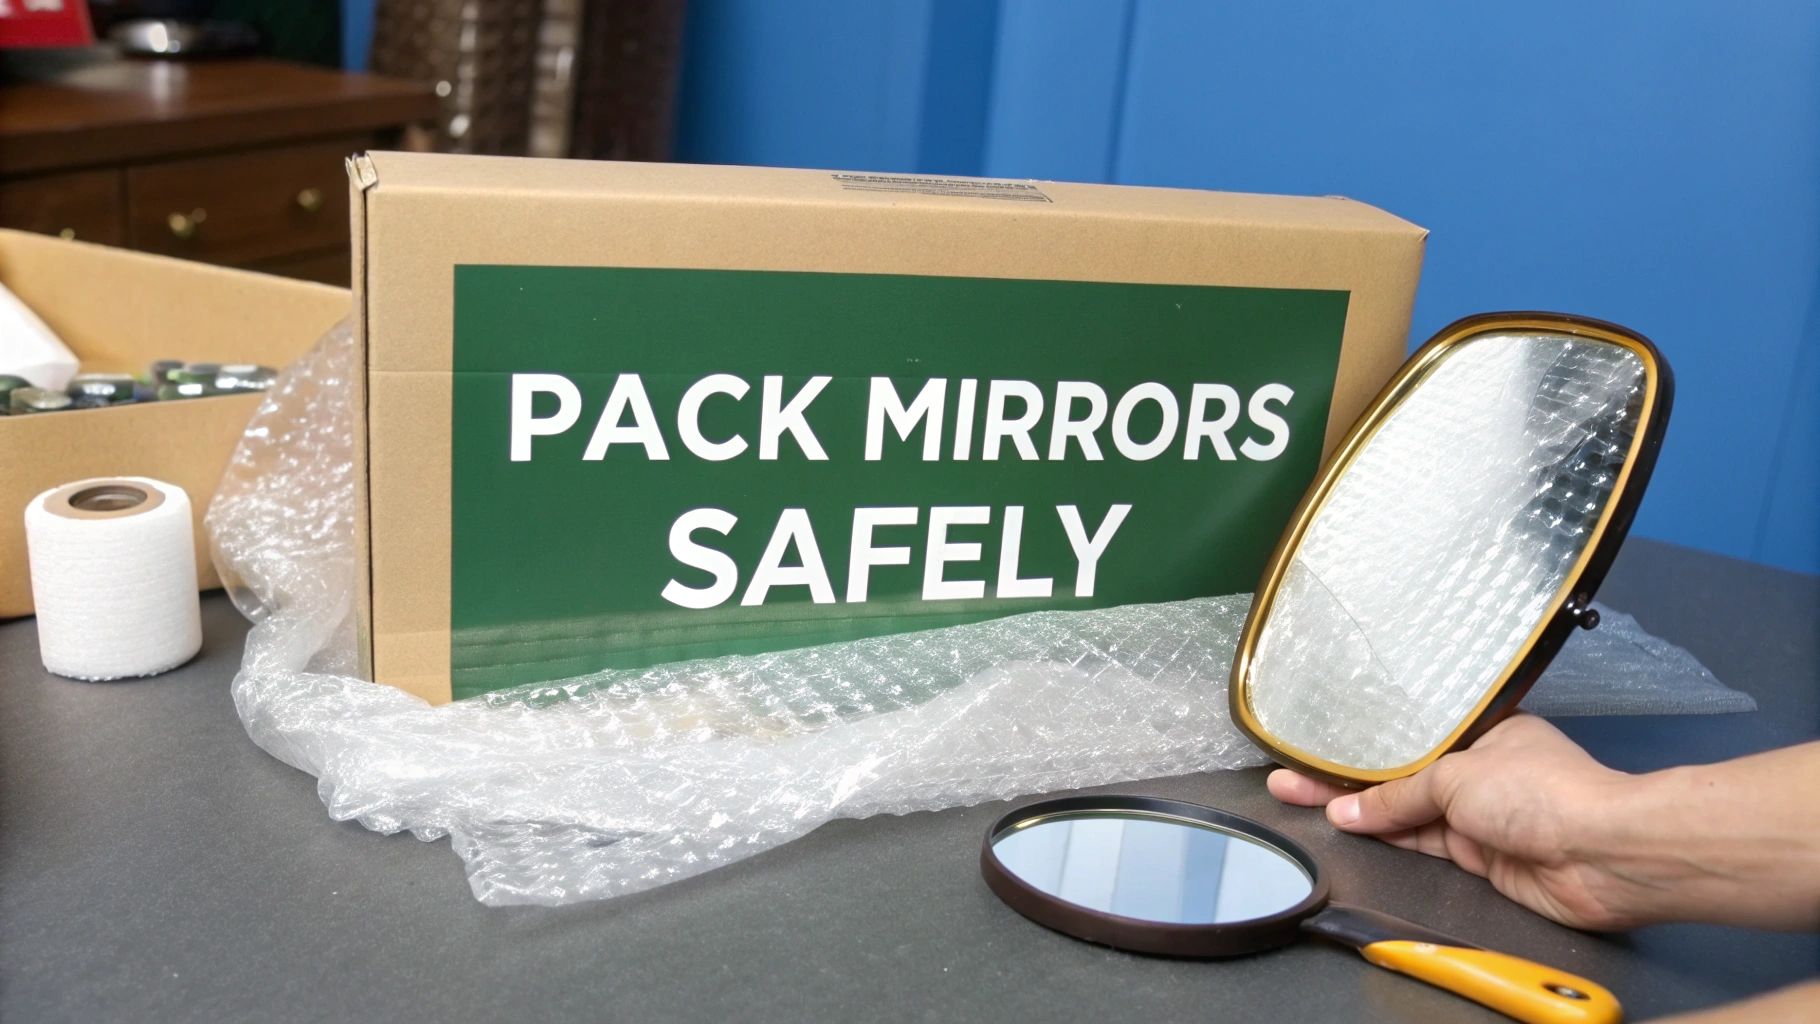
When you're packing up your home, it's tempting to just wrap a mirror in a blanket and hope for the best. But safely packing a mirror means going the extra mile to protect the glass, reinforce the corners, and find a box that fits just right. This isn't just about avoiding bad luck; it's about making sure your fragile, often sentimental, items arrive in one piece.
Why You Can’t Skip Proper Mirror Packing
It’s so easy to look at a mirror and underestimate how fragile it really is during a move. We all worry about the glass shattering, but the real threats are often invisible. The constant vibration from the road, a minor bump against a doorframe, or sustained pressure from another box can create stress fractures. You might not even notice them until days later when you find a crack has appeared out of nowhere.
A broken mirror isn't just a financial hit. More often than not, it’s the loss of a piece that truly made a room feel complete—a piece of your home.
The Physics of a Fragile Move
Every single bump and turn on the road transfers energy straight to your belongings. For something as unforgiving as a mirror, that energy can be disastrous.
- Vibrations: That constant shaking from the moving truck can slowly weaken the glass, particularly around the edges where it’s most vulnerable.
- Pressure Points: If a mirror is packed loosely and ends up resting against a hard corner of another piece of furniture, it doesn't take much to cause a crack.
- Impacts: A sudden stop or an accidental drop is the most obvious danger. Without proper cushioning, the impact will shatter the glass instantly.
These same principles apply to more than just mirrors. In fact, learning how to protect furniture when moving involves similar techniques to fight against these very forces. It's a huge part of why the moving services industry was valued at USD 81.73 billion in 2023—getting fragile items from point A to point B safely is a serious business. You can see more on the moving services market on scoop.market.us.
Investing a few extra minutes to properly pack your mirrors is a small price to pay for the peace of mind that comes with knowing your cherished items are secure.
Your Essential Mirror Packing Toolkit
Before you even think about moving a mirror, you need to assemble the right gear. I've seen it a hundred times: someone grabs a random cardboard box and an old beach towel, hoping for the best. That's a surefire way to end up with seven years of bad luck.
To do this right, you need a specific set of tools designed to create a protective shell around your mirror, shielding it from all the bumps and vibrations of a move. Think of it as building a custom suit of armor.
The most important piece of your kit is a telescoping mirror box. These aren't your average boxes. They come in sections that slide together, creating a snug, perfect fit for your specific mirror. That tight fit is everything—it stops the mirror from shifting around inside, which is one of the top reasons they crack in transit.
Choosing the Right Protective Layers
With the box sorted, it's time to think about layers. Here's a critical rule I always follow: never, ever let packing tape touch the glass directly. Its adhesive is way too aggressive and can ruin the finish or leave behind a sticky residue that’s a nightmare to clean.
- Painter’s Tape: This is the only tape that should ever touch the glass. Crisscross it in a big ‘X’ or a star pattern right on the surface. This does more than just hold the pieces together if the worst happens; it actually helps absorb and spread out vibrations during the move.
- Bubble Wrap: This is your primary cushioning. Wrap the entire mirror, front and back, making sure every inch is covered. Then, secure the bubble wrap with packing tape (taping it to itself, not the mirror!).
- Cardboard Corner Protectors: Don't skip these. Corners are the mirror's weakest points, and these little additions make a huge difference by absorbing shock from accidental drops or bumps.
This visual guide quickly sums up how these tools work together.
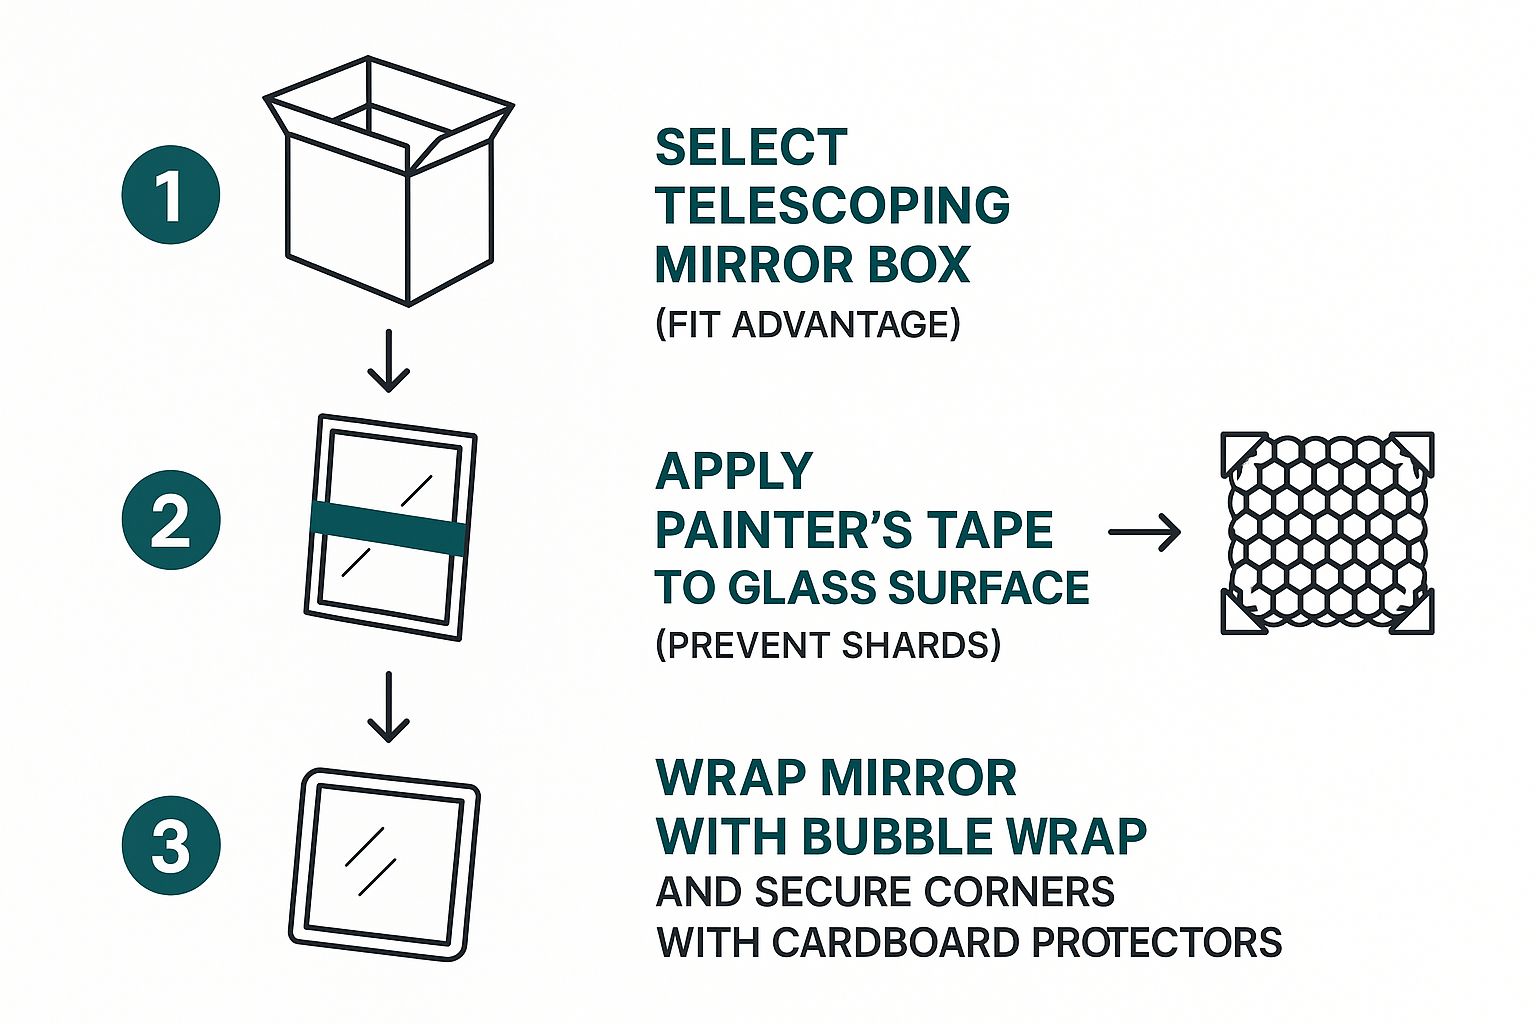
As you can see, each material has a specific job, from securing the glass itself to padding the frame and corners for a damage-proof fit. For a deeper dive into all the gear you might need, take a look at our complete guide on the best packing supplies for moving.
Essential Mirror Packing Supplies Checklist
To make things even easier, here’s a quick-reference checklist of everything you'll need. Having these items ready to go will make the packing process smooth and stress-free.
This simple toolkit is your best defense against damage, ensuring your mirrors arrive at your new home in one piece.
The Pro Method For Packing Mirrors Securely
Alright, you've got your toolkit assembled. Now for the hands-on part. Packing a mirror the right way is a lot like following a good recipe—every step builds on the last, creating a secure shell that will protect your glass. Let's walk through this process and turn that pile of supplies into a professional-grade packing job.
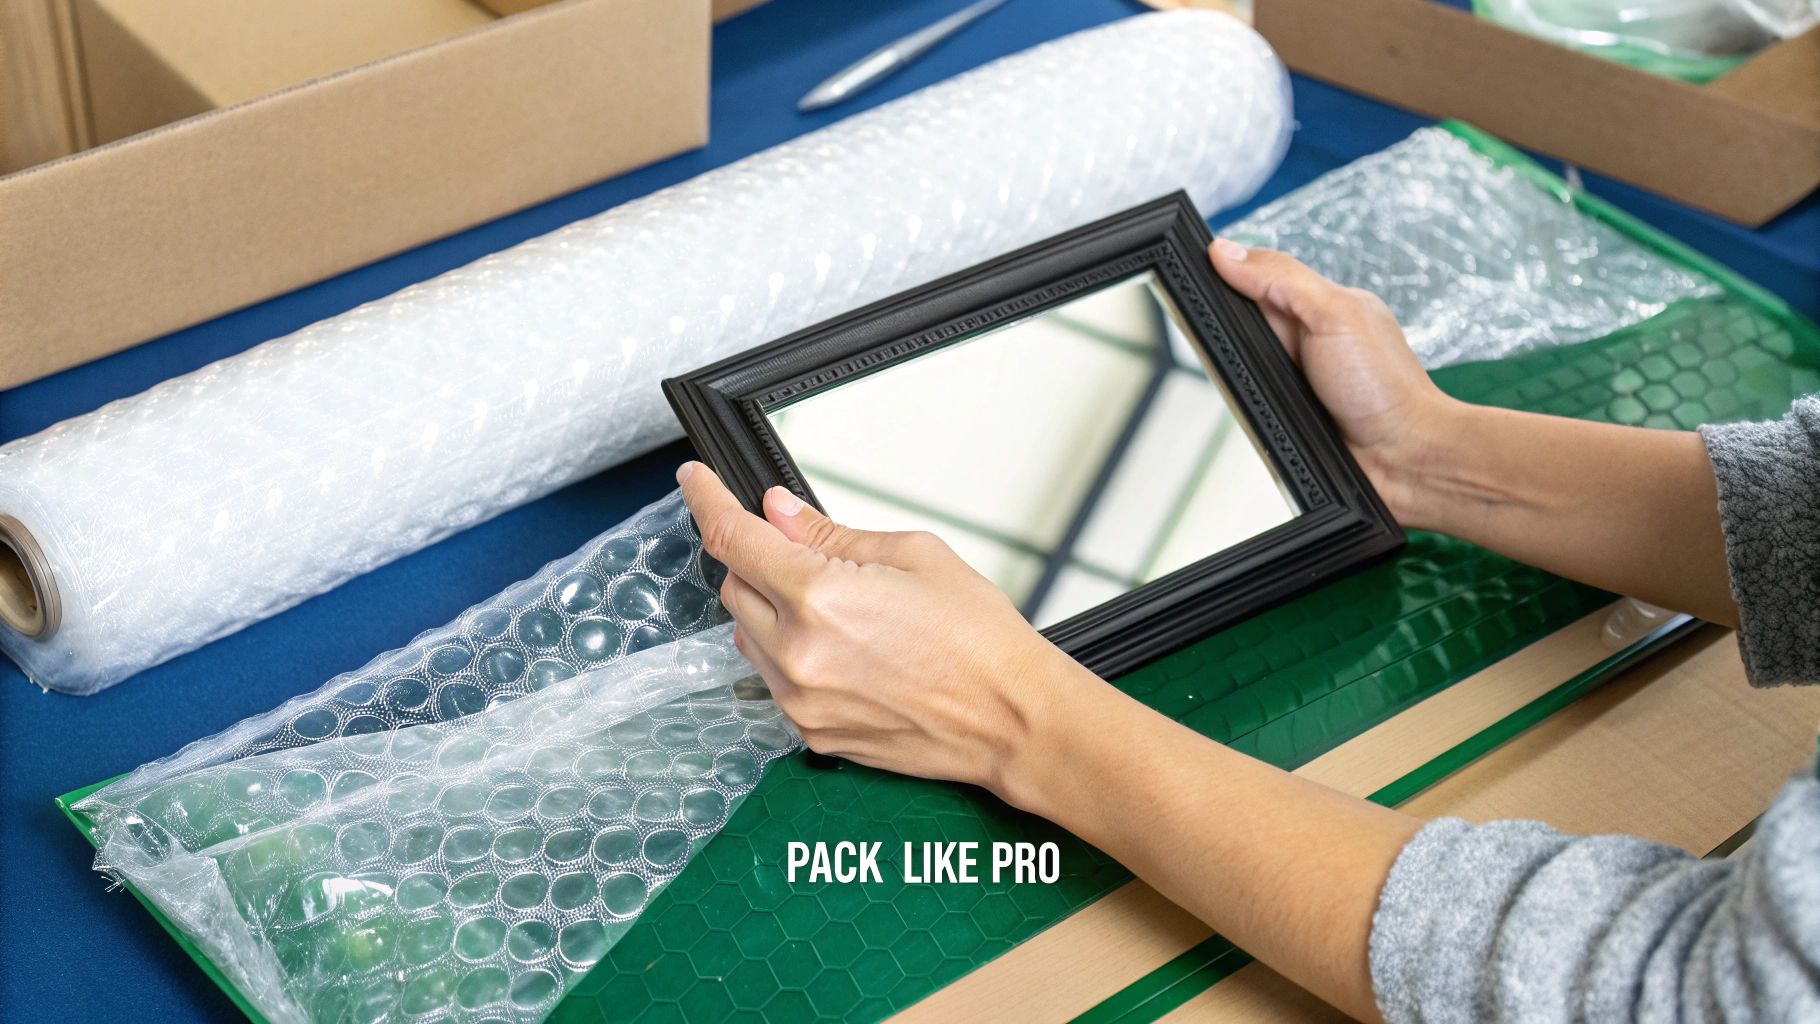
First thing's first: prep the glass. Grab your painter's tape and stretch a big 'X' or a star pattern right across the mirror's surface. This isn't just about holding the pieces together if the worst happens. The tape actually helps absorb and spread out vibrations from the moving truck, which cuts down on the stress the glass has to endure.
Creating The Protective Cocoon
With the glass taped, it’s time to build up the primary cushioning layer. Lay the mirror down on a soft, clean surface. I always use a moving blanket spread out on the floor. This simple step prevents any accidental scratches on the frame while you're working.
- Wrap It Up: Be generous here. Wrap the entire mirror in at least two layers of bubble wrap. Honestly, more is better. Make sure the bubbles face inward, right against the mirror, to give you the best impact absorption.
- Secure the Wrap: Use your packing tape to hold the bubble wrap together. The golden rule is simple but critical: never let packing tape touch the mirror's frame or glass. It can leave behind a nasty residue or, even worse, strip the finish right off.
- Reinforce the Corners: Now for the most important part. Slide those cardboard or foam corner protectors over each bubble-wrapped corner. This is non-negotiable. Corners are the weak points, and this small addition offers a huge boost in protection against drops and bumps. If you want to see how this fits into the bigger picture, a general packing guide can offer some great context.
The goal is to build a snug, multi-layered cushion that leaves zero part of the mirror exposed. Think of it like you're preparing the mirror so it doesn’t even realize it’s on the move.
Boxing And Sealing For The Move
Now that your mirror is wrapped up like a precious artifact, the final step is getting it boxed up correctly. This is where your telescoping mirror box really proves its worth.
Gently slide the wrapped mirror into one section of the box. Before you even think about sealing it, give the box a little shake. Feel any movement or shifting inside? It's not ready. You need to fill every single gap with crumpled packing paper or extra bubble wrap until that mirror is completely immobilized. This stops it from building momentum inside the box and causing damage from the inside out.
Finally, slide the second half of the box over the first, creating that perfect, custom fit. Seal every seam with packing tape—don't be stingy. Then, grab your permanent marker and write "FRAGILE - MIRROR" and "DO NOT LAY FLAT" in big, bold letters on every single side. This meticulous process is what separates a safe move from a disaster, and you can find more pro tips in our detailed guide on how to pack fragile items for safe shipping. Your mirror is now officially ready for a safe journey.
Handling and Transporting Packed Mirrors Like a Pro
All that careful packing work can be for nothing if you don't handle the mirror correctly on moving day. Transporting a packed mirror isn't about brute strength; it's about understanding the physics of glass. Think of your mirror, even when perfectly boxed, as a giant, rigid pane that absolutely hates stress.
https://www.youtube.com/embed/8jcS1CKB-U8
The single most critical rule is to always carry and store the mirror on its edge—meaning, vertically. Never, ever lay it flat.
When a mirror is horizontal, its own weight causes the center to bow. This concentrates an incredible amount of stress on the glass, making it extremely vulnerable to shattering from even minor bumps or road vibrations. Keeping it upright lets the much stronger frame bear the load.
Loading Mirrors Onto the Moving Truck
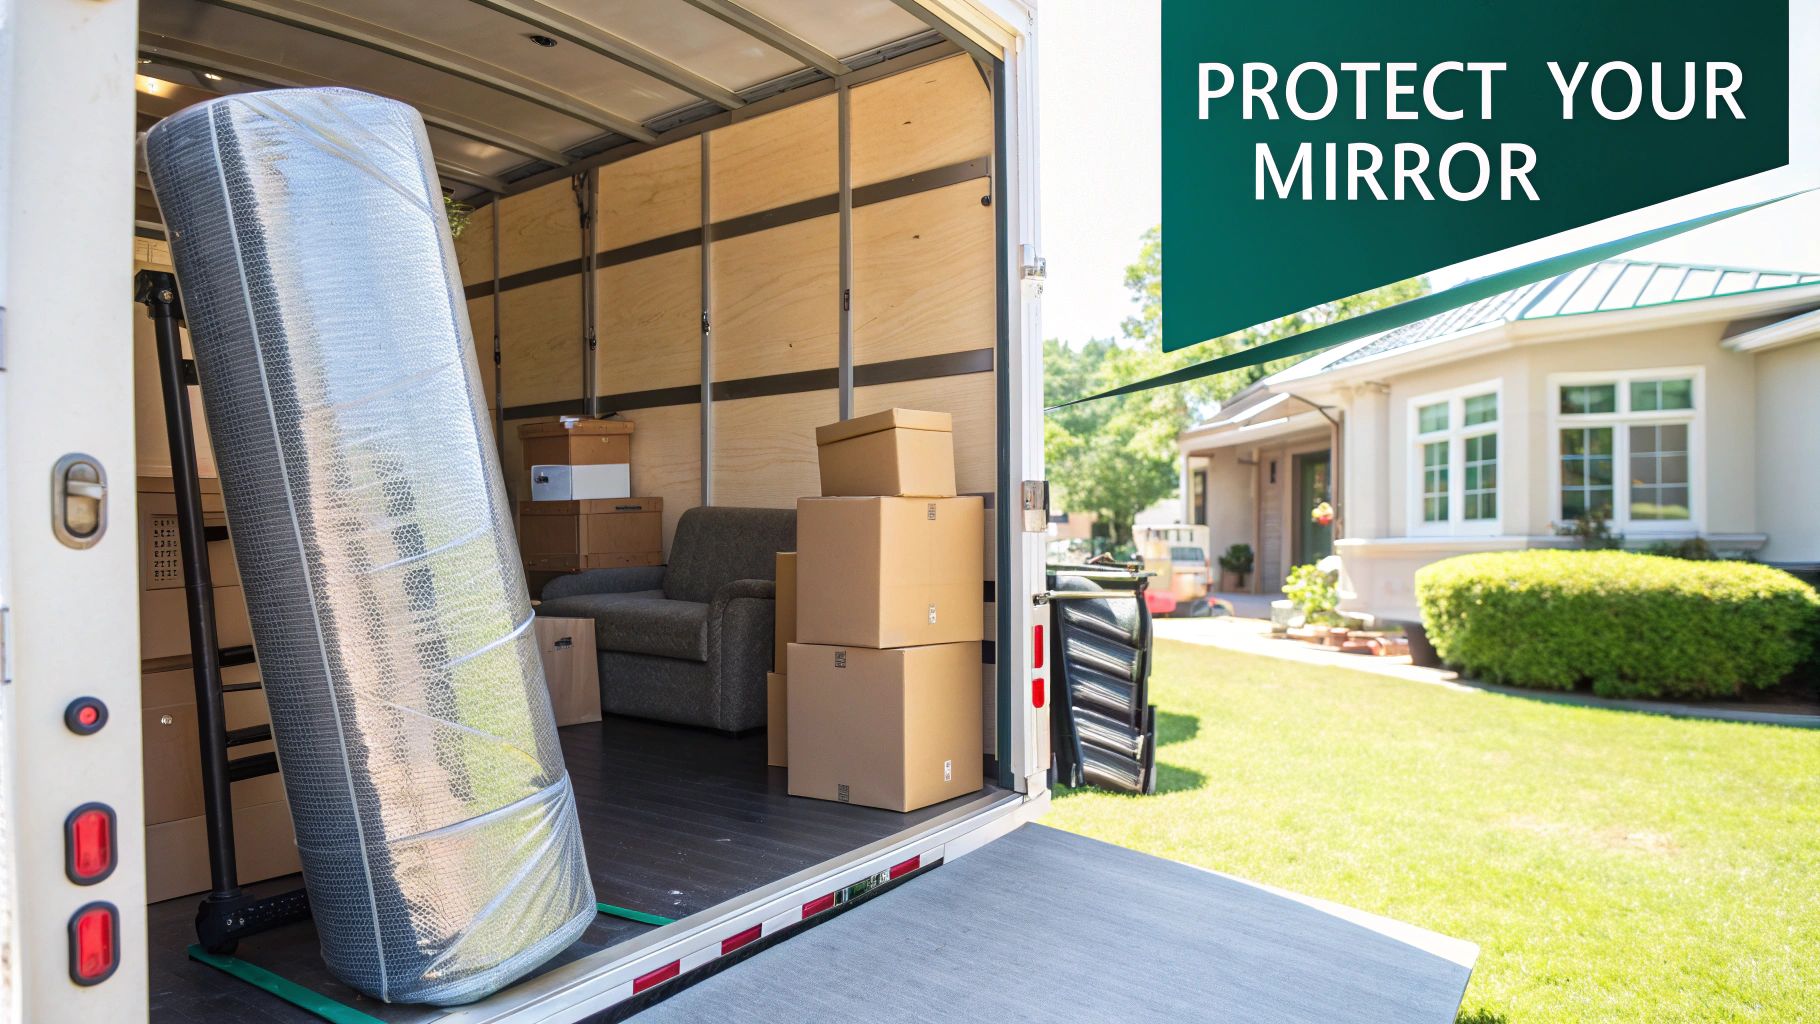
Once you get to the moving truck, placement is everything. Don’t just slide it into any open spot. The safest place for a mirror is sandwiched securely between two soft, flat, and sturdy items that won’t shift around. Mattresses are the absolute gold standard for this job.
- Create a Buffer Zone: Wedge the mirror box snugly between a mattress and the truck wall, or even better, between two mattresses. This creates a cushion that absorbs the shocks and rattles from the road.
- Keep It Pinned: Make sure whatever you place on either side is heavy enough to prevent the mirror from tipping or sliding during turns. A heavy dresser or the solid arm of a sofa can also work in a pinch.
- Label It Like You Mean It: There's a reason professionals are so big on labeling—it prevents accidents. Marking your boxes clearly with warnings like “FRAGILE,” “DO NOT LAY FLAT,” and drawing arrows pointing up is crucial. As professional movers at National Van Lines will tell you, this simple step communicates the handling rules to anyone who might help you move.
Treat that packed mirror like it's made of thin ice. Gentle movements, careful placement, and a vertical orientation are what will get it to its destination in one piece.
Loading fragile items the right way is a real skill. Knowing how to arrange everything inside the truck makes a huge difference. For more tips on maximizing your space and keeping everything safe, check out our guide on the best way to pack a moving truck.
Tackling Unframed and Irregularly Shaped Mirrors
Standard rectangular mirrors are one thing, but what about that trendy round mirror or the heavy, frameless one in the bathroom? These pieces require a slightly different approach, forcing you to focus on their unique vulnerabilities. Without a frame to absorb stray impacts, the delicate, polished edges of a frameless mirror become its weakest point.
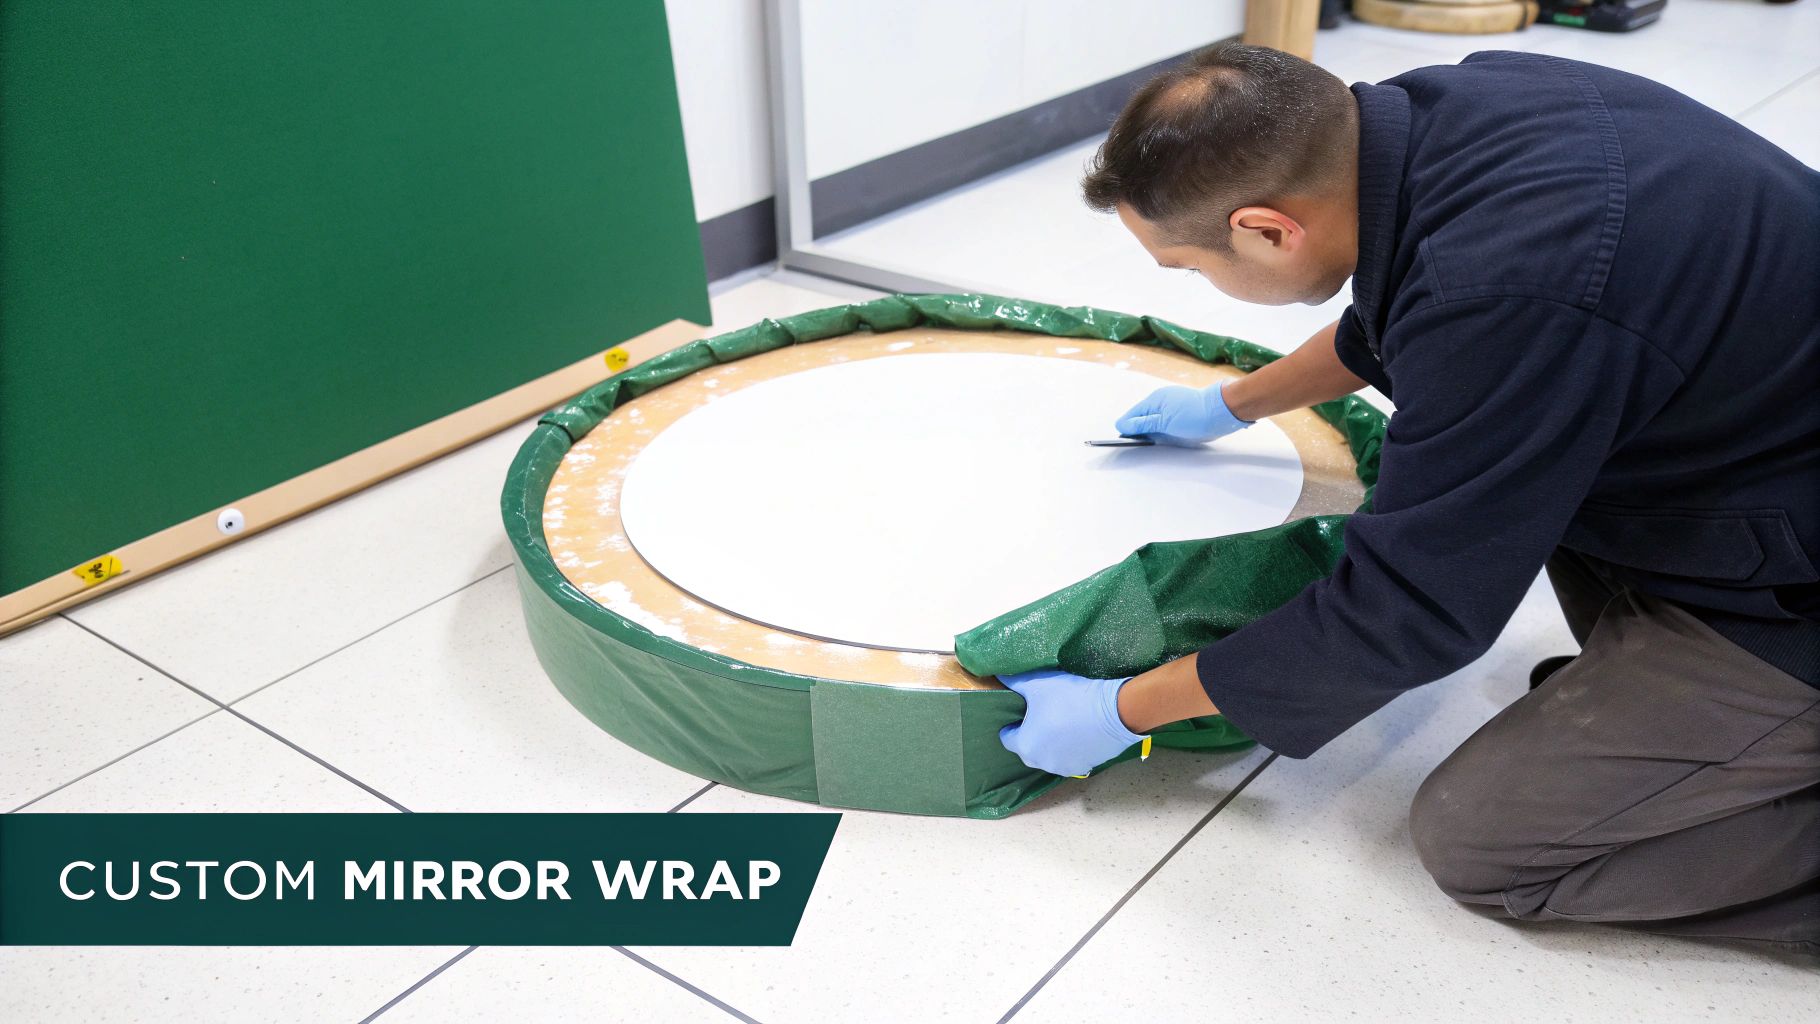
Here's a fantastic trick I've used countless times for protecting these edges: foam pipe insulation. You just cut a slit down the length of the foam tube and fit it snugly around the entire perimeter of the mirror. This creates a durable, shock-absorbing bumper that traditional corner protectors simply can't provide for circular or odd shapes.
Creating a Custom Shell
For those truly unique mirrors—think ovals, sunbursts, or ornate antique pieces—a standard mirror box just won’t offer the snug fit you need. It’ll just slide around inside. In these cases, your goal is to create a custom-fit shell using layers of sturdy cardboard and plenty of bubble wrap.
It’s easier than it sounds. Just trace the mirror's shape onto a large cardboard sheet and cut out two identical pieces. These will act as a front and back shield. After wrapping the mirror thoroughly, you can sandwich it between these cardboard cutouts and tape them together securely.
For your most valuable or sentimental pieces, the double-boxing method is your best bet. Pack the mirror completely using the custom shell method, then place that entire package inside a slightly larger box. Make sure to fill all the surrounding gaps with packing paper. This creates a superior buffer against shock.
Understanding the specific role of each material is what separates a safe move from a disaster. For more insights, our guide on choosing the right packing materials for fragile items can help you build the perfect protective toolkit for any oddly shaped treasure you need to move.
Of course. Here's the rewritten section, crafted to sound like an experienced human expert.
Got Questions About Packing Mirrors? We've Got Answers.
Even after you've gathered all your supplies and feel ready to go, a few questions always seem to pop up. It happens to everyone. Let's walk through some of the most common ones I hear from people tackling this for the first time.
Can I Just Use a Regular Box?
I get this one a lot. While it's tempting to grab any old box, this is one of the biggest risks you can take, especially with a larger mirror. Those telescoping mirror boxes aren't just a gimmick; they're designed to give you that perfect, snug fit. A snug fit is everything—it stops the mirror from shifting, which is exactly what leads to those heartbreaking cracks.
If you're in a real pinch and have to use a standard box, find one that is barely bigger than your wrapped mirror. You'll need to go overboard filling every last pocket of air with crumpled packing paper or bubble wrap to make sure that mirror doesn't budge an inch.
Is It Really Worth Hiring Movers for Just a Couple of Mirrors?
Honestly, for most of the mirrors you have around the house, you can absolutely get a professional-quality pack done yourself by following these steps. But there are definitely times when calling in the pros is the smartest move.
Think about that huge, ornate mirror in the dining room, or the antique one you inherited. For anything extremely large, heavy, or irreplaceable, professional help is a wise investment. They bring the right equipment, the experience, and—most importantly—the insurance coverage that gives you peace of mind.
What’s the Safest Way to Unpack When I Get There?
The hard part is over, so don't rush the final step. When you're ready to unpack, lay the box down flat on a soft surface, like a carpet or a rug.
Carefully slice the packing tape and open it up, and it's always a good idea to have a helper on standby. Lift the mirror out slowly together, lean it gently against a sturdy wall, and then start removing all the protective wrapping.
At Endless Storage, we get that moving is about more than just furniture. If you find yourself needing a flexible spot for your things during a move, we offer simple, by-the-box storage that comes right to your door. Find out more about our hassle-free storage options at https://www.endless-storage.com.
Frequently Asked Questions
Unveiling the Secrets to Effortless Storage
Endless Storage is available nationwide. You pick a plan, tell us where to pickup, and we'll send a UPS van to collect, whichever state you're in.
Your shipping label will be sent to your email within a few minutes, if not instantaneously. It can also be accessed through your customer profile.
Your box will be shipped to one of our climate controlled self storage facilities in our closest self storage facility. Our manager will accept your package, notify you that your box has been received, and securely stored. Only our managers will have access to Endless Storage boxes.
Email us at admin@endless-storage.com click to live chat with us, or send us a message below.
Never! We're committed to transparent pricing with no surprises. You'll lock in your rate with no hidden fees and no long-term contracts.
Fast access guaranteed! Your boxes will arrive at your doorstep within 48 hours of requesting them back. Need to check on delivery? We provide tracking information for complete peace of mind.
Totally flexible! Store month-to-month with no long-term commitment and cancel anytime.
Everything's online! Use your account dashboard to:
• Set up automatic monthly payments
• Request box returns
• Update your address
• Order additional boxes
• Track shipments
Your boxes are insured up to $100 each. Our customer service team will help you file any necessary claims and resolve issues quickly.
Don't worry – we'll email you right away if there's a payment issue. Your items stay safe, though you may have temporary service interruption or late fees until payment is resolved.
When you request our free storage kits, you'll have 30 days to send in your boxes to activate your 3 months of free storage. Think of it like starting a gym membership – your activation window begins when you receive your kits, and your full free trial begins once you send in your first box. During your free months, you'll experience our complete storage service at no cost.
Your 30-day activation window begins when you receive your storage kits. We'll send you an email confirmation when your kits are delivered, marking the start of your activation period.
If you haven't sent any boxes for storage within your 30-day activation window, your free trial will expire and we'll begin charging the regular monthly rate of $9.99 per box. This helps ensure our storage kits go to customers who are ready to use our service.
A box costs $9.99 per month to store (plus sales tax). This price includes free shipping for standard boxes under 50 lbs. and smaller than 16"x16"x16"
Log into your Endless Storage account, locate the box you would like returned, and simply click Return My Box.
Yes, each box stored with us is insured for up to $100 throughout transit as well as the duration of storage within our facilities.
Your box will be at your doorstep within 48 hours of you requesting it back.
Store 10+ boxes? We'll pick them up for free! After your purchase, we'll contact you to schedule a convenient pickup time and arrange UPS collection.
We trust UPS with all shipments, and every box includes $100 insurance coverage. You'll receive tracking information to monitor your items' journey.
Yes! Visit any of our locations by appointment. Just bring a photo ID matching your customer profile.
For everyone's safety, we can't store hazardous materials, firearms, or perishables. All items must fit within our standard boxes.
It's easy! Order your storage kit online, and we'll ship it to you within 1-2 business days. Your shipping labels will be emailed instantly and available in your account.
We're here to help! Email us at admin@endless-storage.com, use our live chat, or send us a message through your account.
To cancel your storage service with Endless Storage, please email your cancellation request to admin@endless-storage.com. Our team will process your request within 2 business days and confirm your cancellation via email.
We understand packing takes time. However, to maintain your free trial benefits, you'll need to send at least one box within the 30-day activation window. If you need more time, you can always start with one box to activate your trial and send the rest later. You can always reach out to admin@endless-storage.com if you have any issues or concerns.
When you request our free storage kits, you're starting a 30-day window to begin using our storage service.
To avoid any charges, simply send at least one box for storage within 30 days to activate your 3-month free trial. If you decide not to use our service and don't send any boxes within the 30-day window, a one-time $50 fee will apply to cover the costs of materials and shipping. This helps ensure our storage kits go to customers who are ready to use our service.
Think of it like reserving a hotel room – we're setting aside space and sending specialized packing materials for your use. The fee only applies if you request materials but don't begin storage, similar to a hotel's no-show charge.
