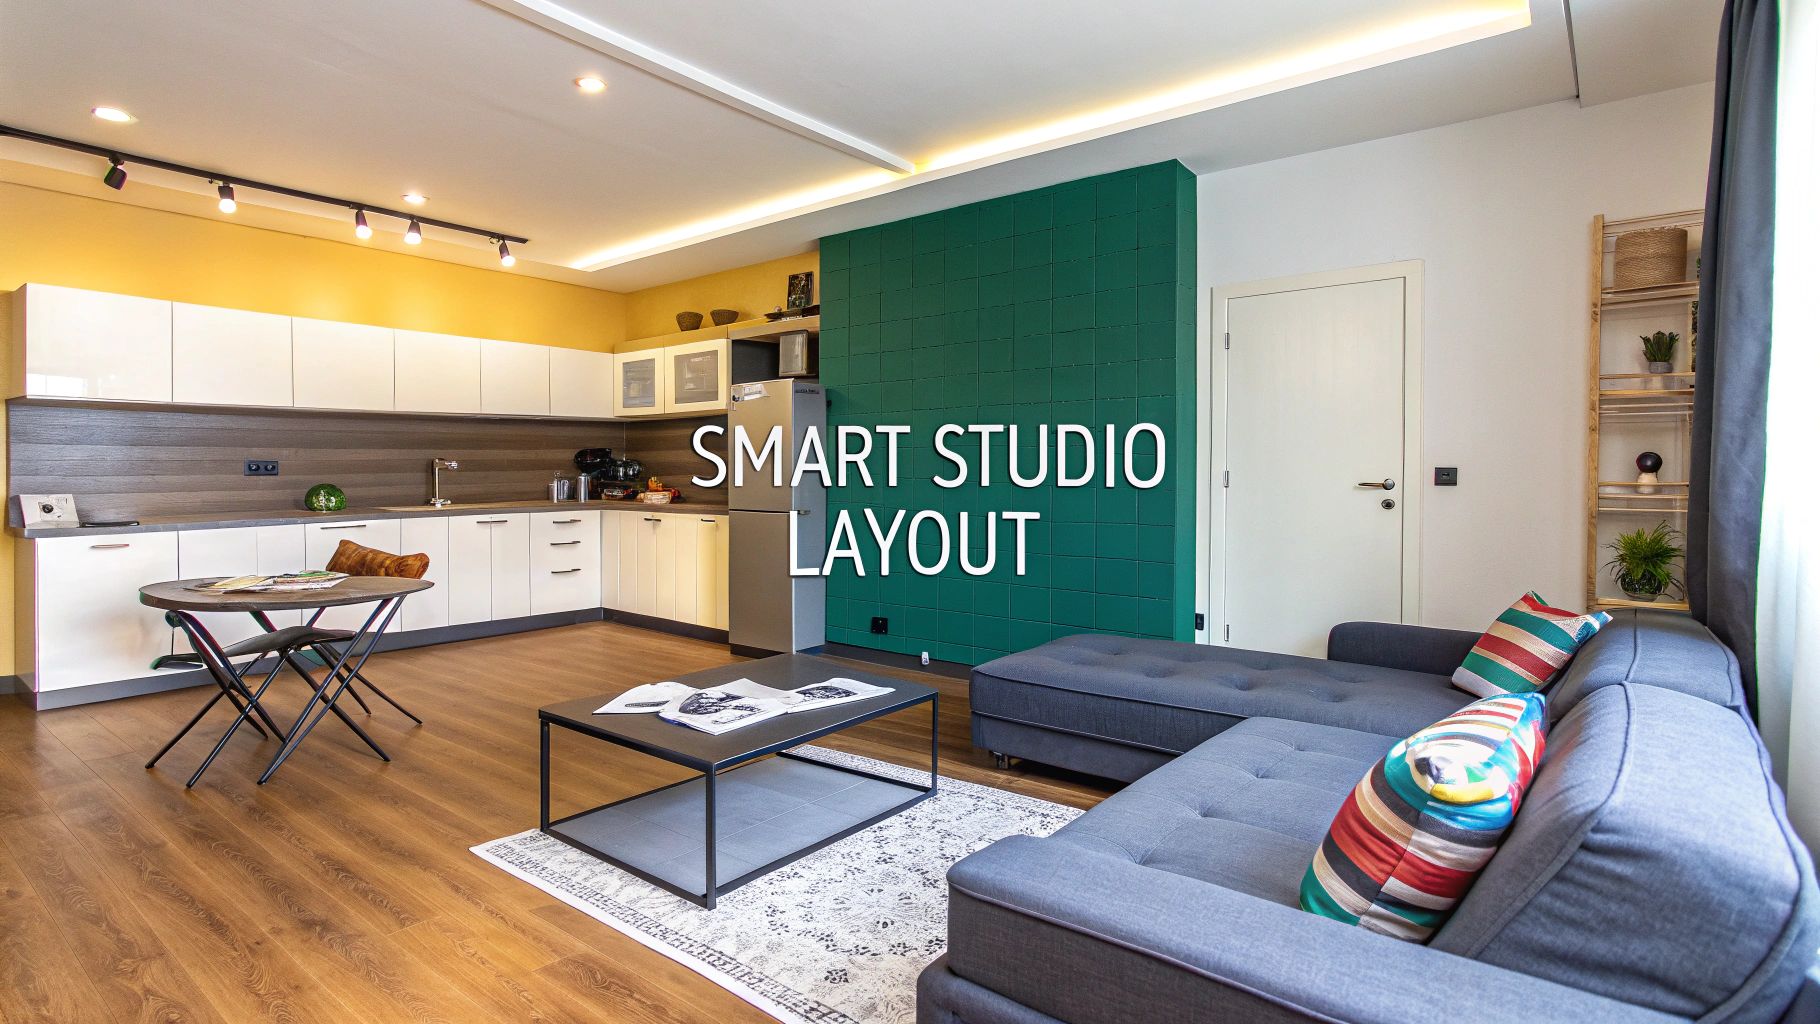
Arranging a studio apartment can feel like a high-stakes game of Tetris, but the secret is pretty simple: create distinct zones for living, sleeping, and dining. This strategy is what transforms a single room from a cramped box into a functional, thoughtfully designed home. It all starts with looking at your daily routines and, just as importantly, getting accurate measurements of your space.
Your Studio Layout Starts with a Smart Plan
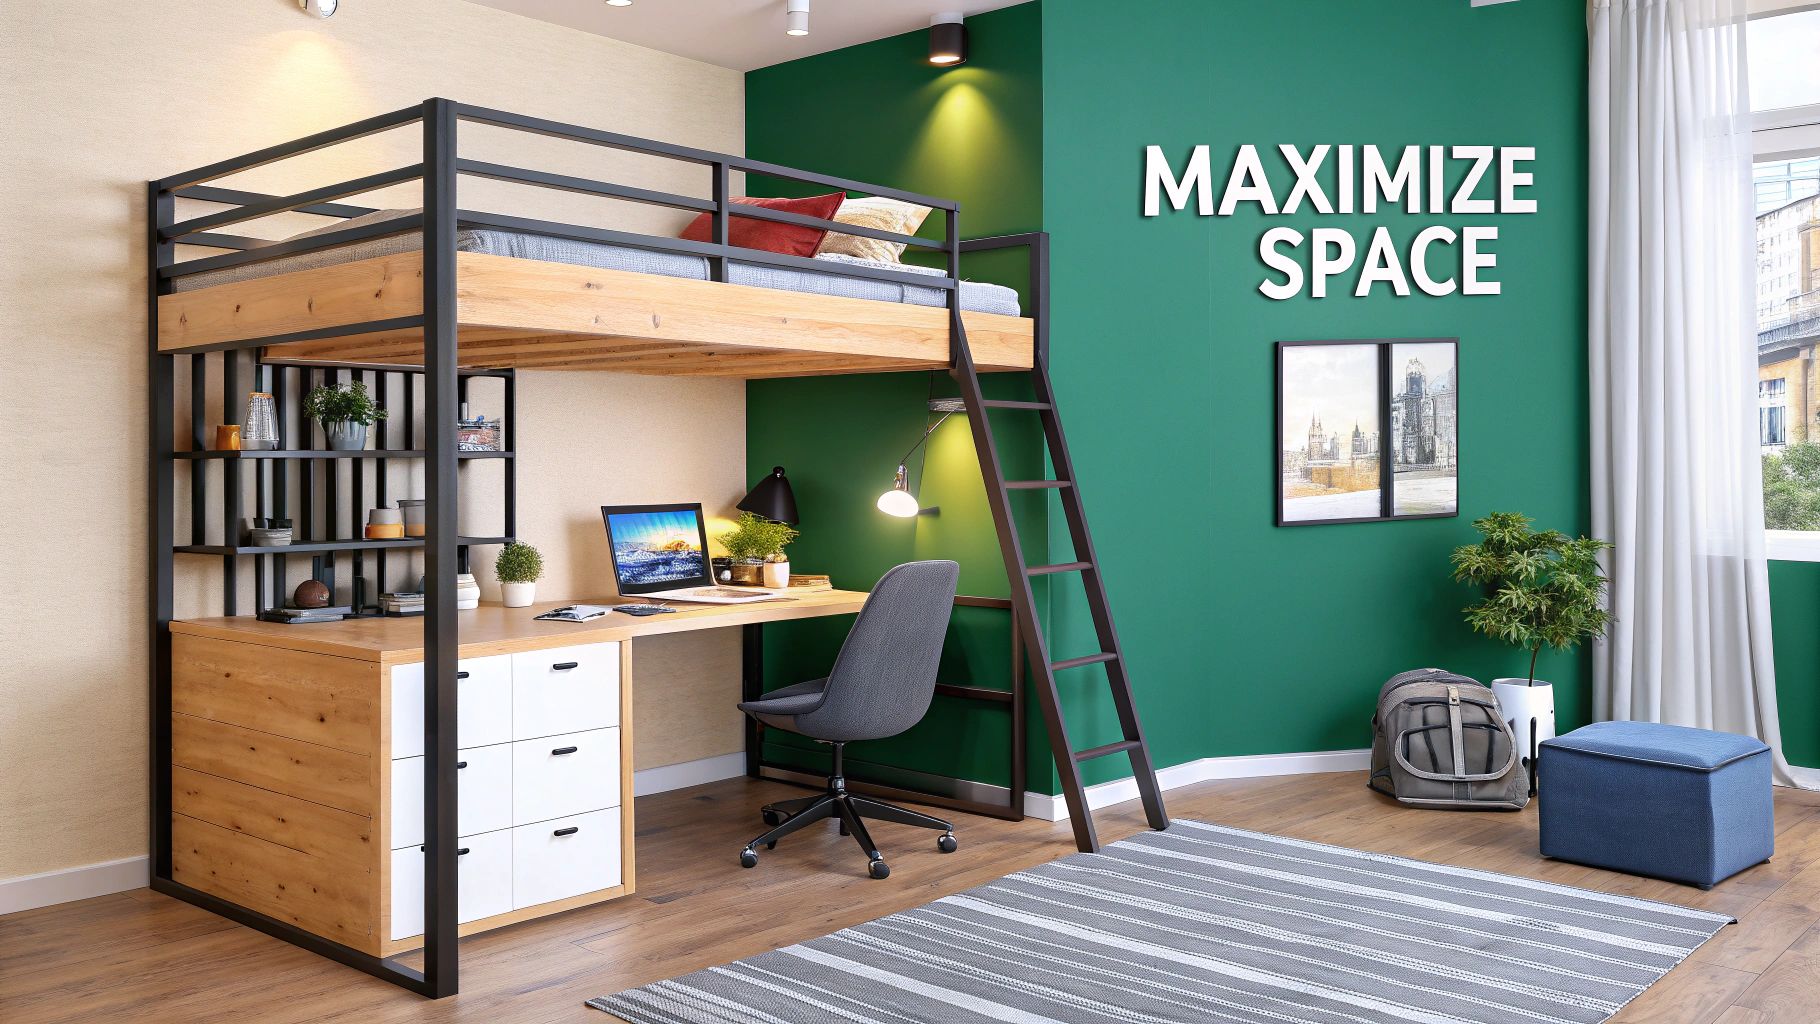
Before you even think about moving a single piece of furniture, grab a tape measure and sketch out a rough floor plan. This isn't just about making sure your sofa fits through the door—it’s about truly understanding the canvas you're working with. A little planning upfront prevents costly mistakes and ensures every single item has a purpose.
Think about your lifestyle. Are you working from home and need a dedicated desk area? Or are you the social type who needs space for friends to hang out? How you actually live day-to-day should dictate how you divide up your square footage. This initial planning phase is the key that unlocks everything else.
Understanding the Modern Studio Dweller
Living in a studio is more common than you might think, especially in big cities. As urban areas grow and lifestyles change, these smaller living spaces have become incredibly popular. In New York City alone, for example, studio apartments make up about 7% of the rental market. This trend just goes to show how much demand there is for clever, space-saving designs that don't sacrifice comfort or style.
As you get started, exploring a variety of smart small room layout ideas can give you a ton of inspiration for dealing with your own unique spatial challenges.
A successful studio layout isn't about having less; it's about making every square inch work harder for you. It's that sweet spot where practical function meets your personal style to create a space that feels both open and organized.
This is also the perfect time to declutter. Trust me, planning is so much easier when you're starting with a clean slate. To get a head start, our home organization checklist is a fantastic resource for streamlining your belongings before you start arranging them. With a clear plan and a clutter-free space, you're ready to create a layout that truly feels like home.
Create Distinct Zones Without Building Walls
The real art of designing a studio layout is creating the illusion of separate rooms within one open space. We call this zoning, and it’s how you mentally and visually transform a single area into functional zones for living, sleeping, and dining. It’s less about construction and more about clever, strategic placement.
Your goal is to establish clear boundaries without blocking light or killing the flow. The back of a sofa, for instance, is one of the most powerful tools in your arsenal. By floating your couch away from the walls, its back creates a strong psychological line, effectively separating your living area from your sleeping nook.
To see how experts define these areas, this visual guide is a great starting point.
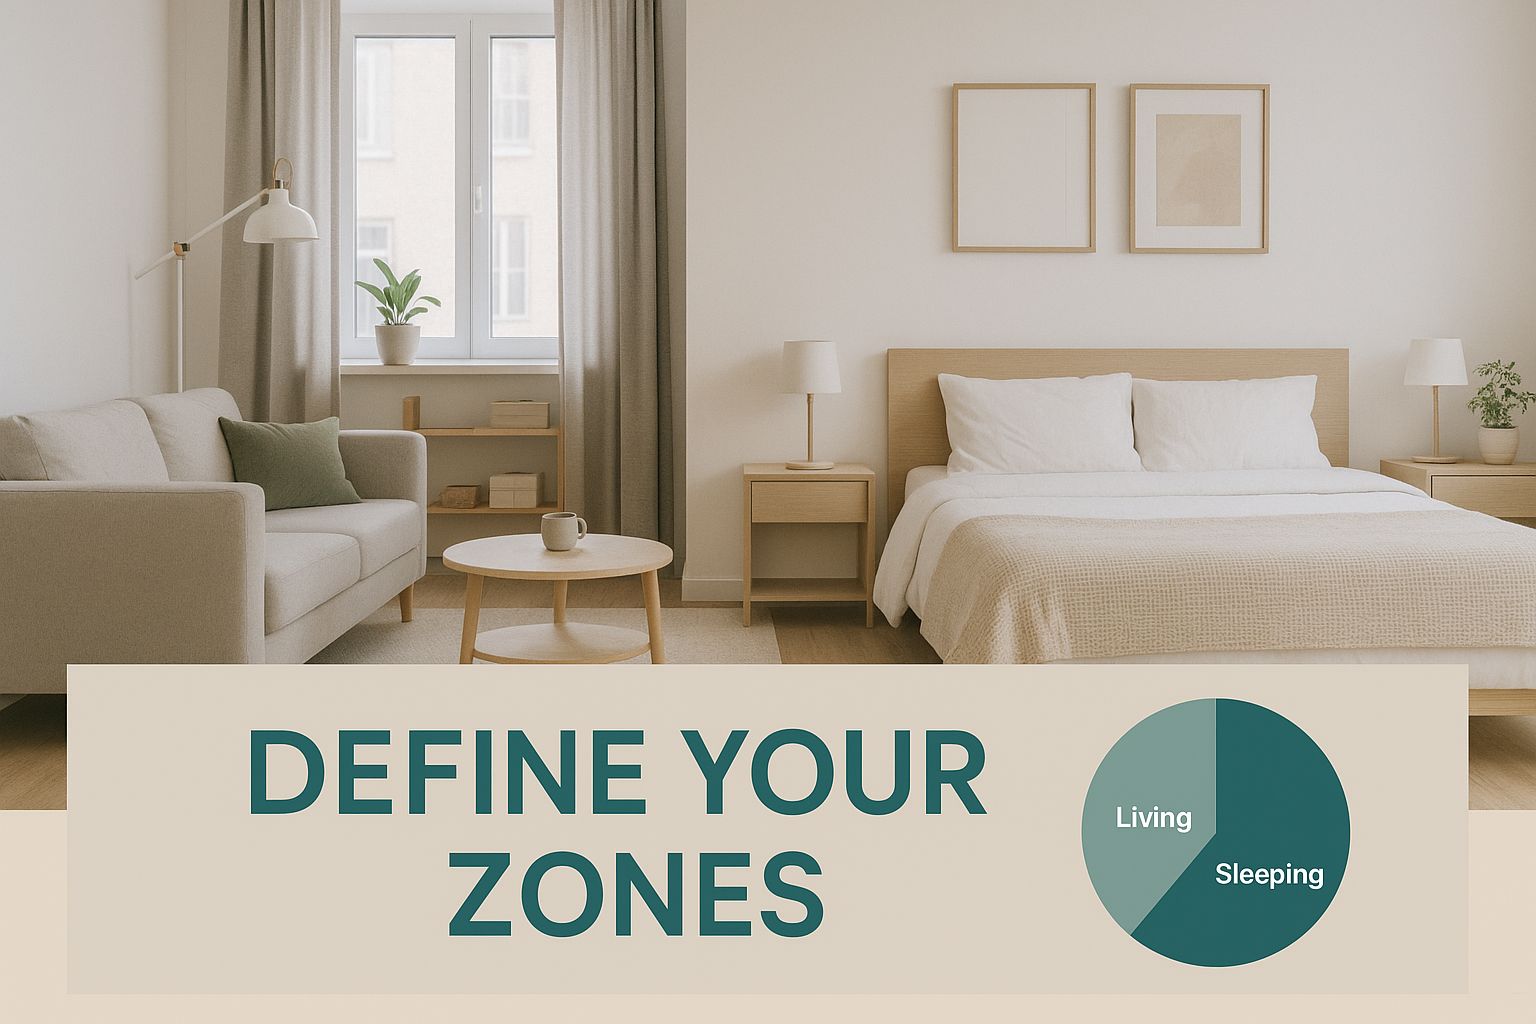
As you can see, distinct living and sleeping zones can coexist peacefully. It just goes to show that a thoughtful layout is far more impactful than physical walls.
Use Furniture as Dividers
Beyond your sofa, other pieces of furniture can act as subtle yet effective partitions. An open-backed bookshelf is a classic choice for a reason—it separates your bedroom area while allowing light to pass through, maintaining a sense of openness and providing much-needed storage.
Even something as simple as a tall, narrow shelving unit can work wonders. Placing one perpendicular to a wall can carve out a small home office or a dedicated reading corner. The key is to choose pieces with a light, airy profile to avoid making the space feel heavy or cluttered.
Pro Tip: When using furniture to divide a room, always maintain a clear, unobstructed path from one end of the studio to the other. This "main artery" is crucial for making the space feel functional and intentionally designed, not just crowded.
Many people find that combining storage with separation is the most efficient approach. If you're looking to get creative, our guide on room divider storage solutions offers some practical ideas for pieces that can pull double duty.
Zoning Techniques and Their Best Use Cases
Creating zones isn't a one-size-fits-all process. Different techniques have different impacts on your space's feel and flow. Here's a quick breakdown to help you decide which methods will work best for your studio apartment.
By mixing and matching these ideas, you can build a layered, functional layout that makes your studio feel much larger and more organized than it actually is.
Anchor Zones with Rugs and Lighting
Never, ever underestimate the power of a good area rug. Placing a large rug under your living room furniture—sofa, coffee table, and accent chair—instantly grounds the space and signals, "This is the living room." It creates a visual island that contains a specific activity.
Lighting works in a similar way. A pendant light hanging over a small dining table designates that spot for meals, while a floor lamp next to an armchair creates a cozy reading nook. You're essentially using light to draw attention and set different moods for each functional area.
There's even a generally accepted formula for this. A balanced studio layout often allocates roughly 40% of the floor space to a living area, 30% to a sleeping area, and the remaining 30% to dining and kitchen functions. Following this guideline helps ensure no single zone overpowers the others, creating a harmonious and practical home. By combining these techniques—furniture placement, rugs, and lighting—you can masterfully define your space.
Choose Furniture That Works Twice as Hard
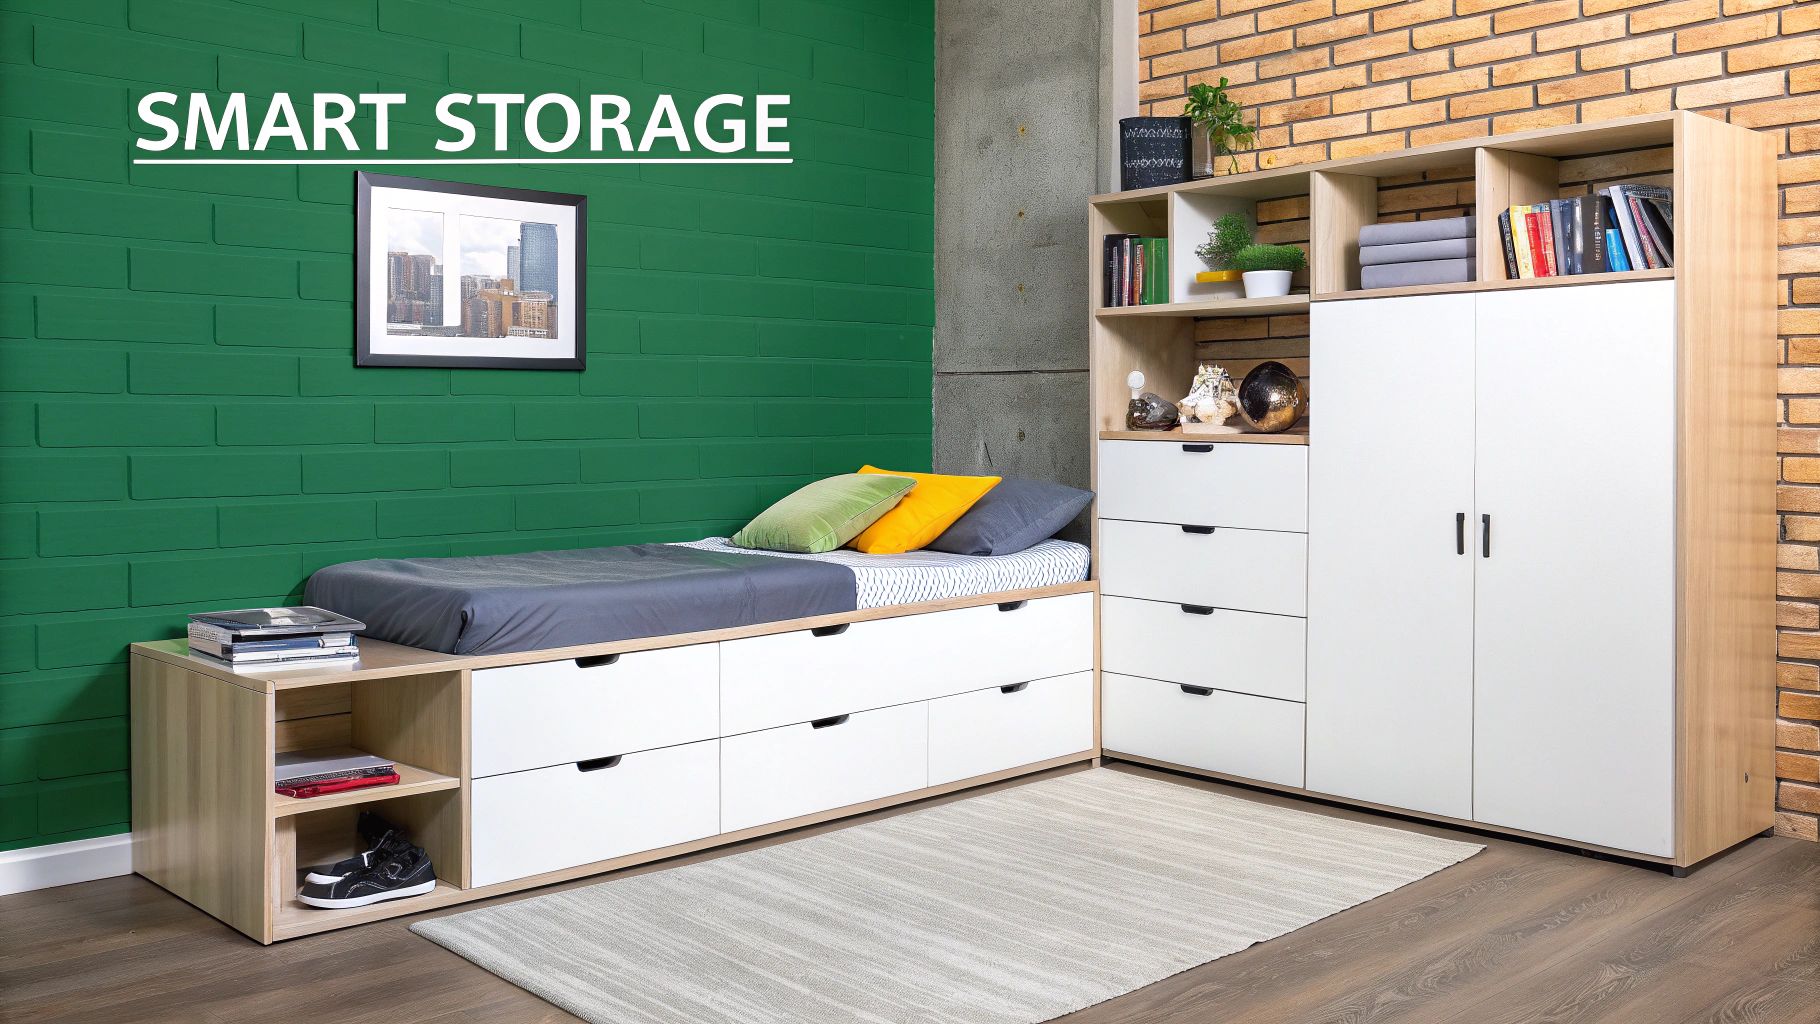
In a studio apartment, every piece of furniture is prime real estate. Think of it this way—your furniture isn't just there to look good; it's an active member of your household with a job to do. My golden rule for furnishing a studio is that every major item should serve at least two purposes or solve a critical storage problem.
This is where multi-functional furniture becomes your secret weapon. It's all about choosing pieces that are clever, adaptable, and designed for modern, compact living. A single smart swap can completely change how your space functions.
Embrace the Power of Multi-Functionality
Your coffee table doesn't just have to hold your remote and a drink. A lift-top coffee table is the perfect example of this in action. By day, it's a stylish centerpiece; by night, it can rise up to become your dining table or a comfortable workstation. Game changer.
Similarly, an ottoman isn't just a place to prop your feet up. Opt for one with hidden storage, and you’ve suddenly gained a discreet spot to stash blankets, board games, or extra pillows. This approach lets you keep a clean, uncluttered look while keeping everyday essentials within arm's reach.
Here are a few multi-functional heroes I always recommend for studios:
- Sofa Beds and Daybeds: Modern sleeper sofas are surprisingly comfortable and stylish, offering a seamless transition from a living area to a sleeping zone.
- Nesting Tables: These provide flexible surface area when you have guests but can be tucked away neatly to save precious floor space when you don't.
- Platform Beds with Drawers: This is one of the easiest ways to add a massive amount of storage without taking up any additional square footage.
If you're looking for more ideas, you can learn more about space-saving furniture in our detailed guide, which dives into even more clever solutions.
Master Scale and Visual Weight
Beyond pure function, the physical and visual size of your furniture is incredibly important in a studio. "Visual weight" refers to how heavy a piece of furniture feels in a room, not what it actually weighs. Bulky, solid pieces can instantly make a small room feel cramped and heavy.
The secret to making a small space feel larger is to choose furniture that allows you to see more of the floor and walls. When your eye can travel uninterrupted, the brain perceives the room as being more open and spacious.
To reduce visual weight, look for furniture with exposed legs. A mid-century modern sofa or a console table on slender legs allows your eye to see the floor underneath, creating an illusion of more space. This simple trick prevents your layout from feeling dense and crowded. For those who want to skip the furniture hunt altogether, exploring options for finding furnished apartments in the Netherlands can simplify the move-in process.
Use Height to Your Advantage
Don't forget to look up! Vertical space is one of the most underutilized assets in any studio apartment. Instead of a wide, short bookcase that eats up valuable floor space, go for a tall, narrow one.
This strategy accomplishes two things:
- It gives you ample storage without a large footprint.
- It draws the eye upward, creating a sense of height and making the ceiling feel further away.
Ladder shelves are another excellent choice, as their open design feels light and airy while offering plenty of room for books, plants, and decor. By choosing furniture that is both multi-functional and visually light, you’ll create a studio that is not only practical but feels genuinely spacious and inviting.
Effective Layouts for Common Studio Shapes
A studio’s shape drastically changes the rules of engagement for your furniture layout. A strategy that works wonders in a square room will feel awkward and cramped in a long, narrow one. Mastering your specific footprint is the key to a successful studio apartment furniture layout.
Let’s break down the three most common studio shapes—the rectangle, the square, and the L-shape—with actionable blueprints for each.
The Long Rectangular Studio
Often called a "bowling alley" or "railroad" apartment, the long, narrow rectangle is a common puzzle. The main goal here is to sidestep that tunnel effect where everything just lines one long wall. Instead, think in terms of linear zoning, creating distinct sections as you move from one end of the room to the other.
A great way to do this is by placing furniture perpendicular to the long walls. Something as simple as a low bookshelf or the back of your sofa can cut across the space, creating a visual barrier between your living and sleeping areas.
This act of interruption stops the eye from seeing one long, continuous space and starts to create the illusion of separate rooms. You can learn more about how to pull this off by checking out our guide to maximizing space in a studio apartment, which has even more tips on strategic division.
My favorite trick for a rectangular studio is to create a clear pathway along one wall and cluster all the functional zones along the other. This prevents a zigzagging traffic flow and makes the entire apartment feel more organized and intentional.
Here are a few core principles to follow for a rectangular studio:
- Place the Bed Furthest Away: Position your bed at the far end of the apartment, away from the entrance. This gives you the most privacy possible.
- Create a Central Living Zone: Anchor the middle of the room with your living area—a small sofa facing a media console on the opposite wall, all grounded by an area rug.
- Use the Entryway for Dining: A small, round two-person table can often fit perfectly near the kitchen or entryway without disrupting the main flow of traffic.
The Square Studio
A square studio offers a lot more flexibility but can feel boxy and uninspired if you're not careful. The key here is to create a central anchor and arrange your zones around it, rather than just pushing everything against the walls. I call this the "pinwheel" approach, and it makes the space feel so much more dynamic.
Your anchor could be the living area. Try floating your sofa in the middle of the room, facing the wall with the best view or your TV setup. The space created behind the sofa naturally becomes another zone—perfect for a slim desk or a small dining table.
The L-Shaped Studio
If you have an L-shaped studio, you've hit the jackpot. That little nook, or alcove, provides a natural point of separation that you should absolutely take advantage of. It’s the perfect spot to tuck away your bed, creating a semi-private bedroom that feels distinct from the main living area.
Alternatively, if you work from home, that alcove can become an ideal office space. By placing your desk and shelving in this area, you can mentally "leave work" when you step back into the main part of the room. This built-in division is a huge advantage for creating a balanced living environment.
To help you visualize these ideas, here's a quick summary of how to tackle each common studio shape.
Layout Ideas for Common Studio Shapes
Each shape has its quirks, but with the right strategy, you can turn any layout into a functional and stylish home. It's all about working with what you have, not against it.
Bring Your Personal Style to the Layout
Getting your studio zones just right is a huge win, but a functional layout is really just the starting point. Now it's time to layer in your personal style—the very thing that turns a clever floor plan into a place that actually feels like home.
This is where you move past pure function and start having some real fun with the design. It’s all about adding those finishing touches that say something about who you are. Don't worry, this doesn't mean cluttering up your precious square footage. It just means being intentional with every color, texture, and piece of decor you bring in.
Adapt Design Trends for Small Spaces
Just because you live in a smaller space doesn't mean you have to sit out on the latest design trends. The trick is simply knowing how to adapt them. One of the biggest trends making a comeback right now is a return to retro, especially 1970s-inspired design.
It's not just a niche thing, either. Recent surveys of over 600 interior design professionals revealed a major shift toward these retro vibes, with 27% of U.S. and 29% of U.K. designers pointing to the 70s as a top source of inspiration. The style's signature earthy tones and curvy, low-profile furniture work beautifully in studios because they add a ton of warmth and character without feeling bulky. You can see more insights into 2024 design trends from 1stDibs.
Biophilic design—the practice of bringing nature indoors—is another trend that feels right at home in a studio. A few well-placed plants can inject life, texture, and a welcome pop of color, making the whole room feel fresher. A tall snake plant in a corner or a hanging pothos adds great vertical interest without eating up any floor space.
Use Light, Mirrors, and Textiles
The final details are what really make a layout sing. Getting strategic with these elements can completely change the feel of your studio.
- Lighting is everything. Don't rely on a single overhead light. Use a mix of sources to create different moods. A main fixture gives you general light, a floor lamp can carve out a cozy reading nook, and some simple under-cabinet lighting makes a small kitchen feel way more open.
- Mirrors are a classic trick for a reason. A large mirror hung opposite a window is the oldest trick in the book because it works. It bounces light all over the room and reflects the view, creating a powerful illusion of depth that instantly makes the space feel bigger.
- Layer your textiles. Soft textures are what make a space feel warm and comfortable. Think about a plush area rug to ground your living zone, a chunky knit throw blanket tossed over the sofa, and a few good decorative pillows. Simple additions like these are what make a space feel lived-in and inviting.
And don't forget to look up! Your vertical space is a key asset. Wall-mounted shelving not only gives you more storage but also draws the eye upward, creating a sense of height. For some great ideas, check out our guide on DIY floating shelf ideas to get the most out of your walls.
By thoughtfully layering these stylistic elements onto your functional layout, you create a space that is not just well-organized but is a genuine reflection of your personality. This is the final step in making your studio apartment a true home.
Common Studio Layout Questions Answered
Even the most meticulously crafted plan runs into a few real-world hiccups. When you're in the thick of arranging furniture, questions always pop up, and getting a quick, practical answer can save you a world of frustration. Let's dig into some of the most common challenges I see people face when laying out a studio.
How Can I Create Privacy for My Bed in a Studio?
This is, without a doubt, the number one question. Making your sleeping area feel separate is the key to turning a studio from a glorified dorm room into a real home.
One of the most popular and effective tricks is to use a tall, open-backed bookshelf as a room divider. Something like an IKEA KALLAX is a classic for a reason: it creates a clear visual break and adds a ton of storage without killing the light or flow of the room. If you need more flexibility, a stylish folding screen can be a great choice since you can move it or tuck it away easily.
For a softer, cozier vibe, think about hanging curtains from a ceiling-mounted track. This lets you create an enclosed little "bedroom" when you want privacy but allows you to open everything up and make the space feel huge during the day.
What Is the Biggest Studio Layout Mistake?
The most common mistake I see, time and time again, is pushing every single piece of furniture flat against the walls. It's an instinct—you want to create a big open space in the middle—but it paradoxically makes the room feel smaller and undefined, almost like a doctor's waiting room.
The better approach is to "float" your key furniture pieces. Pull your sofa away from the wall, even by just a few inches. Stick a slim console table behind it. Use a great area rug to anchor your living "zone" and arrange the furniture on or around its edges. This simple shift creates deliberate zones and pathways, making the whole studio feel more dynamic and thoughtfully designed.
Can I Fit a Dining Area in a Really Small Studio?
You absolutely can! You just have to let go of the idea of a traditional, clunky dining set.
A small, round pedestal table is your best friend here. With no sharp corners to bump into, it takes up far less visual and physical space. Pair it with two streamlined chairs you can tuck right underneath.
Another fantastic option is a drop-leaf table. You can keep it folded down against a wall for daily use and then pop up a leaf when you have a guest over. For the tightest of spaces, a lift-top coffee table that converts to dining height is the ultimate multi-tasker, handling both living and dining duties without taking up an extra inch.
What Is the Best Type of Bed for a Studio Apartment?
There's no single "best" bed, but the right one for your studio will perfectly balance space, comfort, and storage. Here are the top contenders I always recommend:
- For Maximum Space: The Murphy bed is the undisputed champion. It folds up into the wall, literally giving you back an entire room's worth of floor space every single day.
- For Versatility: A high-quality sofa bed or a stylish daybed works double-duty, offering comfy seating and a place to sleep. It’s a smart, often budget-friendly, two-for-one solution.
- For Storage: A platform bed with built-in drawers underneath is a total game-changer. It provides a massive amount of hidden storage without adding any bulk to the room's footprint.
No matter which style you lean toward, try to skip bulky headboards and footboards. Sleek, low-profile designs are the way to go in a studio layout, as they keep the bed from visually dominating the entire space.
If getting rid of clutter feels like the biggest roadblock to your perfect layout, Endless Storage can give you that breathing room. We offer simple, by-the-box storage solutions to help you free up precious space in your studio, minus the hassle of a traditional storage unit. Learn more about how it works.
Frequently Asked Questions
Unveiling the Secrets to Effortless Storage
Endless Storage is available nationwide. You pick a plan, tell us where to pickup, and we'll send a UPS van to collect, whichever state you're in.
Your shipping label will be sent to your email within a few minutes, if not instantaneously. It can also be accessed through your customer profile.
Your box will be shipped to one of our climate controlled self storage facilities in our closest self storage facility. Our manager will accept your package, notify you that your box has been received, and securely stored. Only our managers will have access to Endless Storage boxes.
Email us at admin@endless-storage.com click to live chat with us, or send us a message below.
Never! We're committed to transparent pricing with no surprises. You'll lock in your rate with no hidden fees and no long-term contracts.
Fast access guaranteed! Your boxes will arrive at your doorstep within 48 hours of requesting them back. Need to check on delivery? We provide tracking information for complete peace of mind.
Totally flexible! Store month-to-month with no long-term commitment and cancel anytime.
Everything's online! Use your account dashboard to:
• Set up automatic monthly payments
• Request box returns
• Update your address
• Order additional boxes
• Track shipments
Your boxes are insured up to $100 each. Our customer service team will help you file any necessary claims and resolve issues quickly.
Don't worry – we'll email you right away if there's a payment issue. Your items stay safe, though you may have temporary service interruption or late fees until payment is resolved.
When you request our free storage kits, you'll have 30 days to send in your boxes to activate your 3 months of free storage. Think of it like starting a gym membership – your activation window begins when you receive your kits, and your full free trial begins once you send in your first box. During your free months, you'll experience our complete storage service at no cost.
Your 30-day activation window begins when you receive your storage kits. We'll send you an email confirmation when your kits are delivered, marking the start of your activation period.
If you haven't sent any boxes for storage within your 30-day activation window, your free trial will expire and we'll begin charging the regular monthly rate of $9.99 per box. This helps ensure our storage kits go to customers who are ready to use our service.
A box costs $9.99 per month to store (plus sales tax). This price includes free shipping for standard boxes under 50 lbs. and smaller than 16"x16"x16"
Log into your Endless Storage account, locate the box you would like returned, and simply click Return My Box.
Yes, each box stored with us is insured for up to $100 throughout transit as well as the duration of storage within our facilities.
Your box will be at your doorstep within 48 hours of you requesting it back.
Store 10+ boxes? We'll pick them up for free! After your purchase, we'll contact you to schedule a convenient pickup time and arrange UPS collection.
We trust UPS with all shipments, and every box includes $100 insurance coverage. You'll receive tracking information to monitor your items' journey.
Yes! Visit any of our locations by appointment. Just bring a photo ID matching your customer profile.
For everyone's safety, we can't store hazardous materials, firearms, or perishables. All items must fit within our standard boxes.
It's easy! Order your storage kit online, and we'll ship it to you within 1-2 business days. Your shipping labels will be emailed instantly and available in your account.
We're here to help! Email us at admin@endless-storage.com, use our live chat, or send us a message through your account.
To cancel your storage service with Endless Storage, please email your cancellation request to admin@endless-storage.com. Our team will process your request within 2 business days and confirm your cancellation via email.
We understand packing takes time. However, to maintain your free trial benefits, you'll need to send at least one box within the 30-day activation window. If you need more time, you can always start with one box to activate your trial and send the rest later. You can always reach out to admin@endless-storage.com if you have any issues or concerns.
When you request our free storage kits, you're starting a 30-day window to begin using our storage service.
To avoid any charges, simply send at least one box for storage within 30 days to activate your 3-month free trial. If you decide not to use our service and don't send any boxes within the 30-day window, a one-time $50 fee will apply to cover the costs of materials and shipping. This helps ensure our storage kits go to customers who are ready to use our service.
Think of it like reserving a hotel room – we're setting aside space and sending specialized packing materials for your use. The fee only applies if you request materials but don't begin storage, similar to a hotel's no-show charge.
