
Looking at a mountain of unsorted baseball cards can feel completely overwhelming, whether you're jumping back into a childhood hobby or starting a brand new one. The key to successfully organizing baseball cards is to pick a sorting strategy before you even touch a card. Deciding whether you’ll sort by player, team, year, or set is the first step that turns a chaotic pile into a structured, manageable system.
Tackling the Chaos of Your Card Collection
Getting started is always the hardest part. It doesn’t matter if you have a single shoebox or fifty massive monster boxes; the sight of all that unsorted cardboard can be paralyzing. Many collectors, both new and old, get stuck right here. The pandemic actually pulled a lot of people back into the hobby, leading them to unearth collections that had been gathering dust for decades.
The trick is to stop seeing it as one giant project and start breaking it down into smaller, achievable tasks. Just like any big undertaking, small wins make it manageable. If you’re feeling totally swamped, our guide on how to start decluttering has some great strategies that work just as well for cards as they do for closets.
Why Organization Matters More Than Ever
Properly organizing your baseball cards is about so much more than just being tidy. It’s a crucial step for preserving their condition and, ultimately, their value. When your collection is in order, you can find specific cards in seconds, easily spot duplicates, and actually appreciate the story your collection tells.
This isn't just a casual hobby for everyone anymore; for many, it’s a serious investment. A methodical approach ensures your assets are protected and accessible, turning a nostalgic pastime into a tangible portfolio.
The stakes are higher than they've ever been. The global trading card market was valued at over $13 billion in 2025 and is on track to hit $21 billion by 2034. This incredible growth has shifted baseball cards from a childhood novelty into a legitimate asset class. By setting up a clear system now, you’re not just cleaning up a mess—you’re protecting a collection that could hold significant future worth.
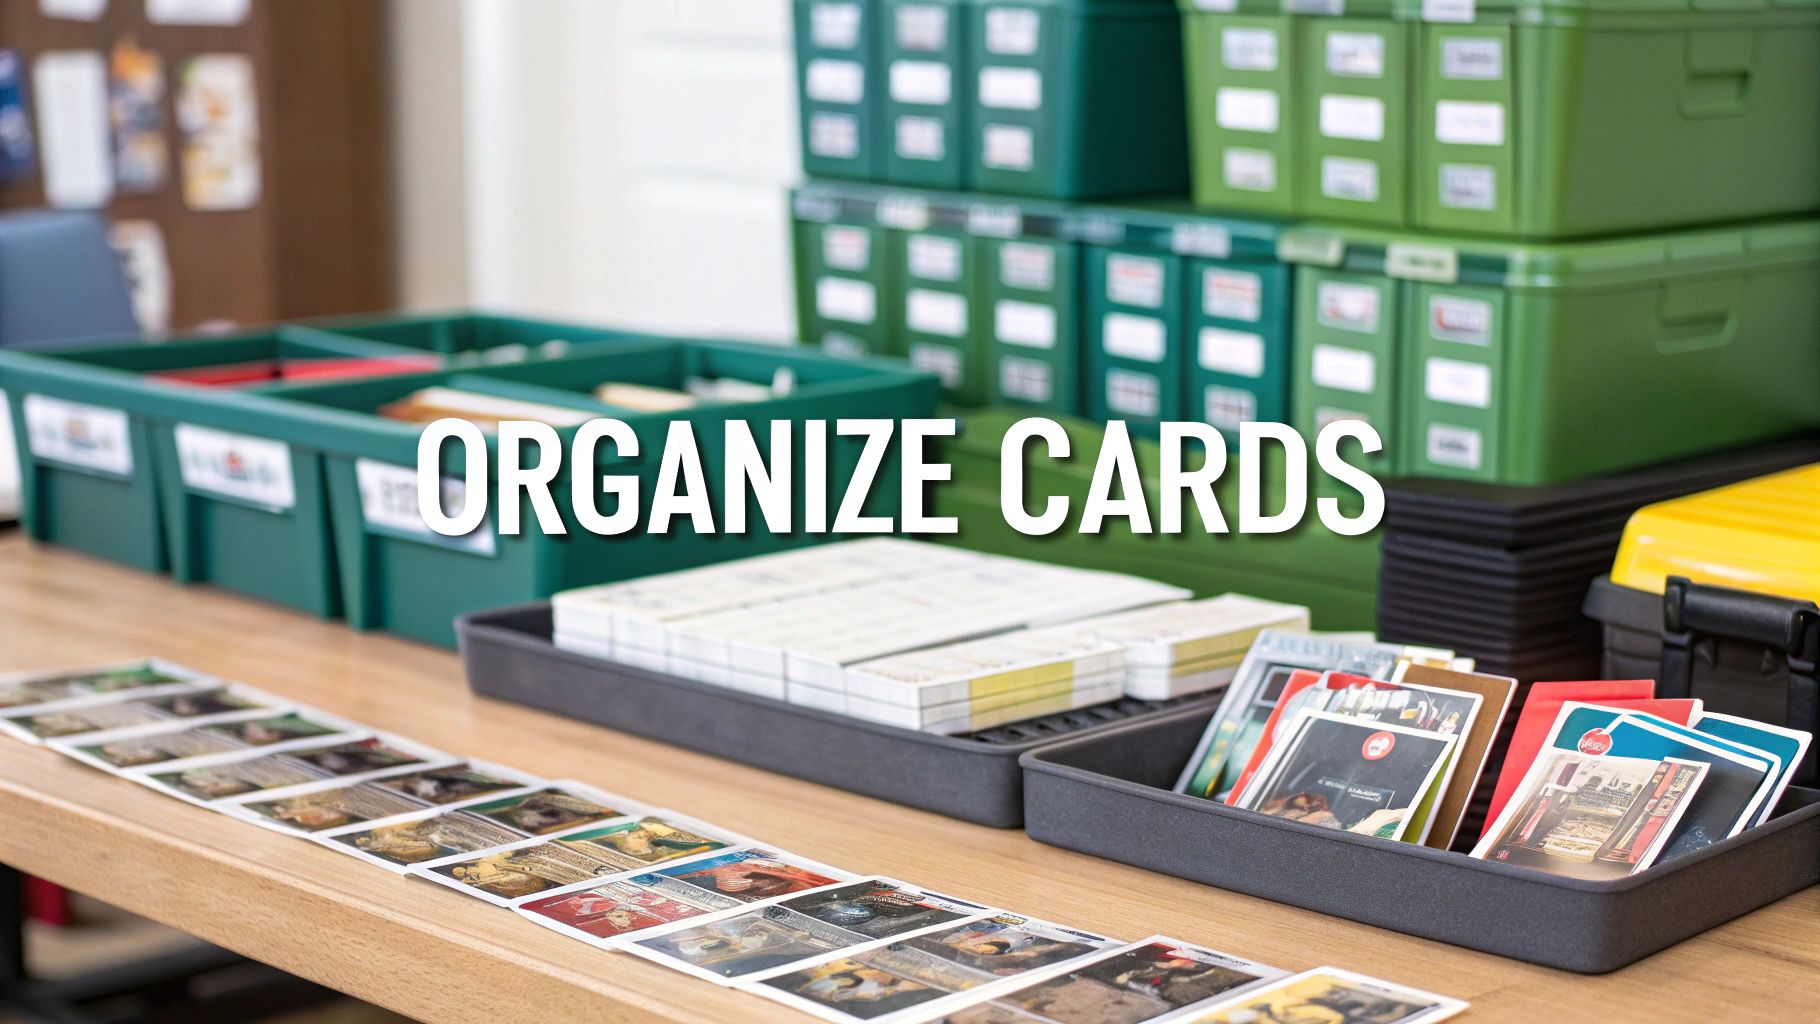
Finding Your Sorting Strategy
This is where the real work begins—and honestly, it's half the fun. There’s no single “right” way to sort your collection. The best method really comes down to what you want to get out of the hobby and how you plan to use the cards down the road.
Before you dive in, find a clean, well-lit space where you can spread out. A big dining room table or a dedicated desk is perfect. I’d also recommend using sorting trays or even just a few empty card boxes to keep your piles organized. Trust me, it only takes one accidental bump to turn neat stacks into a mess.
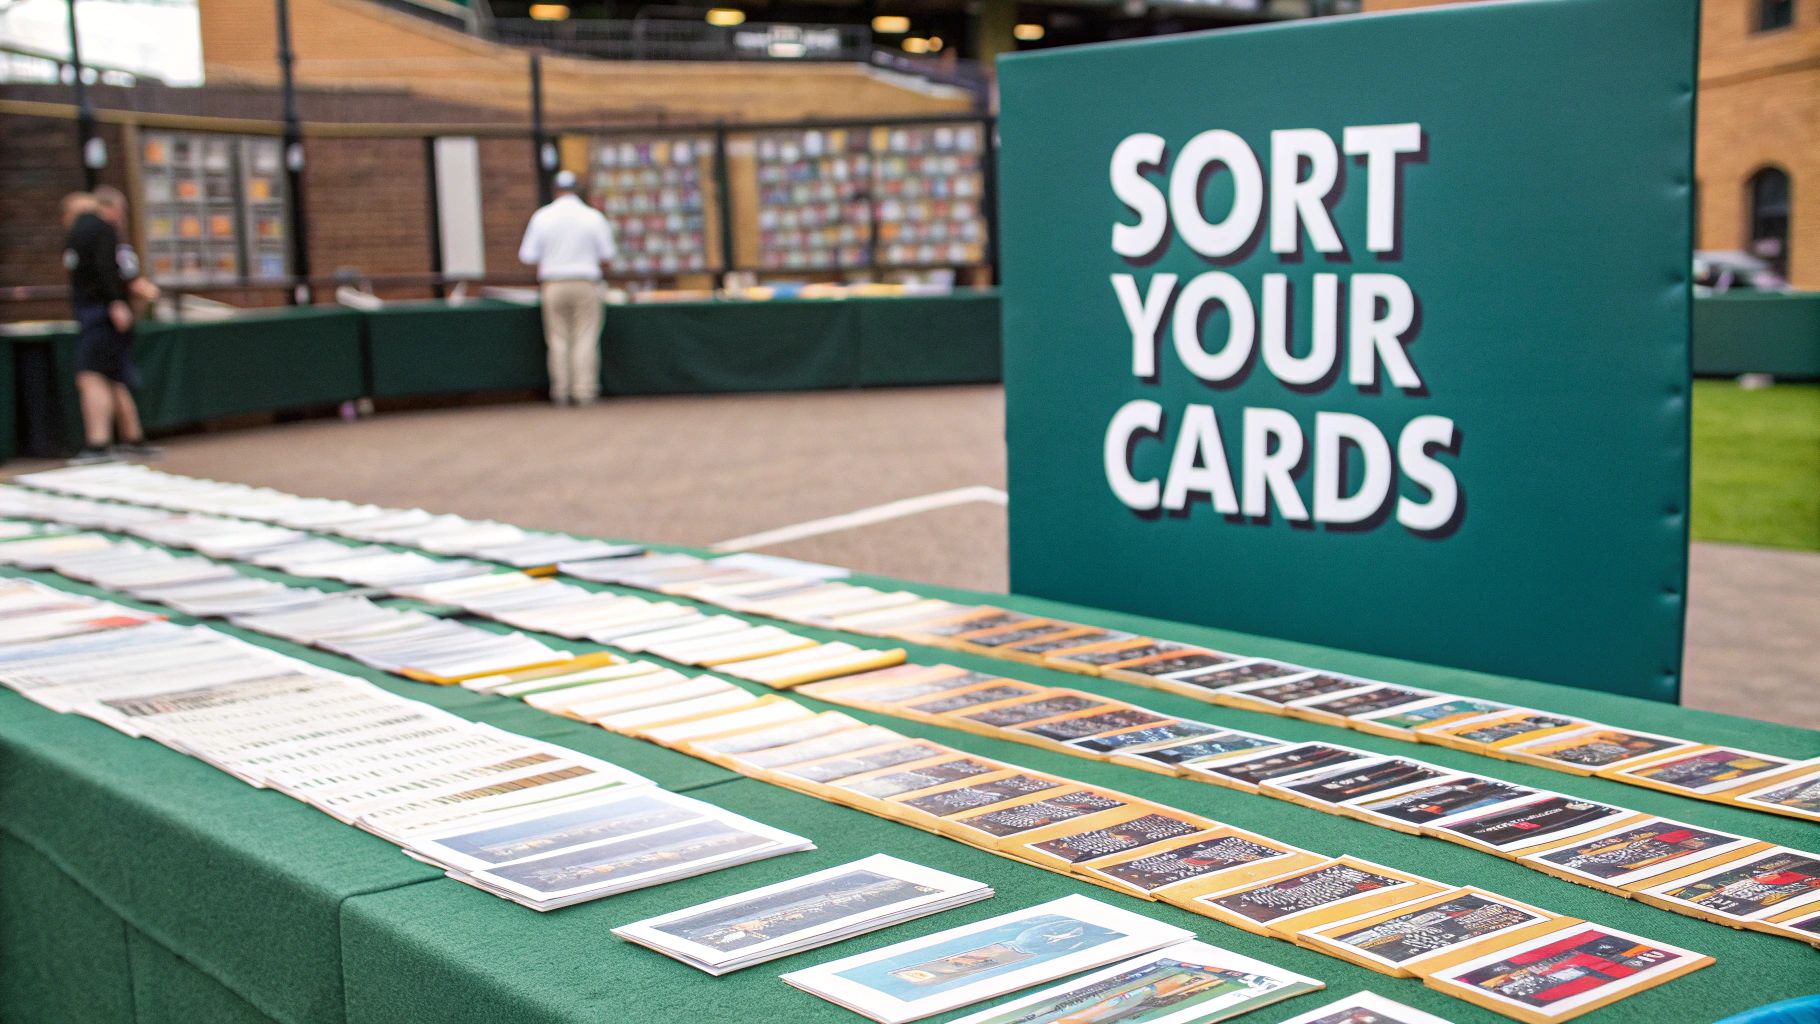
Sorting for Set Builders
If your main goal is completing specific sets, your path is pretty clear. This is probably the most common way to organize baseball cards, and there's a real sense of accomplishment every time you fill a gap in a checklist.
- Break it down by year first. Go through your entire collection and make piles based on the year printed on the card. All your 1987 Topps go in one stack, 2022 Bowman in another, and so on.
- Next, sort by card number. Once you have your yearly piles, tackle them one at a time and put the cards in numerical order. This makes it incredibly easy to see exactly which numbers you're missing from any given set.
This approach takes a mountain of random cards and gives it a logical flow, getting everything ready to slide into binders or labeled storage boxes.
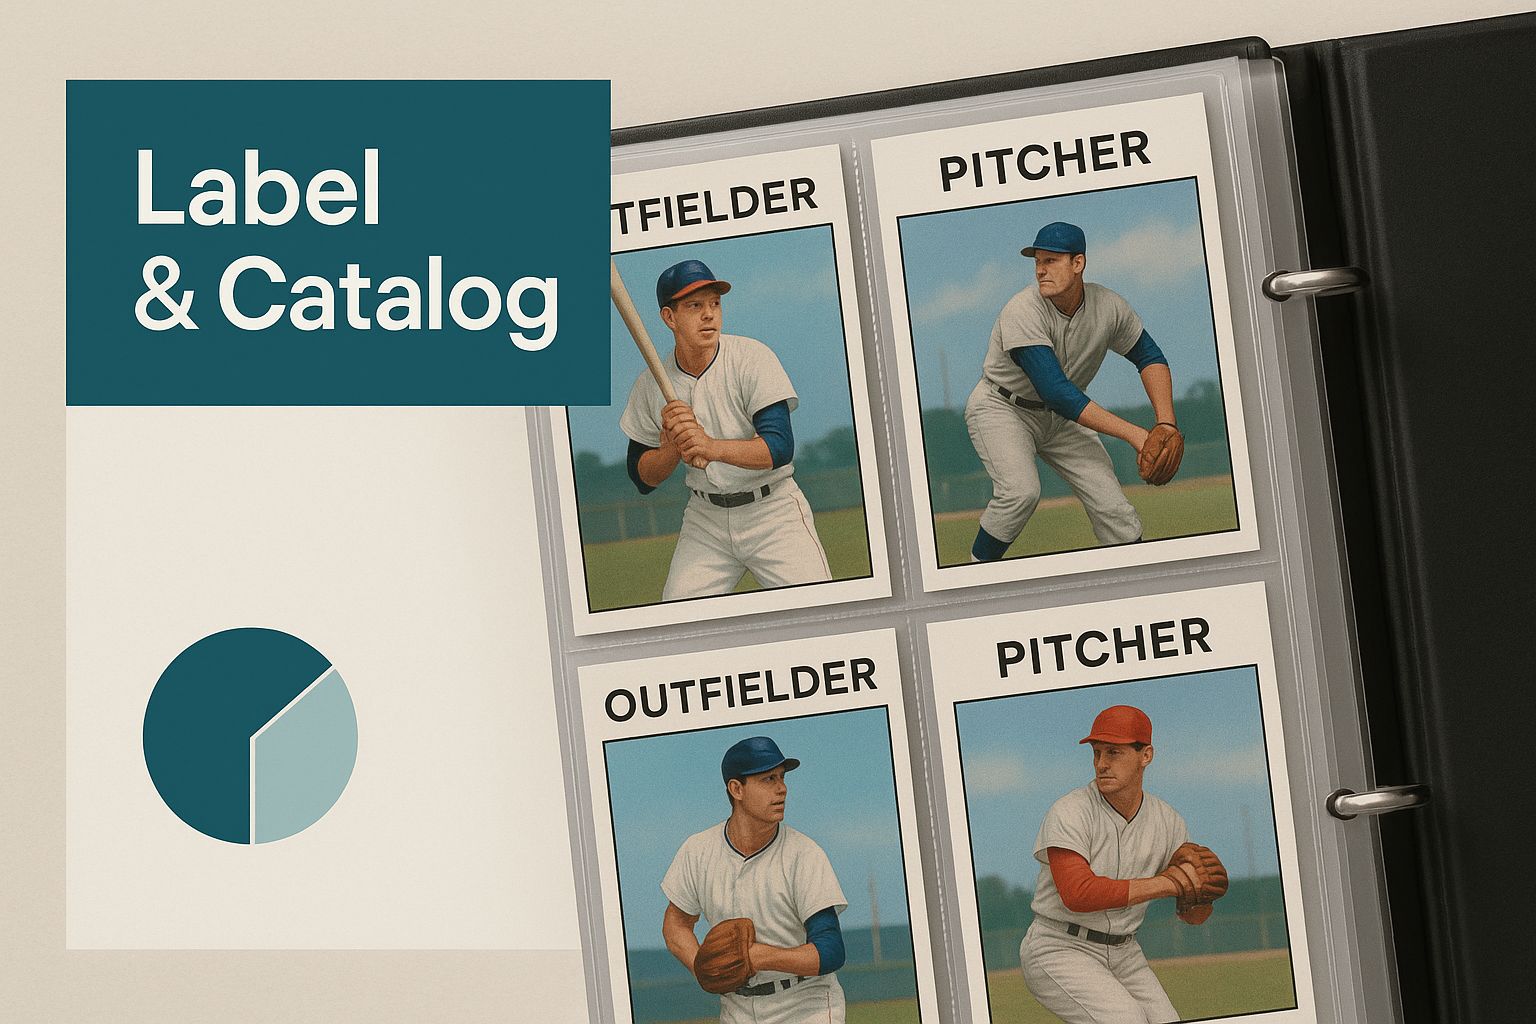
Sorting by Player or Team
Maybe you’re less focused on finishing sets and more interested in building a super-collection of your favorite player or team. This method adds a great personal touch to your collection.
Start by creating dedicated piles for your go-to players—one for Ken Griffey Jr., another for Shohei Ohtani, you get the idea. Any cards that aren’t for your star players can then be sorted alphabetically by team. This keeps your most valued cards front and center while still bringing order to everything else.
Collector's Tip: Don't get bogged down by commons. While you're sorting, have a separate box ready for all your duplicates and base cards of non-star players. You can circle back to these later and decide whether to sell them as a bulk lot, trade them, or just pack them away.
Once everything is sorted, keeping a detailed log is the key to tracking what you actually have. For a deeper look at this, check out our guide on how to create an inventory system for your collectibles. Having a simple digital or physical list helps you avoid buying duplicates and tells you exactly what to hunt for next.
Choosing the Right Protective Supplies
Once your cards are sorted, the next job is to keep them safe. We’re talking about protecting them from the dings, scratches, and fading that can absolutely tank a card's value over time. Think of the right supplies as a card's first line of defense.
Your most basic tool, and one you absolutely shouldn't skip, is the penny sleeve. This is a soft, thin plastic sleeve that every single card you care about should live in. It's the base layer. A common mistake I see is people putting a raw card directly into a hard case—don't do it! That’s how you get those tiny surface scratches that are impossible to fix.
Sleeves, Toploaders, and Beyond
For your heavy hitters—the rookies, autographs, parallels, or anything in mint condition—the toploader is your next move. These are the rigid plastic holders that offer serious protection against bends and impacts. Again, always slide the card into a penny sleeve first, then into the toploader. Shoving a raw card into a hard toploader is a recipe for scuffed surfaces and soft corners.
To help you choose the right gear for the right cards, here's a quick comparison of the most common supplies you'll find.
Card Protection Supply Comparison
Ultimately, having a mix of these supplies on hand means you're ready for whatever you pull from a pack.
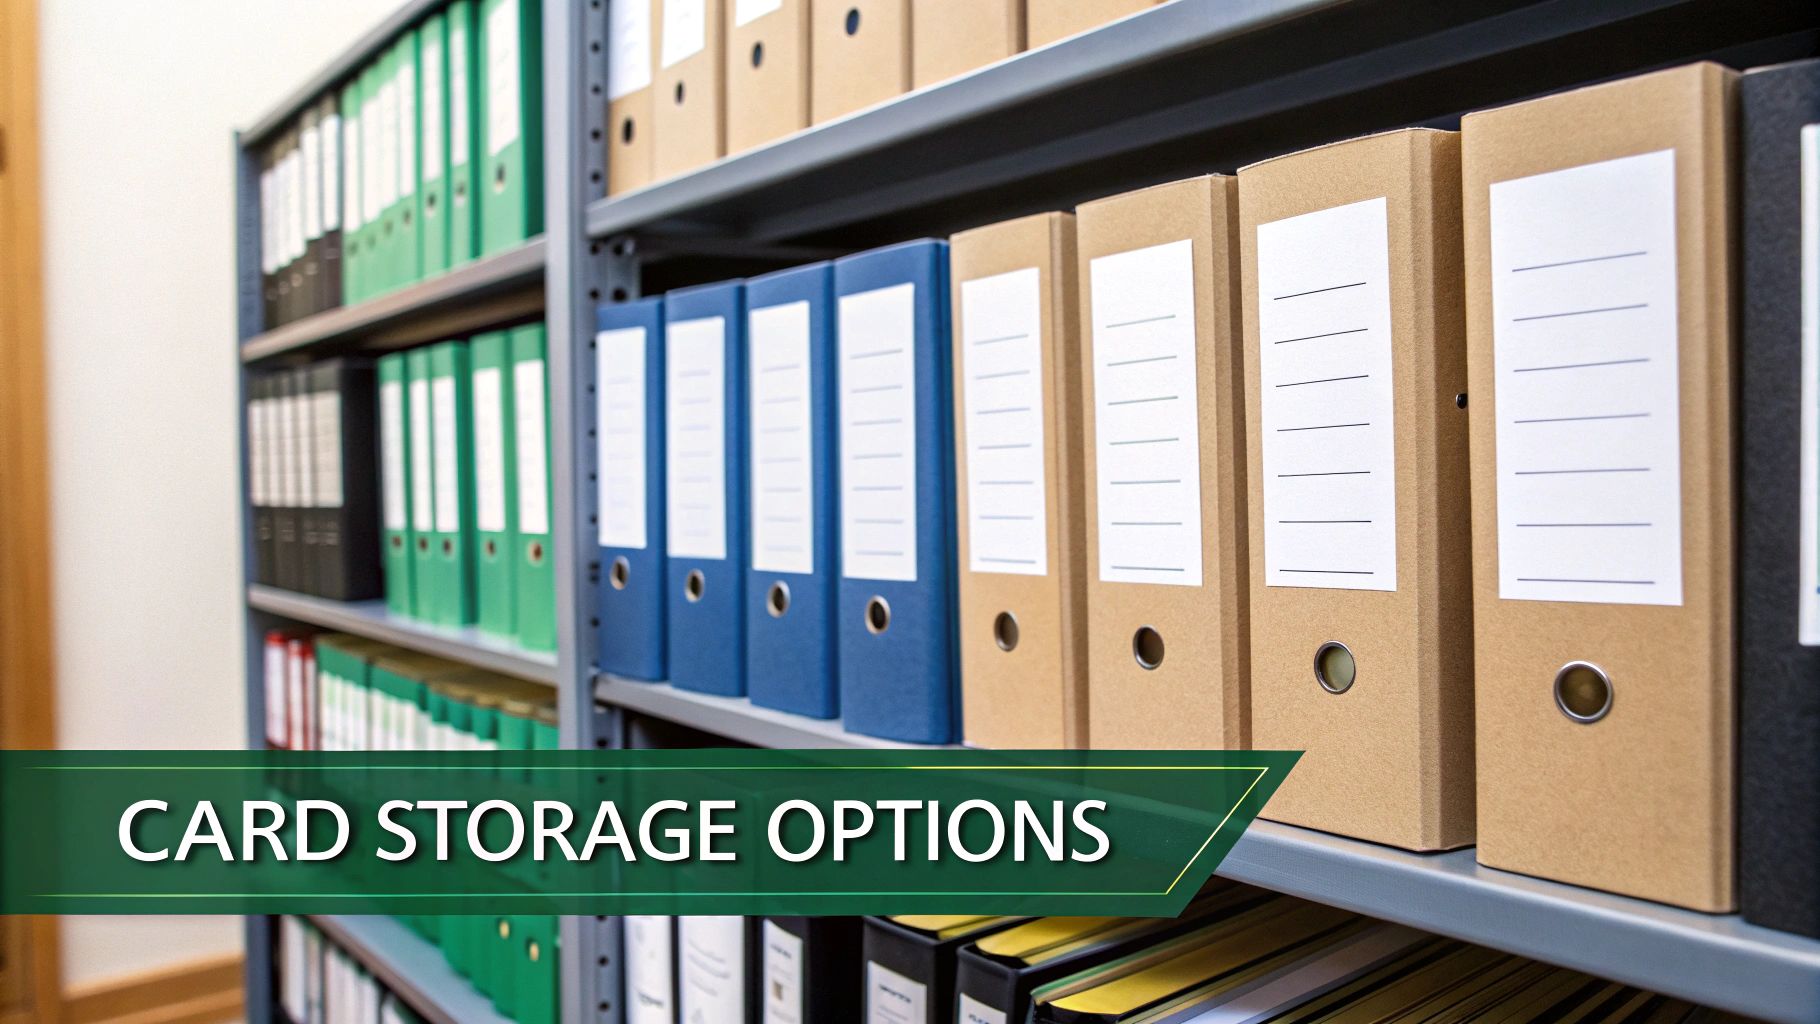
Finding the Best Storage Box
While binders are great for showing off a complete set, the real workhorse for any big collection is the cardboard storage box. They offer better protection, are easier to scale up as your collection grows, and are way more space-efficient. Plus, they save your cards from the ring damage that can happen over time with those classic three-ring binders.
For some extra tips on protecting delicate collectibles, check out our guide on packing materials for fragile items.
As you can see, properly labeling each box is what turns a mountain of cardboard into a searchable library. It's a simple step that makes a huge difference.
Key Takeaway: A well-protected and organized collection is one you’ll actually enjoy. When you can find any card you want and handle it safely, you're more likely to stay engaged with your hobby.
The type of box you need usually comes down to how many cards you have. Your standard "shoebox" style boxes will hold about 800 cards, while the multi-row "monster" boxes can store 5,000 or more. It's always a good idea to invest in acid-free boxes for long-term storage, as this will prevent the box itself from yellowing and damaging your cards down the road.
Building an Effective Long-Term Storage System
Once you've sorted and sleeved your cards, the final step is setting up a storage environment that will keep them safe for decades. The idea is to create a system that’s not just about protection but is also easy to navigate when you want to find something. Don't just think of it as packing away boxes; you're essentially building a personal library for your collection.
When it comes to bulk storage, cardboard storage boxes are the undisputed champs. They’re cheap, they stack well, and when you add dividers, they become incredibly efficient. Labeling every single box is a non-negotiable. Get specific with labels like "1990 Topps Complete Set" or "Ken Griffey Jr. Rookies & Inserts." This simple habit is what turns a mountain of anonymous white boxes into a searchable archive, saving you hours of frustration down the road.
Creating the Ideal Environment
The single biggest enemy of your collection is the environment you store it in. At the end of the day, baseball cards are just fragile pieces of paper and ink, which makes them incredibly vulnerable to damage from temperature swings and humidity.
You absolutely need a spot that is consistently cool, dry, and dark.
- Avoid Attics: The intense heat during the summer can make cards warp or, even worse, stick together.
- Avoid Basements: Basements are often damp, and that humidity is a perfect recipe for mold, which will permanently destroy your cards.
- Avoid Direct Sunlight: UV rays are brutal. They will fade autographs and bleach the brilliant colors right off your cards, tanking their eye appeal and value.
A closet inside a climate-controlled part of your house is a much smarter choice than a garage or attic. To really understand how to protect paper items, it's helpful to look at how other collectors do it. For example, the core ideas in guides on effective long-term storage solutions for paper collectibles are directly applicable here, focusing on stable conditions and high-quality materials.
Your storage location is just as important as the protective supplies you use. An archival-quality box won't do much good if it's stored in a damp basement where mold can thrive.
Why Boxes Beat Binders for Bulk Storage
Binders are great for showing off a small, curated set, but they quickly become impractical—and even risky—for large collections. Not only are binders bulky, but the standard O-rings can eventually press into the cards on the inside edge, leaving permanent dents. A system built around boxes offers far better protection and scalability.
Boxes are simply more space-efficient, letting you store thousands of cards in a pretty small footprint. This makes it much easier to organize baseball cards as your collection inevitably grows, without needing an entire room dedicated to binders. For a deeper dive into protecting your whole collection, check out our detailed article on long-term storage tips, which covers everything from environmental control to security.
Spotting and Protecting Your Most Valuable Cards
As you sort through your baseball cards, you'll inevitably pull out a few that just feel different. Every collection has its hidden gems, and learning to spot them is one of the most thrilling parts of the hobby. Not every old card is a treasure, but knowing what to look for can turn a dusty old box into a potential goldmine.
So, what separates a common card from a cornerstone of your collection? It usually boils down to a few key things. A player's legacy is huge—rookie cards of Hall of Famers like Mickey Mantle or modern phenoms like Shohei Ohtani will always have a following. Scarcity also plays a massive role. Was it a short-printed card? Part of a set that nobody thought to save? And of course, unique features like on-card autographs or pieces of game-worn jerseys will always drive up a card's appeal.
A Quick Guide to Card Condition
More than anything else, the physical condition of a card dictates its value. I’ve seen mint-condition common cards sell for more than a beat-up version of a superstar's card. It’s that important.
Here’s a quick rundown of what to look for:
- Corners: You want them sharp and perfectly pointed. Any rounding, softness, or fraying is a major red flag.
- Surface: Hold the card under a good light and tilt it around. Look for any scratches, print dots, weird stains, or—the ultimate horror—creases.
- Edges: The edges should be clean and smooth. Chipping or "dings," especially on those old colored borders, will bring the grade down fast.
- Centering: Is the border even on all four sides of the card? Perfectly centered cards are surprisingly rare and highly sought after by serious collectors.
Getting a handle on these basics will help you decide which cards deserve premium protection, whether it's a simple toploader or a high-end magnetic case. The market for top-tier cards has gone wild in recent years; a 2009 Bowman Chrome Mike Trout rookie card, for instance, famously sold for a mind-boggling $3.84 million. That sale really shows you the kind of demand that exists for the best of the best.
My advice? Set up a dedicated "high-value" box as you sort. Anytime a card ticks these boxes—great player, good condition, potential scarcity—it goes in there. This simple step ensures your most important assets get the special treatment they need.
For these top-tier cards, you might even consider sending them off for professional grading with a service like PSA or SGC to authenticate them and lock in their condition. And if you're storing these heavy hitters off-site, you should absolutely consider contents insurance for your valuables.
For a deeper dive into safeguarding your entire collection, check out our complete guide on how to store collectibles.
Got Questions About Organizing Your Collection? We’ve Got Answers.
When you’re facing down a mountain of cards, it’s natural to have a few questions. Collectors run into the same hurdles all the time, so let's tackle some of the most common ones to get you started on the right foot.
Where Do I Even Start with Thousands of Cards?
Looking at a massive, unsorted collection is intimidating. I’ve been there. The secret is to stop thinking about the whole project and just focus on one small piece of it.
Seriously, just grab a single box. Or even just a manageable stack of 50 or 100 cards. Pick one simple way to sort them—by year, by team, whatever feels easiest—and just do that small pile. Breaking it down into bite-sized chunks is the only way to make real progress without getting completely burnt out.
Are Binders Actually a Safe Way to Store Cards?
They can be, but you have to be smart about it. The classic O-ring binders you used in school are a huge no-no; those rings can press into the cards closest to the spine and leave nasty dents over time.
If you absolutely love the binder approach for looking at your collection, make sure you’re only using D-ring binders. They’re designed to let the pages lie flat, which keeps your cards safe. Pair them with high-quality, archival-safe pages. For anything valuable or for long-term storage, though, most experienced collectors will tell you that dedicated card boxes offer far better protection.
A quick tip on toploaders: Any card you think has value should get the VIP treatment. This means all your rookie cards, big-name stars, autographs, and any short prints or cards in mint condition. But always slide them into a penny sleeve first! The sleeve is what prevents the hard plastic of the toploader from causing tiny surface scratches.
Frequently Asked Questions
Unveiling the Secrets to Effortless Storage
Endless Storage is available nationwide. You pick a plan, tell us where to pickup, and we'll send a UPS van to collect, whichever state you're in.
Your shipping label will be sent to your email within a few minutes, if not instantaneously. It can also be accessed through your customer profile.
Your box will be shipped to one of our climate controlled self storage facilities in our closest self storage facility. Our manager will accept your package, notify you that your box has been received, and securely stored. Only our managers will have access to Endless Storage boxes.
Email us at admin@endless-storage.com click to live chat with us, or send us a message below.
Never! We're committed to transparent pricing with no surprises. You'll lock in your rate with no hidden fees and no long-term contracts.
Fast access guaranteed! Your boxes will arrive at your doorstep within 48 hours of requesting them back. Need to check on delivery? We provide tracking information for complete peace of mind.
Totally flexible! Store month-to-month with no long-term commitment and cancel anytime.
Everything's online! Use your account dashboard to:
• Set up automatic monthly payments
• Request box returns
• Update your address
• Order additional boxes
• Track shipments
Your boxes are insured up to $100 each. Our customer service team will help you file any necessary claims and resolve issues quickly.
Don't worry – we'll email you right away if there's a payment issue. Your items stay safe, though you may have temporary service interruption or late fees until payment is resolved.
When you request our free storage kits, you'll have 30 days to send in your boxes to activate your 3 months of free storage. Think of it like starting a gym membership – your activation window begins when you receive your kits, and your full free trial begins once you send in your first box. During your free months, you'll experience our complete storage service at no cost.
Your 30-day activation window begins when you receive your storage kits. We'll send you an email confirmation when your kits are delivered, marking the start of your activation period.
If you haven't sent any boxes for storage within your 30-day activation window, your free trial will expire and we'll begin charging the regular monthly rate of $9.99 per box. This helps ensure our storage kits go to customers who are ready to use our service.
A box costs $9.99 per month to store (plus sales tax). This price includes free shipping for standard boxes under 50 lbs. and smaller than 16"x16"x16"
Log into your Endless Storage account, locate the box you would like returned, and simply click Return My Box.
Yes, each box stored with us is insured for up to $100 throughout transit as well as the duration of storage within our facilities.
Your box will be at your doorstep within 48 hours of you requesting it back.
Store 10+ boxes? We'll pick them up for free! After your purchase, we'll contact you to schedule a convenient pickup time and arrange UPS collection.
We trust UPS with all shipments, and every box includes $100 insurance coverage. You'll receive tracking information to monitor your items' journey.
Yes! Visit any of our locations by appointment. Just bring a photo ID matching your customer profile.
For everyone's safety, we can't store hazardous materials, firearms, or perishables. All items must fit within our standard boxes.
It's easy! Order your storage kit online, and we'll ship it to you within 1-2 business days. Your shipping labels will be emailed instantly and available in your account.
We're here to help! Email us at admin@endless-storage.com, use our live chat, or send us a message through your account.
To cancel your storage service with Endless Storage, please email your cancellation request to admin@endless-storage.com. Our team will process your request within 2 business days and confirm your cancellation via email.
We understand packing takes time. However, to maintain your free trial benefits, you'll need to send at least one box within the 30-day activation window. If you need more time, you can always start with one box to activate your trial and send the rest later. You can always reach out to admin@endless-storage.com if you have any issues or concerns.
When you request our free storage kits, you're starting a 30-day window to begin using our storage service.
Important: To activate your free trial, send at least one box for storage within 30 days. If no boxes are sent within this 30-day window, a one-time $50 fee applies to cover materials and shipping costs. This fee is clearly disclosed before you sign up.
Think of it like reserving a hotel room – we're setting aside space and sending specialized packing materials for your use. The fee only applies if you request materials but don't begin storage, similar to a hotel's no-show charge.