

Storing your vacuum cleaner properly involves more than just stuffing it into a closet and hoping for the best. It's really about prepping the machine for storage to protect its delicate parts and then choosing a spot that won't cause any damage down the line. This means taking a few minutes to empty the dustbin, clean out the filters, and detach hoses to avoid kinks that can kill your suction power.
Why Smart Vacuum Storage Matters More Than You Think
Learning how to store a vacuum the right way is all about protecting your investment and keeping your home from feeling cluttered. We’ve all done the classic "shove it and forget it" maneuver, but that's what leads to the kind of unseen damage that slowly wrecks your machine.
Kinked hoses, cracked attachments, and weakened suction are the slow-burn consequences of lazy storage. Over time, these seemingly small issues can slash your vacuum's lifespan, forcing you to buy a replacement way sooner than you should have to.
This is especially true for those of us in smaller spaces, where a bulky vacuum can feel like a constant trip hazard and a source of visual clutter. A good storage strategy doesn't just extend the life of your appliance; it makes your home feel more organized and peaceful. It's a key part of enjoying the real benefits of decluttering your home, which can make your space feel bigger and work better for you.
The Challenge of Modern Living Spaces
The storage problem really hits home in urban areas. With city apartments averaging just 700 square feet, figuring out where to put a bulky canister vacuum—which still holds 35% of the global market share—is a legitimate puzzle.
These powerful models can weigh up to 20 pounds, making them a real pain to tuck away in a tiny closet. It’s no surprise that research shows 62% of urban residents point to storage issues as a major reason they're unhappy with traditional vacuums, which has helped fuel the growth of more compact stick and robotic models.
For a deeper dive into how to organize your home efficiently, check out this comprehensive guide on mastering the storage of inventory at home. The principles apply to everything, including your vacuum.
A well-planned storage strategy isn't just about saving space; it's about preserving the tools that keep your home clean and comfortable. Treating your vacuum like the important appliance it is ensures it's ready to perform whenever you need it.
Ultimately, a smart storage plan is a game-changer for any home, big or small. By thinking about the specific needs of your vacuum model, you can create a system that keeps it safe, accessible, and neatly out of sight.
The Essential Pre-Storage Cleaning Routine
Putting a dirty vacuum into storage is a bit like shoving unwashed dishes in a cabinet—it’s just asking for trouble. All that leftover dust, pet hair, and unseen grime can create a musty smell, invite mold, and even attract pests. A thorough clean before you pack it away ensures your machine is fresh and ready to go the moment you need it again.
This isn’t just about being tidy; it’s about protecting your vacuum's performance. When filters are clogged and brush rolls are tangled, they put a ton of strain on the motor, which can seriously shorten its lifespan. Spending 15-20 minutes on this now will save you from bigger headaches and repair bills down the road.
To make sure you don't miss a thing, here's a quick checklist to walk you through the process.
Your Vacuum Prep Checklist Before Storage
Follow this checklist to ensure your vacuum is perfectly prepped for short-term or long-term storage.
Taking care of these simple steps guarantees your vacuum will be in top shape when you pull it out of storage, whether that's in a few weeks or a few years.
Empty the Canister or Replace the Bag
First things first: get all that collected debris out. Leaving a full dustbin or bag is like locking a tiny trash can in a closet—it’s going to start to smell. Over time, any moisture trapped in that dirt can kickstart mold growth right inside your vacuum.
For bagless models, empty the canister completely. Then, grab a damp microfiber cloth and wipe it down to get rid of any clinging dust. If the canister is washable (always check your manual!), give it a good cleaning with mild soap and water, but make sure it is 100% dry before you put it back together. If you have a bagged vacuum, just toss the old bag and pop in a new one. That way, it’s ready to roll for its next use.
Pro Tip: Don't just dump the canister and call it a day. Tap it gently against the side of your trash bin to dislodge the fine dust that gets compacted at the bottom. This fine particulate is often what causes those stubborn, lingering odors.
Clean or Replace Your Filters
Think of filters as the lungs of your vacuum. If they're clogged, the machine can't "breathe," which kills its suction power and can make the motor overheat. Most vacuums have at least two: a pre-motor filter and a post-motor (or HEPA) filter.
- Washable Filters: Many vacuums use foam or felt filters that you can rinse under cool water. Just squeeze out the excess moisture and let them air dry completely for at least 24 hours. Storing a vacuum with even a slightly damp filter is a guaranteed way to grow mildew.
- Disposable Filters: If your vacuum uses paper or HEPA filters that aren't meant to be washed, now is the perfect time for a fresh start. Check for any discoloration or blockages—if you see any, it’s time for a replacement.
Detangle the Brush Roll and Check for Blockages
Flip your vacuum over and take a good look at the brush roll. It’s inevitable that hair, thread, and carpet fibers will get wrapped around it, stopping it from spinning freely and picking up dirt. That extra friction puts a heavy strain on both the motor and the drive belt.
A pair of scissors or a seam ripper works wonders here. Carefully cut through all the tangled gunk and pull it free. While you’re down there, peek into the intake port to check for any other blockages. For more deep-cleaning advice that covers all your household appliances, our detailed move-out cleaning checklist has you covered.
Finally, give the entire exterior of the vacuum and its attachments a quick wipe-down with a clean cloth. This simple prep work is the key to keeping your machine in peak condition, no matter how long it stays in storage.
Smart Storage Ideas for Every Vacuum Type
Every vacuum has a unique footprint, which means a one-size-fits-all storage solution rarely works. The best way to store your vacuum cleaner really depends on its design. Matching the right strategy to your specific model not only saves precious space but also keeps your machine accessible and protected.
This visual guide breaks down the essential prep steps before stashing any vacuum away.

Running through this simple empty, clean, and detach process ensures your vacuum is in prime condition, preventing any musty odors or damage while it’s stored.
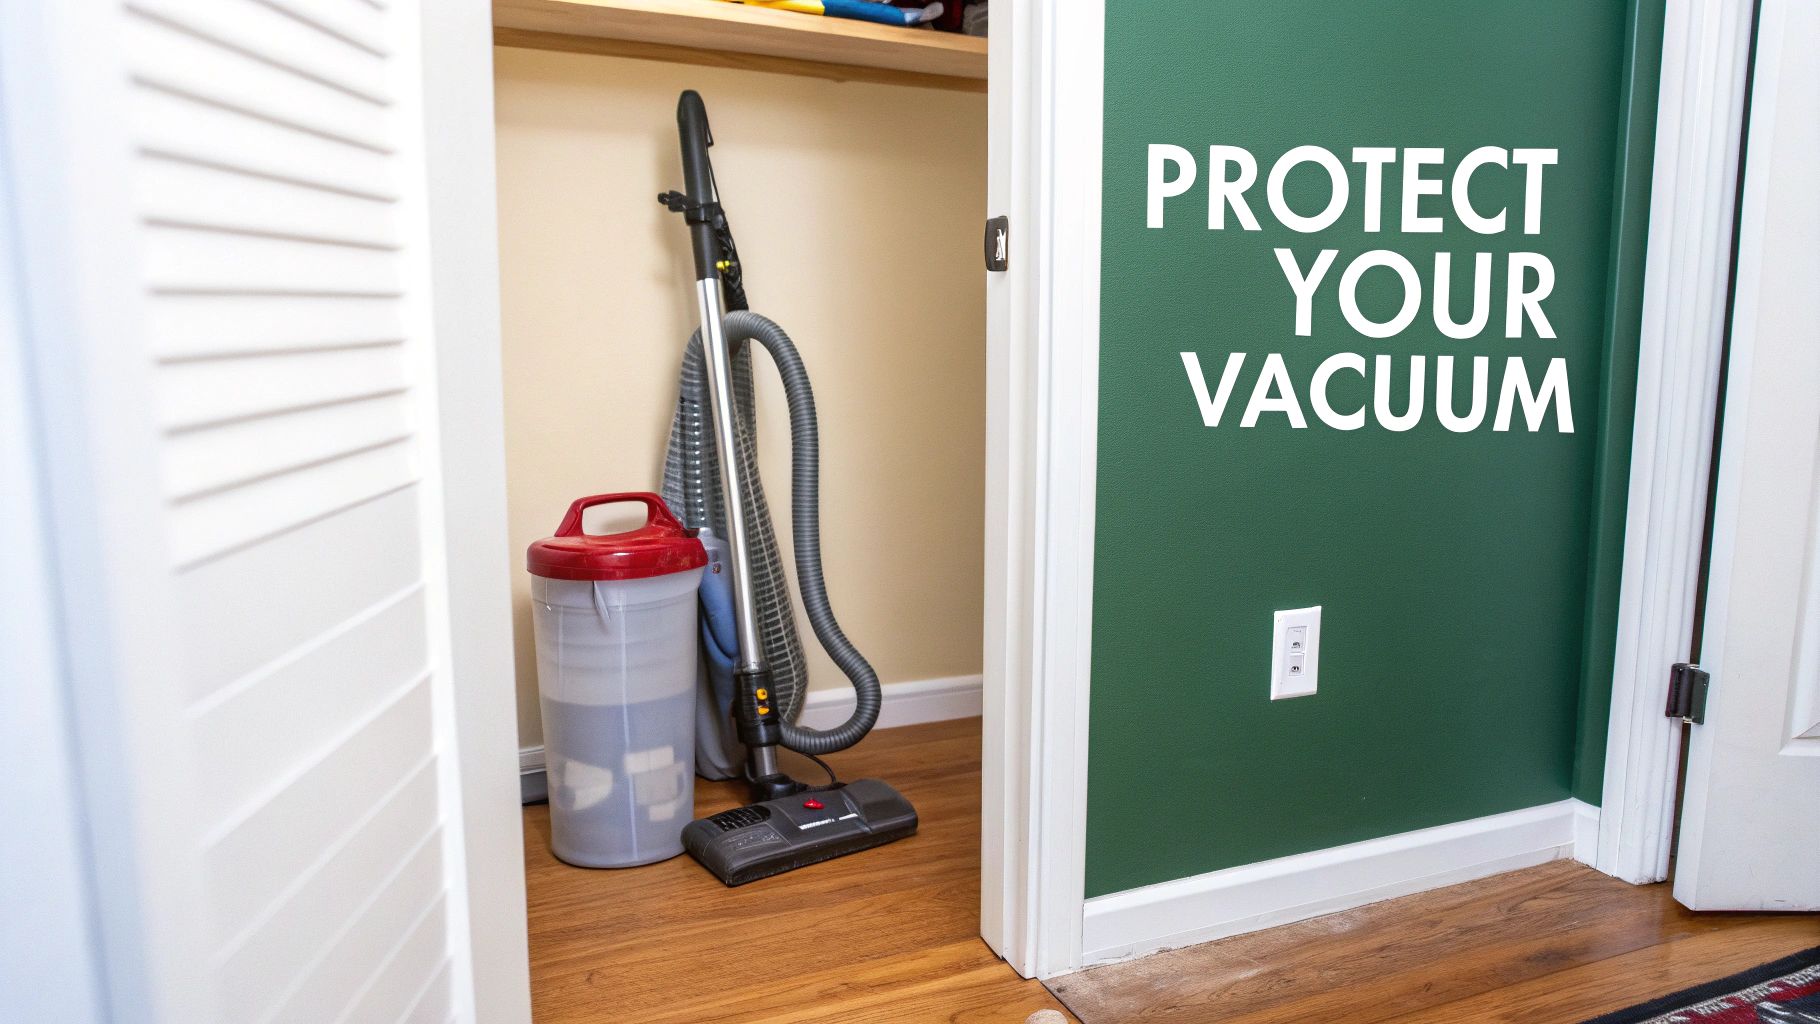
Storing Upright and Canister Vacuums
Upright vacuums are tall and lean, making them a natural fit for narrow spaces. Think about the unused vertical real estate in your home, like the back of a utility closet or that slim gap next to the washing machine. The key is to keep them stable so they don’t topple over and damage the handle or motor housing.
Canister vacuums, on the other hand, are bulkier with their separate body, hose, and wand. The best approach here is often to take them apart.
- Detach the Hose and Wand: This simple step prevents stress on the connection points and stops the hose from developing permanent, awkward kinks.
- Use a Dedicated Bin: Place the main body, hose (coiled loosely), and all attachments into a large, clear plastic bin. This keeps everything together and protects it from dust.
- Label Everything: A quick label on the bin will save you from a frustrating hunt for that one specific crevice tool months down the line.
This method transforms a clumsy appliance into a neat, stackable container—perfect if you need to place it on a shelf in the garage or a storage unit.
Solutions for Stick and Robotic Vacuums
Cordless stick vacuums have absolutely exploded in popularity, especially in smaller homes. Their lightweight, slim design is ideal for apartments, but storing them can still be a head-scratcher. The market for these models is expected to rocket to $39.19 billion by 2034, yet many of us still struggle with where to put all our cleaning tools in tight spaces.
The most effective solution for a stick vacuum is a wall mount. Most models come with one, and installing it inside a closet or on a pantry wall gets the vacuum completely off the floor. It turns dead wall space into perfectly functional storage.
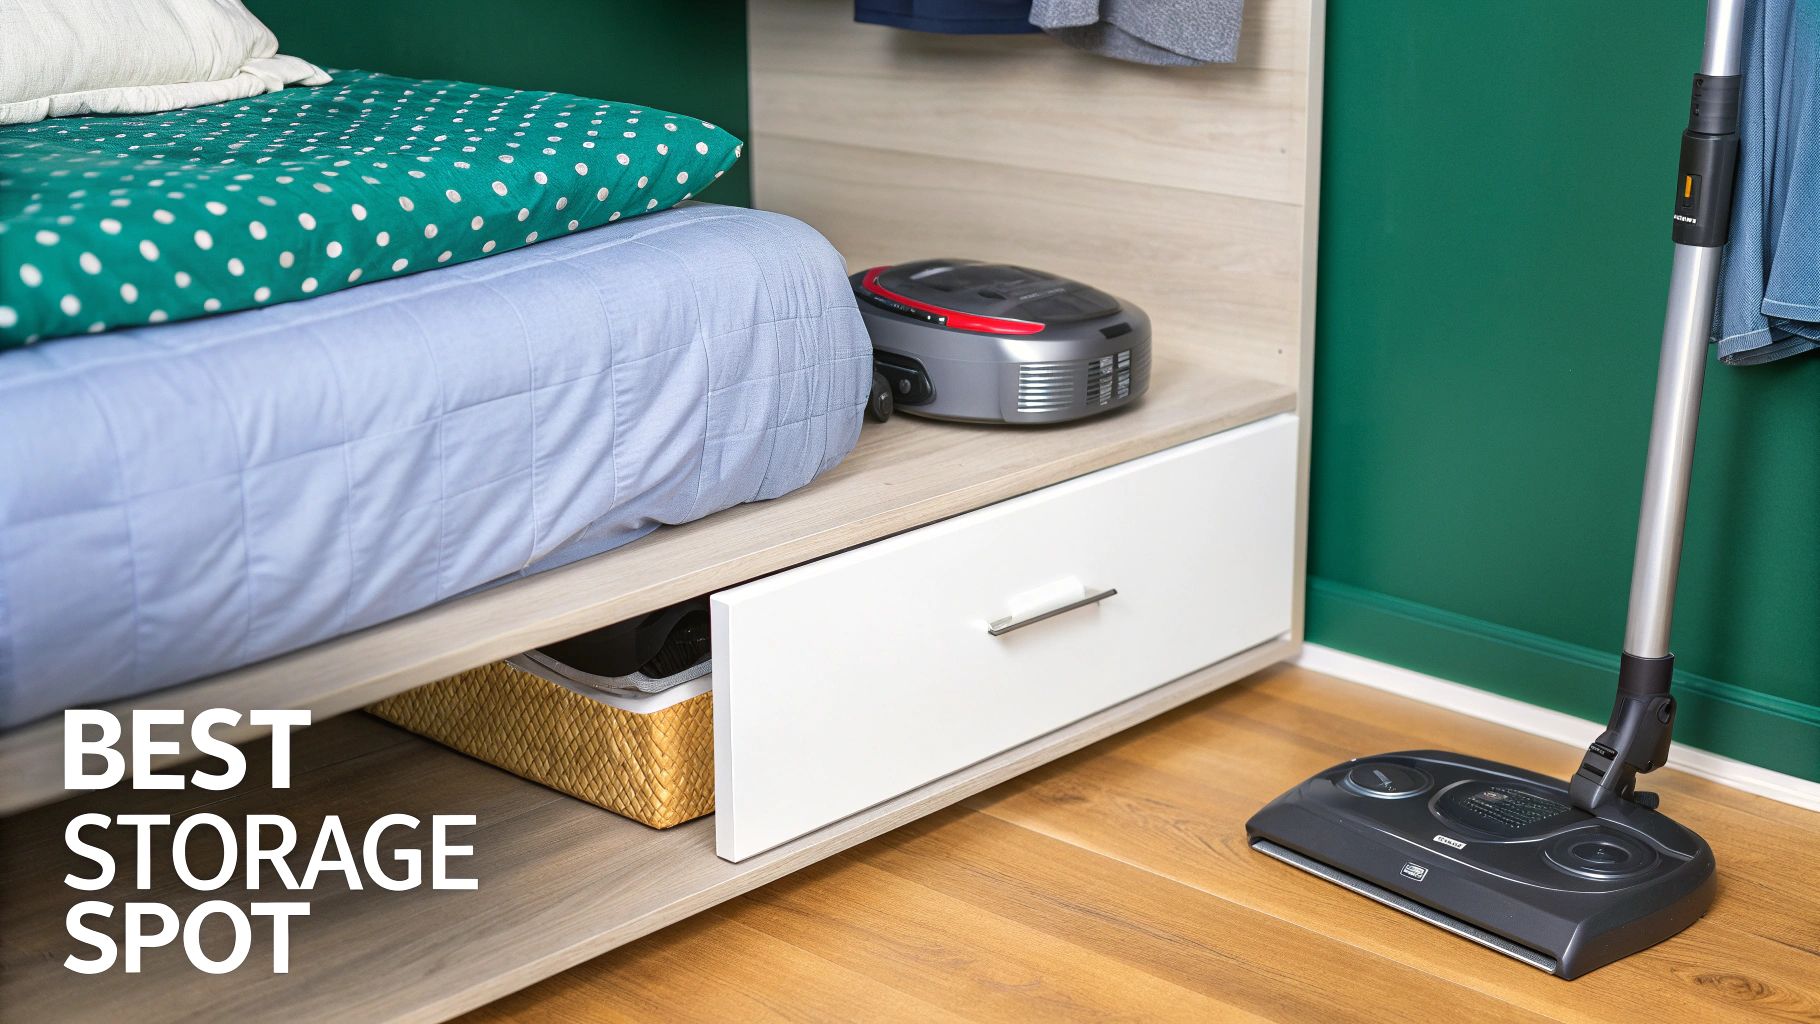
Robotic vacuums need a totally different approach. Their "home" is their charging base, so find a permanent spot for it that is both out of the way and near an outlet. Good locations include under a console table or beneath a cabinet with enough clearance.
For long-term storage, however, remember to partially charge the battery (to about 50%) and store both the robot and its dock in a dry, room-temperature spot. This protects the sensitive electronics and preserves the battery’s health. If you're short on floor space, learning how to maximize space with smart under-bed storage solutions can be a fantastic way to find a permanent home for your little robot's base.
Finding the Right Storage Location in Your Home
You've done all the prep work, but where you park your vacuum is just as critical. The right spot protects your investment from accidental damage, while the wrong one can silently sabotage its internal components. Think of it as choosing a safe harbor versus leaving it out in a storm.
For day-to-day storage, convenience is king. A hall closet, utility room, or even under the bed are all excellent choices. These spots keep the vacuum handy for quick cleanups while shielding it from the extreme conditions that can cause real harm. The goal is to find somewhere that’s out of the way but still easy to grab when you need it.
If you're eyeing a closet, you're not alone—it's prime real estate. To make the most of what you've got, check out our expert guide on how to maximize closet space with smart storage solutions. A few simple tweaks can often carve out the perfect nook for your vacuum.
Avoid High-Risk Storage Areas
It might seem practical to stash your vacuum in the garage, basement, or attic, but these locations are often the worst places for it, especially long-term. Why? They usually aren't climate-controlled, exposing your appliance to fluctuating temperatures and humidity that can be incredibly destructive.
Those environmental swings can cause a surprising amount of damage:
- Extreme Cold: Can make plastic parts brittle and prone to cracking.
- High Heat: May warp the vacuum's housing and degrade rubber seals.
- Humidity: This is the absolute worst offender. It can lead to rust on motor components and encourage mildew growth inside hoses and filters.
The risk is even greater for cordless and robotic models. High humidity and temperature swings can permanently shorten a lithium-ion battery's lifespan and wreak havoc on sensitive electronic circuit boards.
Choosing the best spot comes down to weighing the pros and cons. This table breaks down the most common household locations to help you decide.
Comparing Common Home Storage Locations
Ultimately, a stable environment is key. A spare corner in a bedroom or a spot in a temperature-regulated laundry room is a far safer bet than a damp basement or sweltering garage.
Choosing a climate-controlled environment is non-negotiable for preserving your vacuum's longevity. A stable, dry space prevents the slow, invisible decay that occurs in garages and basements, ensuring your machine works as intended for years to come.
How to Revive Your Vacuum After Long-Term Storage
So, you’ve pulled your vacuum out of hibernation. Before you plug it in and expect it to roar back to life, hold on a second. After sitting for a season or longer, a quick inspection is the difference between a successful cleaning session and potential damage.
Let's start with a thorough visual check. You’ll want to carefully examine the power cord for any new cracks, frays, or brittleness. Temperature swings in a garage or storage unit can do a number on plastics. Give the hose the same treatment, looking for splits or weak spots that could absolutely kill your suction power.
Next, get a little hands-on. Give the brush roll a quick spin with your hand to make sure it moves freely without sticking. If it feels stiff, you might have missed some debris during the pre-storage clean, or the bearings could have seized up from sitting idle.
Checking for Moisture and Battery Health
One of the biggest culprits of storage damage is moisture. Pop open the canister or bag compartment and give the filters a quick check. If they feel even slightly damp or have a musty smell, that’s a clear sign of mildew.
Washable filters will need another thorough cleaning and a full 24-hour drying period—no cheating here. For disposable ones, don't even think about reusing them; just toss them and start fresh.
For all the cordless models out there, battery care is everything. Don't just jam it on the charger and hope for the best.
- Inspect the Battery: Take a close look at the battery pack. Are there any signs of swelling, corrosion, or leakage? If so, you may need a replacement.
- Slow Recharge: Plug in the charger and let the battery wake up slowly. A full recharge right after long-term storage might take longer than you remember.
- Monitor Temperature: Keep an eye on the battery as it charges. It should get warm, but it should never become excessively hot to the touch.
A common mistake is assuming a vacuum is ready to go straight from storage. A five-minute inspection can prevent electrical hazards from a damaged cord or motor strain from a seized brush roll, ensuring a safe and effective first clean.
Of course, this isn't just about storage. Consistent care is what really extends any vacuum cleaner's lifespan. If you're thinking about a different kind of system, learning how to properly take care of your home central vacuums offers great insights into appliance longevity.
Once you’ve run through these checks, your vacuum is officially revived and ready to get back to work.
Common Questions About Storing Your Vacuum
Even with a solid plan, a few questions always seem to pop up right when you're about to tuck your vacuum away. Getting these details right can be the difference between a vacuum that works like new and one that gives you trouble down the road.
Let's clear up some of the most common questions we hear.
Can I Store My Vacuum Cleaner in a Garage or Attic?
It’s definitely tempting, but storing your vacuum in a garage, attic, or unfinished basement is a gamble, especially for the long term. These spaces are notorious for wild temperature swings and high humidity—two of a vacuum's worst enemies.
The intense summer heat can actually warp plastic parts, while a deep winter freeze can make them brittle and easy to crack. The real villain, though, is humidity. It can cause rust on the motor’s internal components and encourage mold or mildew to grow inside filters and hoses. Gross.
While convenient, a non-climate-controlled garage or attic is a hazardous environment for your vacuum. For any storage longer than a few weeks, a stable, indoor climate is always the safest bet to avoid damage from moisture and extreme temperatures.
Should I Charge My Cordless Vacuum Before Storing It?
Yes, but here's the trick: don't charge it all the way to 100%. The lithium-ion batteries found in most cordless vacuums are happiest when stored with a partial charge, somewhere in the 40-60% range.
Leaving a battery at full charge for months can actually reduce its overall lifespan, meaning it won’t hold a charge as long in the future. On the flip side, letting it sit completely empty can lead to a "deep discharge," a state where the battery might not be able to be revived at all. When in doubt, always check your user manual for the manufacturer's specific advice.
What Is the Best Way to Store Vacuum Hoses and Attachments?
Whatever you do, always detach the hoses and attachments from the main body of the vacuum. If you leave them connected, you're putting constant strain on the connection points. It also increases the chances of the hose developing permanent, suction-killing kinks.
Once detached, coil the hose loosely, making sure there are no sharp bends. As for all those little attachments, the easiest way to keep them from getting lost is to put them all in one place. A simple cloth or mesh bag is perfect—it keeps them organized, prevents scratches, and still allows air to circulate. Just toss the bag in next to your vacuum, and you’ll be all set for your next cleaning day.
How Can I Store a Bulky Vacuum in a Small Apartment?
When you live in a small space, you have to think vertically. Over-the-door hangers are a lifesaver for stashing hoses and attachment bags without sacrificing any precious floor real estate. You could also look for a tall, narrow rolling cart that can disappear into that awkward gap between the fridge and the wall.
For a stick vacuum, nothing beats a wall mount for getting it completely up and out of the way. If you have a bulky canister vacuum that you only pull out for seasonal deep cleans, it might be time to consider an off-site solution. Using a climate-controlled storage unit can free up that much-needed closet space for things you use every day, keeping your apartment clutter-free while your vacuum stays perfectly preserved.
If you're looking to free up valuable closet space by storing seasonal items or a bulky vacuum long-term, Endless Storage offers a hassle-free solution. We provide climate-controlled, by-the-box storage with free pickups, so you can declutter without leaving your home. Visit us at https://www.endless-storage.com to see how easy it is to reclaim your space.
Frequently Asked Questions
Unveiling the Secrets to Effortless Storage
Endless Storage is available nationwide. You pick a plan, tell us where to pickup, and we'll send a UPS van to collect, whichever state you're in.
Your shipping label will be sent to your email within a few minutes, if not instantaneously. It can also be accessed through your customer profile.
Your box will be shipped to one of our climate controlled self storage facilities in our closest self storage facility. Our manager will accept your package, notify you that your box has been received, and securely stored. Only our managers will have access to Endless Storage boxes.
Email us at admin@endless-storage.com click to live chat with us, or send us a message below.
Never! We're committed to transparent pricing with no surprises. You'll lock in your rate with no hidden fees and no long-term contracts.
Fast access guaranteed! Your boxes will arrive at your doorstep within 48 hours of requesting them back. Need to check on delivery? We provide tracking information for complete peace of mind.
Totally flexible! Store month-to-month with no long-term commitment and cancel anytime.
Everything's online! Use your account dashboard to:
• Set up automatic monthly payments
• Request box returns
• Update your address
• Order additional boxes
• Track shipments
Your boxes are insured up to $100 each. Our customer service team will help you file any necessary claims and resolve issues quickly.
Don't worry – we'll email you right away if there's a payment issue. Your items stay safe, though you may have temporary service interruption or late fees until payment is resolved.
When you request our free storage kits, you'll have 30 days to send in your boxes to activate your 3 months of free storage. Think of it like starting a gym membership – your activation window begins when you receive your kits, and your full free trial begins once you send in your first box. During your free months, you'll experience our complete storage service at no cost.
Your 30-day activation window begins when you receive your storage kits. We'll send you an email confirmation when your kits are delivered, marking the start of your activation period.
If you haven't sent any boxes for storage within your 30-day activation window, your free trial will expire and we'll begin charging the regular monthly rate of $9.99 per box. This helps ensure our storage kits go to customers who are ready to use our service.
A box costs $9.99 per month to store (plus sales tax). This price includes free shipping for standard boxes under 50 lbs. and smaller than 16"x16"x16"
Log into your Endless Storage account, locate the box you would like returned, and simply click Return My Box.
Yes, each box stored with us is insured for up to $100 throughout transit as well as the duration of storage within our facilities.
Your box will be at your doorstep within 48 hours of you requesting it back.
Store 10+ boxes? We'll pick them up for free! After your purchase, we'll contact you to schedule a convenient pickup time and arrange UPS collection.
We trust UPS with all shipments, and every box includes $100 insurance coverage. You'll receive tracking information to monitor your items' journey.
Yes! Visit any of our locations by appointment. Just bring a photo ID matching your customer profile.
For everyone's safety, we can't store hazardous materials, firearms, or perishables. All items must fit within our standard boxes.
It's easy! Order your storage kit online, and we'll ship it to you within 1-2 business days. Your shipping labels will be emailed instantly and available in your account.
We're here to help! Email us at admin@endless-storage.com, use our live chat, or send us a message through your account.
To cancel your storage service with Endless Storage, please email your cancellation request to admin@endless-storage.com. Our team will process your request within 2 business days and confirm your cancellation via email.
We understand packing takes time. However, to maintain your free trial benefits, you'll need to send at least one box within the 30-day activation window. If you need more time, you can always start with one box to activate your trial and send the rest later. You can always reach out to admin@endless-storage.com if you have any issues or concerns.
When you request our free storage kits, you're starting a 30-day window to begin using our storage service.
Important: To activate your free trial, send at least one box for storage within 30 days. If no boxes are sent within this 30-day window, a one-time $50 fee applies to cover materials and shipping costs. This fee is clearly disclosed before you sign up.
Think of it like reserving a hotel room – we're setting aside space and sending specialized packing materials for your use. The fee only applies if you request materials but don't begin storage, similar to a hotel's no-show charge.