How to Sell Unwanted Items: Quick Guide to Cash
Selling unwanted items really boils down to a few key moves: sort your clutter into sell, donate, and discard piles, be honest about each item's condition, and pick the right online marketplace to find buyers. If you can master this first phase, you're well on your way to turning stuff you no longer need into cash.
Your Starting Point for Selling Unwanted Items
Before you make a single dollar, you need a plan. The process of selling your belongings online isn't just about snapping a photo and hoping for the best; it's about setting yourself up for a smooth, profitable experience from the get-go. A little organization upfront saves you a ton of headaches later and makes sure your items get seen by the right people.
Think of it like getting your house ready for a showing. You wouldn’t just open the door—you’d clean, declutter, and highlight its best features. The same logic applies here. Taking the time to sort and evaluate is what separates the successful sellers from those who get overwhelmed and give up.
The Crucial First Step: Sorting Your Items
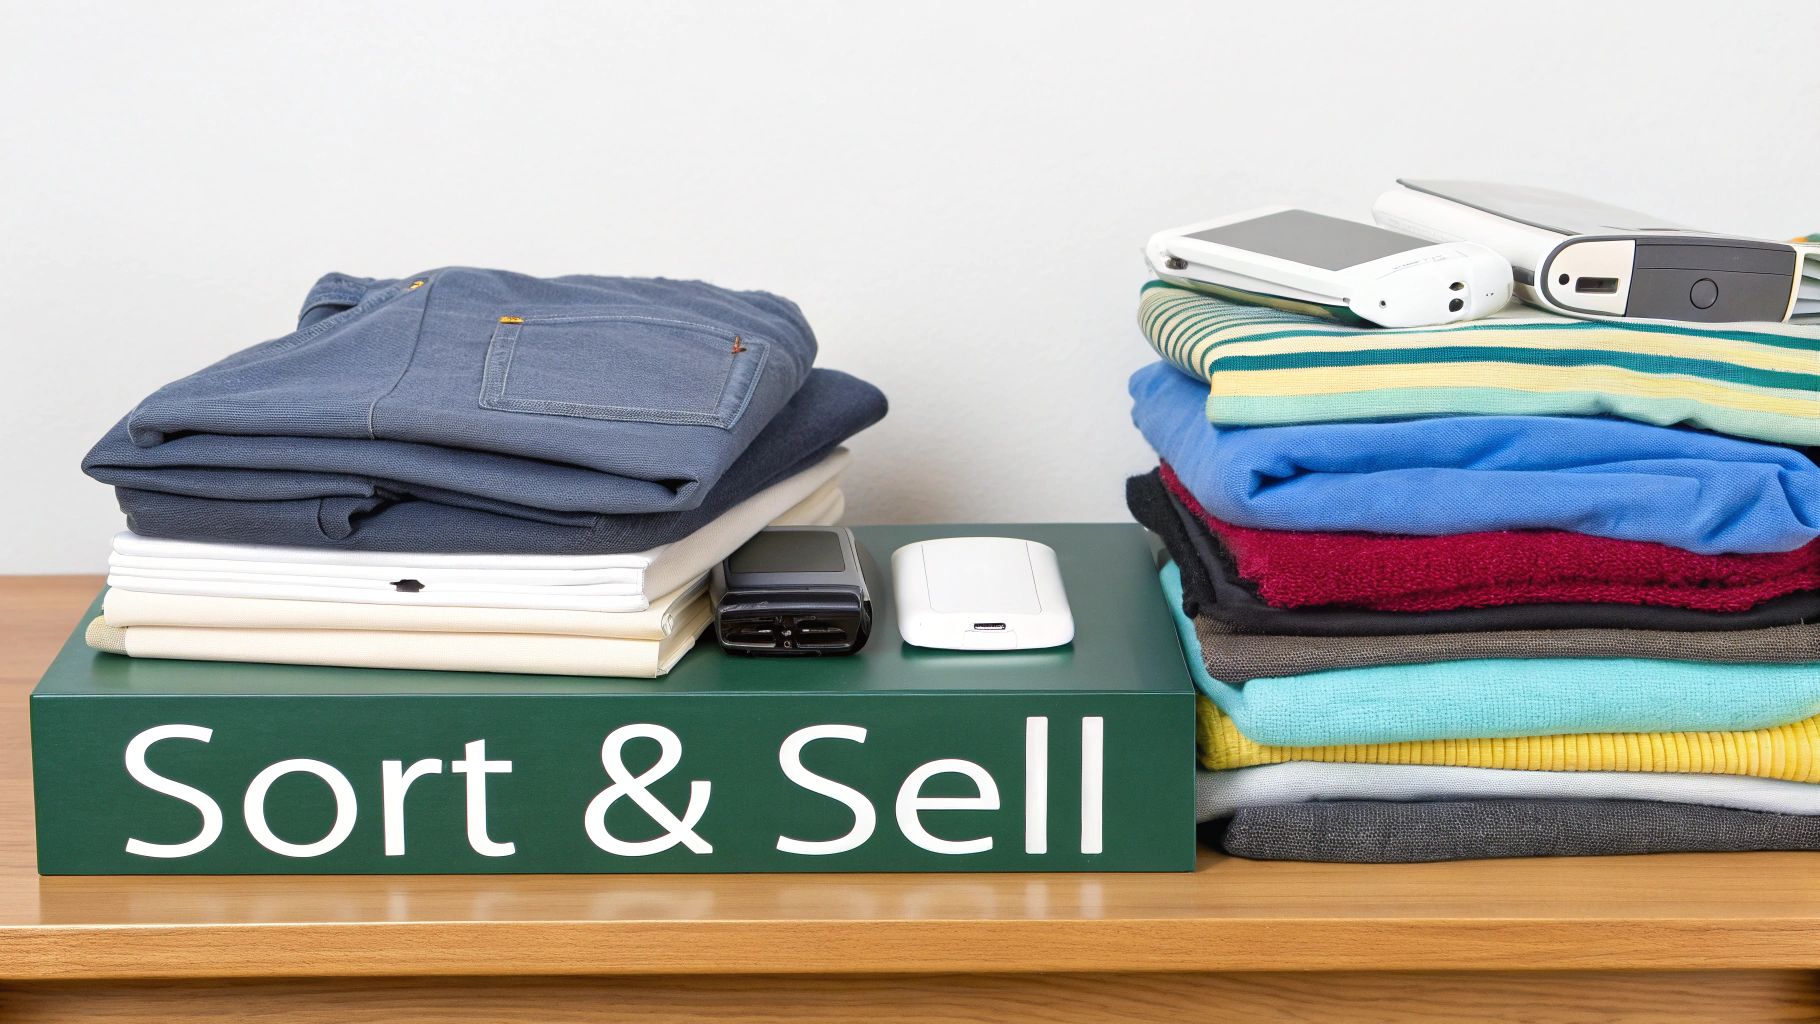
The most effective way to kick things off is by creating three distinct piles: Sell, Donate, and Discard. This simple act of sorting brings immediate clarity to what you're trying to accomplish.
- Sell Pile: This is for anything in good-to-excellent condition that still has some resale value. We’re talking brand-name clothing, electronics that still work great, popular books, or furniture that’s been well cared for. If you can imagine someone actively searching for it online, it belongs here.
- Donate Pile: These items are still usable but probably aren't worth the time and effort to list and sell. This could be gently used clothes from less popular brands, older kitchen gadgets, or books with a low resale price.
- Discard Pile: This one is for anything broken, stained, incomplete, or otherwise past its prime. Be honest with yourself—trying to sell or even donate items that are truly worn out is just a waste of your time.
A well-organized sorting process is the foundation of a successful decluttering and selling journey. It removes the guesswork and provides a clear roadmap for what to do with every single item, saving you time and reducing stress.
For a more structured approach to making those tough decluttering decisions, our comprehensive guide can really help. Grab our free PDF download, "Get Rid of Almost Everything," to streamline your sorting process. Find it here: https://www.endless-storage.com/free-pdf-download-get-rid-of-almost-everything-guide
Finding the Right Marketplace for Your Goods
Once your "Sell" pile is ready to go, the next puzzle piece is figuring out where to list everything. Not all platforms are created equal. Trying to sell a vintage dress on a site built for electronics is like opening a bakery inside a hardware store—you're just not going to find your customers there.
The online marketplace has absolutely exploded, making it easier than ever to reach potential buyers. In fact, global ecommerce sales are projected to hit $6.42 trillion by 2025, with almost a third of the world's population shopping online. This digital boom creates a massive audience for your secondhand goods.
This simple flow chart breaks down the core steps to getting started.
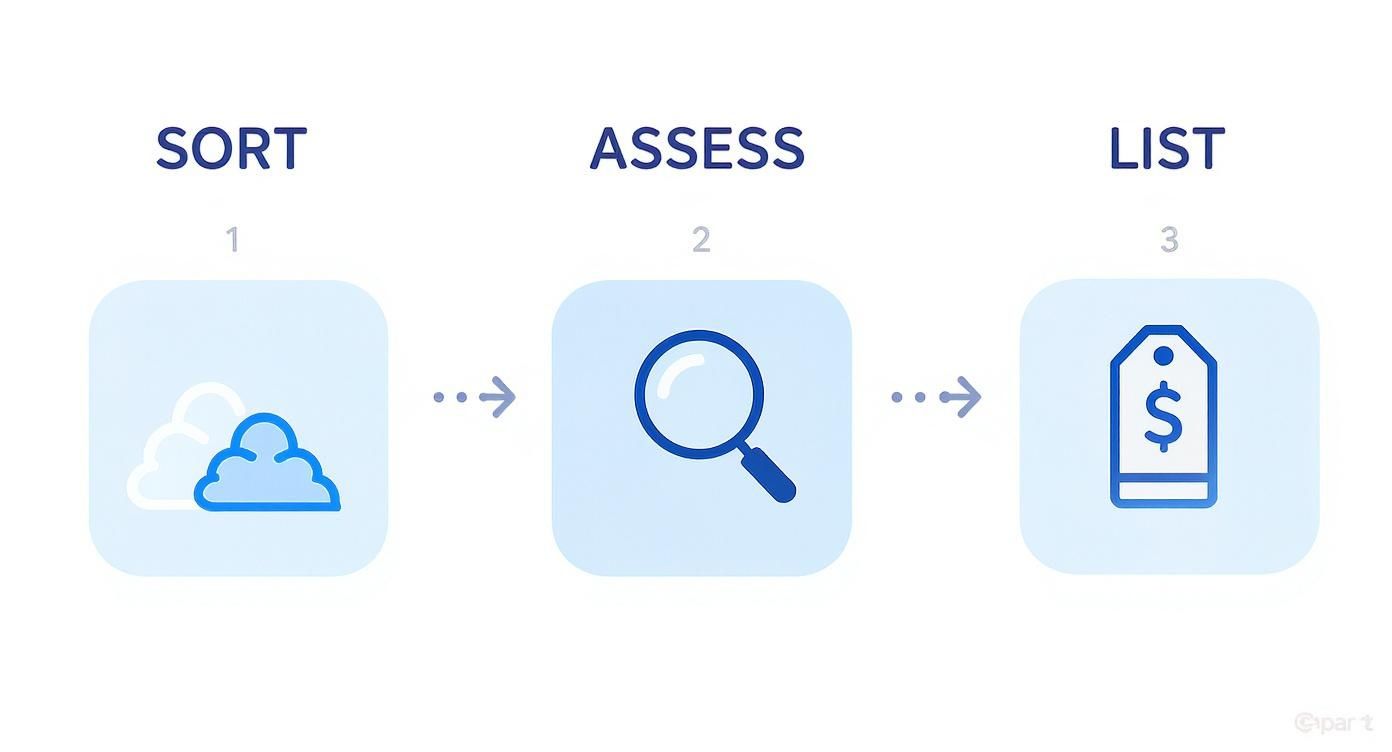
As you can see, success really starts with sorting, moves to a careful assessment of what you've got, and finishes with a smart, strategic listing.
Choosing the Right Platform for Your Unwanted Items
Picking the right platform is crucial for getting the best price and making a quick sale. Different sites cater to different items and audiences. Here's a breakdown of some of the most popular options to help you decide where your stuff will find its new home.
This table should give you a good starting point. For specific items like electronics, specialized guides can be incredibly helpful. For instance, if you have old tech lying around, you might consult a simple guide on where to sell laptops. Matching your item to the right audience is the real key to success.
Preparing and Pricing Items to Attract Buyers
How you present and price your items can make or break a sale. The initial sorting is a huge step, but this next phase—prep and pricing—is where you turn a simple used object into something people actually want to buy. It's the difference between a listing that gets crickets and one that gets snapped up in a day.
Think of yourself as a merchandiser for your own mini-store. A little effort cleaning, repairing, and photographing your stuff goes a surprisingly long way. It builds buyer confidence and makes your asking price feel like a bargain.
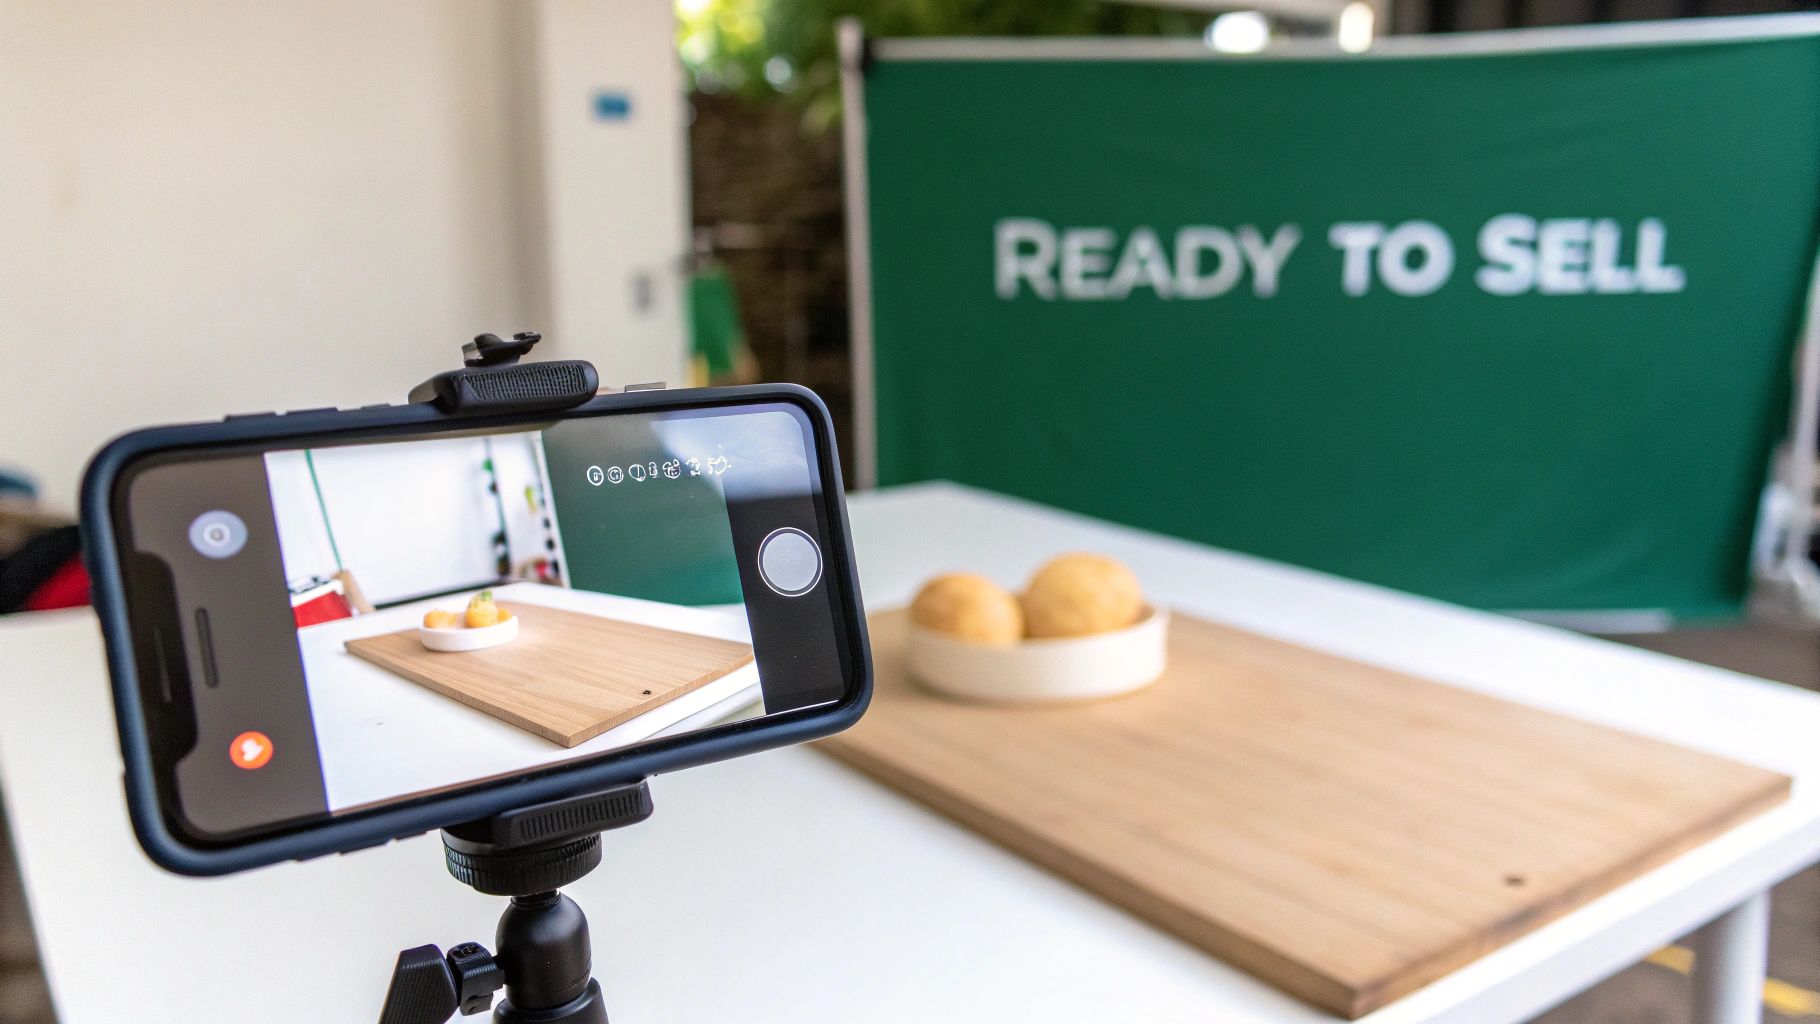
Getting Your Items Photo-Ready
First impressions are everything online, and your photos are your only shot to make a good one. You don’t need a fancy camera, either. Your smartphone is more than capable of taking amazing product shots if you just nail a few basics.
Before you even think about the camera, make sure every item is spotless. This seems obvious, but you'd be shocked how many people skip it. Wipe down electronics, launder clothes, polish furniture. Small repairs can also seriously boost an item's value—sew on that loose button or use a wood marker to hide a scratch. These little fixes show you care and make the buyer feel like they’re getting a quality product.
Once an item is clean, it's time for its close-up.
- Lighting is everything. Natural, indirect sunlight is your best friend. Set up near a window on a bright day, but try to avoid those harsh sunbeams that create deep shadows.
- Use a simple backdrop. A plain, neutral background like a white wall, a piece of poster board, or a clean floor makes your item the star. Cluttered backgrounds are just distracting.
- Take lots of angles. Show the item from the front, back, sides, top, and bottom. Get close-ups of any important details, brand labels, or cool features. Most importantly, be honest and photograph any flaws or signs of wear.
Transparency is your greatest asset as a seller. By clearly showing any imperfections in your photos, you build trust with potential buyers and drastically reduce the chances of a return or dispute later on.
The Art and Science of Smart Pricing
Pricing can feel like the scariest part of selling your old stuff. Price too high, and your item will just sit there. Price too low, and you're leaving cash on the table. The sweet spot is a competitive price that reflects the item's real market value and condition.
Your first move should always be research. Hop on the platform where you plan to sell and search for items identical or very similar to yours. Here's the key: don't just look at what sellers are asking. Filter your search to see what items have actually sold for. That "sold listings" data is the gold standard for what people are truly willing to pay.
This is where you can really see the scale of online selling. By 2025, ecommerce is expected to account for over 21% of total retail sales worldwide. The market for secondhand goods is a massive piece of that pie, meaning there's a huge pool of data you can tap into to price your items perfectly.
When you're zeroing in on a price, think about:
- Condition: Be brutally honest. Is it 'Used - Like New' or just 'Used - Acceptable'? An item in mint condition will always fetch more than one showing its age.
- Completeness: Does it have all its original parts, accessories, and packaging? A video game console with its original box and controller is worth more than the console by itself.
- Demand: Is the item hot right now or kind of rare? A limited-edition sneaker will command a much higher price than a generic t-shirt.
For certain niche items, you might need a little extra help. For a specific guide on valuing collectibles, you can check out an expert resource on how to sell old coins, which breaks down the steps for that unique market.
Writing Descriptions That Convert
Your photos grab their attention, but your description seals the deal. A great description is clear, concise, and gives a buyer all the info they need to click "buy" with confidence.
Start with a title packed with keywords. Think like a buyer: what words would you type into the search bar? Include the brand, item name, size, color, and model number if it has one. For example, instead of just "Men's Jacket," go with "Nike Men's Windrunner Hooded Jacket - Size Large - Black/White."
In the description itself, get specific. Add measurements for clothing and furniture, tech specs for electronics, and any interesting backstory for vintage pieces. This is also where you repeat the item's condition in words, pointing out any of the flaws you photographed. If you're still on the fence about what's worth selling, our guide on how to decide what to keep and what to sell can help you focus on the items with the most potential.
Creating Listings That Actually Sell
Alright, you've got your items cleaned, photographed, and priced. Now comes the moment of truth: creating the online listing. This is your digital storefront, and it's where all that prep work really starts to shine. A killer listing does more than just show off your item; it tells its story, builds trust, and turns a casual scroller into a confident buyer.
Think of it as your final sales pitch. The photos got their attention, sure, but it’s the title and description that will seal the deal. Honesty and clarity are your best friends here.
Crafting a Title That Gets Clicks
Your listing's title is, without a doubt, the most important bit of text you'll write. It's what the search algorithms on eBay, Poshmark, or Facebook Marketplace use to connect you with buyers. A vague title is a surefire way to get buried, no matter how awesome your item is.
The trick is to think like your ideal customer. What words would they type into that search bar? Get descriptive and load it up with keywords.
- Weak Title: Blue Jacket
- Strong Title: The North Face Men's Apex Bionic 2 Softshell Jacket - Size Large - Blue
See the difference? The second title packs in the brand, gender, product name, item type, size, and color. It answers all the basic questions before someone even clicks. For electronics, always try to include model numbers. For furniture, put the dimensions right in there.
Writing a Description That Builds Trust
Once the title and photos have lured someone in, the description is your chance to close the deal. Here's where you can expand on the details and, critically, be totally upfront about the item's condition.
Start with the essential info, laid out clearly. Nobody wants to read a novel. Use bullet points or short, punchy paragraphs to make it scannable.
- Dimensions & Specs: For clothes, I always include measurements like chest (pit-to-pit), length, and inseam. For gadgets, list the key specs.
- Item History: A little context goes a long way. Something simple like "Only used twice on a weekend trip" or "Purchased last year, just upgraded" is super helpful.
- What’s Included: Be explicit. "Comes with original box and charging cable." This avoids any post-sale headaches.
This is also where you lean into transparency. Point out the flaws you showed in your photos again. Using phrases like "Small scuff on the left corner, as pictured" builds a massive amount of trust and seriously cuts down on the risk of returns. If you're selling a lot of stuff, keeping track of these details is key. A good home inventory checklist can double as your sales log to keep everything straight.
Managing Messages and Offers Professionally
As soon as your listing is live, get ready for questions and offers. How you handle these conversations says a lot about you as a seller and can make or break your reputation.
Try to respond to messages quickly. A prompt reply shows you’re on top of things. Keep your tone friendly and professional, even if the question seems a little silly.
My rule of thumb? Before I even list an item, I decide on my absolute rock-bottom price. Knowing that number ahead of time lets me negotiate with confidence and avoid caving to pressure.
Don't be afraid to say no to lowball offers. A simple, "Thanks for the offer, but I'm firm on the price for now" is polite and effective. For serious buyers, a little bit of back-and-forth is just part of the game, especially on platforms like Facebook Marketplace.
You'll also learn to spot the serious buyers. Vague questions or requests to move the conversation off-platform are usually red flags. A genuine buyer will ask specific things about the item itself. Handle your inquiries well, and you're set for a smooth sale.
Navigating Shipping and Local Pickup Logistics
You’ve made the sale. Awesome! But don't pop the champagne just yet—the job isn't quite done. You still have to get that item safely into your buyer's hands.
This final step, whether you're shipping a package across the country or meeting someone around the corner, is just as critical as crafting the perfect listing. Getting the logistics right builds your reputation as a seller people can trust. On the flip side, a poorly packed item or a sketchy meetup can sour the whole deal. A little planning here goes a very long way.
Mastering the Art of Shipping
Shipping can feel like a huge hurdle if you're new to it, but I promise it's pretty simple once you get the hang of it. The whole game boils down to packing things well, figuring out the cost ahead of time, and picking the right carrier.
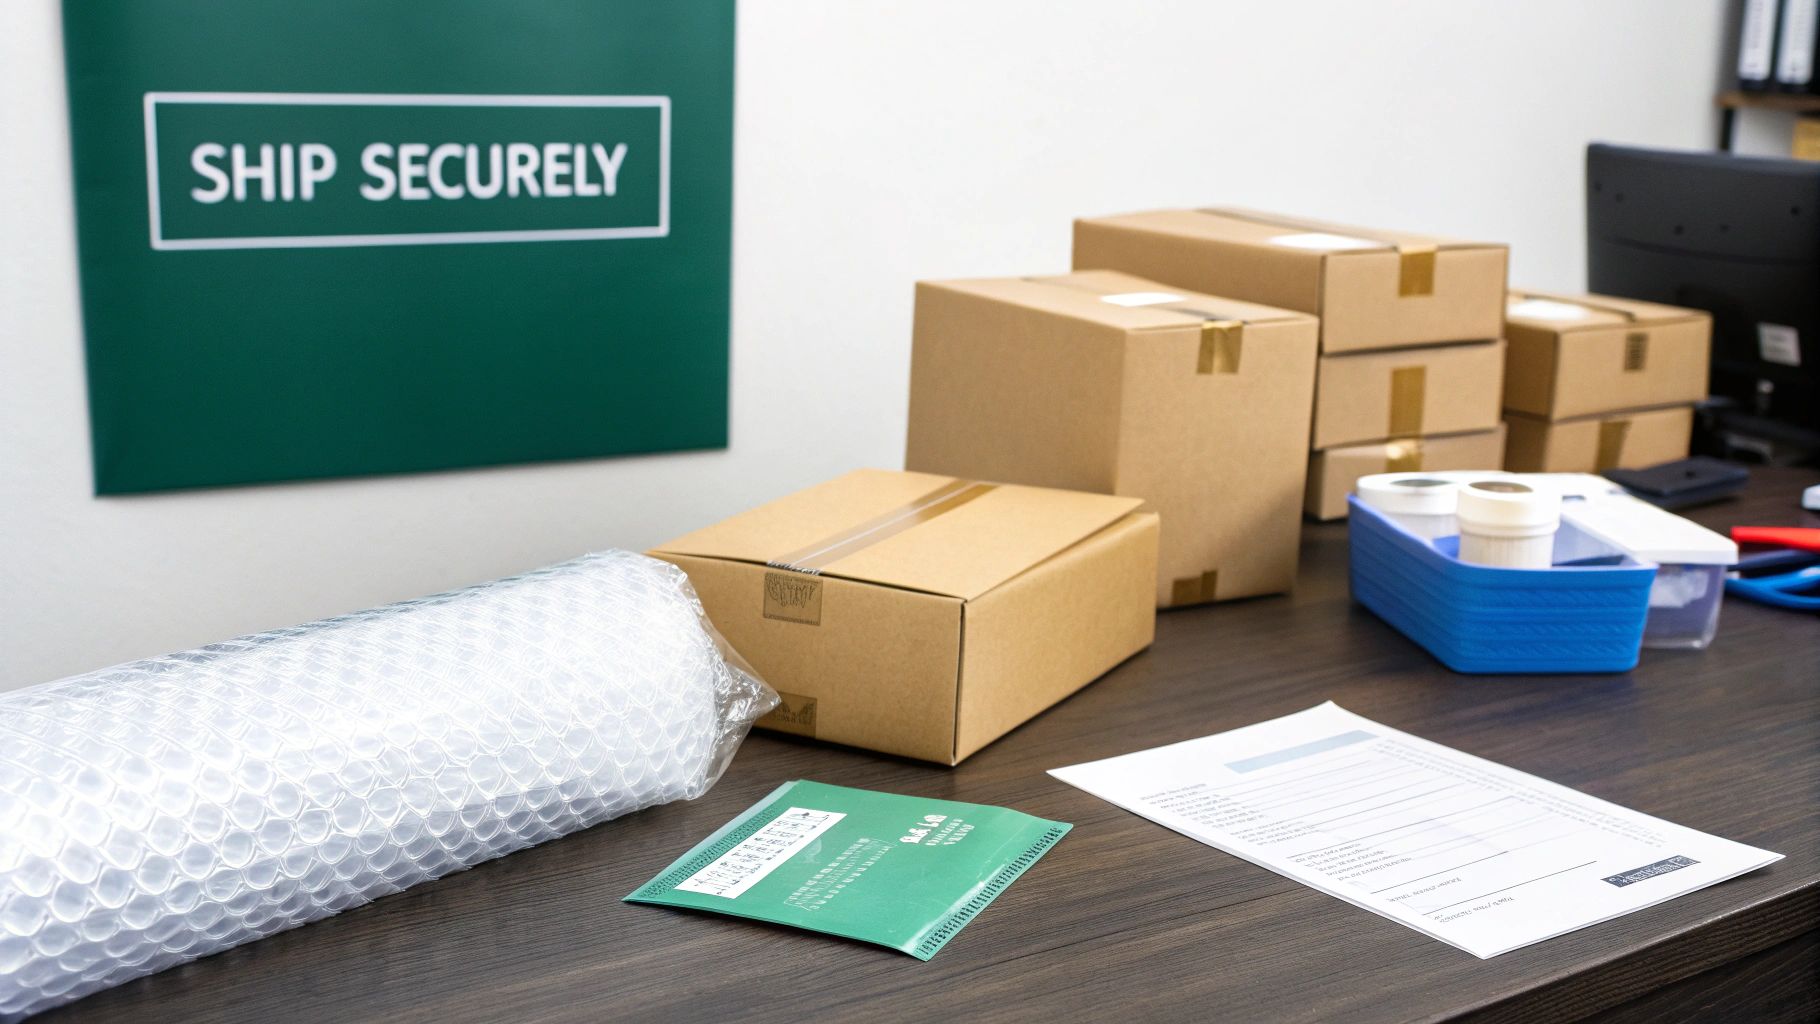
First up, you’ll need some basic materials. You can always buy new boxes, bubble wrap, and packing tape, but why spend money if you don't have to? I’m a big fan of saving boxes and packing materials from my own online orders. You can also score freebies from local community groups where people are constantly giving away moving boxes.
Here’s a quick rundown of how I pack different types of items:
- For Clothing: Poly mailers are your best friend. They're lightweight, waterproof, and super cheap. Just fold your items neatly to keep them from getting too wrinkled in transit.
- For Electronics: Bubble wrap is non-negotiable here. Wrap the item like you mean it, then stick it in a sturdy box. Fill any empty space with packing peanuts or even just crumpled paper. If you have the original box, use it! It adds another layer of protection and can even increase the item's perceived value.
- For Fragile Items: This is where you bring out the pro move: double-boxing. Wrap the item securely in bubble wrap, put it in a small, snug box, and then place that box inside a larger one. Make sure you have at least two inches of cushioning on all sides. For a deeper dive, our guide on how to pack boxes for shipping has you covered.
Calculating Postage Costs
Honestly, one of the biggest rookie mistakes is guessing the shipping cost. It’s a surefire way to watch your profits disappear. Before you even list your item, get a solid idea of what it will cost to send.
Grab a kitchen scale and weigh the item after you’ve packed it up. Then, hop onto an online shipping calculator from USPS, UPS, or FedEx to get an estimate. Most selling platforms like eBay and Poshmark have built-in calculators that make this even easier—and they usually offer discounted shipping labels, which is a nice bonus.
Always factor shipping costs into your final price. You can either list it as a separate fee or roll it into the item's price and offer "free shipping." Buyers psychologically love free shipping, even if the total price ends up being the same.
Staying Safe with Local Pickups
For bigger things like furniture, or if you're selling on a platform like Facebook Marketplace, local pickup is often the only realistic choice. It’s convenient, but your safety has to be the number one priority.
Good communication is everything. Nail down a specific time and place before you agree to meet. Trust your gut—if a buyer seems flaky or just gives you a weird vibe, it's completely fine to walk away from the sale. No transaction is worth risking your safety.
Here are a few rules I absolutely never break for local meetups:
- Meet in Public: Never, ever invite a buyer to your home or agree to go to theirs. Pick a well-lit, busy public spot. Many police departments now have designated "safe exchange zones" in their parking lots, which are under video surveillance. A bustling coffee shop or the lobby of a grocery store also works well.
- Bring a Friend: There's safety in numbers. If you can, bring someone along with you. It adds an extra layer of security and peace of mind.
- Verify Payment First: Don't hand over the goods until the money is in your account. If it's cash, count it right there. If you're using a digital app like Venmo or Zelle, have the buyer send the payment and wait for it to actually appear in your account before you part ways. Be very wary of personal checks or any overly complicated payment requests.
Follow these simple tips, and you can make sure every sale ends on a high note, leaving both you and your buyer happy.
Organizing Your Selling Operation at Home
Once you start selling a few things, you'll quickly discover that success comes with its own challenge: stuff. Suddenly, your dining room table is a shipping station, the hallway is an obstacle course of boxes, and your listed items are stacked precariously in a corner. If you're not careful, your side hustle can completely take over your home.
The solution? Get organized.
Creating a dedicated space for your selling operation is a total game-changer. It doesn't have to be an entire room—even a small corner of your office or a designated set of shelves in the garage can work wonders. This central hub keeps your inventory, packing supplies, and workflow contained, making the whole process more efficient and a lot less chaotic.
Designating Your Command Center
First things first: carve out a specific area for all your selling activities. This zone should ideally have enough room for a small table or flat surface for packing, plus some storage for your supplies.
Think about how you work. You'll need a spot for items waiting to be photographed, a clean area for taking the actual pictures, and then a place to stash everything once it's listed online. Keeping these stations together stops you from running all over the house every time you make a sale.
A simple rolling cart with a few tiers can be a fantastic, low-cost solution. You can keep your scale, tape, and labels on top, with boxes and mailers on the lower shelves. It keeps everything mobile and right at your fingertips.
Storing Listed Items Safely
Once an item is photographed and listed, it enters a kind of limbo—it's still yours, but it's also "sold" in spirit. You have to protect it during this phase to keep it in perfect condition for its new owner. The last thing you want is for an item to get damaged, stained, or lost before you can ship it out.
A simple inventory system can save you a world of headaches.
- Use Clear Bins: I love using clear plastic containers for smaller items. They protect everything from dust and moisture while letting me see what's inside at a glance.
- Label Everything: Assign a simple number or code to each item or bin. You can write this on a sticky note or a piece of masking tape. Then, note this code in your listing description or a private spreadsheet so you can find the item instantly when it sells.
- Hang Clothing: For apparel, your best bet is to hang items in a designated closet or on a garment rack. This prevents wrinkles and keeps them looking fresh.
My personal pro-tip is to group items by category. I have one bin for electronics, another for books, and a specific section of my closet for listed clothing. This way, when a "blue floral dress" sells, I know exactly where to look.
Keeping Shipping Supplies in Order
There's nothing more frustrating than making a sale and then having to hunt for a box that fits or realizing you're out of packing tape. An organized supply station makes that final step quick and painless.
Dedicate a shelf or a cabinet just for your shipping materials. Break down any boxes you've saved so they lie flat and take up less space. Use jars or small containers to hold pens, scissors, and other little tools. A well-stocked, tidy supply area turns packing from a chore into a simple, satisfying task.
For sellers dealing with larger inventory or bulky things like furniture and sporting equipment, a home-based setup can quickly become impossible. This is where using an off-site storage solution like Endless Storage becomes a powerful tool. It gives you a secure, climate-controlled space to keep your inventory organized and out of your living area, letting you scale your selling efforts without sacrificing your home's tranquility.
This whole resale market is growing at an incredible pace. By 2025, it's projected that over 75% of global internet users will be shopping online, creating a massive secondary market for everything from collectibles to clothing. This trend really highlights the long-term potential of turning your unwanted items into cash. You can discover more insights about ecommerce trends on Netguru.com. Having an organized system, whether at home or with a storage partner, is the key to taking full advantage of this opportunity.
Common Questions About Selling Unwanted Items
Even with the best game plan, you're going to have questions. Selling your stuff online is pretty straightforward most of the time, but the little details can sometimes trip you up. Think of this as your go-to guide for those "what if" moments.
Here are some clear, no-nonsense answers to the most common hurdles new sellers run into. Having these in your back pocket will help you navigate the process with a lot more confidence.
What Should I Do About Difficult Buyers or Returns?
First things first: don’t panic. A tricky buyer or a return request is just part of the game. It happens to everyone. The trick is to handle it like a pro and stick to the platform's rules.
If you're dealing with a difficult buyer, always keep your messages polite and stick to the facts. Don't get pulled into an emotional back-and-forth if someone is being unreasonable. Just state your side of things clearly, point back to your original listing description, and if it gets messy, don't hesitate to escalate the issue to the platform's customer support. Most marketplaces have seller protection for a reason—use it.
When it comes to returns, your policy should already be crystal clear in your listing. On many platforms, you’re required to accept a return if the item isn't as you described it. The best defense here is a good offense: be brutally honest in your descriptions and photos from the start. If a return is unavoidable, just handle it quickly to keep your seller rating in good shape.
Do I Need to Worry About Taxes?
The short answer is… maybe. Tax rules can be a headache, and they change based on where you live and how much you're selling. For the most part, if you're just selling a few personal things here and there for less than what you paid for them, you probably won't owe any income tax. It's usually considered a "hobby" or just a personal sale.
However, things change if you start selling stuff frequently and turning a consistent profit. At that point, you might be seen as a small business. Online marketplaces are now required to send a 1099-K form to the IRS for sellers who make over a certain amount (the threshold is around $600 a year on many platforms). It’s a smart move to keep a simple spreadsheet of your sales and any related expenses.
If you're really not sure where you stand, talking to a tax professional is your safest bet. They can give you advice tailored to your exact situation so you don't have any surprises later.
When Is It Better to Donate Than Sell?
Honestly, sometimes the time and energy it takes to sell something just isn't worth the cash you'll get back. It probably makes more sense to donate an item if:
- It has a very low resale value. That old t-shirt might only fetch a couple of dollars, which hardly makes listing, packing, and shipping it worthwhile.
- The market is totally flooded. Things like common paperback books have thousands of listings. Yours is just going to get lost in the noise.
- It has small flaws that are a pain to sell. A sweater with a tiny, hard-to-photograph stain might be perfect for a donation bin but a tough sell online where buyers expect perfection.
Donating is a fantastic way to clear out clutter fast while doing some good. If you need some ideas, our article on where to donate old clothes is a great resource for finding the right home for your gently used apparel.
As you sort, sell, and store, things can get chaotic. Endless Storage simplifies the process with storage-by-the-box. We help you keep your inventory organized and your home clear without the commitment of a traditional storage unit. Learn more at https://www.endless-storage.com.