
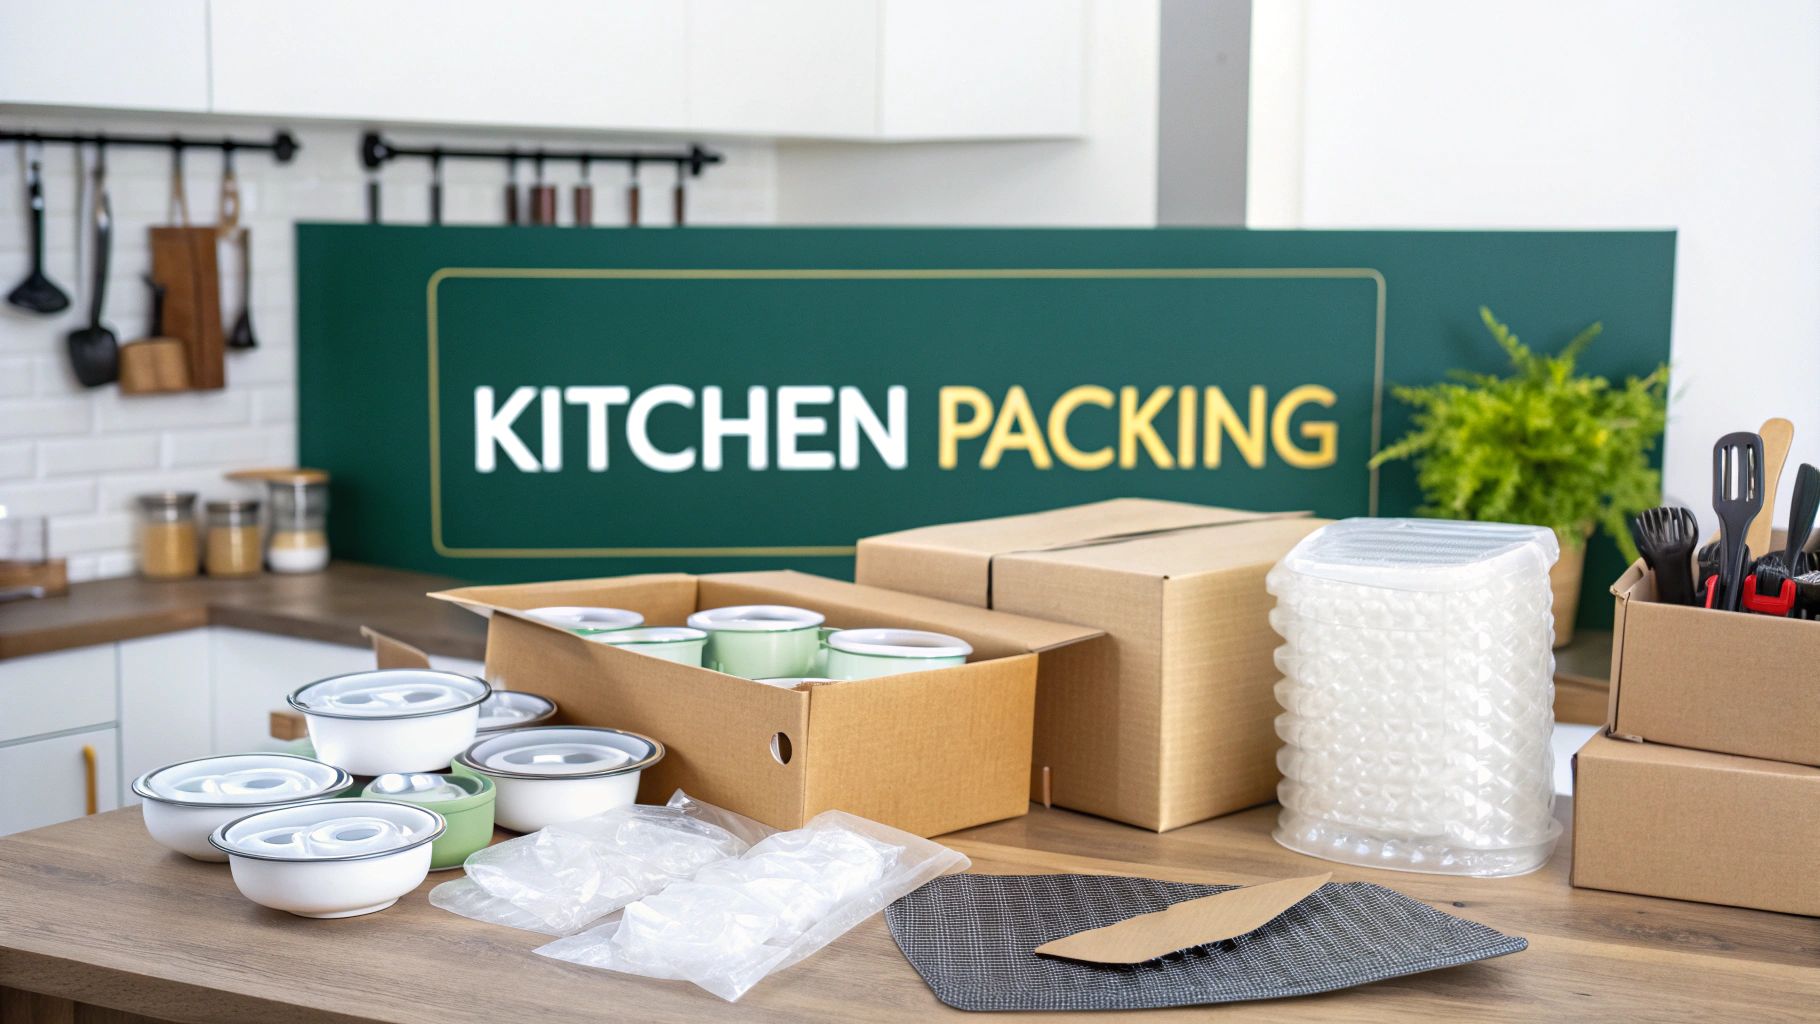
Packing a kitchen really just comes down to three things: decluttering what you don’t need, sorting everything into categories, and gathering the right supplies before you start. Getting this foundation right is the single best way to avoid a mountain of broken dishes and a chaotic move-in day. It transforms an overwhelming task into a completely manageable one.
Your Essential Game Plan for Packing the Kitchen
The kitchen is often called the heart of the home, but during a move, it can feel more like the junk drawer of the entire house. With countless fragile items, bulky appliances, and that one drawer filled with mystery gadgets, it’s no wonder so many people save it for last.
But trust me, a little upfront strategy makes all the difference. Before a single plate goes into a box, a solid plan is your most important tool. This isn't about wrapping and taping just yet; it's about making smart decisions that will save you time, money, and a massive headache later. The goal is simple: move only what you truly need, and pack it in a way that makes unpacking feel intuitive, not infuriating.
First, Declutter and Sort
Start by being ruthless. Go through every cabinet, drawer, and pantry shelf and be honest with yourself—when was the last time you actually used that novelty ice cream maker or the fondue pot from 2005? A move is the perfect excuse to finally shed the excess. I always recommend making three piles: keep, donate, and toss.
Once you’ve whittled it down to the keepers, sort everything into logical categories. This simple action streamlines the entire packing process. Grouping similar items makes packing way faster and unpacking a breeze because you’ll know exactly what’s in each box without having to guess.
Here’s how I break it down:
- Glassware and Dishes: All your plates, bowls, mugs, and glasses go together.
- Pots and Pans: This includes all cookware, bakeware, and their lids.
- Small Appliances: Think toasters, blenders, coffee makers, and stand mixers.
- Utensils and Silverware: Cooking utensils, flatware, and knife blocks.
- Pantry Items: Group all canned goods, spices, oils, and other non-perishables.
This simple workflow—declutter, then sort, then gather supplies—is the professional mover's secret to an efficient kitchen pack. It really works.
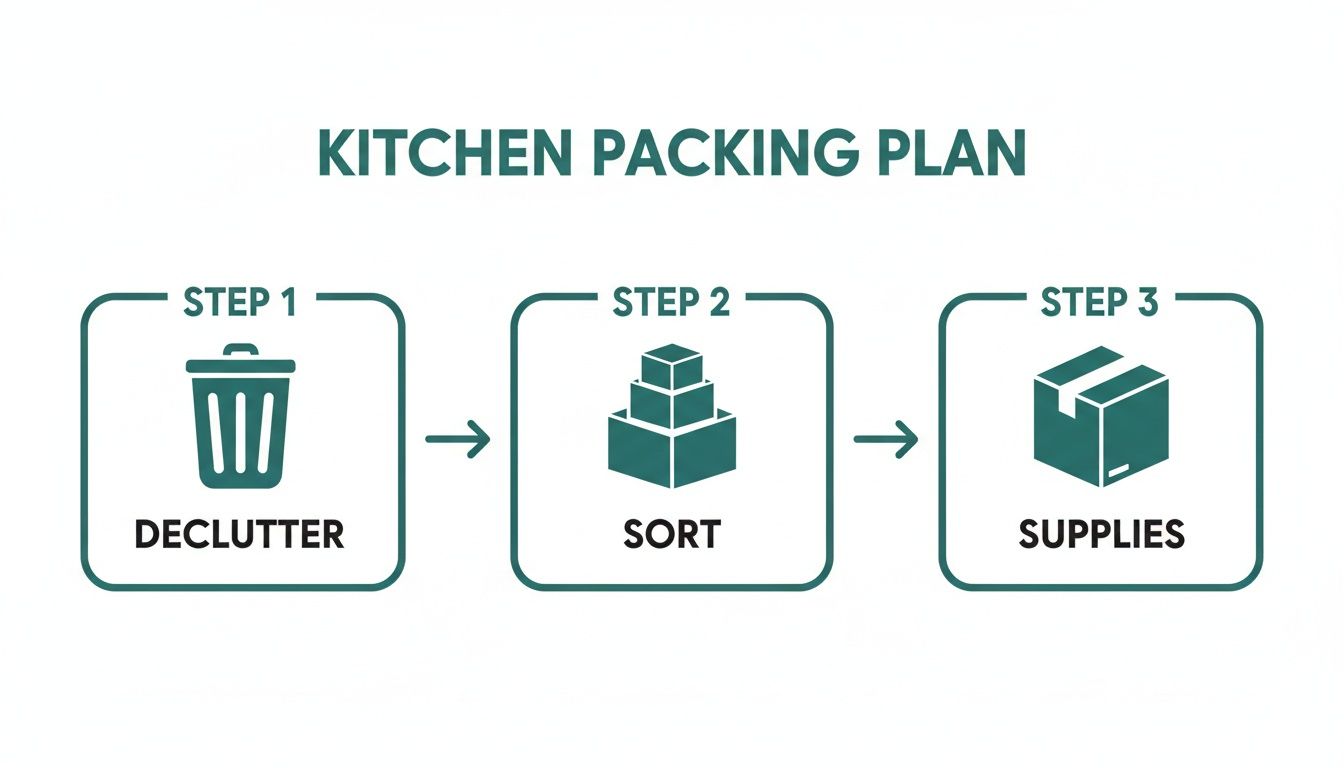
As you can see, a successful pack starts long before you even touch the first box. It’s all about having a clear, step-by-step approach.
The Right Supplies Are Non-Negotiable
With your items sorted, the final piece of the puzzle is grabbing the correct packing materials. This step is far more critical than most people realize. Using the wrong boxes or not enough cushioning is where things go wrong.
To make it easy, here’s a quick checklist of what you'll absolutely need.
Essential Kitchen Packing Supplies Checklist
Having these items on hand before you begin prevents you from having to make last-minute runs to the store and ensures everything is protected properly from the get-go.
By following this strategic approach, you set yourself up for success. To see how kitchen packing fits into your overall moving schedule, check out our guide on creating a comprehensive moving checklist and timeline.
Mastering the Art of Packing Fragile Kitchenware
Fragile kitchenware is where a move can go from smooth to heartbreaking in an instant. This is where proven techniques make all the difference, moving you from hopeful guesswork to confident execution. We’re going to walk through the professional methods for protecting everything from your everyday plates to delicate wine glasses, ensuring they arrive in one piece.
First things first: forget everything you think you know about stacking. Laying plates flat on top of each other in a box is a recipe for disaster. This creates immense pressure on the items at the bottom, making them incredibly vulnerable to cracks from bumps and vibrations. The professional approach flips this idea on its side—literally.
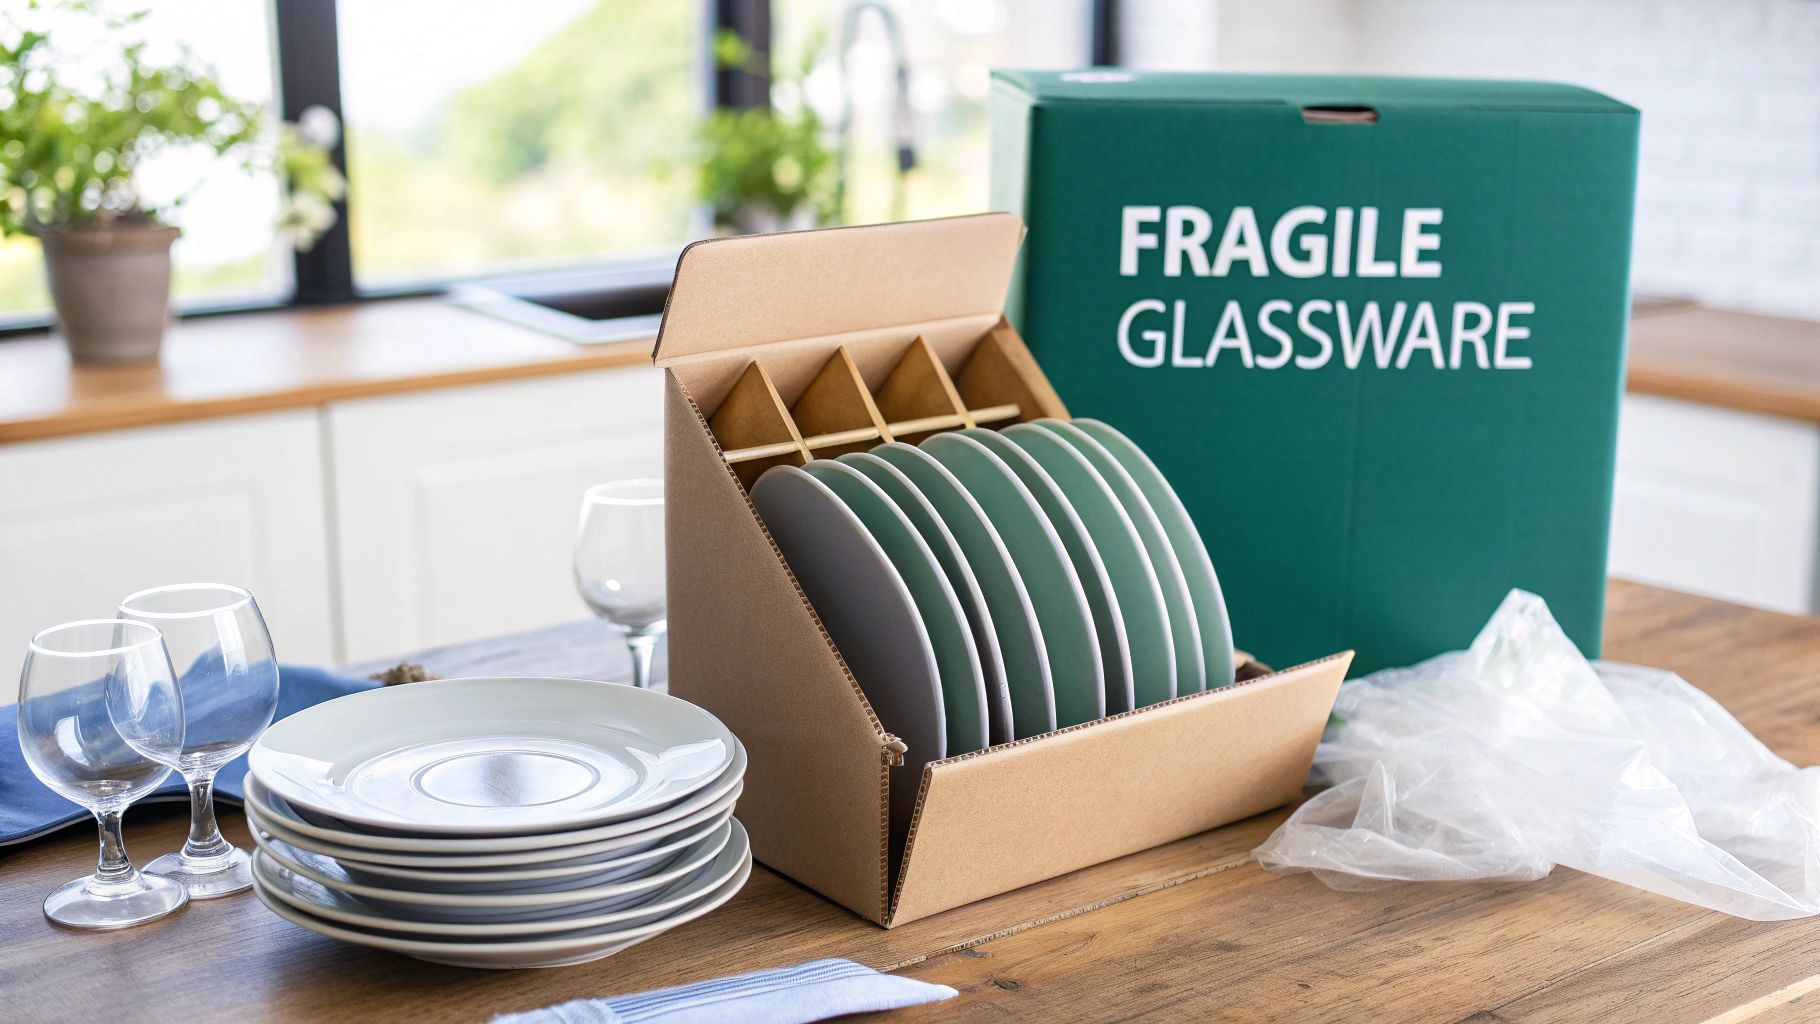
The Vertical Stacking Method for Plates and Bowls
Think of packing plates like loading records into a crate. Each one stands on its edge, side by side. This simple shift in orientation distributes pressure far more effectively and dramatically reduces the risk of breakage. It might feel a little strange at first, but it's a total game-changer.
Here's how to do it right:
- Create a Padded Base: Start by lining the bottom of your dish pack box with a generous cushion of crumpled packing paper, at least three to four inches deep. This is your shock absorber.
- Wrap Each Item Individually: Place a single plate or bowl in the center of a stack of packing paper. Pull one corner over the item and tuck it in, then bring another corner over, continuing until it’s completely cocooned. A small piece of tape keeps it all together.
- Place Vertically in the Box: Gently slide the wrapped plate into the box so it rests on its edge. Keep packing your other plates snugly next to each other. You want them firm, but not crammed.
- Fill All Gaps: Once you have a full row, stuff any open spaces on the sides and top with more crumpled packing paper. Nothing should be able to shift or slide. A box with movement is a box with broken dishes.
This isn't just a hunch; it's backed by data. Moving industry statistics show that kitchenware accounts for a staggering 28% of all breakage claims. Experts have found that wrapping each plate and stacking them vertically reduces breakage by 67%, according to one study of over 7,000 moves.
Protecting Glassware and Stemware
Glasses, mugs, and especially wine glasses require a different but equally careful approach. Their hollow shape and delicate stems are their biggest weaknesses, so the key is to provide both interior and exterior support. For these items, cellular dividers are your best friend.
A cellular divider is a simple cardboard grid that creates individual compartments inside a box, preventing items from clinking against each other. It’s an inexpensive tool with a massive payoff.
Here’s how to create a protective nest for each glass:
- Stuff the Inside: Gently stuff crumpled packing paper inside each glass or mug. This adds crucial internal support and prevents the walls from collapsing under pressure.
- Wrap the Outside: Roll the stuffed glass in packing paper, tucking the ends in as you go. For wine glasses, pay extra attention to wrapping the long stem securely.
- Place in Dividers: Carefully set each wrapped item into its own cell within the divider. Always place them with the heaviest part—the base—facing down.
- Add a Top Layer: Once the box is full, add another layer of crumpled paper on top for good measure before sealing it up.
Pro Tip: For priceless or sentimental items like fine china or crystal, add an extra layer of protection. Use foam pouches or a layer of bubble cushioning over the packing paper before placing them in the box. It’s a small extra step for invaluable peace of mind.
This methodical approach can seem tedious, but the few extra minutes you spend on each piece will save you from the disappointment of unpacking broken dishes. For an even more detailed breakdown, explore our dedicated guide on the best way to pack dishes for moving.
And don’t forget the final, crucial step: clearly label every box with "FRAGILE - KITCHEN GLASSWARE" or "FRAGILE - PLATES" on multiple sides and add an arrow indicating which way is up.
How to Pack Pots, Pans, and Small Appliances the Smart Way
Once you’ve dealt with the delicate dishes, turning your attention to bulky pots, pans, and small appliances feels like a totally different beast. These things are heavy, awkwardly shaped, and often have sensitive surfaces or loose parts that need extra care. A good packing strategy here isn't just about protection—it's about making the most of your box space and ensuring you can actually lift them without throwing your back out.
The trick is to think like you're playing a high-stakes game of Tetris. You want to use the unique shapes of your cookware to your advantage while making sure nothing gets scratched or dented in the process. With a couple of simple techniques, you can turn that intimidating pile of kitchenware into a stack of neatly packed, secure boxes.
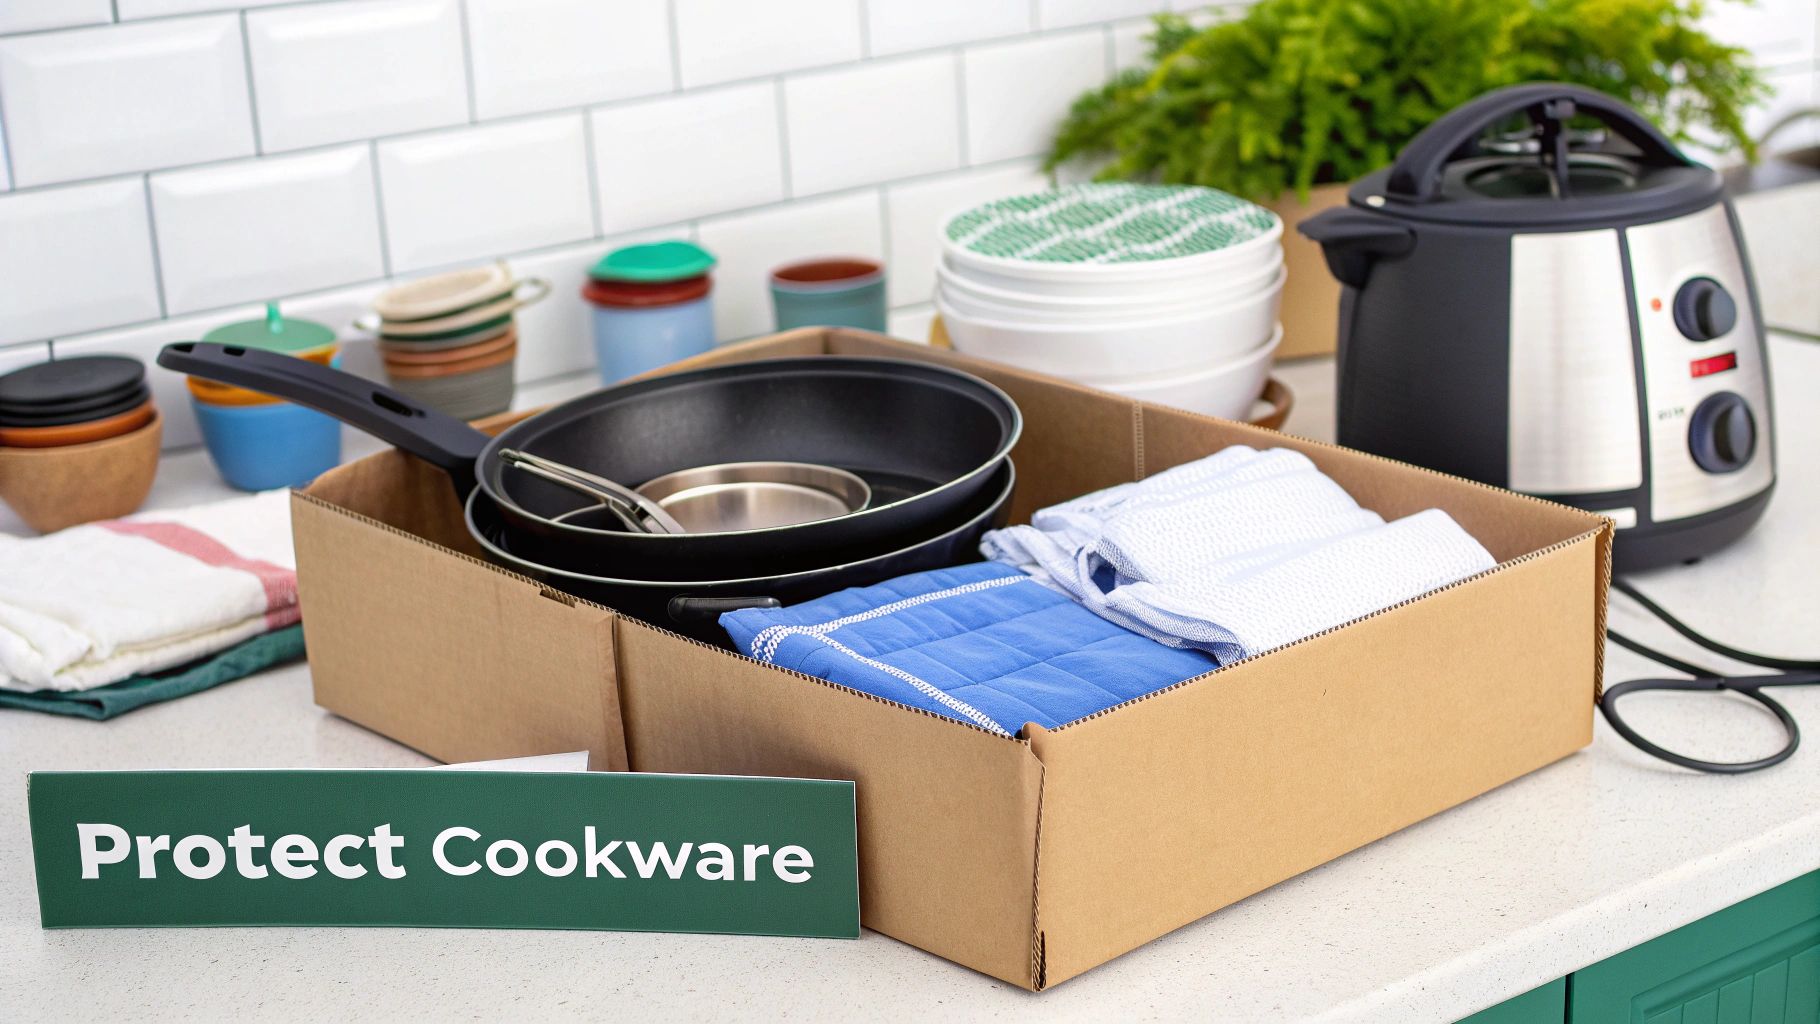
Nesting Cookware to Save Space and Prevent Damage
Your collection of pots and pans is practically designed for nesting—stacking the smaller ones inside the larger ones. This single move can drastically cut down on the number of boxes you'll need for the kitchen. But hold on, you can't just toss them together. Non-stick coatings and polished stainless steel are easily scratched by metal-on-metal contact.
To avoid this, you need to create a protective barrier between each piece. The good news is you don’t need anything fancy; everyday items from your kitchen work perfectly.
- Dish Towels: Just place a clean, dry dish towel or a microfiber cloth inside a large pot before nesting a smaller one inside it. Simple.
- Packing Paper: A few sheets of clean packing paper also make an excellent cushion.
- Felt or Foam Dividers: If you want to be extra careful, you can invest in some specialized polyester pot and pan protectors that add a serious layer of cushioning.
After you have a nested stack, wrap the whole bundle in packing paper to hold it all together. And for those glass lids? Always wrap them individually in paper or bubble cushioning. Then, pack them vertically along the side of the box, just like you would with plates. Standing them on their edge helps them withstand pressure way better than laying them flat.
Prepping and Packing Small Kitchen Appliances
Your stand mixer, coffee maker, toaster, and blender are the unsung heroes of the kitchen. They also represent a decent chunk of change, so packing them correctly is a must. The game plan is to clean them up, secure any moving parts, and find a sturdy box that offers a nice, snug fit.
First thing's first: give every appliance a thorough cleaning. Leftover food bits can attract pests or grow mold, which is the last thing you want, especially if your stuff is going into storage for a while. Once they're clean and totally dry, it's time to prep them for packing.
Appliance Packing Checklist:
- Detach and Wrap Loose Parts: Take off any glass carafes, blender pitchers, or mixer bowls. Wrap these fragile pieces separately in bubble cushioning.
- Secure Internal Components: Tape down any bits that could shift around, like the toaster lever or the arm of your stand mixer.
- Coil and Secure Cords: Neatly coil the power cord, secure it with a twist tie or rubber band, and tape it to the side of the appliance so it’s not flopping around.
Pro Tip: Use Original Boxes: If you had the foresight to save the original packaging for your appliances, now's the time for a victory lap. Those custom-fit foam inserts offer the best protection, period. If you tossed them, just pick a medium-sized box that leaves about two inches of cushioning space on all sides.
Line the bottom of the box with crumpled packing paper, put the appliance inside, and then stuff all the surrounding gaps with more paper or bubble cushioning. You want it packed tight enough that nothing can move.
For more in-depth advice, especially if you're planning for long-term storage, our guide on how to store kitchen appliances has extra tips to keep them in perfect working order. Following these targeted methods for your cookware and small appliances ensures they arrive at your new home ready for action, without a single scratch or dent in sight.
Strategically Packing Your Pantry and Food Items
Let's be honest, moving a pantry is less about brute force and more about making smart decisions. This is where you can seriously cut down on waste and make your move-in day a whole lot simpler. The goal here is to avoid the classic mistake of hauling expired spices or leaky bottles of olive oil across town. A little strategic purging now will save you from a sticky, frustrating mess later.
I always recommend starting this process about two weeks before your move. Take a good, hard look at everything in your pantry, fridge, and freezer. Be ruthless. What will you actually use before you go? This is the perfect chance to declutter your food supply, lighten your moving load, and even help out your community by donating unopened, non-perishable items.
Sorting and Purging Your Food Supply
Your first move is to create three piles: Keep, Use, and Donate/Toss. This simple system breaks a daunting task into manageable chunks.
- The Keep Pile: This is for the good stuff—sealed, non-perishable items that are worth the effort to move. Think canned goods, unopened bags of rice, expensive spices, and that fancy olive oil.
- The Use Pile: Get creative! Plan your meals for the final couple of weeks around using up all those open containers and perishable items. It's like your own personal cooking challenge.
- The Donate/Toss Pile: Anything expired has to go. For unopened items you know deep down you won’t use, donate them. It’s just not cost-effective to move a half-used bag of flour or a giant container of oatmeal.
This sorting process is more important than you might think. A staggering 65% of households end up wasting food simply because of inadequate storage right after a move.
Packing Non-Perishables Like a Pro
Once you’ve whittled down your pantry to just the essentials, it’s time to pack them securely. Spills from food items are notorious for ruining other belongings, so proper sealing is absolutely non-negotiable.
For canned goods, grab some small, sturdy boxes. Cans are deceptively heavy, and overpacking a big box is a recipe for a dropped box—or worse, a back injury. Put the heavier cans on the bottom and layer lighter things like boxed pasta or bags of chips on top.
When it comes to bottles and jars (oils, vinegars, sauces), leakage is your number one enemy.
- First, give every single cap a good, firm tighten.
- Next, take the cap off, place a small square of plastic wrap over the opening, and then screw the cap back on tightly. This creates a fantastic extra seal.
- Finally, wrap the whole container in packing paper or pop it into a sealable plastic bag for good measure.
For opened dry goods or things that need an extra-tight seal, understanding the science behind cling film for food packaging can be a game-changer. And if you're putting items into storage, especially spices, using the best vacuum seal bags can make a huge difference in keeping them fresh.
The "Open First" Box: Your Move-In Day Lifesaver
Your last pantry task is to create what I call the "Open First" box. Some people call it an essentials box, but whatever its name, you will be incredibly grateful for it on that first night in your new home. It should contain everything you need to survive for the first 24-48 hours.
This single box is the difference between a chaotic first night of expensive takeout and a calm, comfortable transition into your new space. Pack it last so it's the very first thing off the moving truck.
Here’s what you should put in your essentials box:
- Coffee maker, filters, and a small bag of coffee (this is critical!)
- A couple of mugs and glasses
- Disposable plates, bowls, and cutlery
- Paper towels and a fresh dish sponge
- Dish soap
- A multipurpose cleaner
- A simple, non-perishable meal kit, like a jar of pasta sauce and a box of spaghetti
- Snacks and drinks for moving day itself
- A can opener and a sharp knife
Label this box clearly on all sides: "OPEN FIRST - KITCHEN ESSENTIALS". When you arrive tired and totally overwhelmed, you’ll know exactly where to find that coffee maker. Trust me on this one.
Labeling Systems for a Stress-Free Unpack
A perfectly packed kitchen is a huge accomplishment, but the real victory comes when you can unpack efficiently and find what you need without a frantic search. The secret isn't just in the packing; it's in the labeling. A clear, consistent system transforms unpacking from a chaotic hunt into a streamlined process, saving your sanity on move-in day.
Think of your labels as a roadmap for your future self. When you’re exhausted and surrounded by a mountain of brown boxes, a good label is the most helpful thing in the world. It’s the difference between finding the coffee maker in minutes versus hours.
Go Beyond Basic Labeling
Simply writing "Kitchen" on a box is a start, but it’s not enough. Your kitchen has multiple zones and contains a huge variety of items. A truly effective system gives you more detail at a glance.
Start with the essentials for every single box:
- Room and Sub-Category: Be specific. Instead of just "Kitchen," write "KITCHEN - POTS & PANS" or "KITCHEN - GLASSWARE." This lets you prioritize what to unpack first.
- Brief Contents List: Jot down a few key items inside. For example, a box labeled "KITCHEN - SMALL APPLIANCES" could have a list that includes "Blender, Toaster, Hand Mixer."
- Fragility Warning: For any box containing dishes, glasses, or breakables, write "FRAGILE" in large letters on at least two sides. Also, draw arrows pointing up to indicate the correct orientation.
Labeling isn’t just about identifying what’s inside; it's about creating an efficient unpacking workflow. A well-labeled box tells movers exactly where it goes and tells you exactly how urgently it needs to be opened.
Implement a Smart System
To take your organization to the next level, consider adding a layer of visual cues. This makes identifying boxes even faster, especially when they're all stacked together in a new, unfamiliar room.
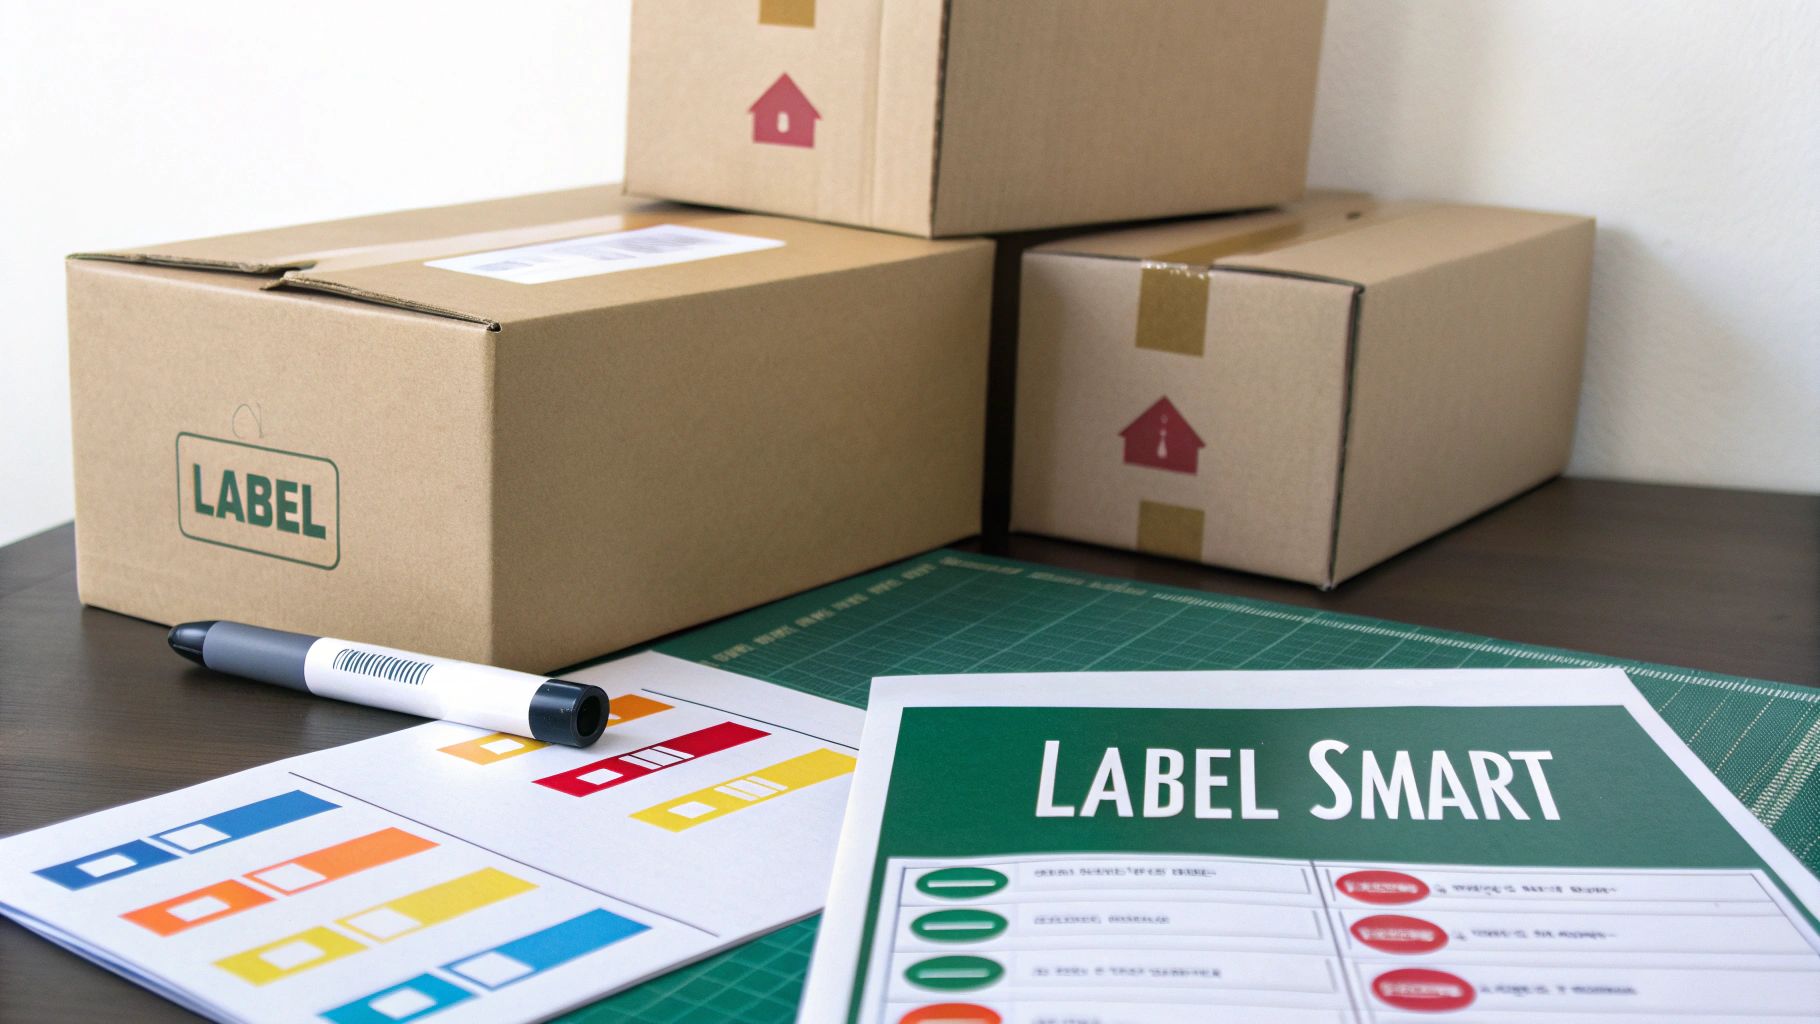
The Color-Coding Method
A popular and highly effective technique is color-coding. Assign a specific color of tape or marker to each sub-category of your kitchen. This creates an instant visual shorthand that your brain can process much faster than reading text.
Here's a simple example setup:
- Red: Fragile items (plates, glasses, china)
- Blue: Cookware (pots, pans, baking sheets)
- Green: Pantry items (canned goods, spices, dry goods)
- Black: Small appliances and utensils
When you walk into your new kitchen, you’ll immediately be able to group the red boxes in a safe corner, start with the green boxes to set up your pantry, and tackle the blue boxes near the stove. This method is just one of many you can use; for more advanced strategies, you can learn all about how to label boxes for moving in our detailed guide.
No matter which system you choose, the key is consistency. Label every box on the top and at least two sides so you can identify its contents even when it’s stacked. This small amount of upfront effort will pay huge dividends, helping you settle into your new kitchen quickly and with far less stress.
Of course. Here is the rewritten section, crafted to sound completely human-written and natural, following the provided style guide and examples.
Your Kitchen Packing Questions, Answered
Even the most organized move hits a few snags, and more often than not, they happen right in the middle of the kitchen. With its mix of fragile, heavy, and just plain awkward items, the kitchen always has a few curveballs to throw. This is where we tackle those tricky, last-minute questions that pop up when you're surrounded by boxes and packing paper.
Think of this as your packing hotline. We’ve heard it all, and we've got practical answers to get you through the tough spots, from picking the right box for your grandma's china to making sure your sharpest knives don't cause any surprises during unpacking.
What's the Best Box for Heavy Plates and Appliances?
This is a big one, and getting it right is your first line of defense against disaster. For anything dense and heavy—think stacks of plates, that beloved cast iron skillet, or your stand mixer—you absolutely need to use double-walled corrugated boxes.
These are often called "dish packs" or "dish barrels" for good reason. Their reinforced construction is built to handle serious weight without buckling or, worse, breaking open. A standard, single-walled box might seem fine for towels or toys, but it will quickly surrender under the stress of 30-40 pounds of ceramic dishes.
Don't even think about cutting corners here. A proper dish pack is a small investment that prevents the heartbreaking sound of your dinnerware crashing onto the garage floor. It's non-negotiable.
How Should I Pack My Kitchen Knives Safely?
When it comes to knives, safety is everything. The last thing you want is for you—or one of your moving helpers—to get a nasty cut while unpacking. Never, ever just toss loose knives into a box. Even wrapping them in a single sheet of paper is asking for trouble, as the blade can easily slice right through.
Here are a few pro-approved ways to get them packed securely:
- Use the Original Block: This is the simplest and safest bet. Put the knives back in their block, then wrap the whole thing tightly in packing paper or a few rounds of stretch wrap.
- Make a Cardboard Sheath: For individual knives without a block, you can easily fashion a protective sleeve. Just cut a piece of cardboard that’s a bit wider than the blade and twice as long. Fold it over the blade like a book and tape it shut.
- Wrap and Bundle: If you're short on cardboard, wrap each knife individually in several layers of packing paper. Then, bundle three or four wrapped knives together and tape them into a single, secure package. This keeps them from rattling around.
Whichever method you choose, place the secured knives in a small, sturdy box and label it clearly and boldly on every single side: "SHARP KNIVES - HANDLE WITH CARE".
Do I Really Need to Pack Everything from My Pantry?
The short answer? Absolutely not. Moving is the perfect excuse to finally purge your pantry. It’s a chance to get rid of expired items, things you'll never use, and anything that’s likely to spill. Trust us, moving a half-empty bottle of soy sauce is never worth the effort.
Before you even think about packing, do a full pantry audit. Toss anything past its date. Plan your meals for the week leading up to the move to use up open containers and perishable foods. For any good, unopened non-perishables you don't want, consider donating them to a local food bank like Move For Hunger. Only pack the sealed, valuable items you know you'll use in your new home.
What Should Go in a Kitchen Essentials Box?
The "essentials box" is your best friend on moving day. Sometimes called an "Open First Box," this is your survival kit for the first 24 hours in a new, chaotic space. Pack this box last so it comes off the truck first. It's the one thing that will stand between you and a frantic search for a coffee mug on your first morning.
Here’s a quick checklist of what to toss in:
- Coffee maker, coffee grounds, filters, and a couple of mugs
- A kettle and a few tea bags
- A fork, spoon, and knife for everyone in the family
- Paper towels, dish soap, and a sponge
- A bottle of all-purpose cleaner
- An easy first-night meal (think pasta and a jar of sauce)
- A few snacks and some bottled water
- A can opener, a bottle opener, and one good utility knife
- Pet food and bowls, if you have furry family members
Packing this box is a true act of kindness to your future, exhausted self. You’ll be so glad you did.
Feeling overwhelmed by the sheer volume of kitchen items you need to pack and move? Let Endless Storage help you declutter and simplify the process. We deliver storage boxes right to your door, you pack at your own pace, and we pick them up for storage in our climate-controlled facility. Get your items back with 48-hour notice. Find out how easy moving can be at https://www.endless-storage.com.
Frequently Asked Questions
Unveiling the Secrets to Effortless Storage
Endless Storage is available nationwide. You pick a plan, tell us where to pickup, and we'll send a UPS van to collect, whichever state you're in.
Your shipping label will be sent to your email within a few minutes, if not instantaneously. It can also be accessed through your customer profile.
Your box will be shipped to one of our climate controlled self storage facilities in our closest self storage facility. Our manager will accept your package, notify you that your box has been received, and securely stored. Only our managers will have access to Endless Storage boxes.
Email us at admin@endless-storage.com click to live chat with us, or send us a message below.
Never! We're committed to transparent pricing with no surprises. You'll lock in your rate with no hidden fees and no long-term contracts.
Fast access guaranteed! Your boxes will arrive at your doorstep within 48 hours of requesting them back. Need to check on delivery? We provide tracking information for complete peace of mind.
Totally flexible! Store month-to-month with no long-term commitment and cancel anytime.
Everything's online! Use your account dashboard to:
• Set up automatic monthly payments
• Request box returns
• Update your address
• Order additional boxes
• Track shipments
Your boxes are insured up to $100 each. Our customer service team will help you file any necessary claims and resolve issues quickly.
Don't worry – we'll email you right away if there's a payment issue. Your items stay safe, though you may have temporary service interruption or late fees until payment is resolved.
When you request our free storage kits, you'll have 30 days to send in your boxes to activate your 3 months of free storage. Think of it like starting a gym membership – your activation window begins when you receive your kits, and your full free trial begins once you send in your first box. During your free months, you'll experience our complete storage service at no cost.
Your 30-day activation window begins when you receive your storage kits. We'll send you an email confirmation when your kits are delivered, marking the start of your activation period.
If you haven't sent any boxes for storage within your 30-day activation window, your free trial will expire and we'll begin charging the regular monthly rate of $9.99 per box. This helps ensure our storage kits go to customers who are ready to use our service.
A box costs $9.99 per month to store (plus sales tax). This price includes free shipping for standard boxes under 50 lbs. and smaller than 16"x16"x16"
Log into your Endless Storage account, locate the box you would like returned, and simply click Return My Box.
Yes, each box stored with us is insured for up to $100 throughout transit as well as the duration of storage within our facilities.
Your box will be at your doorstep within 48 hours of you requesting it back.
Store 10+ boxes? We'll pick them up for free! After your purchase, we'll contact you to schedule a convenient pickup time and arrange UPS collection.
We trust UPS with all shipments, and every box includes $100 insurance coverage. You'll receive tracking information to monitor your items' journey.
Yes! Visit any of our locations by appointment. Just bring a photo ID matching your customer profile.
For everyone's safety, we can't store hazardous materials, firearms, or perishables. All items must fit within our standard boxes.
It's easy! Order your storage kit online, and we'll ship it to you within 1-2 business days. Your shipping labels will be emailed instantly and available in your account.
We're here to help! Email us at admin@endless-storage.com, use our live chat, or send us a message through your account.
To cancel your storage service with Endless Storage, please email your cancellation request to admin@endless-storage.com. Our team will process your request within 2 business days and confirm your cancellation via email.
We understand packing takes time. However, to maintain your free trial benefits, you'll need to send at least one box within the 30-day activation window. If you need more time, you can always start with one box to activate your trial and send the rest later. You can always reach out to admin@endless-storage.com if you have any issues or concerns.
When you request our free storage kits, you're starting a 30-day window to begin using our storage service.
Important: To activate your free trial, send at least one box for storage within 30 days. If no boxes are sent within this 30-day window, a one-time $50 fee applies to cover materials and shipping costs. This fee is clearly disclosed before you sign up.
Think of it like reserving a hotel room – we're setting aside space and sending specialized packing materials for your use. The fee only applies if you request materials but don't begin storage, similar to a hotel's no-show charge.