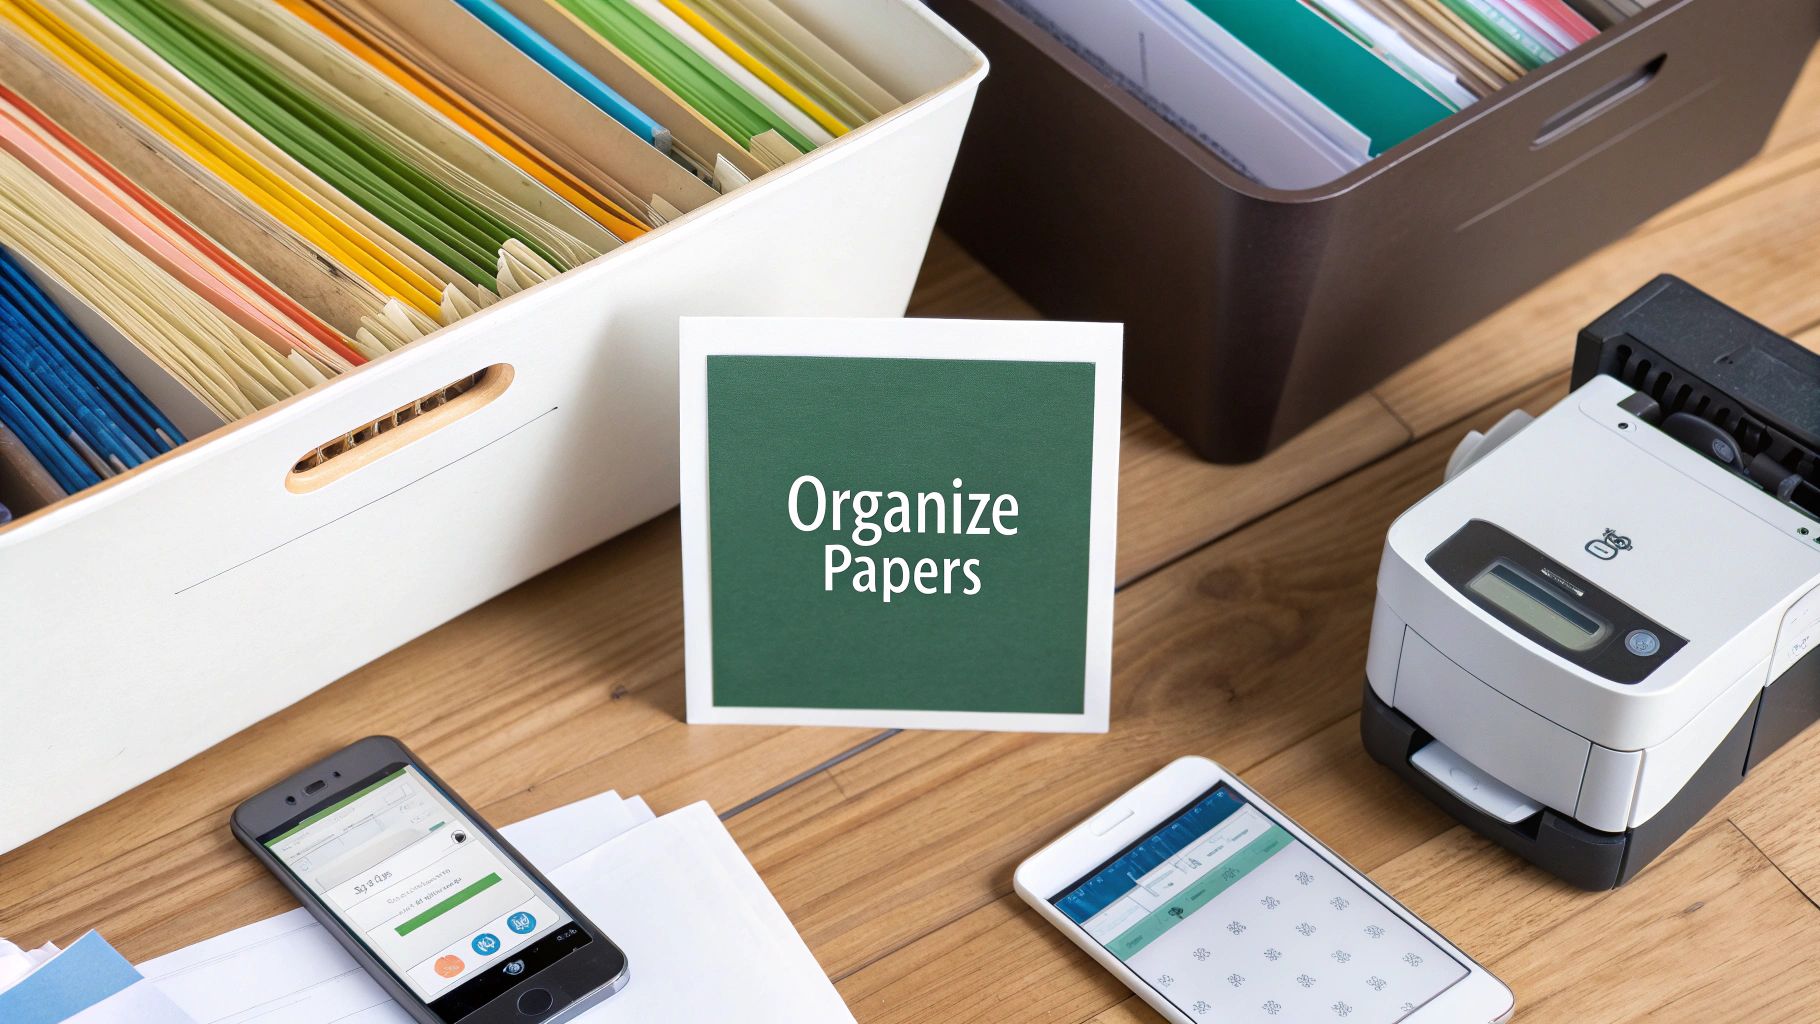
The real secret to conquering paper clutter isn't some complicated filing method—it's a simple, repeatable process. Gather everything in one spot, sort it into actionable piles, purge what you don't need, and create a home for what's left. This straightforward approach helps you cut through the overwhelm and gives you a clear path forward.
Why a Paper Organization System Is Essential

If your countertops are buried under stacks of mail, receipts, and old documents, you’re definitely not alone. Paper clutter is a universal struggle that creates both mental stress and logistical headaches. That sinking feeling when you can't find an important document is frustrating and often leads to wasted time and needless anxiety.
Creating a system isn't just about being tidy; it's about reclaiming control. It’s about building a process that stops the piles before they even start.
The key to lasting organization is making a decision about every piece of paper as soon as it enters your home. Try the 'One-Touch Rule'—immediately decide to file it, shred it, or act on it. This simple habit prevents new clutter from ever forming.
This initial step is the foundation for a much less chaotic life. It's easy to see why we need a strategy when you consider that global paper consumption has hit 400 million tons annually. You can dig into more paper consumption insights from Zipdo.co to see the full picture, but the bottom line is clear: we need a good system to manage the constant flow.
The Four Pillars of Paper Organization
To break it down even further, think of the process as four core pillars. Each one builds on the last, turning that mountain of paper into a manageable, organized system.
This table is your roadmap. Following these pillars in order will transform the chaos into clarity, giving you the confidence to finally get, and stay, organized.
Setting the Stage for Success
Before you dive in, take a minute to think about your goals. Are you just trying to clear the kitchen table? Do you need to find important documents faster? Or maybe you're getting ready for tax season? Knowing your "why" will keep you motivated when the sorting gets tough.
And if you’re looking to tackle more than just paper, our comprehensive decluttering guide offers a broader strategy for creating a more organized living space. It’s packed with tips that help build sustainable habits that go way beyond your filing cabinet.
Your Practical Guide to Sorting Paper Clutter
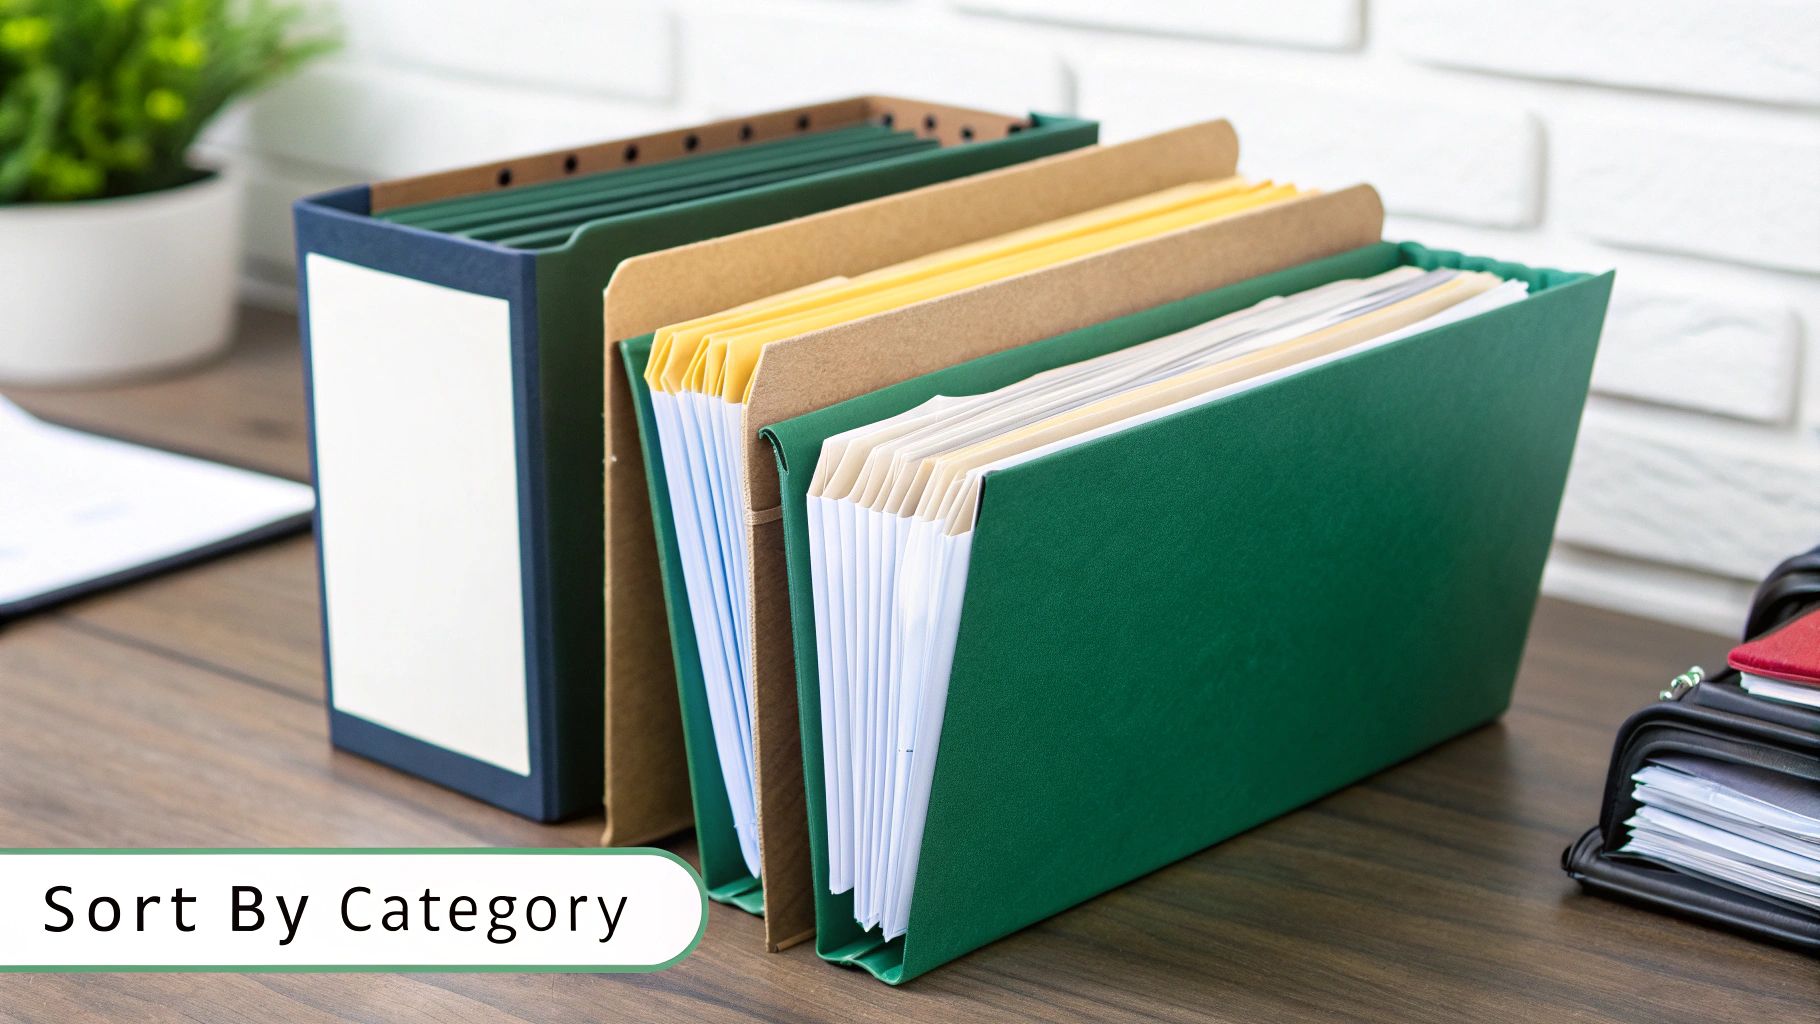
This is where the real work—and the real transformation—begins. Before you can even think about how to organize papers, you have to get them all in one place. Go on a scavenger hunt. Gather every piece of mail from the counter, receipts from drawers, and old documents from that forgotten box in the corner. You need to see the full scope of the problem to actually solve it.
Once you’re staring at your paper mountain, it’s easy to feel overwhelmed. Don’t be. To keep things moving, we're going to use just four broad categories. This method is designed to cut through the noise and help you make fast, confident progress without getting stuck.
The Four Simple Sorting Buckets
Forget creating a dozen complex folders right now. Your only job is to place each piece of paper into one of these four piles. That's it.
- Action Items: These are the papers that need you to do something. Think unpaid bills, permission slips that need a signature, or invitations that need an RSVP.
- File Away: This pile is for the important stuff you absolutely must keep a physical copy of. We're talking birth certificates, property deeds, social security cards, and recent tax records.
- Scan & Shred: For documents you want to keep for reference but don't need the original. This could be a medical EOB, a useful instruction manual, or a business receipt for your records.
- Recycle/Trash: Get ready, because this will likely be your biggest pile. It’s the home for junk mail, old flyers, expired coupons, and anything else you no longer need.
By focusing only on these four categories, you drastically reduce the mental energy it takes to sort. The goal here is momentum, not perfection. A quick sort now prevents you from getting bogged down in the details too early.
The need for simple systems is clear. As households and businesses grow, so does the global market for paper folders and organization tools. You can see how big the trend is by looking at more on document organization trends from Markwideresearch.com.
This initial sorting phase is a critical first step in any organization project. To keep that momentum going in other areas of your home, check out our handy decluttering checklist.
Deciding What to Keep and What to Shred
Alright, you've sorted your papers into those initial piles. Now comes the part where people tend to freeze up: deciding what actually gets to stay. Staring at the "File Away" and "Scan & Shred" stacks can feel a little paralyzing, thanks to that nagging fear of tossing something you might need later.
Let's clear the air on that. The vast majority of the paper cluttering up your life doesn't need a permanent home with you. Things like old utility bills or expired insurance policies are easy wins—once you've confirmed the final payment went through or the new policy is in effect, they can go straight to the shredder. The goal here is to be ruthless with the clutter while being smart about what you safeguard.
Your Document Retention Guide
Knowing how long to keep certain documents is the secret to purging with confidence. While this isn't official legal advice, these are some solid, widely-accepted guidelines for most personal records that I've seen work time and time again.
- Keep Forever: This is your small but mighty pile of vital life documents. Think birth certificates, social security cards, marriage licenses, passports, property deeds, and wills. These are the non-negotiables.
- Keep for 7 Years: The IRS usually has three years to audit a tax return, but that window can stretch to six or seven years in some cases. The safest bet is to hang onto all tax returns and their supporting documents—like W-2s, 1099s, and receipts for deductions—for seven years.
- Keep for 1-3 Years: Medical bills and Explanation of Benefits (EOB) statements fall into this category. It’s a good idea to keep them for at least a year so you have proof if any billing disputes pop up.
- Keep for 1 Month: Bank statements and pay stubs are pretty low-risk. Once you’ve checked them over for accuracy, you can usually shred them, especially since most of this information is available online anyway. Just be sure to pull any you might need for your tax records.
For a deeper dive into this, check out our guide on how to organize important documents. It offers a comprehensive checklist to help you build a secure and organized system for your most critical papers.
Here's a pro tip: deciding what to shred is only half the battle. You have to destroy those documents securely. A simple cross-cut shredder is your best friend for fighting identity theft. Use it for anything with personal info, like old credit card offers, bank statements, and voided checks.
The quick reference table below can help you make fast decisions on common household and business papers.
Document Retention Guideline
Having a clear set of rules like this takes the guesswork out of the process, making it much easier to let go of what you don't need.
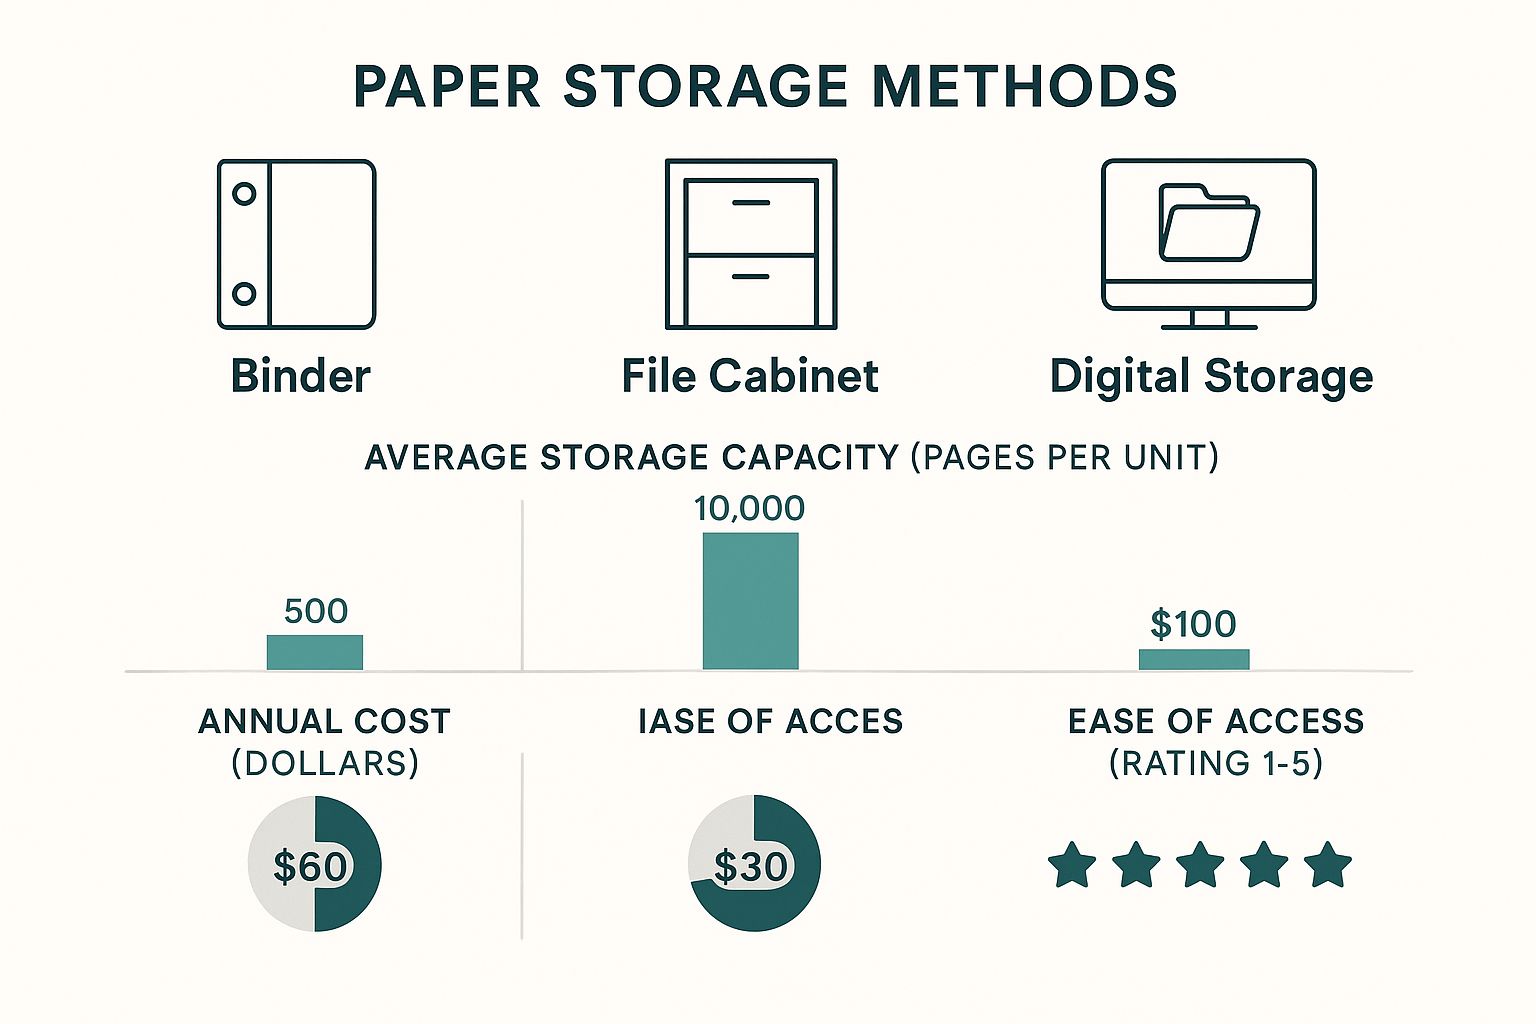
As you think about your long-term storage, this visual breaks down the pros and cons of different methods. A classic file cabinet gives you plenty of capacity, but you really can't beat the accessibility and low cost of digital storage for most of your documents.
Designing a Filing System That Actually Works
Alright, you've purged the clutter. Now it’s time to give the papers you’re keeping a permanent home. A truly effective filing system isn't about some massive, intimidating cabinet; its real job is to let you find any document you need in under 30 seconds.
When you get it right, the whole process feels intuitive—it just becomes part of your natural routine. The key is to keep it simple enough that you don't even have to think about it. Start with just a few broad, logical categories covering the main areas of your life, then break them down into more specific, clearly labeled folders. This layered approach stops you from drowning in hundreds of disorganized files.
Creating Your Core Categories
Think of these categories as the main chapters of your life. Honestly, most households can get by with just a handful of these big buckets.
- Financial: This is the catch-all for anything money-related. Think folders like "Taxes 2024," "Bank Statements," "Retirement Accounts," and "Loan Documents."
- Household: Here’s where you’ll keep everything that makes your home run. You'll have folders for "Appliance Manuals," "Home Repair Receipts," "Car Maintenance," and "Utility Bills."
- Medical: All your health-related paperwork lives here. I find it easiest to create separate folders for each family member, plus a few for things like "Insurance EOBs" and "Prescription Records."
- Personal: This is for all those vital records and important personal documents. You'll want folders for "Birth Certificates," "Passports," "Resumes," and "Educational Records."
A classic mistake I see people make is creating categories that are way too specific right out of the gate. Stick with these broad themes first. A good rule of thumb? Only create a new folder once you have at least five related documents to put in it. Otherwise, you’ll just end up with a cluttered system that’s a headache to navigate.
The end goal is a system that's both tidy and functional. Interestingly, while we talk about going paperless, the need for smart paper storage isn't disappearing. In fact, U.S. paper production has been on the rise, especially for the kind of containerboard used in packaging, which just underscores the need for better organization all around. If you're curious, you can learn more about recent paper production trends from the American Forest & Paper Association.
Once you have your folders set up, the final step is giving them clear, easy-to-read labels. For a deep dive into labeling strategies that actually work and last, take a look at our guide on the best way to label storage bins—the tips in there work perfectly for file folders, too.
Staying Organized with Simple Daily Habits
An organized space only stays that way with consistent habits. After you’ve put in the hard work of sorting and filing, the real trick is building simple routines that stop paper clutter from creeping back in. These small, daily actions are what turn a massive one-time project into an effortless part of your life.
First things first: stop paper from spreading all over your home. You need to designate one single spot—a "command center"—where all incoming mail, school forms, and random papers land. This can be a simple inbox tray on your desk or even a decorative basket by the door. By creating this central hub, you contain the mess before it even has a chance to start.
The 15-Minute Weekly Reset
To keep your command center from turning into its own mountain of chaos, block out just 15 minutes once a week for a quick reset. I like to do this on Sunday to start the week fresh, but any day works. During this time, your only mission is to process everything in your inbox tray.
- File It: Put important documents like bank statements or medical records straight into your filing system.
- Act on It: Pay the bills, sign those permission slips, and RSVP to the invitations. Get it done.
- Shred It: Destroy anything with sensitive information you no longer need. Don't just toss it.
- Recycle It: Get rid of all the junk mail and flyers.
This quick ritual is the secret to preventing small piles from becoming overwhelming. Of course, maintaining this system is a lot easier with a well-organized workspace. If you need some ideas, check out our guide on how to organize a home office for some great setup tips.
The most powerful habit is making an immediate decision. The moment a piece of paper enters your home, decide if it’s trash, something to act on, or something to file. This one-touch approach is the real secret to staying clutter-free for good.
Go Digital to Reduce Paper Flow
Finally, one of the easiest ways to manage paper is simply to have less of it. Your phone is your best friend here. Scanner apps can instantly digitize receipts for expense reports or save important documents, letting you shred the physical copy without a second thought.
Even better, opt for paperless billing and statements for your utilities, credit cards, and bank accounts. It’s a small change that drastically cuts down on the amount of mail you have to deal with. When you combine these digital tricks with a weekly reset, staying on top of your papers becomes a simple, sustainable habit.
Common Questions and Roadblocks in Paper Organization
Even with the best plan in hand, organizing papers can bring up some tricky questions. It's totally normal to get stuck, especially when you run into items that don’t have a clear home in your new system—think sentimental papers or just the sheer volume of it all.
Let's walk through some of the most common hurdles I see people face and how to get past them.
One of the biggest hang-ups? Sentimental papers. We're talking about your child’s first scribbled drawing, a letter from a loved one, or that stack of birthday cards you can't bear to part with. These things don't serve a practical purpose, but their emotional weight is huge. And no, you absolutely do not have to throw them away.
A simple and effective trick is to create a dedicated memory box for each person in your family. This gives those special items a designated home where they can be kept safe without adding to the daily clutter. Just make a point to revisit the box once a year to make sure everything inside still feels meaningful.
This way, you’re honoring precious memories while still sticking to your goal of an organized space.
How Can I Stop Paper Clutter Before It Starts?
Honestly, the best long-term strategy is to drastically reduce the amount of paper coming through your door in the first place. A few simple digital tweaks can work wonders here.
- Go Paperless with Bills: This is a big one. Log into your bank, credit card, and utility accounts online and switch to e-statements. This single move can stop a dozen or more envelopes from hitting your mailbox every month.
- Embrace a Scanner App: For things like receipts you need for taxes, business cards, or important notes, a scanner app is your best friend. I use Adobe Scan, but even the built-in notes app on most phones has a great scanning feature. A quick scan captures the info, and then you can shred the paper original.
- Get Off Junk Mail Lists: Take a few minutes to use a service that removes your name from marketing lists. It’s a small effort upfront that pays off big time by cutting off junk mail at the source.
What if I’m Just Too Overwhelmed to Even Begin?
If you're looking at a mountain of paper and feeling completely paralyzed, my advice is always the same: start ridiculously small. Don't even think about tackling the whole project at once.
Set a timer for just 15 minutes. That’s it. Pick one small pile—maybe the mail on the counter—and just work on that.
When the timer dings, you have full permission to stop. What usually happens, though, is that small win gives you the motivation to keep going, maybe for another 15 minutes. The goal here is progress, not perfection. Breaking the massive task of organizing into tiny, bite-sized chunks makes it so much less intimidating.
Feeling overwhelmed by items that won't fit in a filing cabinet? Endless Storage offers a simple, stress-free solution. We send you boxes, you pack what you need to store, and we'll pick them up and keep them safe in our climate-controlled facilities. Reclaim your space today.
Frequently Asked Questions
Unveiling the Secrets to Effortless Storage
Endless Storage is available nationwide. You pick a plan, tell us where to pickup, and we'll send a UPS van to collect, whichever state you're in.
Your shipping label will be sent to your email within a few minutes, if not instantaneously. It can also be accessed through your customer profile.
Your box will be shipped to one of our climate controlled self storage facilities in our closest self storage facility. Our manager will accept your package, notify you that your box has been received, and securely stored. Only our managers will have access to Endless Storage boxes.
Email us at admin@endless-storage.com click to live chat with us, or send us a message below.
Never! We're committed to transparent pricing with no surprises. You'll lock in your rate with no hidden fees and no long-term contracts.
Fast access guaranteed! Your boxes will arrive at your doorstep within 48 hours of requesting them back. Need to check on delivery? We provide tracking information for complete peace of mind.
Totally flexible! Store month-to-month with no long-term commitment and cancel anytime.
Everything's online! Use your account dashboard to:
• Set up automatic monthly payments
• Request box returns
• Update your address
• Order additional boxes
• Track shipments
Your boxes are insured up to $100 each. Our customer service team will help you file any necessary claims and resolve issues quickly.
Don't worry – we'll email you right away if there's a payment issue. Your items stay safe, though you may have temporary service interruption or late fees until payment is resolved.
When you request our free storage kits, you'll have 30 days to send in your boxes to activate your 3 months of free storage. Think of it like starting a gym membership – your activation window begins when you receive your kits, and your full free trial begins once you send in your first box. During your free months, you'll experience our complete storage service at no cost.
Your 30-day activation window begins when you receive your storage kits. We'll send you an email confirmation when your kits are delivered, marking the start of your activation period.
If you haven't sent any boxes for storage within your 30-day activation window, your free trial will expire and we'll begin charging the regular monthly rate of $9.99 per box. This helps ensure our storage kits go to customers who are ready to use our service.
A box costs $9.99 per month to store (plus sales tax). This price includes free shipping for standard boxes under 50 lbs. and smaller than 16"x16"x16"
Log into your Endless Storage account, locate the box you would like returned, and simply click Return My Box.
Yes, each box stored with us is insured for up to $100 throughout transit as well as the duration of storage within our facilities.
Your box will be at your doorstep within 48 hours of you requesting it back.
Store 10+ boxes? We'll pick them up for free! After your purchase, we'll contact you to schedule a convenient pickup time and arrange UPS collection.
We trust UPS with all shipments, and every box includes $100 insurance coverage. You'll receive tracking information to monitor your items' journey.
Yes! Visit any of our locations by appointment. Just bring a photo ID matching your customer profile.
For everyone's safety, we can't store hazardous materials, firearms, or perishables. All items must fit within our standard boxes.
It's easy! Order your storage kit online, and we'll ship it to you within 1-2 business days. Your shipping labels will be emailed instantly and available in your account.
We're here to help! Email us at admin@endless-storage.com, use our live chat, or send us a message through your account.
To cancel your storage service with Endless Storage, please email your cancellation request to admin@endless-storage.com. Our team will process your request within 2 business days and confirm your cancellation via email.
We understand packing takes time. However, to maintain your free trial benefits, you'll need to send at least one box within the 30-day activation window. If you need more time, you can always start with one box to activate your trial and send the rest later. You can always reach out to admin@endless-storage.com if you have any issues or concerns.
When you request our free storage kits, you're starting a 30-day window to begin using our storage service.
To avoid any charges, simply send at least one box for storage within 30 days to activate your 3-month free trial. If you decide not to use our service and don't send any boxes within the 30-day window, a one-time $50 fee will apply to cover the costs of materials and shipping. This helps ensure our storage kits go to customers who are ready to use our service.
Think of it like reserving a hotel room – we're setting aside space and sending specialized packing materials for your use. The fee only applies if you request materials but don't begin storage, similar to a hotel's no-show charge.
