
Your morning makeup routine should feel like a moment of self-care, not a frantic treasure hunt for that one specific lipstick you know is in there somewhere. Getting your collection in order boils down to a simple, four-part system: decluttering what you don’t use, categorizing based on your real-life routine, picking smart storage, and creating an effortless maintenance plan.
This approach transforms your beauty setup from a source of stress into a functional space that actually saves you time and money.
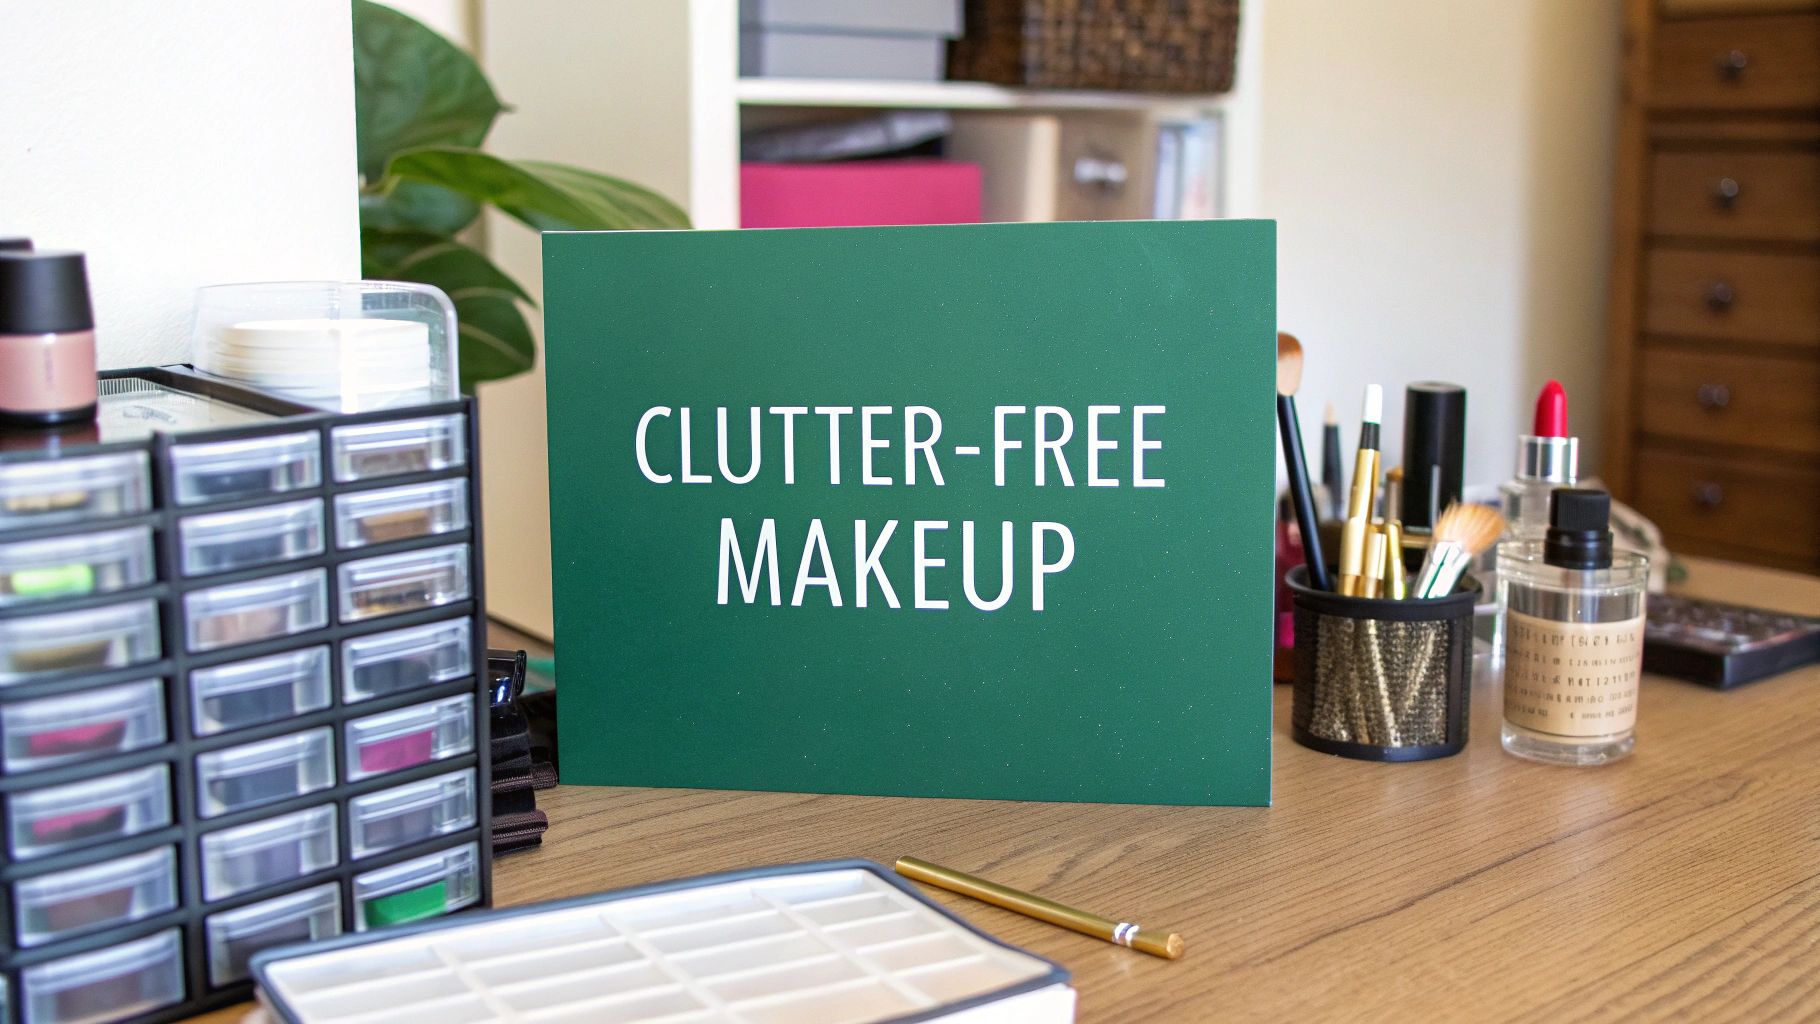
Your Guide to a Calm and Organized Makeup Space
If your makeup collection feels more chaotic than curated, you're definitely not alone. The goal here isn't to create a picture-perfect vanity for social media, but to build a practical system that makes your daily ritual something you can actually look forward to. It’s time to forget the overwhelming mess and build a system that truly works for you.
This guide goes beyond generic advice to give you a clear, actionable path for any space, especially if you're tight on room. In fact, many of the same strategies we cover in our guide to bathroom organization ideas for small bathrooms apply here. This is all about reclaiming your space and your time.
The benefits are real. An organized collection cuts down on wasted time and product clutter. A consumer survey found that a staggering 62% of respondents spent at least five minutes searching for an item during their daily routine. What’s more, 18% admitted to losing or discarding products simply because they couldn’t find them, forcing them to buy replacements.
To get started, let’s look at the foundational system we’ll be building. These four pillars are the key to creating a calm, functional beauty setup that lasts.
The Four Pillars of Makeup Organization
With this framework in mind, you’ll be able to create a system that’s easy to stick with.
The core ideas behind getting organized are pretty universal. If you’re looking to tackle other cluttered areas, it helps to explore easy tips for organizing various items, as the basic concepts translate surprisingly well.
The Liberating First Step: Decluttering Your Collection
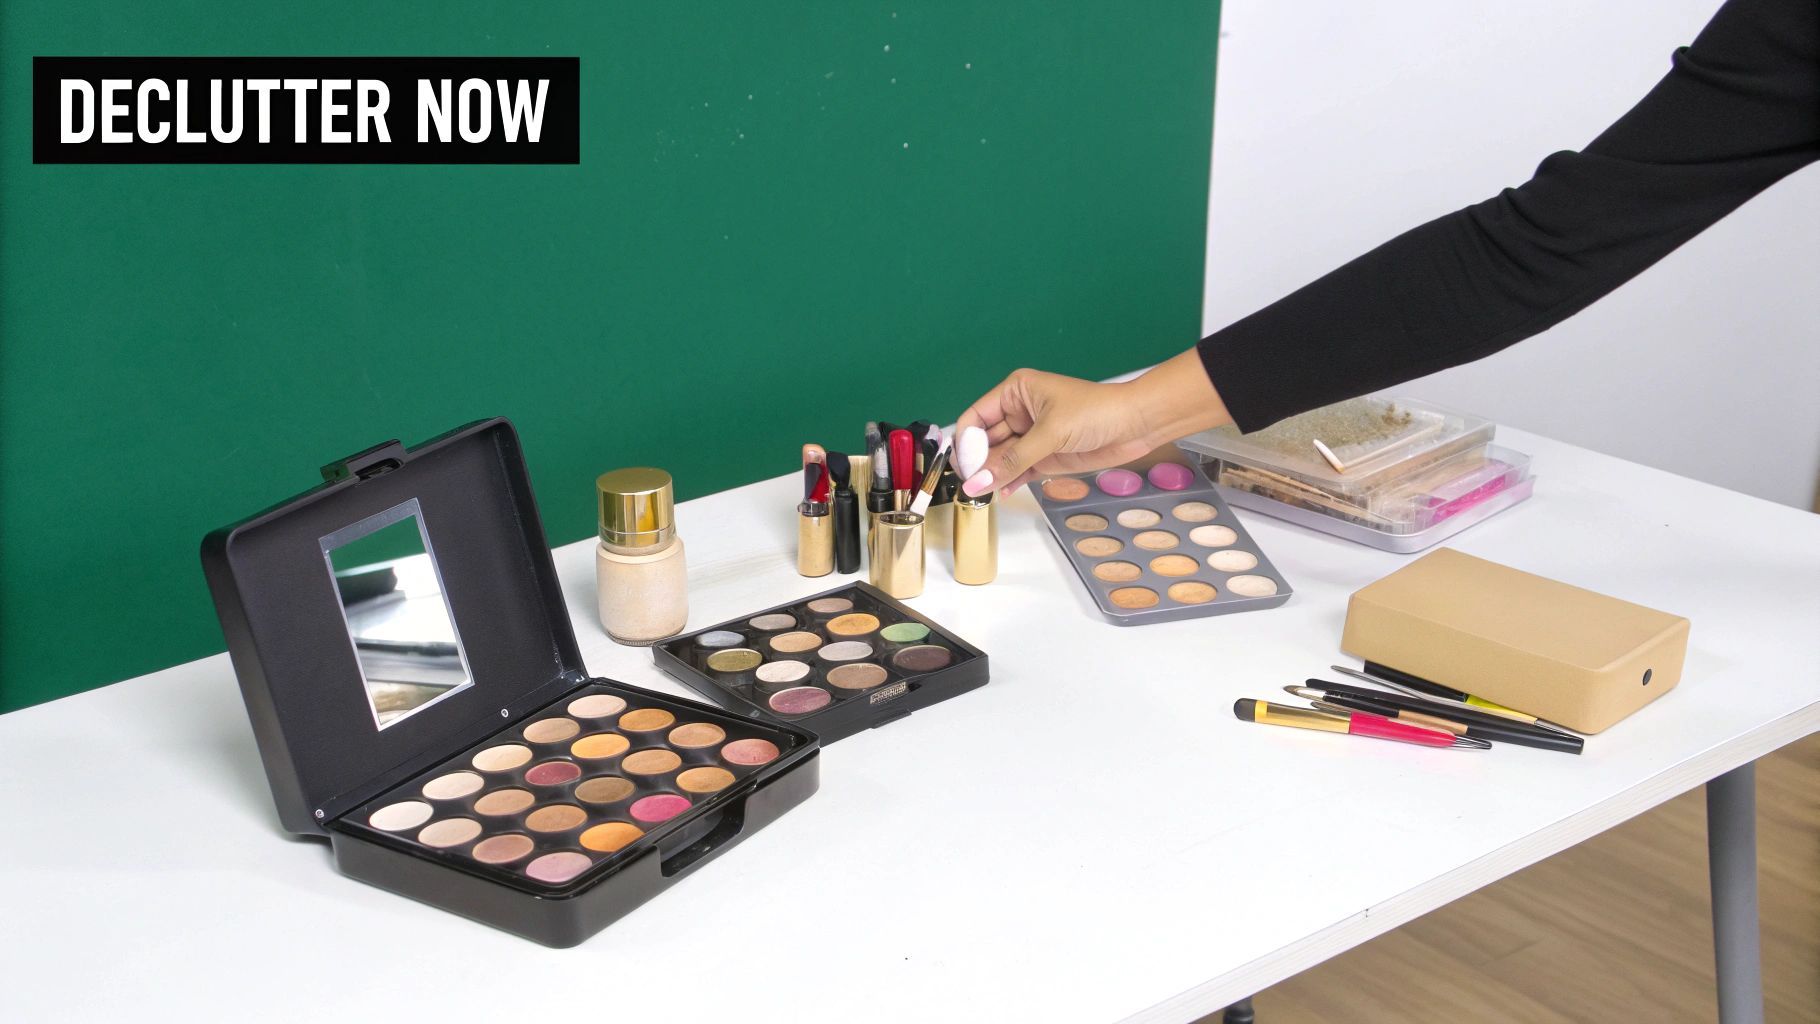
Before you even think about buying a single acrylic drawer or a cute brush holder, you have to get brutally honest about what you already own. This is the most crucial part of learning how to organize your makeup.
First, pull everything out. And I mean everything. Gather every lipstick from every purse, every palette from every drawer, and pile it all in one spot. This gives you a clear—and sometimes shocking—view of your entire collection.
The goal here isn't just about tidiness; it's also about health and safety. Makeup has an expiration date for a reason. Using old products can lead to skin irritation or nasty eye infections. Trust me, that three-year-old mascara is not worth the risk, and that separated foundation is officially retired.
Sorting Your Collection With Confidence
Once it's all laid out, create three distinct piles. This is the secret to making quick, unemotional decisions and turning a potentially overwhelming task into a manageable one. It’s a core principle you’ll find in any effective guide on how to declutter your home.
- Keep: These are your holy grails—the products you love, use regularly, and are well within their expiration date. They spark joy and have absolutely earned their spot on your vanity.
- Toss: This pile is for anything expired, dried out, broken, or that just smells or looks off. Be ruthless here. Your skin will thank you for it.
- Donate/Sanitize: What about that trendy blue eyeshadow you used once? If a product is gently used (like powders) and can be properly sanitized, consider passing it to a friend. However, anything that touches the mouth or eyes—like mascara wands and lip gloss—should always be tossed.
Remember, this initial purge is the foundation of your entire organization system. It’s not about waste—it’s about curating a functional collection of products you genuinely love and will actually use.
Properly disposing of old products is also key. Check your local regulations for recycling empty compacts and containers. Many beauty brands also have take-back programs for their packaging, which is a great way to declutter responsibly.
Now, with a much more manageable collection, you’re ready for the fun part.
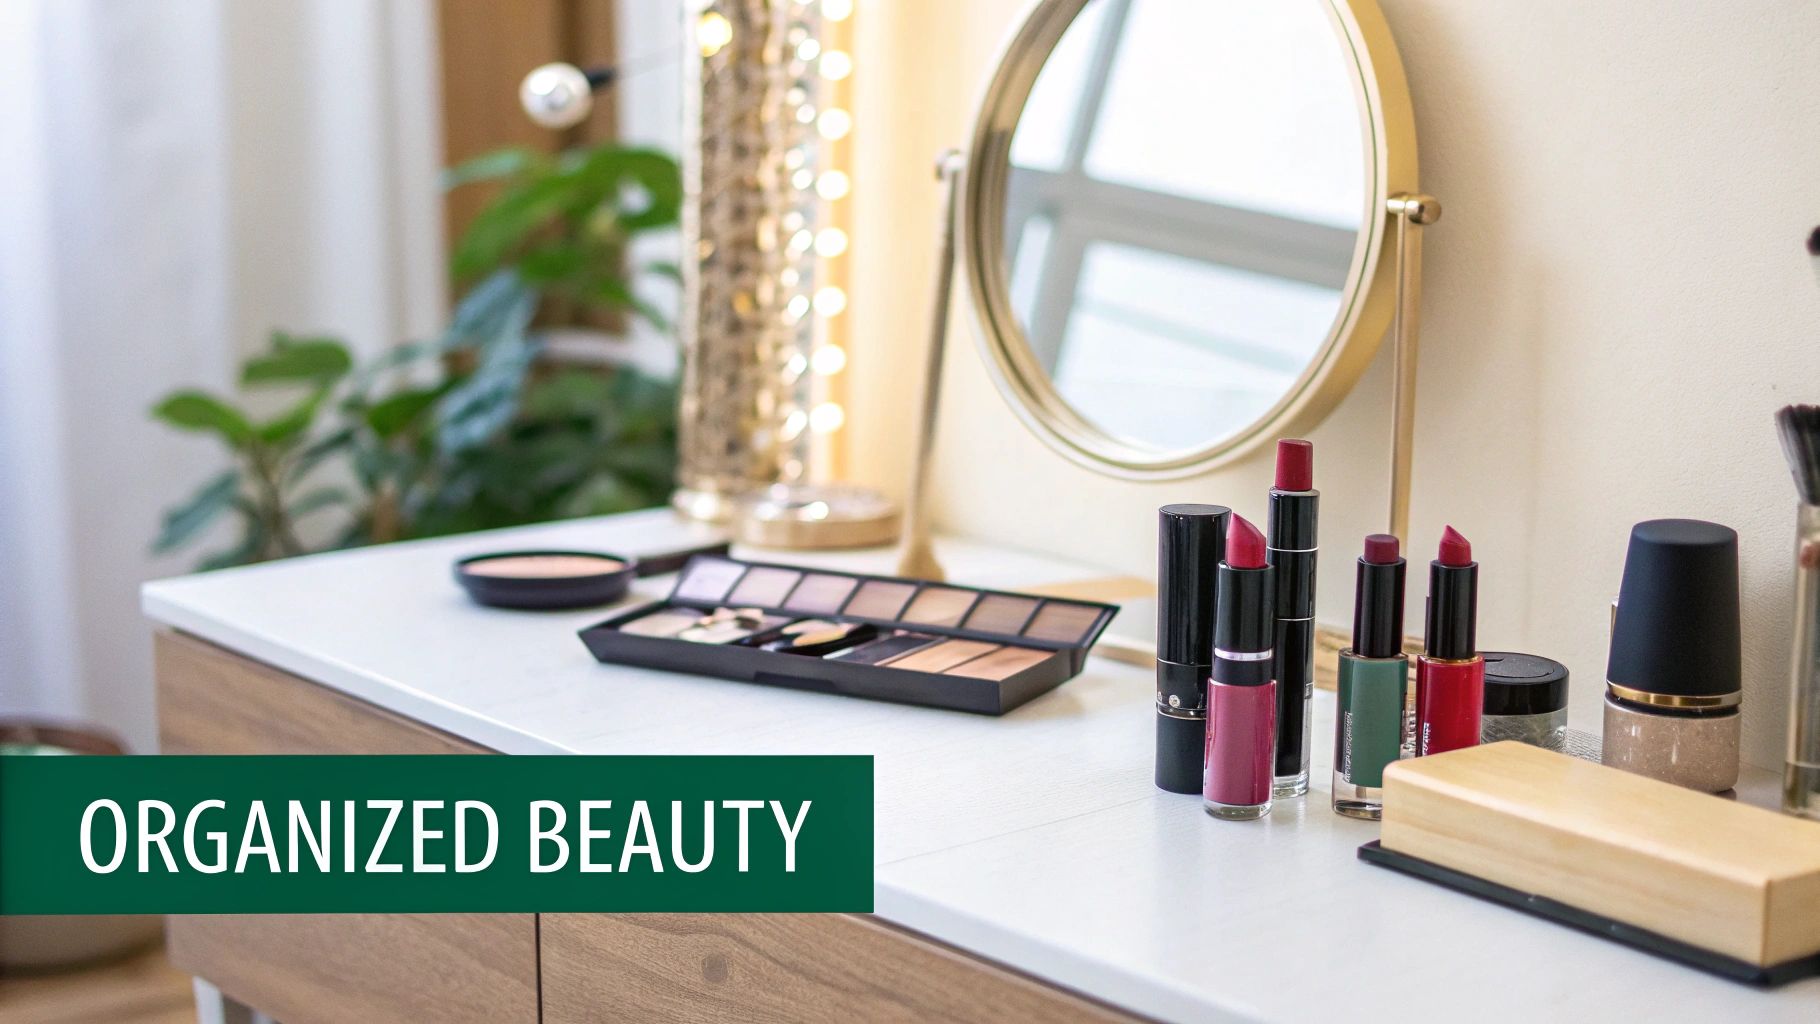
Categorizing Your Makeup for Real-Life Use

Now that you’ve decluttered, it's time to build a system that actually fits your life. Just tossing all your foundations into one bin is a start, but a truly functional setup goes deeper. It’s all about making your routine intuitive and fast.
The most practical approach is to sort everything by how often you use it. This one change stops the daily morning scramble for your go-to products, which somehow always end up buried under things you only touch a few times a year.
Create Zones for Your Routines
First things first, create a dedicated, easy-to-reach spot for your absolute must-haves. This is your "everyday" kit. It should only hold what you need for your typical five-minute face: your favorite concealer, that trusty mascara, and the perfect nude lipstick.
Next, you’ll want to create separate zones for everything else. This brings clarity to your collection and makes your daily routine feel effortless.
- Special Occasions: This is where you’ll keep the bold red lipstick, glitter eyeshadow, and false lashes you pull out for parties or big events.
- Weekend & Experimental: Group together the colorful eyeliners, vibrant palettes, and other fun items you like to play with when you have more time.
- Backups & Extras: Any unopened duplicates or product refills go here, keeping them out of your primary vanity space until you need them.
By separating your collection this way, you’re not just organizing—you’re designing a workflow. Your daily routine becomes grab-and-go, while more creative looks are still accessible without causing chaos.
This process has a nice side effect on your wallet, too. When you take inventory every quarter, you start to shop smarter. A recent behavioral study found that consumers who tracked their makeup inventory actually cut new purchases by 27%, mostly because they stopped buying duplicate shades. You can discover more insights about cosmetics market trends and what drives consumer habits.
Finally, think about adding another layer of sorting within these zones. Grouping lipsticks by color family (nudes, reds, pinks) inside your "special occasion" bin makes finding the perfect shade for your outfit a breeze. For more tips on making these categories stick, check out our guide on the best way to label storage bins.
Finding Smart Storage Solutions for Your Space
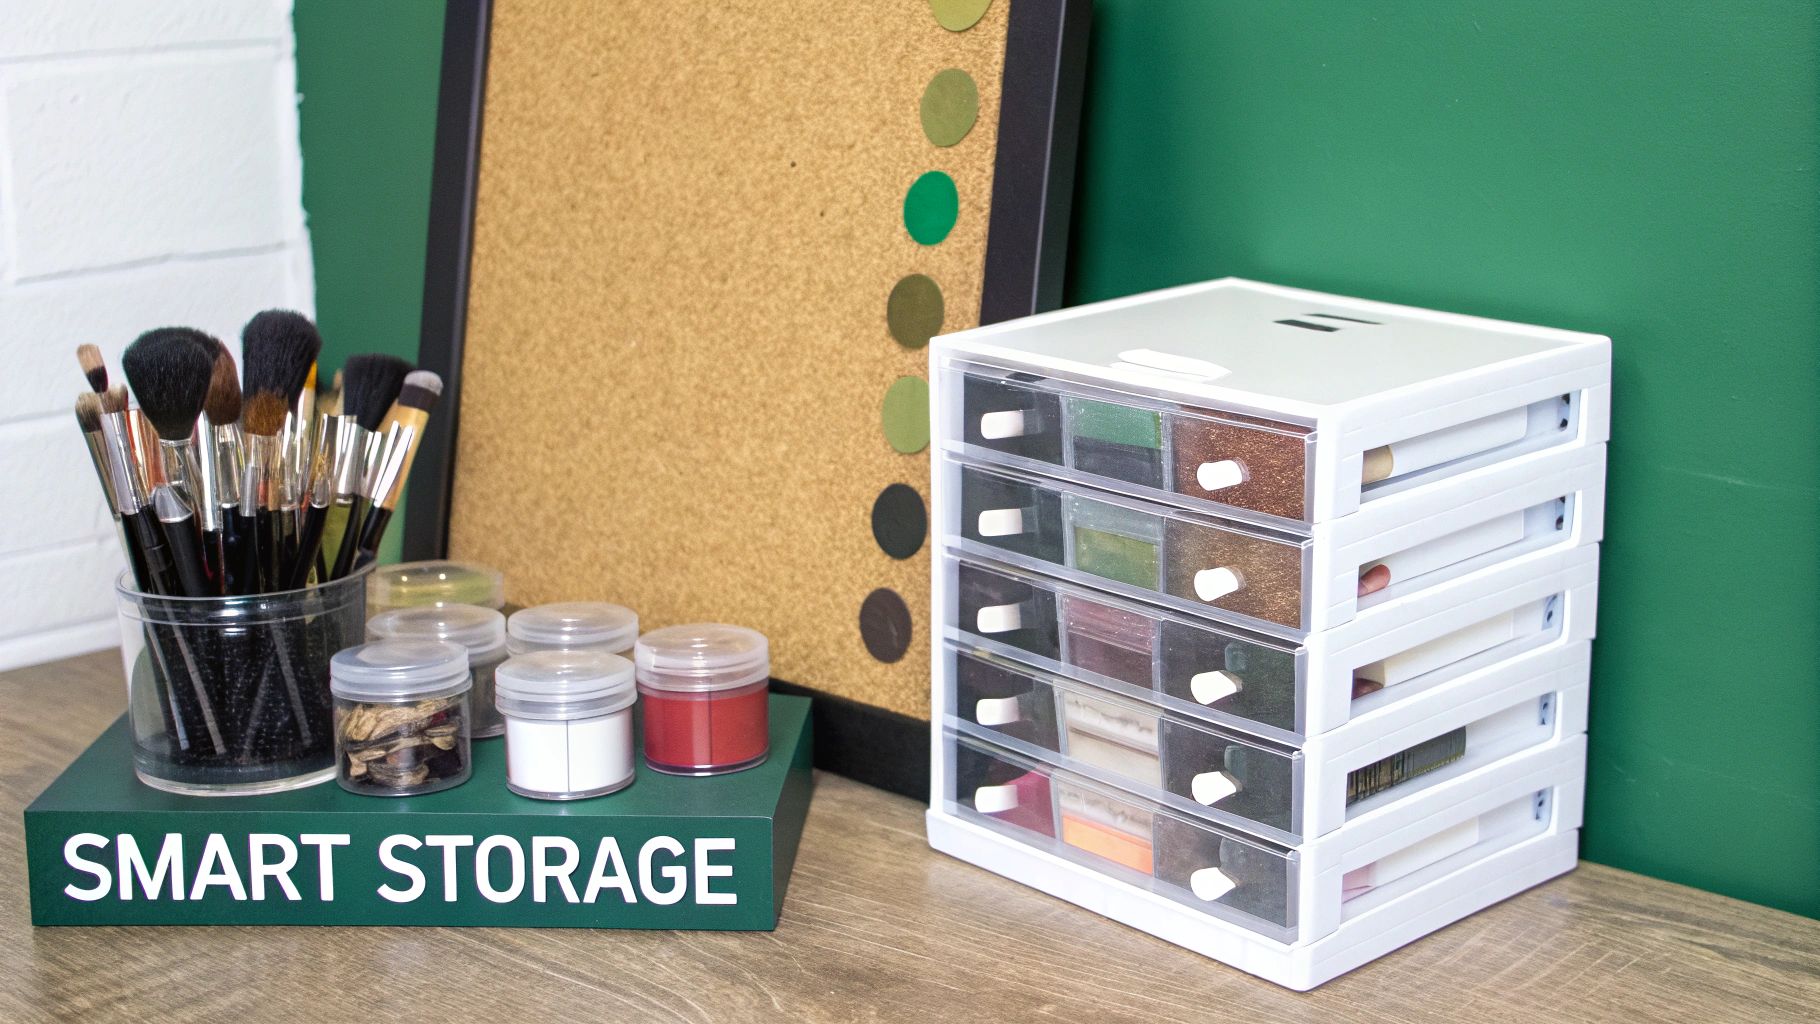
Okay, you've streamlined your collection—now it's time to give everything a proper home. The right storage is what makes this whole system stick, especially when you're short on counter or drawer space. The two most important things to aim for are visibility and accessibility. After all, you can't use what you can't see.
Forget about just tossing everything into generic bins. You need to be strategic. There’s a reason clear acrylic drawers are so popular: they let you see every single item at a glance. Drawer dividers are also a must-have; they’re the only thing stopping your lipsticks and eyeliners from turning into a chaotic jumble.
Maximize Every Inch of Your Vanity
When surface area is precious, the only way to go is up. Using vertical space is an absolute game-changer for a small vanity.
- Tiered Organizers: Grab a multi-level stand for your palettes and compacts. This keeps them easy to see without hogging a huge footprint.
- Magnetic Boards: A DIY magnetic board is an amazing trick for getting those bulky palettes off your desk and onto the wall.
- Upcycled Jars: Don’t forget to look at what you already own. Old candle jars or cute cups are perfect for keeping your brushes, eyeliners, and mascaras upright and ready to go.
The way you store your products directly impacts their longevity. A cool, dry place away from a steamy bathroom is always best. This simple choice protects your investment and keeps your products performing as they should.
If you’re thinking about a more built-in approach, this guide on how to build a closet organizer has some great insights that can easily be adapted for a vanity nook or any small storage area.
Protect Your Products and Extend Their Life
Good storage isn't just about being tidy—it's about protecting your makeup. Industry data shows that bad storage habits, like exposing products to heat, humidity, or direct sun, can speed up degradation by 20–50% for things like liquid foundations and creams. Storing them right helps them last for their entire recommended shelf life, which saves you money in the long run.
This is especially critical when you're working with less square footage. For more ideas, our guide on the best storage for small spaces is packed with clever solutions you can use for your makeup collection. Picking modular systems that can grow with you is another smart move to keep your setup working for years.
How to Maintain Your Organized Makeup System
You’ve put in the hard work—you decluttered, sorted, and created a storage system that actually works. But the real secret to keeping that beautiful setup from sliding back into chaos? It's all about the habits you build from here on out.
An organized vanity isn't a one-time project; it's a routine. The key is making the upkeep so quick and painless that it never feels like a chore.
Start with a few tiny daily actions. After your morning routine, take just 30 seconds to put everything back in its designated spot. It’s that simple. When you treat yourself to a new lipstick, make it a rule to say goodbye to one you never reach for anymore. This "one-in, one-out" policy is a game-changer for preventing your collection from slowly taking over again.
Create Simple Weekly and Quarterly Resets
To really stay on top of things, a couple of scheduled check-ins are your best friend. These aren't huge, time-consuming clean-outs. Think of them as quick resets to stop minor messes from snowballing into a major headache. It’s a core principle of sustainable, clutter-free living tips that works for every room in your home.
Here’s a simple schedule that’s easy to stick to:
- The Five-Minute Weekly Tidy: Once a week—maybe Sunday evening—set a timer for just five minutes. Use that time to wipe down your vanity, clean up any powder spills, and put away the one or two stray items that always seem to migrate out of their homes.
- The 15-Minute Quarterly Check-In: Every three months, do a quick mini-declutter. Pull out your products and scan for expiration dates. This is especially important for liquids like mascara and foundation that can go bad. Toss anything that's past its prime and take a moment to reassess what you're actually using daily.
These consistent, small efforts are what keep your system from falling apart. Instead of facing a massive reorganization project once a year, you’re just making tiny course corrections along the way.
This approach transforms makeup organization from a daunting task into a simple, manageable part of your life. You’ll spend way less time hunting for that one specific eyeliner and a lot more time actually enjoying your collection.
Your Makeup Organization Questions, Answered
Even with the best system in place, you’re bound to hit a few snags when you’re figuring out how to organize your makeup collection. Getting a straight answer to those nagging little questions can make all the difference between a system that works and one that just adds to the frustration.
Let's dive into a couple of the most common dilemmas people run into.
How Should I Store My Makeup Brushes?
The right way to store your brushes really comes down to how often you reach for them. Your everyday workhorses? Keep them upright in a cup or jar, bristles facing up. This is non-negotiable for helping them keep their shape and letting them air out properly after a good cleaning—no mildew here!
For the brushes you only use for a special night out or a more creative look, a brush roll or a drawer with some simple dividers is perfect. The most important thing is protecting those bristles. You want to keep them from getting crushed, bent out of shape, or caked in dust. That's the secret to a flawless application every time.
Pro Tip: Try filling the bottom of your brush cup with coffee beans or pretty decorative beads. It’s not just for looks—it actually helps each brush stand up straight, so they aren't all leaning on each other and getting misshapen over time.
Is It Really That Bad to Store Makeup in the Bathroom?
I know it’s convenient, but storing makeup in the bathroom is one habit you’ll want to break. The constant roller coaster of heat and humidity from your daily showers can wreak havoc on your products, seriously shortening their shelf life. That steamy, damp environment is a breeding ground for bacteria and can cause your favorite powders, creams, and liquids to break down way faster than they should.
If the bathroom is truly your only option, make sure you’re using airtight containers and tucking them away in a cabinet or drawer as far from the shower as you can get. But honestly, a cool, dry place like your bedroom vanity or even a dedicated shelf in your closet is always going to be the better choice.
Sorted through everything and still have some beloved but rarely used items? Maybe it’s that collection of wild lipsticks or your summer-only glitter palettes. Don't let them reclaim your precious counter space. Endless Storage is the perfect solution. You can send your overflow items to us for secure, climate-controlled keeping and get them back whenever the mood strikes. Free up your daily space and visit the Endless Storage website to see how it works.
Frequently Asked Questions
Unveiling the Secrets to Effortless Storage
Endless Storage is available nationwide. You pick a plan, tell us where to pickup, and we'll send a UPS van to collect, whichever state you're in.
Your shipping label will be sent to your email within a few minutes, if not instantaneously. It can also be accessed through your customer profile.
Your box will be shipped to one of our climate controlled self storage facilities in our closest self storage facility. Our manager will accept your package, notify you that your box has been received, and securely stored. Only our managers will have access to Endless Storage boxes.
Email us at admin@endless-storage.com click to live chat with us, or send us a message below.
Never! We're committed to transparent pricing with no surprises. You'll lock in your rate with no hidden fees and no long-term contracts.
Fast access guaranteed! Your boxes will arrive at your doorstep within 48 hours of requesting them back. Need to check on delivery? We provide tracking information for complete peace of mind.
Totally flexible! Store month-to-month with no long-term commitment and cancel anytime.
Everything's online! Use your account dashboard to:
• Set up automatic monthly payments
• Request box returns
• Update your address
• Order additional boxes
• Track shipments
Your boxes are insured up to $100 each. Our customer service team will help you file any necessary claims and resolve issues quickly.
Don't worry – we'll email you right away if there's a payment issue. Your items stay safe, though you may have temporary service interruption or late fees until payment is resolved.
When you request our free storage kits, you'll have 30 days to send in your boxes to activate your 3 months of free storage. Think of it like starting a gym membership – your activation window begins when you receive your kits, and your full free trial begins once you send in your first box. During your free months, you'll experience our complete storage service at no cost.
Your 30-day activation window begins when you receive your storage kits. We'll send you an email confirmation when your kits are delivered, marking the start of your activation period.
If you haven't sent any boxes for storage within your 30-day activation window, your free trial will expire and we'll begin charging the regular monthly rate of $9.99 per box. This helps ensure our storage kits go to customers who are ready to use our service.
A box costs $9.99 per month to store (plus sales tax). This price includes free shipping for standard boxes under 50 lbs. and smaller than 16"x16"x16"
Log into your Endless Storage account, locate the box you would like returned, and simply click Return My Box.
Yes, each box stored with us is insured for up to $100 throughout transit as well as the duration of storage within our facilities.
Your box will be at your doorstep within 48 hours of you requesting it back.
Store 10+ boxes? We'll pick them up for free! After your purchase, we'll contact you to schedule a convenient pickup time and arrange UPS collection.
We trust UPS with all shipments, and every box includes $100 insurance coverage. You'll receive tracking information to monitor your items' journey.
Yes! Visit any of our locations by appointment. Just bring a photo ID matching your customer profile.
For everyone's safety, we can't store hazardous materials, firearms, or perishables. All items must fit within our standard boxes.
It's easy! Order your storage kit online, and we'll ship it to you within 1-2 business days. Your shipping labels will be emailed instantly and available in your account.
We're here to help! Email us at admin@endless-storage.com, use our live chat, or send us a message through your account.
To cancel your storage service with Endless Storage, please email your cancellation request to admin@endless-storage.com. Our team will process your request within 2 business days and confirm your cancellation via email.
We understand packing takes time. However, to maintain your free trial benefits, you'll need to send at least one box within the 30-day activation window. If you need more time, you can always start with one box to activate your trial and send the rest later. You can always reach out to admin@endless-storage.com if you have any issues or concerns.
When you request our free storage kits, you're starting a 30-day window to begin using our storage service.
Important: To activate your free trial, send at least one box for storage within 30 days. If no boxes are sent within this 30-day window, a one-time $50 fee applies to cover materials and shipping costs. This fee is clearly disclosed before you sign up.
Think of it like reserving a hotel room – we're setting aside space and sending specialized packing materials for your use. The fee only applies if you request materials but don't begin storage, similar to a hotel's no-show charge.