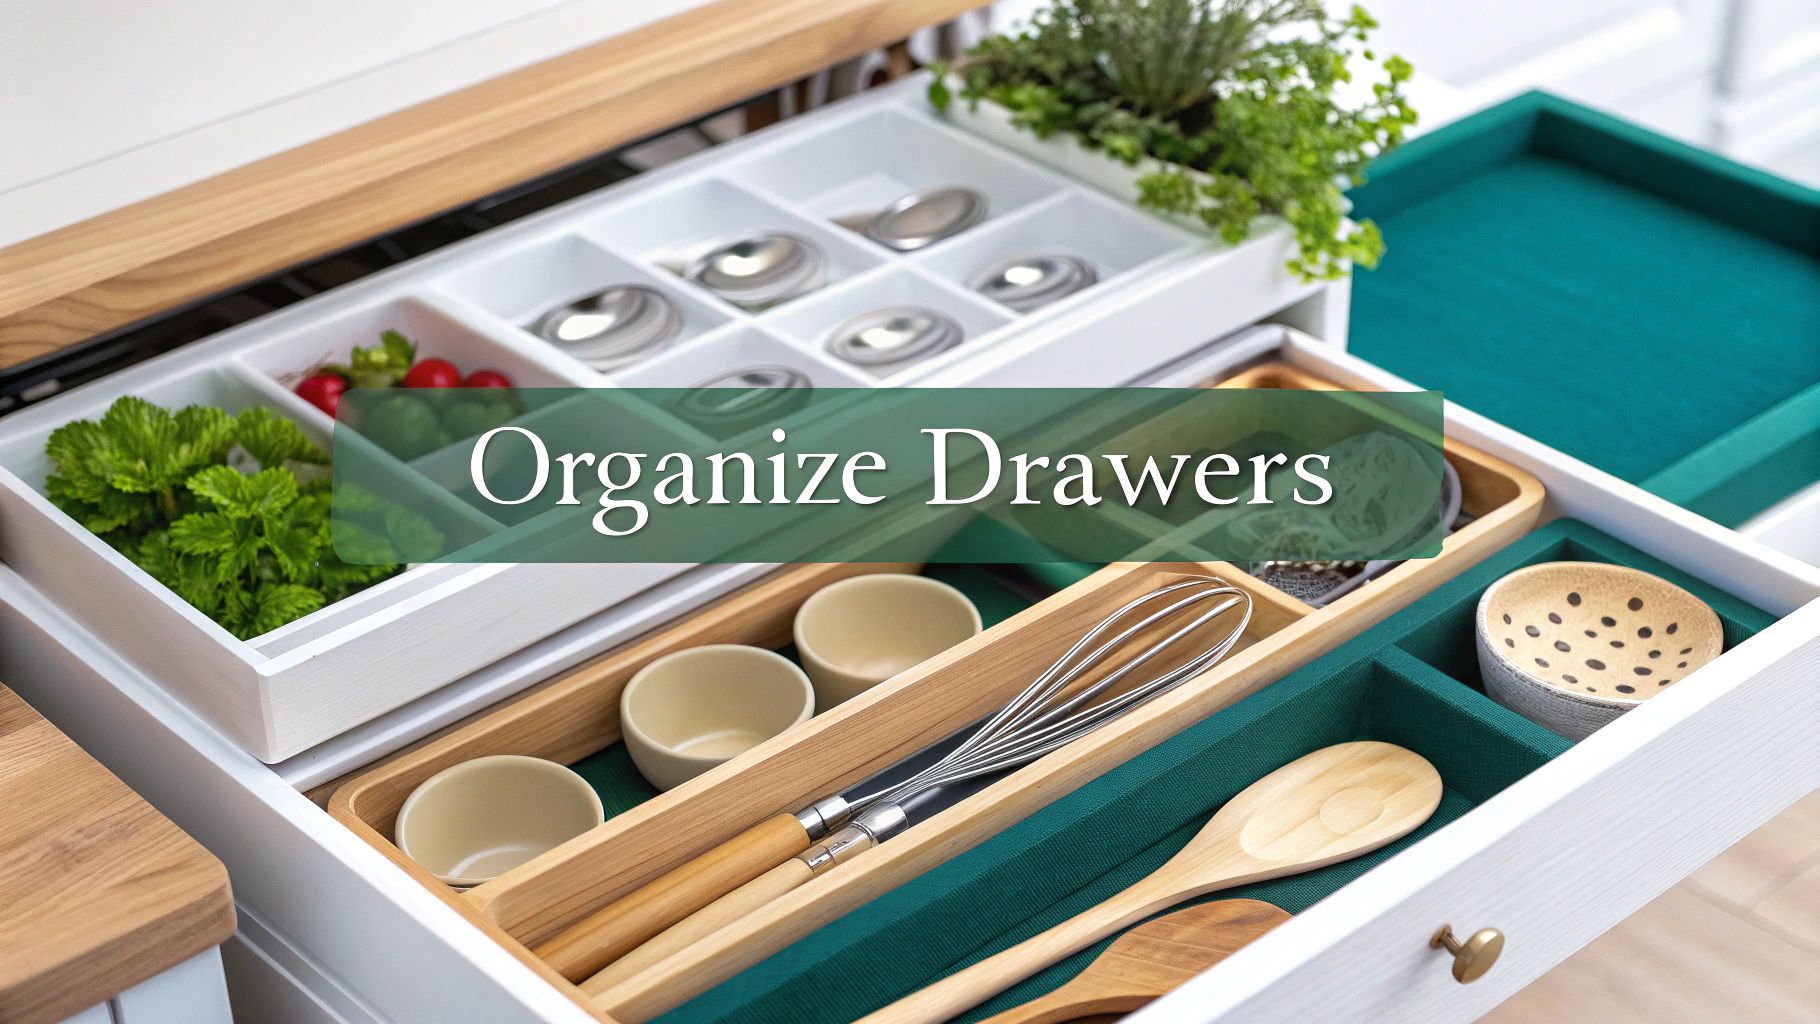
how to organize kitchen drawers: simple steps to declutter
If you want to finally get your kitchen drawers under control, the process is pretty straightforward: empty everything out, group similar items together, and measure your drawers before buying any organizers. Getting this right is the secret to turning a chaotic junk drawer into a functional, stress-free space where you can actually find what you're looking for.
Your Fresh Start to Kitchen Drawer Sanity
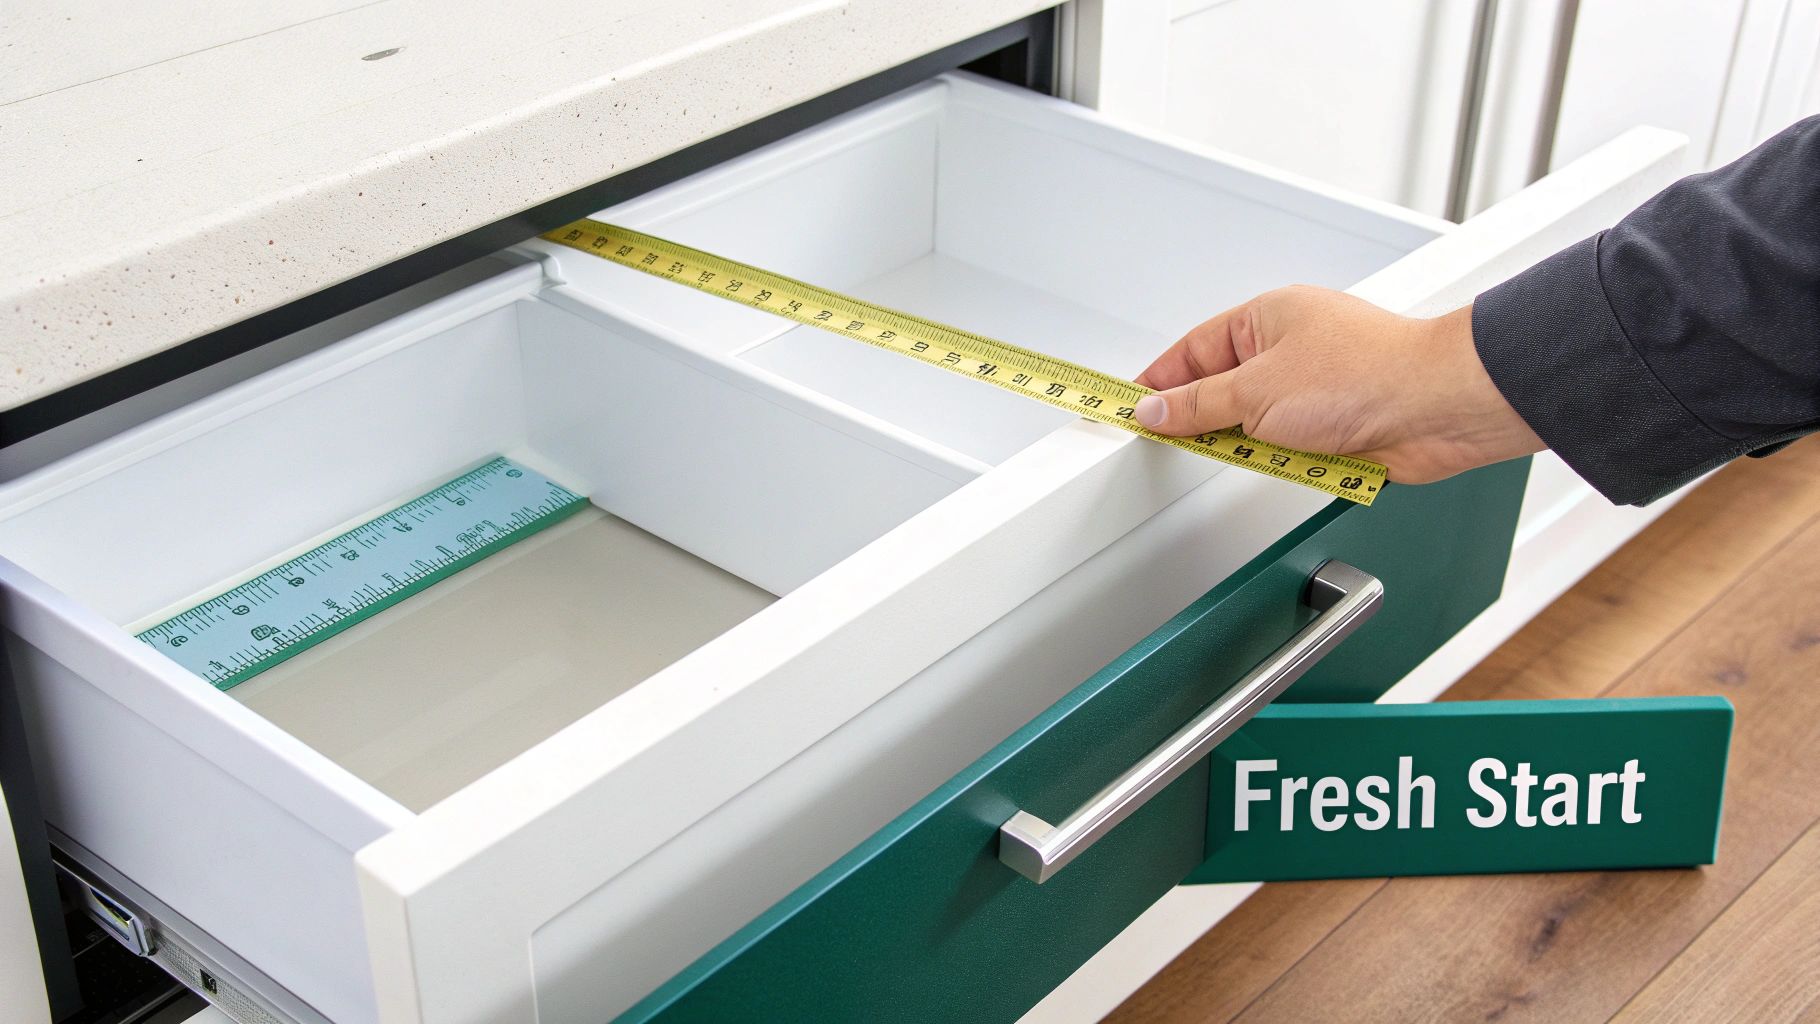
Let's be honest, tackling messy kitchen drawers can feel like a huge project. But the sense of calm that comes from a well-ordered system is absolutely worth the effort. The real goal here isn’t just about making things look pretty—it's about creating a kitchen that works with you, not against you, making everyday tasks feel smoother.
The whole thing starts with a good old-fashioned declutter. Before you can even think about organizing, you have to know exactly what you’re working with. That means pulling everything out, getting a clear look at what you own, and making some tough decisions about what deserves to stay. If you need a hand with this part, our guide on https://www.endless-storage.com/blog-posts/how-to-start-decluttering is a great place to begin.
To give you a bird's-eye view, here's a quick rundown of the game plan.
The 4-Step Drawer Organization Blueprint
A quick summary of the core steps covered in this guide to organize your kitchen drawers effectively.
Following these steps in order is what guarantees a system that not only looks great but actually lasts.
Why a System Matters More Than Containers
Just throwing a bunch of drawer dividers into the mix won't solve the underlying chaos. The real magic happens when you create "zones"—logical groupings for your tools based on how you use your kitchen.
- Prep Zone: Keep knives, measuring cups, and peelers right by your main countertop where you do all the chopping.
- Cooking Zone: Spatulas, tongs, and whisks should be in a drawer right next to the stove for easy grabbing.
- Dining Zone: Store your flatware and napkins close to the dinner table or wherever you serve meals.
This kind of strategic placement makes your kitchen feel incredibly intuitive. It's a small change with a huge impact, and it’s catching on. The kitchen organizer market is expected to hit a massive USD 208.97 billion by 2032, which just shows how much people are prioritizing efficiency at home.
The best organization systems are the ones built around your real habits. Don't set up a system for a fantasy kitchen you saw online; create one that supports how you actually cook and live every single day.
When you focus on your personal system first, any organizers you buy will be a perfect fit for both your drawers and your life. For more great ideas, check out these additional expert tips on organizing kitchen drawers.
The Great Drawer Purge
Alright, this is where the real magic happens. Before you can get to those beautifully organized drawers, you have to tackle the clutter first. It's time to pull everything out—and I mean everything. No cheating. Starting with a totally blank slate is the only way to get a real, honest look at what you’ve actually got.
So, grab a coffee, turn on some music, and start emptying one drawer at a time onto a clear counter or your kitchen table. As you pull each item out, you’ll probably find duplicates you completely forgot about and gadgets that haven’t seen daylight in years. Before you even think about putting anything back, it helps to check out a comprehensive guide on how to declutter your house to get in the right headspace for letting things go.
The Three-Bin Sorting Method
To keep from feeling completely overwhelmed, I always use a simple three-bin system. Just grab three boxes or make three piles on the floor and label them: Keep, Donate, and Trash. This little trick forces you to make a clear decision for every single item, from your favorite spatula to that one lonely corn-on-the-cob holder.
Now’s the time to be a little ruthless. As you pick up each item, ask yourself a few tough questions:
- When was the last time I used this? If it’s been more than a year, it’s probably a good candidate for the donate pile.
- Do I have more than one? You almost certainly don’t need three can openers or four nearly identical whisks. Just keep the best one and get rid of the rest.
- Does this thing even work right? Toss out anything that’s broken, melted, or just doesn't do its job well anymore.
This isn’t just about getting rid of stuff; it's about curating a collection of kitchen tools that you actually use and love. If you need a bit more structure, our decluttering checklist can be a huge help in keeping you on track.
The goal here is to make guilt-free decisions. Don't hang onto that avocado slicer you bought for one party five years ago. If it's not part of your regular cooking routine, it's just taking up precious real estate in your drawers.
Once you’re done sorting, take out the trash immediately and put that donation box straight into your car. Now, you're left with only the items you truly need and use. Before moving on, give those empty drawers a good wipe-down. This final step gives you a clean, fresh space to build a truly organized system, setting you up for a kitchen that's a genuine joy to cook in.
Creating Functional Zones in Your Kitchen
Alright, you've sorted through everything, and now it’s time for the fun part: putting it all back in a way that actually makes sense. The best way to organize kitchen drawers isn’t just about making things fit; it’s about creating functional zones that support how you really use your space.
Think of it like this: where do you stand when you make your morning coffee? That’s your coffee zone. The drawers next to the stove where you reach for a spatula? That’s your cooking zone. When you group tools where you use them, you stop the frantic searching and wasted steps. It's a game-changer.
This infographic breaks down that initial sorting process, which really lays the groundwork for creating smart, intuitive zones.
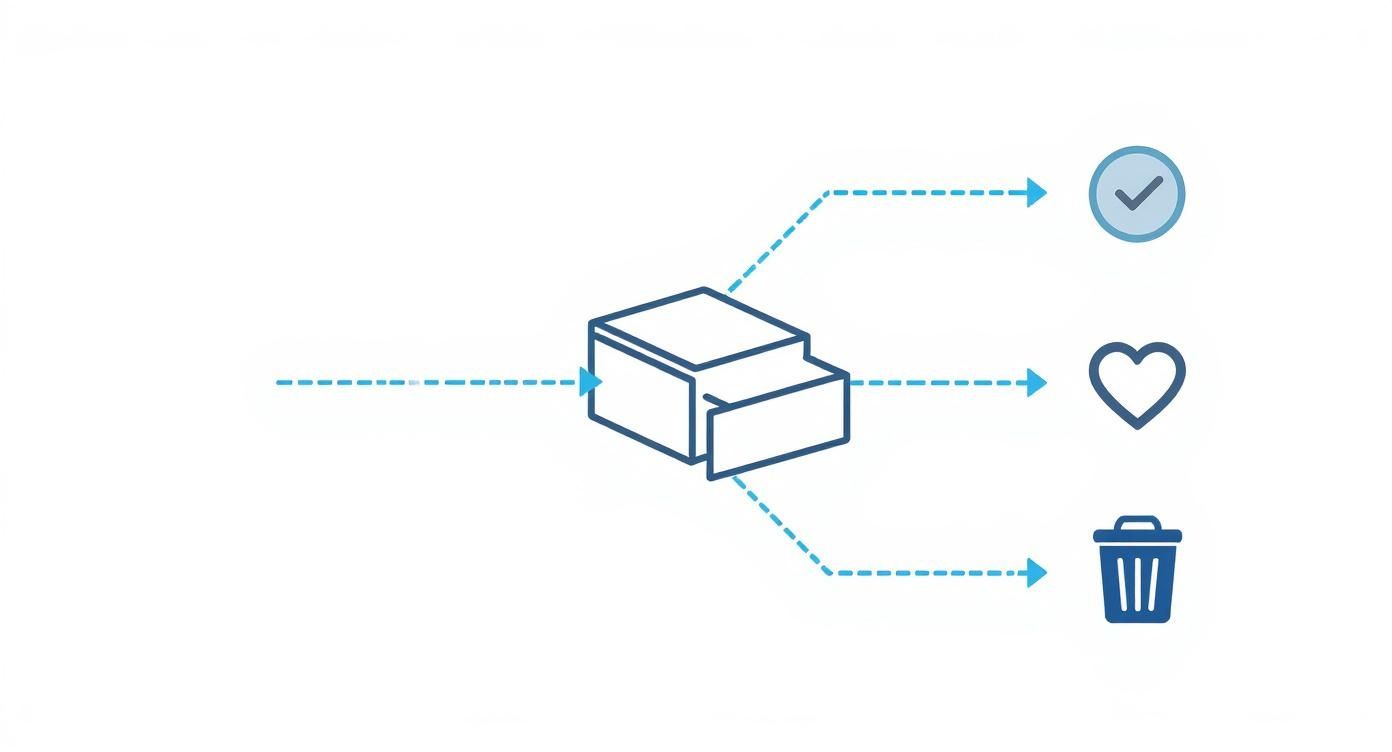
As you can see, making those simple Keep, Donate, or Trash decisions is what clears the path for organizing with real purpose.
Mapping Out Your Primary Kitchen Zones
Let's walk through some of the most common zones. Of course, you’ll want to adapt these to fit the unique layout of your own kitchen.
- Prep Zone: This is usually near your biggest stretch of countertop. The drawers here are the perfect home for your knives, peelers, measuring cups and spoons, and mixing bowls.
- Cooking Zone: These are the drawers right next to your stove or cooktop. Think spatulas, tongs, whisks, oven mitts—anything you grab while you're actively cooking.
- Dining Zone: Keep this area close to your kitchen or dining table. It’s the spot for everyday silverware, napkins, and serving utensils.
The real secret to a kitchen that feels amazing to work in is minimizing movement. When the tools you need are right where the action is, cooking becomes a much smoother and more enjoyable process.
This common-sense approach is so effective that it's driving huge growth in the home organization industry. In fact, the global kitchen storage market was valued at a staggering USD 131.43 billion in 2023 and is only expected to grow as more people realize the benefits of a functional home.
The same zoning logic applies to bigger spaces, too. For more ideas on this, check out our guide on how to organize a kitchen pantry, where we explore these concepts in more detail.
Choosing the Best Drawer Organizers
With your drawers empty and your essentials sorted, you’ve hit the most satisfying part of the process—choosing the tools that will bring your organized vision to life. But before you get lost in the world of beautiful bamboo dividers and sleek modular trays, remember the golden rule: measure everything first. Grab a tape measure and get the exact interior length, width, and height of each drawer.
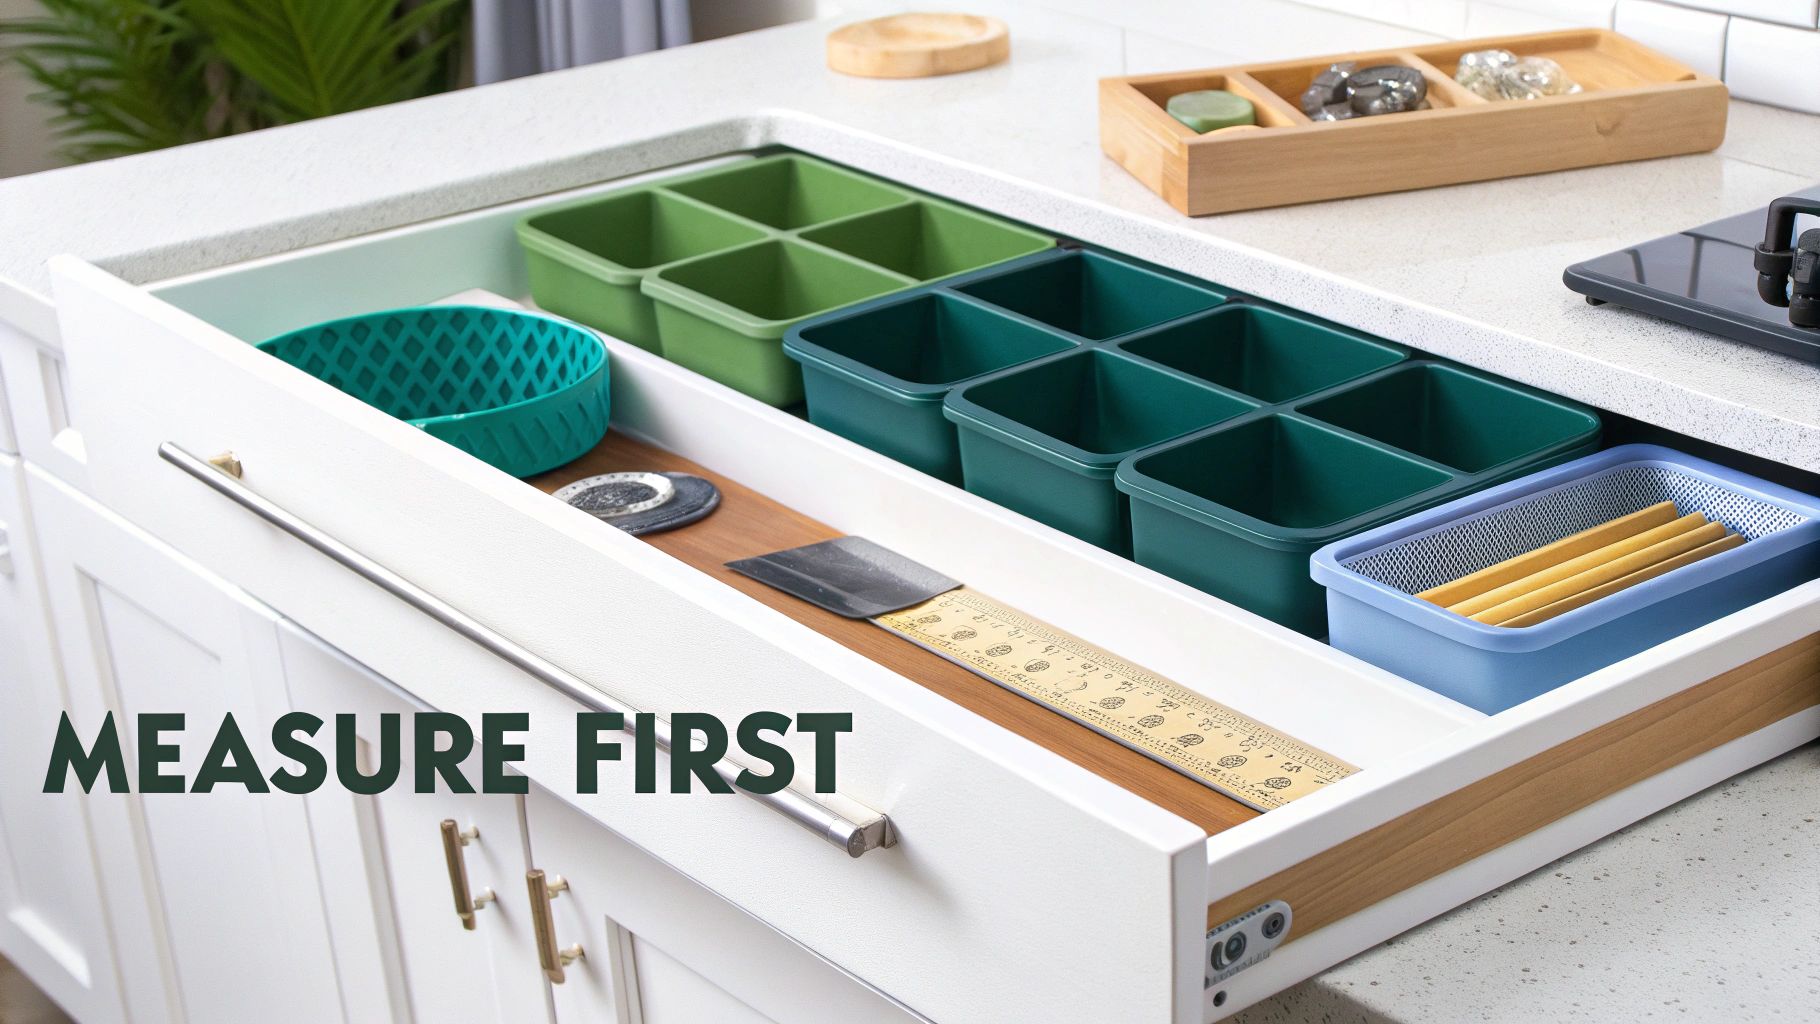
This single step saves you from the headache of buying organizers that don't fit. Trust me, nothing is worse than a divider that’s a half-inch too long. It ensures you create a custom-fit system that makes the most of every square inch.
Finding the Perfect Fit for Your Items
The right organizer depends entirely on what you're storing. A one-size-fits-all approach just doesn't work here—a silverware tray isn't designed to hold bulky whisks or that oddly shaped can opener.
Here are some of the most effective types I've used over the years:
- Expandable Trays: These are my go-to for cutlery and utensil drawers. They stretch to fit the width of your drawer, which means no more awkward gaps or wasted space. Many are made from bamboo, which is a nice, durable touch.
- Modular Bins: Absolutely perfect for creating a custom layout. You can mix and match small, individual containers to create specific spots for everything from wine stoppers to chip clips. This is honestly the best way to finally tackle a dreaded junk drawer.
- Deep Drawer Dividers: For those big drawers holding pots, pans, or food storage containers, spring-loaded tension dividers are a lifesaver. You can pop them in vertically or horizontally to create sturdy walls that stop everything from sliding around.
- Specialty Inserts: Think knife blocks that lay flat in a drawer or those nifty angled spice racks. These are built for specific jobs and can turn a chaotic drawer into a hyper-functional space.
Investing in these kinds of tailored solutions has become a huge trend. In fact, the global kitchen drawers market is projected to hit an estimated USD 7.5 billion by 2025, largely because everyone wants multifunctional and specialized storage.
Pro Tips for a Flawless Finish
Once you've picked your organizers, a few simple hacks can elevate your system from just "good" to truly great. These small touches make a surprisingly big difference in your day-to-day.
A common mistake is buying organizers before you’ve decluttered and measured. The best approach is to know exactly what you're storing and the precise dimensions you have to work with. This ensures you buy only what you truly need.
To keep everything perfectly in place, try adding a non-slip liner to the bottom of your drawers first. If you have plastic trays that tend to shift, a small dot of museum putty on each corner will lock them down without causing any damage. And if you're on a tighter budget, you can find a variety of affordable storage solutions that deliver fantastic results without a hefty price tag.
Keeping Your Kitchen Drawers Organized for Good
You’ve put in the hard work to declutter and set up a system, so now the goal is to make it stick. Lasting organization isn't about one massive overhaul; it's about building small, consistent habits that stop clutter from ever taking root again.
One of the best habits I've ever adopted is the "one in, one out" rule. It's simple: anytime a new kitchen tool comes into the house, like a fancy new spatula, an old one has to go. This single action is your best defense against the slow, sneaky buildup of duplicates that turn tidy drawers into a mess.
Create a Quick Reset Routine
Another key is to schedule a little maintenance check-in. This doesn't have to be a huge time commitment at all.
Plan a 10-minute "drawer reset" every couple of months. Just do a quick scan of your drawers, return any items that have wandered off to their proper homes, and give the organizers a quick wipe. This tiny investment of time keeps a little disarray from snowballing into a major project.
These habits are what make your hard work pay off in the long run. It also really helps to be crystal clear about where everything lives. Labels can be a total game-changer here, and our guide on the best way to label storage bins has some fantastic ideas that translate perfectly to drawers.
Common Kitchen Drawer Organization Questions
Even with the best game plan, you're bound to hit a few snags when you start organizing your kitchen drawers. Let's walk through some of the most common challenges with practical, real-world answers.
What Is the Best Way to Organize Deep Drawers
Deep drawers are a blessing for storage capacity, but they can quickly turn into a jumbled mess where items get lost at the bottom. The trick is to think vertically and add some structure.
- Install deep, spring-loaded dividers: These act like adjustable walls inside your drawer. They're perfect for filing baking sheets, cutting boards, or pot lids upright, so you can see everything at a glance and grab what you need.
- Use stackable bins: For things like food storage containers or small appliances, modular stacking bins are a lifesaver. They create organized layers, which means no more digging through a pile to find the right lid.
How Do I Handle My Junk Drawer
Ah, the infamous "junk drawer." It doesn't have to be a source of chaos. The solution is surprisingly simple: give every single item a designated home, no matter how small.
Your junk drawer isn't really for junk; it's for miscellaneous essentials. Transform it with a modular organizer that has tiny compartments for batteries, rubber bands, pens, and tape.
Once everything has its own specific spot, keeping it tidy is so much easier. A simple bamboo tray with multiple small sections can work wonders here.
What Should I Do About Awkwardly Shaped Utensils
Bulky tools like whisks, ladles, and potato mashers are notorious drawer-hogs. Don't even try to force them into a standard silverware tray—it just won't work.
Instead, give them their own dedicated space with a long, single-compartment bin. If your drawers are really crowded, consider moving your most-used large utensils into a crock on the countertop next to the stove. This not only frees up valuable drawer real estate but also keeps your go-to tools within easy reach while you're cooking.
Ready to conquer clutter beyond your kitchen? Endless Storage offers simple, by-the-box storage solutions to help you reclaim your space. Find out more at https://www.endless-storage.com.