
Organizing a storage room is a project, not just a weekend chore. It’s more than just cramming boxes into corners—it’s about creating a system that works for you long-term. The real magic happens before you even move a single item. It all starts with a solid plan, a ruthless decluttering session, and a smart layout. This initial groundwork is what separates a room that looks tidy for a week from one that stays effortlessly organized for years.
Start With a Plan, Not a Pile

I know the temptation. You see the mess and just want to start shifting boxes around, hoping inspiration will strike. Resist that urge. The most successful storage room makeovers begin by treating the space like a small design project. A little bit of prep work ensures every shelf you buy and every box you label has a purpose.
Before you get your hands dirty, it’s worth taking a few minutes to learn how to plan a room layout properly. Trust me, it’s the secret to creating a space that’s actually functional.
To keep you on track, here's a quick checklist of the essential planning steps. Ticking these off before you start sorting will save you a ton of headaches later.
Your Pre-Organization Game Plan
Getting these four things done first sets the stage for a smooth, effective organization process.
Assess What You Actually Own
Did you know the average U.S. household has around 300,000 items? It’s no wonder our storage areas get so out of control. Your first mission is to figure out what’s actually worth keeping.
Pull everything out and sort it into three simple piles: keep, donate, and discard. This isn’t the time to be sentimental about that broken lamp or the clothes you haven’t worn in a decade. A good rule of thumb is to aim to get rid of at least 20% of what’s in there. Seriously, this step is non-negotiable. If you need a little push, our guide on how to start decluttering can help you get motivated.
This isn’t just about making space. It’s about truly understanding what you need to store so you can choose the right solutions later.
Pro Tip: Don't just make a mental checklist. Grab a notebook or open a simple spreadsheet and jot down the major items and categories you're keeping. This inventory list will be a lifesaver when you're planning your layout and creating labels.
Measure and Map Your Space
Next, grab a measuring tape. You need the exact dimensions of your room—length, width, and especially the height. So many people forget to use the vertical space in a room, but that floor-to-ceiling real estate is pure gold, particularly in smaller apartments.
Once you have your numbers, sketch out a rough floor plan. It doesn't have to be perfect; a simple drawing on a piece of paper works fine. Be sure to mark where the door swings open, plus the locations of any windows, light fixtures, or support beams that might get in the way.
This little map is your blueprint. It helps you visualize where shelving units will go, ensuring you leave clear walkways so you can actually get to your stuff without causing an avalanche. This is the foundation of a storage system that won't drive you crazy.
The Decluttering Process That Actually Works

With a clear plan in hand, it’s time to roll up your sleeves. Facing down years of accumulated stuff can feel like a mammoth task, but breaking it down into manageable steps makes all the difference. This isn’t just about tossing things out; it’s about making conscious choices about what deserves to take up your precious real estate.
The secret to avoiding decision fatigue is a simple but powerful sorting system. Set up four distinct zones or grab four big bins—one for every single item you touch. It’s a method that keeps you focused and prevents you from just moving piles around.
The Four-Category System
This is the framework I've used for countless projects, and it just plain works.
- Keep: These are the things you genuinely use, absolutely cherish, or have a definite plan for. Only these items earn a spot back in the newly organized space.
- Donate/Sell: Got items in good shape that you just don't need anymore? This is their pile. Think clothes that haven't fit in years, duplicate kitchen gadgets, or books you’ve already enjoyed.
- Trash/Recycle: This is for anything broken, expired, or just plain unusable. Be ruthless here. If it’s junk, it’s time to let it go.
- Relocate: This is the secret weapon for city dwellers. It’s the "doesn't-belong-here" pile for things like library books, that drill you borrowed from a friend, or important paperwork that needs to be filed in your home office, not buried in storage.
Using this system forces a decision on every object, which is how you make real, tangible progress. It’s a core principle you’ll find in just about any guide on how to declutter your home, and it’s especially effective for a contained space like a storage room.
Tackling Sentimental and 'Just in Case' Items
We all have them: that box of childhood drawings, the skis you might use again someday, the inherited vase that clashes with everything you own. These are often the biggest roadblocks.
For sentimental stuff, give yourself permission to keep it—but with boundaries. Designate one "memory box." This keeps you from letting a lifetime of memories completely take over your storage space.
For those tempting "just in case" items, I always recommend the 20/20 rule. If you can replace it for less than $20 in under 20 minutes, it’s probably safe to part with.
This isn’t just a chore; it’s a mindset shift. You are curating your belongings, not just warehousing them. The goal is to be surrounded only by things that add value to your life, not stress.
Finally, think about responsible disposal. If you unearth a graveyard of old electronics, finding professional electronic waste recycling services is a must for getting rid of them safely. For other items, check out local donation centers or look into textile recycling programs. This thoughtful approach makes the whole process feel less wasteful and more like a positive fresh start.
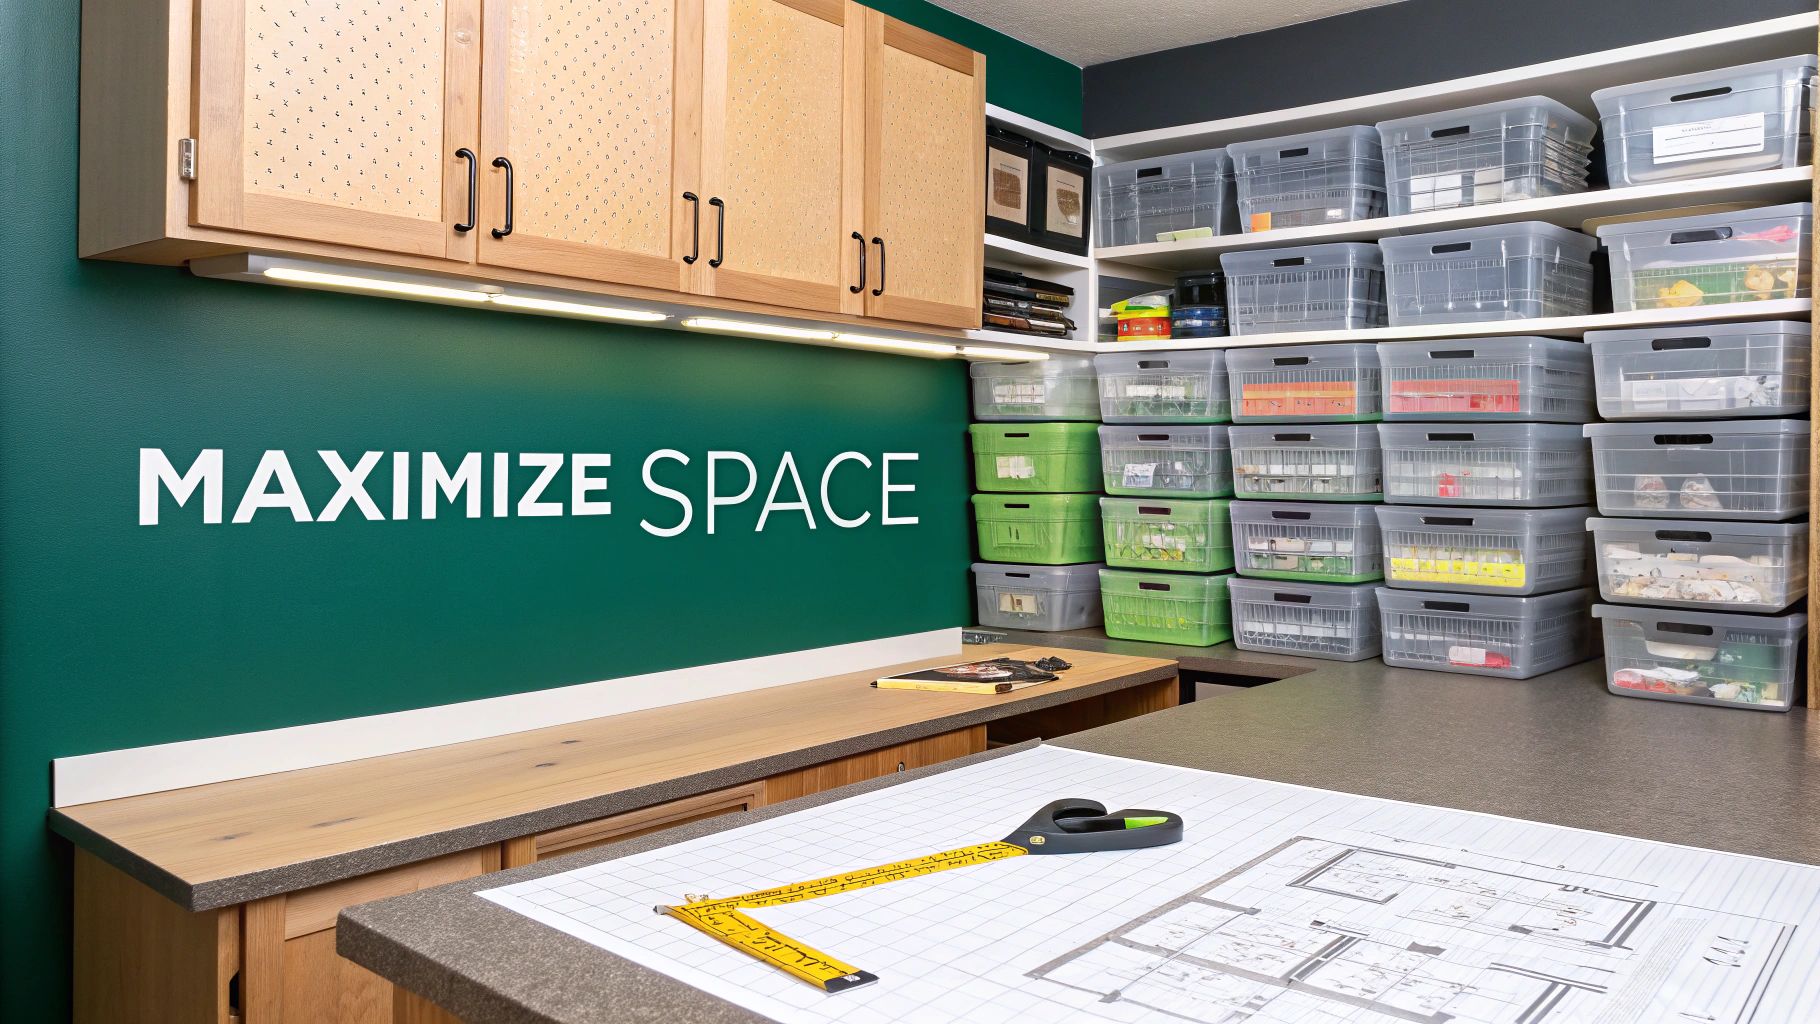
Okay, you've sorted through your stuff and cleared out the space. Now for the satisfying part: picking out the hardware that will actually bring your organized storage room to life. The right shelving and containers are way more than just accessories; they’re the literal backbone of a system that works. Your mission is to find pieces that squeeze every inch out of your vertical space, keep your items safe, and make grabbing what you need a breeze.
The kind of shelving you go for really depends on your space and what you're stashing. If you have a garage or a proper storage closet, you can't go wrong with heavy-duty metal or industrial-grade plastic racks. These things are workhorses, built to hold serious weight—perfect for those bulky holiday bins or heavy toolboxes. But for apartment dwellers, things like modular wire shelving or even a few sturdy bookcases can be brilliant for fitting into smaller, more awkward nooks.
Selecting Your Shelving System
Before you click "buy," think about flexibility. I can't stress this enough: adjustable shelves are a massive win. They let you completely reconfigure your setup as your storage needs inevitably change over time. Wall-mounted shelving is another fantastic option, especially in tight quarters. It gets everything up off the floor, freeing up that precious real estate and protecting your belongings from potential water damage or pests.
No matter what you choose, stability is non-negotiable. Always, always secure tall shelving units to the wall with anti-tip brackets. It's such a simple safety step that gives you incredible peace of mind, particularly if you have kids or pets running around.
The global market for garage organization shows a clear trend. While cabinets are popular, shelving and racks are the fastest-growing segment—perfectly suited for the 25% of storage space usually hogged by bulky seasonal items. You can learn more about these garage organization market trends if you're curious.
The Power of the Right Containers
Once your shelving is up, it's container time. This is where you can really create that feeling of visual calm and next-level function. If there's one rule professional organizers live by, it's this: use uniform, clear, stackable bins whenever you can.
Why clear? The logic is simple—you can see what’s inside at a glance. This small detail dramatically cuts down on the time you waste digging through a mountain of boxes for one specific thing. In fact, research shows that 60% of professional organizers prefer clear plastic containers for exactly this reason. For a deeper dive, check out our guide on choosing the best storage boxes for every possible need.
Using bins of the same size and style isn't just for looks, either. It makes stacking them far safer and more stable, creating a clean, cohesive system that transforms a chaotic closet into a well-managed space. And for soft goods like out-of-season clothes, blankets, or pillows? Vacuum-sealed bags are an absolute game-changer. They can shrink the volume of bulky textiles by up to 75%, freeing up a shocking amount of shelf space.
Here’s a quick rundown of container types and where they shine:
- Clear Plastic Bins (with lids): The workhorse of any storage room. Perfect for everything from craft supplies and kids' toys to cables and kitchen overflow.
- Heavy-Duty Opaque Bins: Ideal for a garage or basement where you need extra muscle to protect items from moisture and pests. Think camping gear or emergency supplies.
- Vacuum-Sealed Bags: Your best friend for storing comforters, seasonal clothing, and linens. They save a massive amount of space.
- Archival Boxes: Use these for the irreplaceable stuff—old photos, letters, and important documents—to protect them from acid damage and fading over time.
By investing in the right combination of shelving and containers, you’re not just tidying up. You're building a sustainable system that will keep you organized for years to come.
Creating a Smart and Strategic Layout
Great organization is about more than just cramming things onto shelves. It’s about creating a system that actually works with you, not against you. A smart layout can take your storage room from a chaotic drop-zone and turn it into a genuinely functional, accessible part of your home.
The secret is to think like a grocery store manager. They don’t put the milk at the very back of the store, right? The same logic applies here. We’re going to use a technique called zoning, which just means grouping similar items together and placing them based on how often you actually need them. This simple shift in thinking ensures you're not digging through holiday decorations just to find a spare lightbulb.
This chart breaks down the core components of a solid storage system into three main buckets.
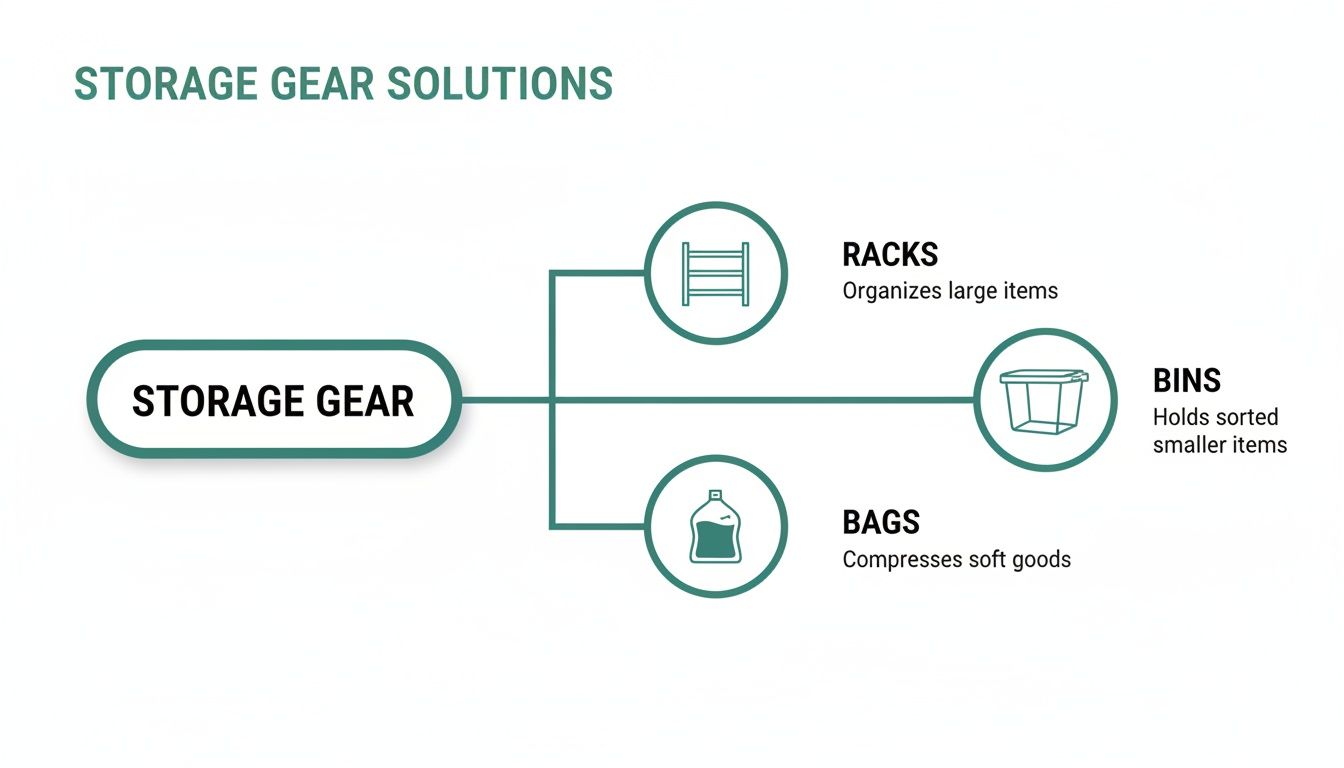
As you can see, everything from metal racks to clear bins and vacuum bags has a specific job to do in a well-organized space.
Designing Your Zones
First things first, let's map out your storage room into distinct areas. Think of it in terms of "prime real estate" versus the back corners that are a little harder to get to.
Frequently Accessed Zone: This is your sweet spot—the area between your waist and shoulder height, right near the door. This is for things you grab monthly or even more often, like cleaning supplies, bulk paper towels, or your most-used tools. Keeping them here means no bending, stretching, or moving other boxes out of the way. Pure convenience.
Heavy Items Zone: The floor and bottom shelves are reserved for your heaviest and bulkiest stuff. We’re talking boxes of books, small appliances, or emergency water supplies. Storing them low is a non-negotiable safety rule. It prevents heavy items from toppling over and makes them far easier to lift without straining your back.
Long-Term Storage Zone: The highest shelves and the deepest corners of the room are perfect for the things you only pull out once or twice a year. This is the designated home for seasonal decor, sentimental memory boxes, and any out-of-season sports gear.
This zoned approach is the foundation for a storage room you can navigate with total ease.
Key Takeaway: Always leave a clear walkway, at least two feet wide, through the center of your room. An accessible path is non-negotiable for safety and stops you from having to empty half the room just to reach something in the back.
Implementing Smart Storage Practices
Once your zones are set, a few simple habits will keep everything running smoothly.
For anything with an expiration date, like emergency food or batteries, adopt the First-In, First-Out (FIFO) method. It sounds technical, but it’s easy: when you buy new supplies, just place them at the back of the shelf and slide the older items to the front.
It's also crucial to protect your belongings from the room itself. Never store cardboard boxes or sensitive electronics directly on a concrete floor where moisture can easily seep in. Placing them on a low shelf or even a simple wooden pallet provides that critical layer of protection.
Finally, try to leave a small gap between your boxes and the walls. This promotes airflow and is your best defense against mustiness and mildew developing over time.
Labeling Everything for Quick and Easy Access

You’ve sorted, shelved, and zoned your storage room—fantastic work. But all that effort goes right out the window if you have to tear open ten identical bins just to find the holiday decorations. An organized room is only truly useful if you can find what you need without a full-blown search party.
This is where a solid labeling system becomes your best friend.
The whole point is consistency and clarity. Vague labels like "Misc." or "Stuff" are the enemy of an organized space. A good label should tell you exactly what’s inside without you ever having to lift the lid.
Choosing Your Labeling Method
There's no single "right" way to label; it's all about what works for you and how much detail you need.
- Simple & Effective: For most of us, a thick permanent marker on a piece of painter's tape or a large adhesive label does the job perfectly. Start with a general category ("Kitchen Gadgets"), and then list the top 2-3 items inside ("Blender, Waffle Iron, Hand Mixer"). Simple.
- Detailed & Digital: If you're a bit more tech-inclined, a QR code system is a fantastic option. Apps let you create a unique QR code for each bin that, when scanned with your phone, pulls up a complete, detailed list of everything inside. It’s perfect for those boxes with lots of little things.
Whatever method you choose, stick the labels on the front and at least one side of every container. That way, you'll always know what's what, no matter how the bins get shifted around on the shelf. For a deeper dive, check out our guide on the best way to label storage bins to find your perfect match.
Create a Master Inventory List
Beyond just labeling the bins, creating a master inventory list or a simple room map is an absolute game-changer. This can be as simple as a note on your phone, a spreadsheet, or even just a sheet of paper taped to the back of the door. Think of it as a bird's-eye view of your entire storage space.
Your inventory list is your personal command center. It tells you that "Winter Coats" are in Bin #12 on the top left shelf, saving you from that frantic search when the first cold snap hits.
Effective inventory management is a core principle in the self-storage industry, which is projected to grow to USD 89.7 billion by 2033. Professional facilities rely on these systems for efficiency, and there’s no reason you can’t apply the same logic at home. When you have a clear map of your storage, you eliminate the guesswork and can grab any item in seconds.
Keeping Your Storage Room From Falling Back Into Chaos
Okay, you've done it. You wrestled the chaos into submission. The sorting is done, the shelves are up, and every box is neatly labeled. But here's the hard truth I've learned from years of helping people organize: getting organized is one thing, but staying organized is a whole different ballgame.
Without a simple plan to keep things in check, even the most perfect system will slowly unravel.
The secret is to stop clutter before it even has a chance to take root. Your new mantra should be the "one-in, one-out" rule. It’s incredibly simple but surprisingly effective. Any time you bring a new item home that’s destined for storage—a new tent for camping, a bigger set of Christmas lights—an older, similar item has to go. This one habit forces you to be mindful about what you're keeping and stops that slow, creeping accumulation dead in its tracks.
A Maintenance Schedule That Actually Works
Maintaining your hard work doesn't mean you need to block off another whole weekend. The trick is to build small, almost effortless check-ins into your regular routine.
- The 15-Minute Monthly Reset: Once a month, set a timer for just 15 minutes and do a quick sweep. Put away that one thing you meant to store last week, break down any empty Amazon boxes, and give the floor a quick once-over. This tiny time investment prevents small messes from snowballing into overwhelming projects.
- The Twice-a-Year Review: A couple of times a year, give the room a more thoughtful look. A perfect time to do this is when you’re already in there swapping out seasonal gear, like pulling out winter coats or packing away holiday decorations. Use that opportunity to quickly reassess what you're holding onto and pull out a few things for a donation run.
The whole point is to make upkeep feel like a minor tune-up, not a major overhaul. We're aiming for effortless. By folding these small habits into your life, you guarantee your storage room remains a functional, stress-free part of your home instead of a closet you're afraid to open.
This proactive mindset is what makes all your initial effort worth it in the long run. You'll always know exactly what you have and where to find it, turning that once-dreaded space into a genuinely reliable resource. For more inspiration on keeping things fresh, check out these other storage organization ideas.
Got Questions? We've Got Answers.
Even the most meticulously planned storage room can throw you a curveball. Let's tackle some of the most common hiccups people run into, so you can keep your space functional, no matter its quirks.
What if My Storage Room Is Small or Awkwardly Shaped?
This is where you have to get creative and, most importantly, think vertically. When floor space is at a premium, tall, narrow shelving units are your best friend—they draw the eye upward and squeeze utility out of every inch of height.
Don't stop there. Get things off the floor entirely with wall-mounted shelves and versatile pegboard systems. And never, ever forget the back of the door. It's prime real estate for hanging organizers that can hold a surprising amount of stuff.
How Can I Protect My Belongings from Damage?
Your number one defense against pests, dust, and moisture is a set of good-quality, airtight plastic bins with locking lids. Seriously, avoid cardboard for anything you plan to store long-term. It's a magnet for pests and loses all its strength at the first sign of dampness.
For your really sensitive items, like old family photos or electronics, just toss a few silica gel packs inside the bin. They work wonders for absorbing any sneaky humidity that gets in.
Think of it this way: you're creating a safe haven for your belongings. A little bit of prevention, like getting boxes up off a concrete floor on a pallet or shelf, goes a ridiculously long way in preventing water damage and mildew.
What Should I Do with Sentimental Items?
It’s tough letting go of things that hold memories, so don't! Just be strategic. Designate one or two special "memory boxes" specifically for those cherished keepsakes. If you can, spring for archival-quality containers to keep photos and important papers from yellowing or deteriorating over time.
Another game-changing strategy is to digitize what you can. Scan old photos, letters, and your kids' adorable (but bulky) artwork. Often, what you really want to keep is the memory, not the physical object taking up space.
When your apartment starts feeling more like a storage unit than a home, Endless Storage can help you reclaim your living space. We provide the boxes, pick them up, and store them securely for as low as $7.99 a month. When you need something back, we deliver it right to you. Find your perfect storage solution at https://www.endless-storage.com.
Frequently Asked Questions
Unveiling the Secrets to Effortless Storage
Endless Storage is available nationwide. You pick a plan, tell us where to pickup, and we'll send a UPS van to collect, whichever state you're in.
Your shipping label will be sent to your email within a few minutes, if not instantaneously. It can also be accessed through your customer profile.
Your box will be shipped to one of our climate controlled self storage facilities in our closest self storage facility. Our manager will accept your package, notify you that your box has been received, and securely stored. Only our managers will have access to Endless Storage boxes.
Email us at admin@endless-storage.com click to live chat with us, or send us a message below.
Never! We're committed to transparent pricing with no surprises. You'll lock in your rate with no hidden fees and no long-term contracts.
Fast access guaranteed! Your boxes will arrive at your doorstep within 48 hours of requesting them back. Need to check on delivery? We provide tracking information for complete peace of mind.
Totally flexible! Store month-to-month with no long-term commitment and cancel anytime.
Everything's online! Use your account dashboard to:
• Set up automatic monthly payments
• Request box returns
• Update your address
• Order additional boxes
• Track shipments
Your boxes are insured up to $100 each. Our customer service team will help you file any necessary claims and resolve issues quickly.
Don't worry – we'll email you right away if there's a payment issue. Your items stay safe, though you may have temporary service interruption or late fees until payment is resolved.
When you request our free storage kits, you'll have 30 days to send in your boxes to activate your 3 months of free storage. Think of it like starting a gym membership – your activation window begins when you receive your kits, and your full free trial begins once you send in your first box. During your free months, you'll experience our complete storage service at no cost.
Your 30-day activation window begins when you receive your storage kits. We'll send you an email confirmation when your kits are delivered, marking the start of your activation period.
If you haven't sent any boxes for storage within your 30-day activation window, your free trial will expire and we'll begin charging the regular monthly rate of $9.99 per box. This helps ensure our storage kits go to customers who are ready to use our service.
A box costs $9.99 per month to store (plus sales tax). This price includes free shipping for standard boxes under 50 lbs. and smaller than 16"x16"x16"
Log into your Endless Storage account, locate the box you would like returned, and simply click Return My Box.
Yes, each box stored with us is insured for up to $100 throughout transit as well as the duration of storage within our facilities.
Your box will be at your doorstep within 48 hours of you requesting it back.
Store 10+ boxes? We'll pick them up for free! After your purchase, we'll contact you to schedule a convenient pickup time and arrange UPS collection.
We trust UPS with all shipments, and every box includes $100 insurance coverage. You'll receive tracking information to monitor your items' journey.
Yes! Visit any of our locations by appointment. Just bring a photo ID matching your customer profile.
For everyone's safety, we can't store hazardous materials, firearms, or perishables. All items must fit within our standard boxes.
It's easy! Order your storage kit online, and we'll ship it to you within 1-2 business days. Your shipping labels will be emailed instantly and available in your account.
We're here to help! Email us at admin@endless-storage.com, use our live chat, or send us a message through your account.
To cancel your storage service with Endless Storage, please email your cancellation request to admin@endless-storage.com. Our team will process your request within 2 business days and confirm your cancellation via email.
We understand packing takes time. However, to maintain your free trial benefits, you'll need to send at least one box within the 30-day activation window. If you need more time, you can always start with one box to activate your trial and send the rest later. You can always reach out to admin@endless-storage.com if you have any issues or concerns.
When you request our free storage kits, you're starting a 30-day window to begin using our storage service.
Important: To activate your free trial, send at least one box for storage within 30 days. If no boxes are sent within this 30-day window, a one-time $50 fee applies to cover materials and shipping costs. This fee is clearly disclosed before you sign up.
Think of it like reserving a hotel room – we're setting aside space and sending specialized packing materials for your use. The fee only applies if you request materials but don't begin storage, similar to a hotel's no-show charge.