Decluttering your kitchen counters is about more than just tidying up; it's about creating a calm, functional heart of your home. It’s a small project that can totally transform your daily routine, making everything from meal prep to your morning coffee feel easier and less stressful.
Why Clear Kitchen Counters Feel So Good
The urge to clear off those countertops is deeply rooted in our need for a functional sanctuary. Let's be honest, a cluttered counter often reflects a cluttered mind, turning simple tasks like making a sandwich into a chaotic mess. When your surfaces are clear, the whole room breathes—it feels larger, brighter, and way more welcoming.
This isn't just a hunch. A recent survey found that a whopping 62% of homeowners are desperate to clear the clutter from their countertops, making it one of the most common organizing goals. The same study showed that over 55% of people feel an organized kitchen directly cuts down on their stress levels.
The Mental and Practical Payoff
Clearing this one surface has a powerful ripple effect. An organized space gets rid of decision fatigue—you no longer have to move five things just to find the one you need. It’s a small win that sets a positive tone for the rest of your day.
The link between our environment and our mental state is real. The payoff goes way beyond just being tidy:
- You'll be more efficient. Think of all the minutes you'll save every single day when you aren't hunting for items or wiping down surfaces around a bunch of junk.
- Creativity flows. A clear workspace actually inspires culinary creativity. Cooking becomes a joy again, not just another chore.
- Stress melts away. Visual order brings mental calm. This is a core idea behind the powerful connection between decluttering and mental health.
When you turn your counters from a chaotic drop-zone into a purposeful workspace, you’re doing more than just cleaning. You're investing in your own peace of mind and building a home that truly works for you.
Setting Yourself Up for Decluttering Success
Before a single item gets moved, a little preparation makes all the difference. I’ve seen it time and time again: jumping into a decluttering project without a plan is a recipe for a bigger mess and total burnout.
Instead, taking just a few minutes to get organized first ensures a smoother, more effective process from start to finish. This is the foundational step most people skip, but trust me, it’s the secret to lasting results.
This simple workflow gives you a bird's-eye view of the key stages for getting your space—and your mind—ready for the task ahead.
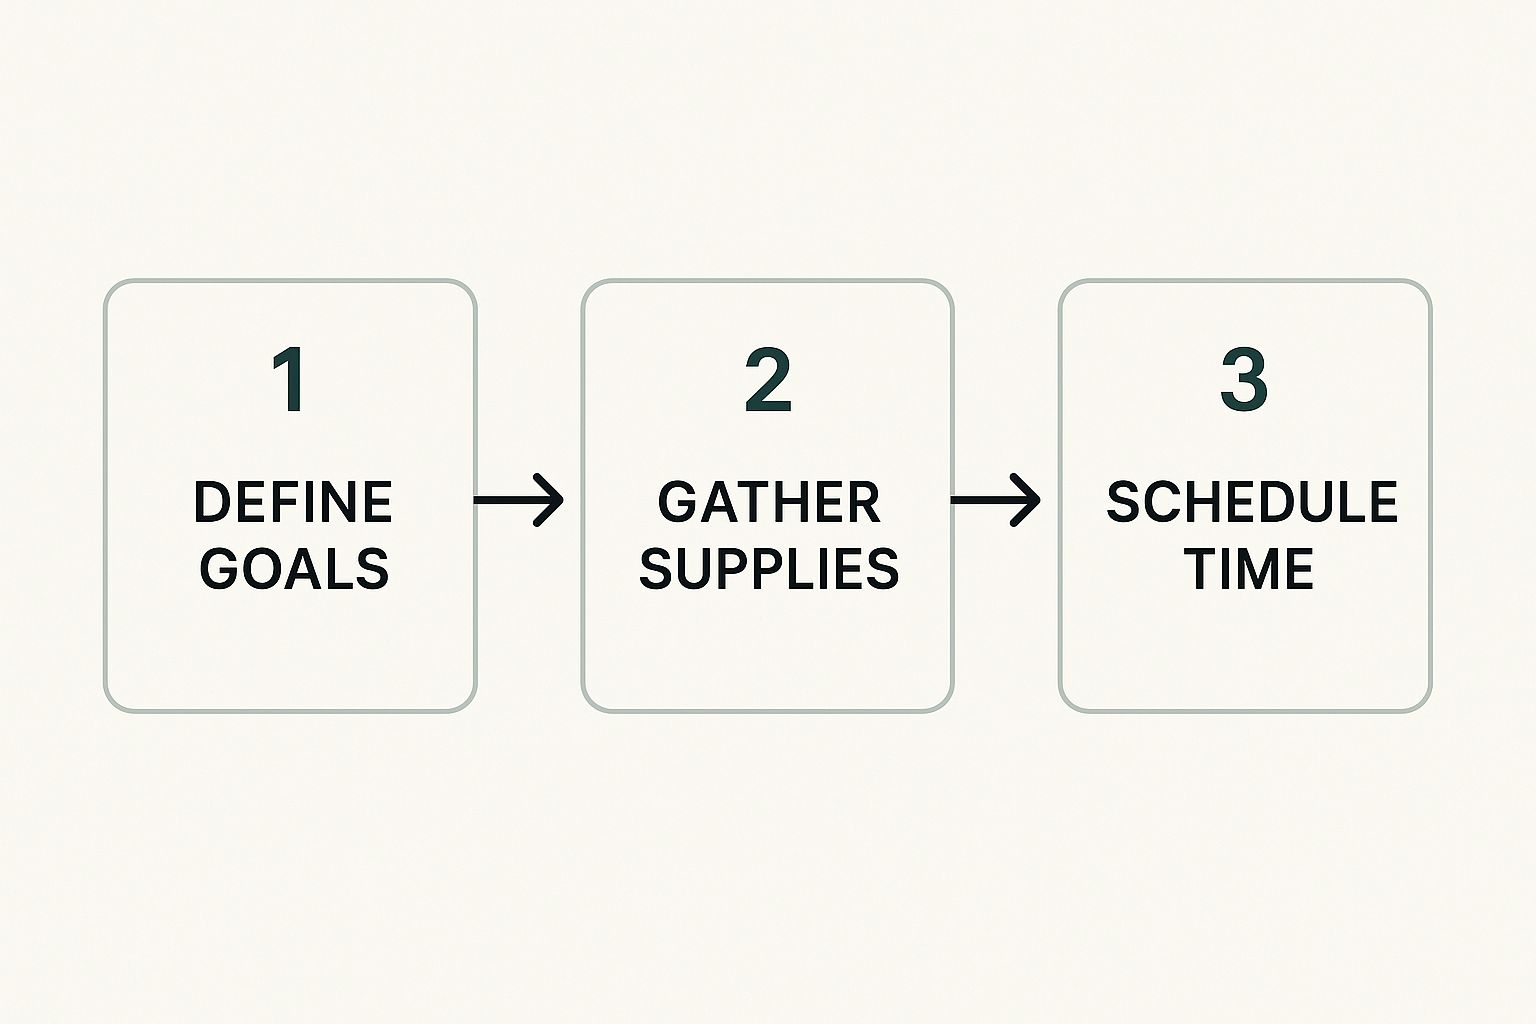
As you can see, defining your goals, gathering supplies, and scheduling time are sequential steps. They build momentum and keep that feeling of overwhelm at bay.
Define Your Decluttering Goals
First things first: what does "success" actually look like for your kitchen counters? Are you dreaming of completely clear surfaces, or just a designated, tidy spot for your coffee maker and toaster? Setting a clear, achievable goal prevents the project from spiraling out of control and keeps you motivated.
Developing a clear strategy is crucial for long-term tidiness, much like implementing effective priority management systems in other areas of life. It transforms a vague wish into a real, actionable target. For a deeper dive into creating a manageable plan, our guide on how to start decluttering breaks it down even further.
Gather Your Supplies
Next up, get everything you'll need so you’re not scrambling mid-project. Not having the right tools on hand is a classic reason people abandon the task halfway through.
- Sorting Bins: Grab four boxes or laundry baskets and label them: Keep, Relocate, Store Away, and Donate/Discard.
- Cleaning Supplies: Have microfiber cloths and an all-purpose cleaner ready to wipe down those newly cleared surfaces. It's so satisfying.
- Labels: A label maker is great, but even masking tape and a marker will do the trick. You'll need them for items being relocated or stored.
Setting aside a specific, uninterrupted block of time is just as important as having the right bins. Even 30 minutes can make a huge impact if you’re focused. Treat it like any other important appointment.
A Simple System for Decisive Sorting

Indecision is the number one killer of any decluttering project. We’ve all been there: staring at a pile of stuff, completely paralyzed because we have no idea where to even begin. This is exactly why a structured sorting system is your best friend. Instead of making random piles that just shift the mess around, we're going to use a simple, yet powerful, four-category method.
This approach takes the chaos out of the equation and turns it into a series of small, confident choices. You’ll set up four designated boxes or zones, giving every single item a clear destination. It eliminates the guesswork and keeps you from getting stuck.
The Four Sorting Categories
Your goal here is to make quick, gut-level decisions. To do that, you'll need four labeled bins. This framework gives you a clear path for everything, from the stand mixer to that ever-growing stack of mail.
- Keep on Counter: This is your prime real estate. Reserve this spot only for items you use every single day. Think coffee maker, knife block, maybe a utensil crock. That's it.
- Relocate: These are things that absolutely belong in your home, just not on the counter. The blender you use a few times a week? It can live in a cabinet. The toaster? Same deal.
- Store Away: This bin is for seasonal or infrequent-use items. That collection of holiday cookie cutters, the giant roasting pan you use twice a year, or the fondue pot are perfect candidates.
- Donate or Discard: It’s time to be honest with yourself. This category is for duplicate gadgets, expired spices, or any appliance you haven’t touched in over a year. Let it go.
The core idea is simple: every item must earn its place. If it doesn't serve a critical, daily function on your countertop, it needs a new home. This mindset shift is what makes all the difference.
This purposeful approach to sorting isn't just a niche trick; it's part of a massive cultural shift. The rise of organization movements, like the KonMari Method, has completely changed how we think about our belongings. When Marie Kondo’s Netflix series dropped in 2019, it kicked off a global tidying craze, inspiring millions to clear out the clutter. You can actually read more about how tidiness became a significant interior trend.
Putting the System into Action
Now for the fun part. Pick up one item at a time and just decide. Don’t overthink it! That pile of mail? Relocate it to a mail sorter in your office. The dusty decorative vase? Maybe it’s time to Donate it.
By focusing on one item and one decision, the process of decluttering kitchen counters becomes totally manageable instead of monumental.
Smart Storage Solutions for Everyday Items
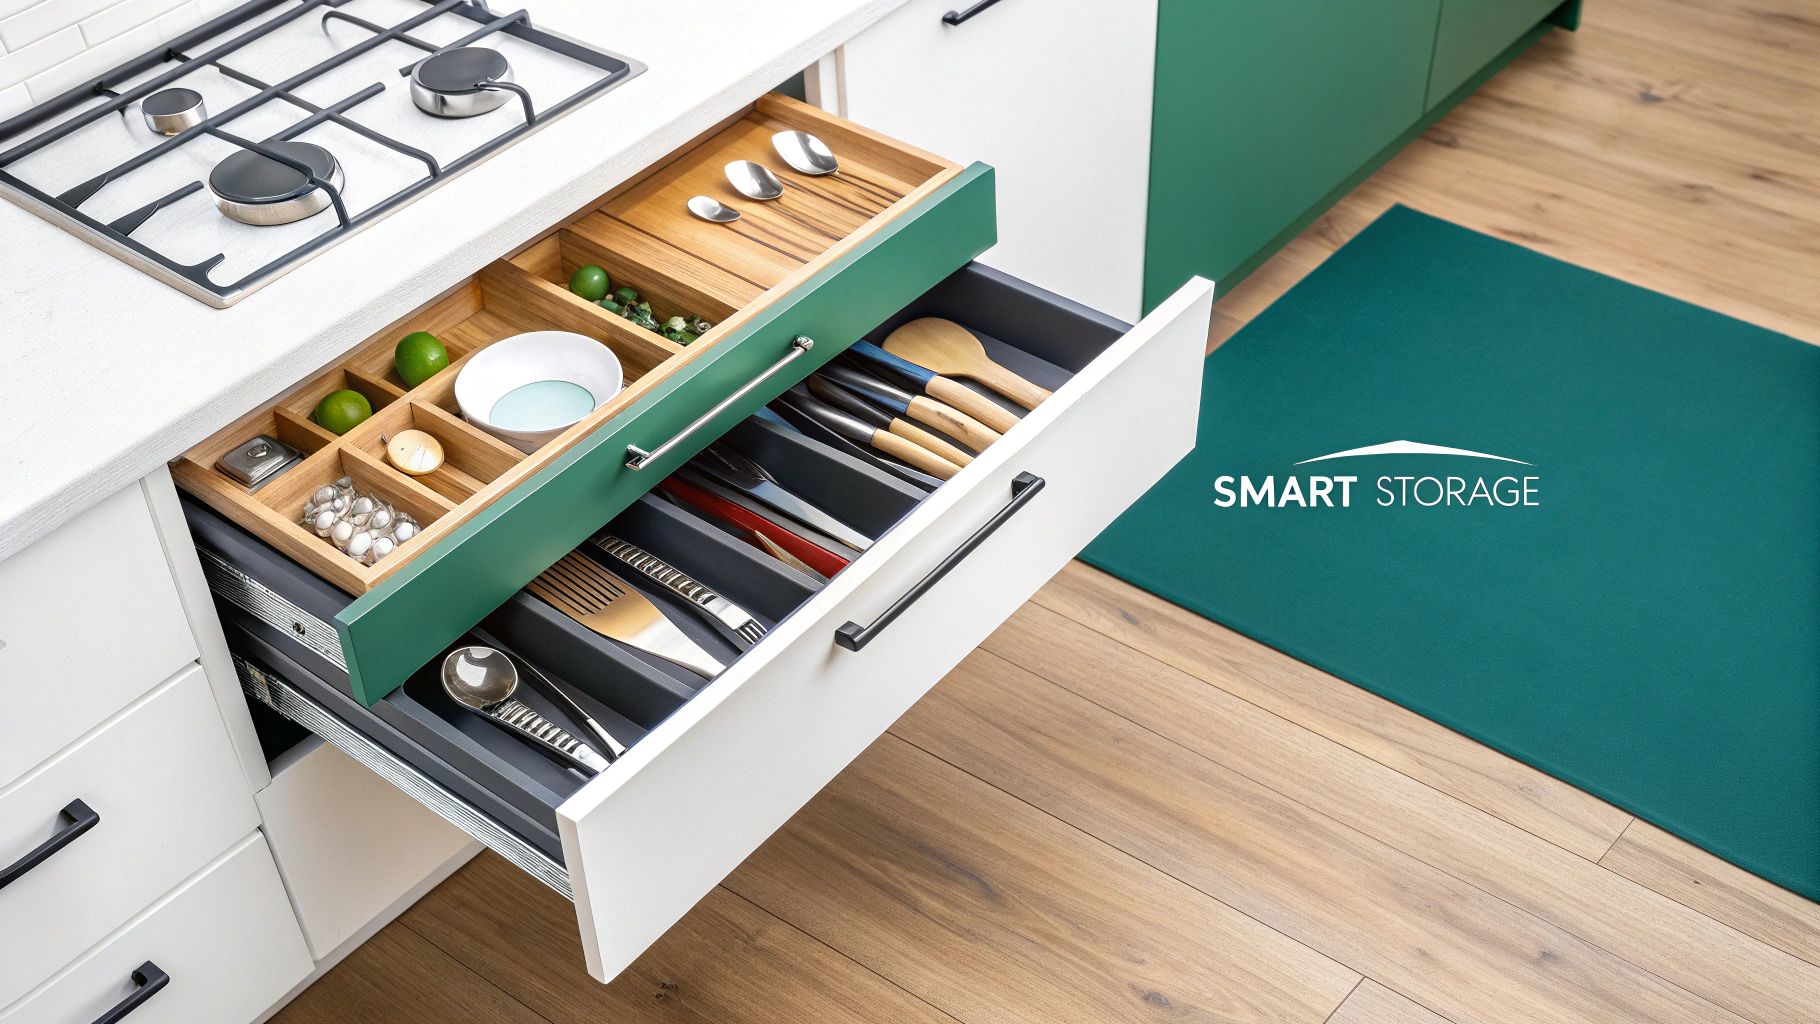
Alright, you’ve sorted through your countertop chaos. Now for the most important part: giving everything a permanent, logical home. This isn't just about hiding stuff away—it's about creating a system that makes sense for how you actually live. When items are easy to grab and easy to put back, they stop creeping onto your newly cleared surfaces.
It's no surprise that the kitchen organization market is booming, valued at around $131.43 billion in 2023. We all want our kitchens to feel more functional and calm, especially in smaller homes where every square inch is precious.
Maximize Your Vertical Space
One of the biggest mistakes I see is people forgetting to look up. Your walls and the inside of your cabinets hold so much untapped potential. Shifting your mindset from spreading things out horizontally to stacking them vertically is a total game-changer for reclaiming counter space.
- Wall-Mounted Racks: A magnetic knife strip is a classic for a reason. It instantly frees up the space a clunky knife block was hogging. You can do the same with spice racks or a hanging rail system for spatulas, whisks, and ladles.
- Shelf Risers: These simple wire racks are magic. Pop one into a cabinet, and you’ve just doubled your storage for plates, bowls, or mugs. No more wobbly towers you have to unstack just to get to a single dish.
Create Designated Stations
Another great strategy is to group related items into "stations" that you can tuck into a corner or a cabinet. This contains the mess from your daily routines and keeps things feeling intentional rather than chaotic. For items you’ve decided to keep but just don’t belong out in the open, finding suitable storage containers can be a huge help in keeping things orderly.
Pro Tip: Set up a dedicated "charging station" in a drawer. This one simple move gets rid of that tangled mess of cords that always seems to take over a corner of the counter. A small tray for your coffee maker, mugs, and sugar also works wonders, consolidating everything into one neat little package.
By giving every item a smart, accessible home, you transform your kitchen from a cluttered drop-zone into a streamlined, functional space you'll love working in. For even more ideas, check out our guide on essential kitchen clutter solutions.
Keeping Your Kitchen Counters Clear for Good
You’ve done the hard work and decluttered your kitchen counters. That’s a huge win, but the real victory is keeping them that way. This isn’t about one massive, exhausting cleanup every few months; it’s about building simple, sustainable habits that stop clutter before it even starts.
The goal is to make a tidy kitchen the default, not a constant battle. Transforming this one-time project into a lasting change just takes a few key routines. These small, consistent actions are what separate a temporarily clear space from a permanently peaceful one.
Build Your Maintenance Habits
The secret to long-term success is weaving small resets into your daily and weekly flow. Honestly, it's the little things that make the biggest difference.
- The 10-Minute Nightly Reset: Before you head to bed, spend just ten minutes putting things back where they belong. Wipe down the surfaces, put away that stray coffee mug, and deal with any mail that’s landed there. This tiny habit prevents morning chaos and makes waking up so much better.
- The 'One In, One Out' Rule: This is a game-changer. When you bring a new kitchen gadget, appliance, or even just a mug into your home, an old one has to go. This simple rule stops accumulation in its tracks and makes you way more intentional with what you buy.
Establishing a permanent "landing zone" for keys, mail, and phones is crucial. A small bowl by the door or a wall-mounted organizer keeps these daily items from ever touching your main workspace.
By adopting these systems, you’re not just cleaning; you’re creating an environment that naturally stays organized. If you want a more structured approach to keep you on track, our printable decluttering checklist can be a great guide for your ongoing efforts.
Common Questions About Kitchen Decluttering
Knowing the steps to declutter is one thing, but putting them into practice with your own stuff? That’s where the real questions come up. Even with the best plan, you're bound to run into a few tricky situations. Let's walk through some of the most common hurdles people face when trying to clear their counters for good.
Sentimental Items That Take Up Space
A big one is always sentimental items, like that beautiful ceramic dish your grandmother made. It feels wrong to stuff it in a cabinet, but it takes up prime real estate on the counter. My advice is to stop thinking of it as a kitchen tool and start treating it like a piece of art.
Instead of letting it get splashed in a high-traffic prep zone, give it a place of honor. A floating shelf, a spot in a glass-front cabinet, or even a decorative easel on a far-off corner of the counter lets you admire it without it contributing to the clutter.
What About Frequently Used Appliances
Another question I get all the time is what to do with appliances you use often, but not every single day. We're talking about the blender for your weekly smoothie or the air fryer that comes out a few times a week. The best fix is to create an "appliance garage"—a designated, easy-to-access cabinet close to where you'd use it. This keeps them off the counter but makes sure grabbing them isn't a chore.
If your cabinet space is already maxed out, you're not out of luck. Try these ideas:
- A Rolling Cart: A small, stylish utility cart can hold several appliances and be tucked into a nearby pantry or an unused corner.
- Pantry Storage: Dedicate one of the lower, more accessible shelves in your pantry just for these items.
Managing Utensils and Limited Space
What if you have almost no cabinet or drawer space to begin with? This is where you have to get creative to reclaim your surfaces. It’s tempting to just keep utensil crocks on the counter, but going vertical is a total game-changer.
Wall-mounted magnetic strips for knives or a hanging rail system for spatulas and ladles can free up a surprising amount of counter space. If you want to go deeper on this, check out our guide on how to store kitchen utensils for more clever solutions.
The goal is always to find a home for everything that isn't the countertop itself. Every item you successfully relocate is a victory for a calmer, more functional kitchen.
If you've sorted through everything and realized you need a place for seasonal items or cherished keepsakes, Endless Storage can help. We provide a simple, stress-free way to store your belongings, delivering boxes right to your door and returning them whenever you need them. Learn more at Endless Storage.
Frequently Asked Questions
Unveiling the Secrets to Effortless Storage
Endless Storage is available nationwide. You pick a plan, tell us where to pickup, and we'll send a UPS van to collect, whichever state you're in.
Your shipping label will be sent to your email within a few minutes, if not instantaneously. It can also be accessed through your customer profile.
Your box will be shipped to one of our climate controlled self storage facilities in our closest self storage facility. Our manager will accept your package, notify you that your box has been received, and securely stored. Only our managers will have access to Endless Storage boxes.
Email us at admin@endless-storage.com click to live chat with us, or send us a message below.
Never! We're committed to transparent pricing with no surprises. You'll lock in your rate with no hidden fees and no long-term contracts.
Fast access guaranteed! Your boxes will arrive at your doorstep within 48 hours of requesting them back. Need to check on delivery? We provide tracking information for complete peace of mind.
Totally flexible! Store month-to-month with no long-term commitment and cancel anytime.
Everything's online! Use your account dashboard to:
• Set up automatic monthly payments
• Request box returns
• Update your address
• Order additional boxes
• Track shipments
Your boxes are insured up to $100 each. Our customer service team will help you file any necessary claims and resolve issues quickly.
Don't worry – we'll email you right away if there's a payment issue. Your items stay safe, though you may have temporary service interruption or late fees until payment is resolved.
When you request our free storage kits, you'll have 30 days to send in your boxes to activate your 3 months of free storage. Think of it like starting a gym membership – your activation window begins when you receive your kits, and your full free trial begins once you send in your first box. During your free months, you'll experience our complete storage service at no cost.
Your 30-day activation window begins when you receive your storage kits. We'll send you an email confirmation when your kits are delivered, marking the start of your activation period.
If you haven't sent any boxes for storage within your 30-day activation window, your free trial will expire and we'll begin charging the regular monthly rate of $9.99 per box. This helps ensure our storage kits go to customers who are ready to use our service.
A box costs $9.99 per month to store (plus sales tax). This price includes free shipping for standard boxes under 50 lbs. and smaller than 16"x16"x16"
Log into your Endless Storage account, locate the box you would like returned, and simply click Return My Box.
Yes, each box stored with us is insured for up to $100 throughout transit as well as the duration of storage within our facilities.
Your box will be at your doorstep within 48 hours of you requesting it back.
Store 10+ boxes? We'll pick them up for free! After your purchase, we'll contact you to schedule a convenient pickup time and arrange UPS collection.
We trust UPS with all shipments, and every box includes $100 insurance coverage. You'll receive tracking information to monitor your items' journey.
Yes! Visit any of our locations by appointment. Just bring a photo ID matching your customer profile.
For everyone's safety, we can't store hazardous materials, firearms, or perishables. All items must fit within our standard boxes.
It's easy! Order your storage kit online, and we'll ship it to you within 1-2 business days. Your shipping labels will be emailed instantly and available in your account.
We're here to help! Email us at admin@endless-storage.com, use our live chat, or send us a message through your account.
To cancel your storage service with Endless Storage, please email your cancellation request to admin@endless-storage.com. Our team will process your request within 2 business days and confirm your cancellation via email.
We understand packing takes time. However, to maintain your free trial benefits, you'll need to send at least one box within the 30-day activation window. If you need more time, you can always start with one box to activate your trial and send the rest later. You can always reach out to admin@endless-storage.com if you have any issues or concerns.
When you request our free storage kits, you're starting a 30-day window to begin using our storage service.
To avoid any charges, simply send at least one box for storage within 30 days to activate your 3-month free trial. If you decide not to use our service and don't send any boxes within the 30-day window, a one-time $50 fee will apply to cover the costs of materials and shipping. This helps ensure our storage kits go to customers who are ready to use our service.
Think of it like reserving a hotel room – we're setting aside space and sending specialized packing materials for your use. The fee only applies if you request materials but don't begin storage, similar to a hotel's no-show charge.
