
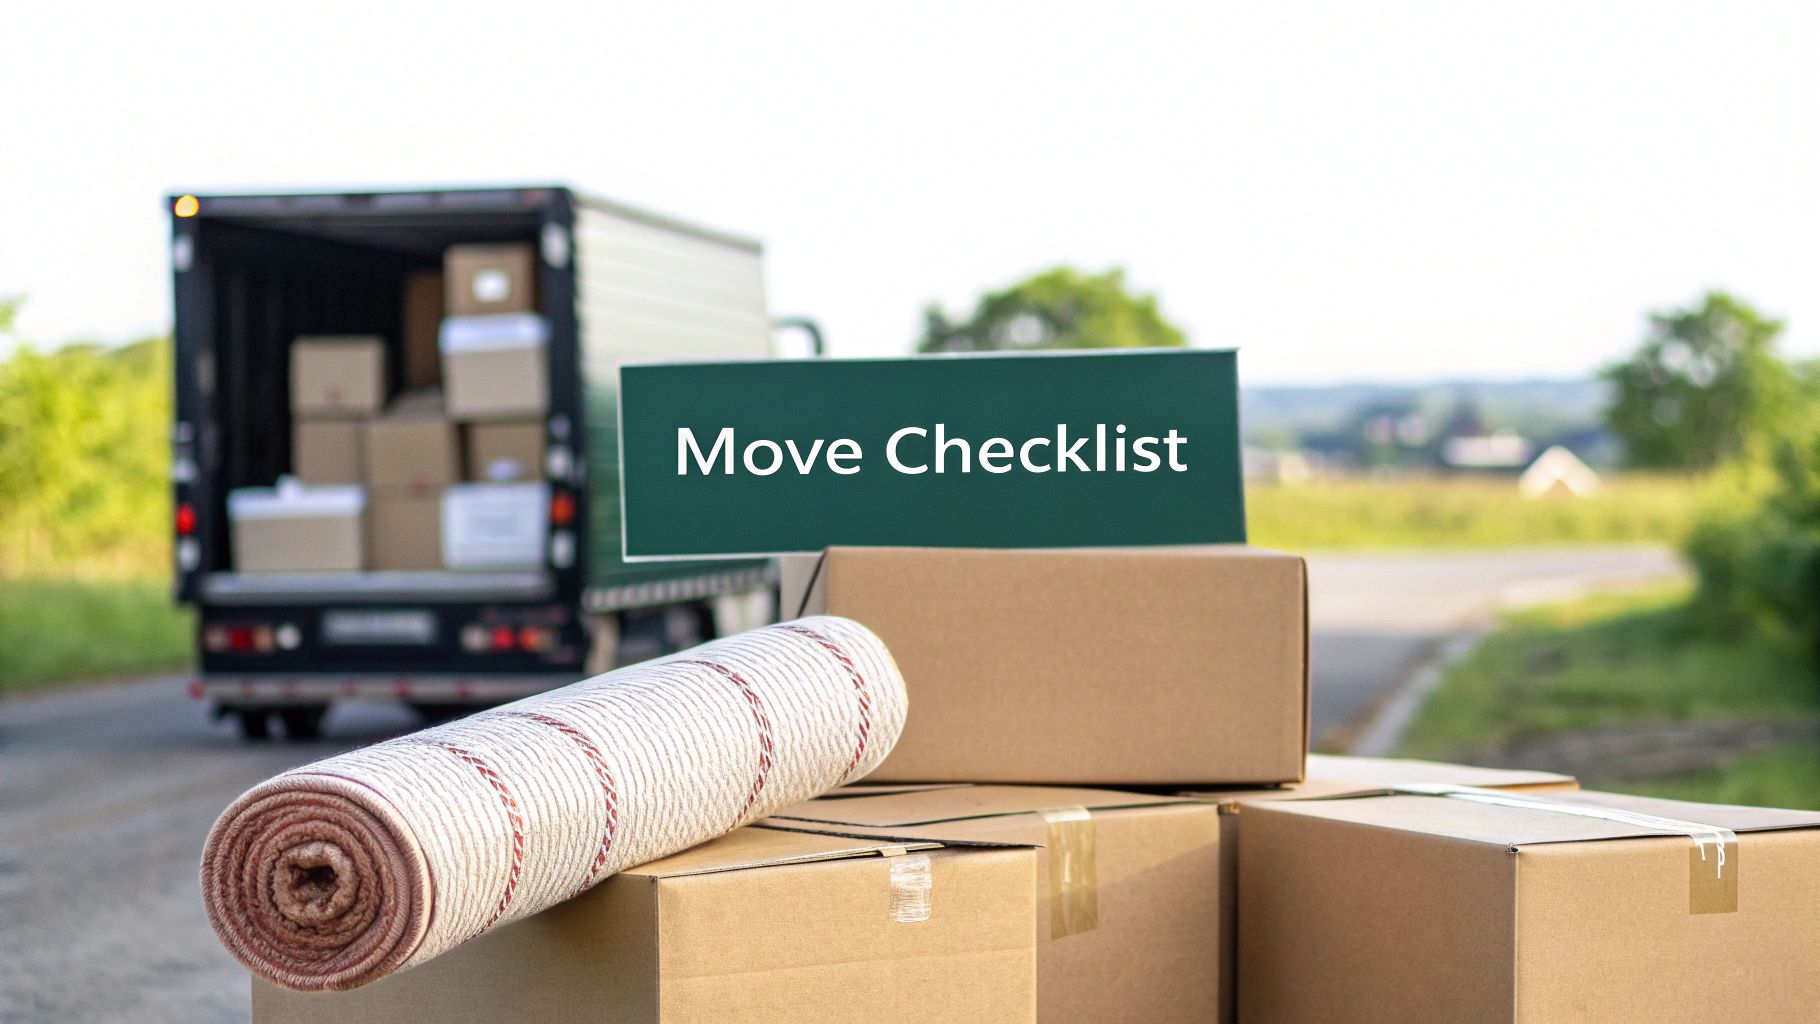
A cross-country move is more than just a change of address; it's a monumental life transition packed with logistical challenges. From coordinating movers thousands of miles away to establishing a new life in an unfamiliar state, the process can feel overwhelming without a clear plan. The difference between a chaotic relocation and a smooth transition often comes down to one thing: a detailed, actionable checklist.
This comprehensive cross country move checklist is designed to be your strategic partner, breaking down the entire journey into seven manageable phases. We'll guide you through everything from the critical first steps of financial planning and decluttering to the final tasks of settling into your new home, ensuring no detail is overlooked. Each stage is crafted to provide specific, practical advice that addresses the unique complexities of a long-distance move.
Whether you're relocating for a new job, moving closer to family, or simply seeking a fresh start, this guide provides a structured roadmap. For those navigating this transition while maintaining a career, the logistical planning extends beyond just packing boxes. Beyond the physical relocation, understanding how to manage your life and work on the move is crucial, including exploring strategies for working remotely while traveling to maintain productivity. By following this structured plan, you can transform a potentially stressful experience into an organized and successful adventure, setting yourself up for a seamless start in your new location.
1. Create a Comprehensive Moving Budget and Research Moving Companies
A cross-country move is a significant financial and logistical undertaking. The very first step on any successful cross country move checklist is to build a detailed budget and thoroughly vet potential moving companies. This foundational stage sets the tone for your entire relocation, preventing financial surprises and protecting you from fraudulent operators. A well-planned budget acts as your financial roadmap, while diligent research ensures your belongings are in safe hands.
This initial phase is not just about getting a single price; it's about understanding the full spectrum of costs and services. From the transportation of your goods to travel expenses and potential storage needs, every dollar should be accounted for to ensure a smooth transition from your old home to your new one.
How to Build Your Budget and Vet Movers
Start by itemizing every potential expense. Create a spreadsheet to track costs, which can include everything from packing supplies and professional movers to travel lodging and utility setup fees at your new home. For a deeper dive into the specifics, it's helpful to learn more about how to estimate moving costs to ensure no detail is overlooked.
Once you have a baseline, begin researching moving companies. Do not settle for the first quote you receive.
- Gather Multiple Quotes: Contact at least three to five reputable national moving companies like Allied Van Lines, United Van Lines, or Mayflower. This comparison will give you a realistic market rate for your specific move.
- Verify Credentials: Use the Federal Motor Carrier Safety Administration (FMCSA) database to check a company's license and insurance status. Look up their USDOT number and read their complaint history. Also, check their rating with the Better Business Bureau (BBB).
- Request Binding Estimates: A non-binding estimate is just a rough guess that can increase significantly on moving day. A binding estimate is a contract that guarantees the total cost based on the inventory you agree upon, providing crucial cost certainty.
Real-World Example: A professional couple moving from Chicago to Austin researched six companies. They used the FMCSA database and discovered one company had a suspended license and numerous unresolved customer complaints, helping them avoid a potential moving scam and protecting their belongings.
Actionable Tips for Success
- Book Early: Schedule your movers 6-8 weeks in advance, especially if you're moving during the peak season (summer). This locks in better rates and ensures availability.
- Create a Contingency Fund: Earmark an additional 15-20% of your total moving budget for unexpected costs. This buffer can cover anything from needing extra packing materials to last-minute travel delays or temporary storage fees.
- Analyze Your Options: A retiree on a fixed income created a detailed spreadsheet comparing full-service movers against a hybrid approach (renting a container and hiring local labor for loading/unloading). This analysis saved them nearly $3,000.
2. Declutter and Inventory Belongings
One of the most impactful steps on any cross country move checklist is to systematically sort through your possessions before packing. Decluttering is not just about tidying up; it's a strategic process that directly reduces the weight and volume of your shipment, which in turn lowers moving costs. By deciding what to keep, donate, sell, or discard, you simplify the entire packing process and ensure you begin life in your new home with only the items you truly need and love.
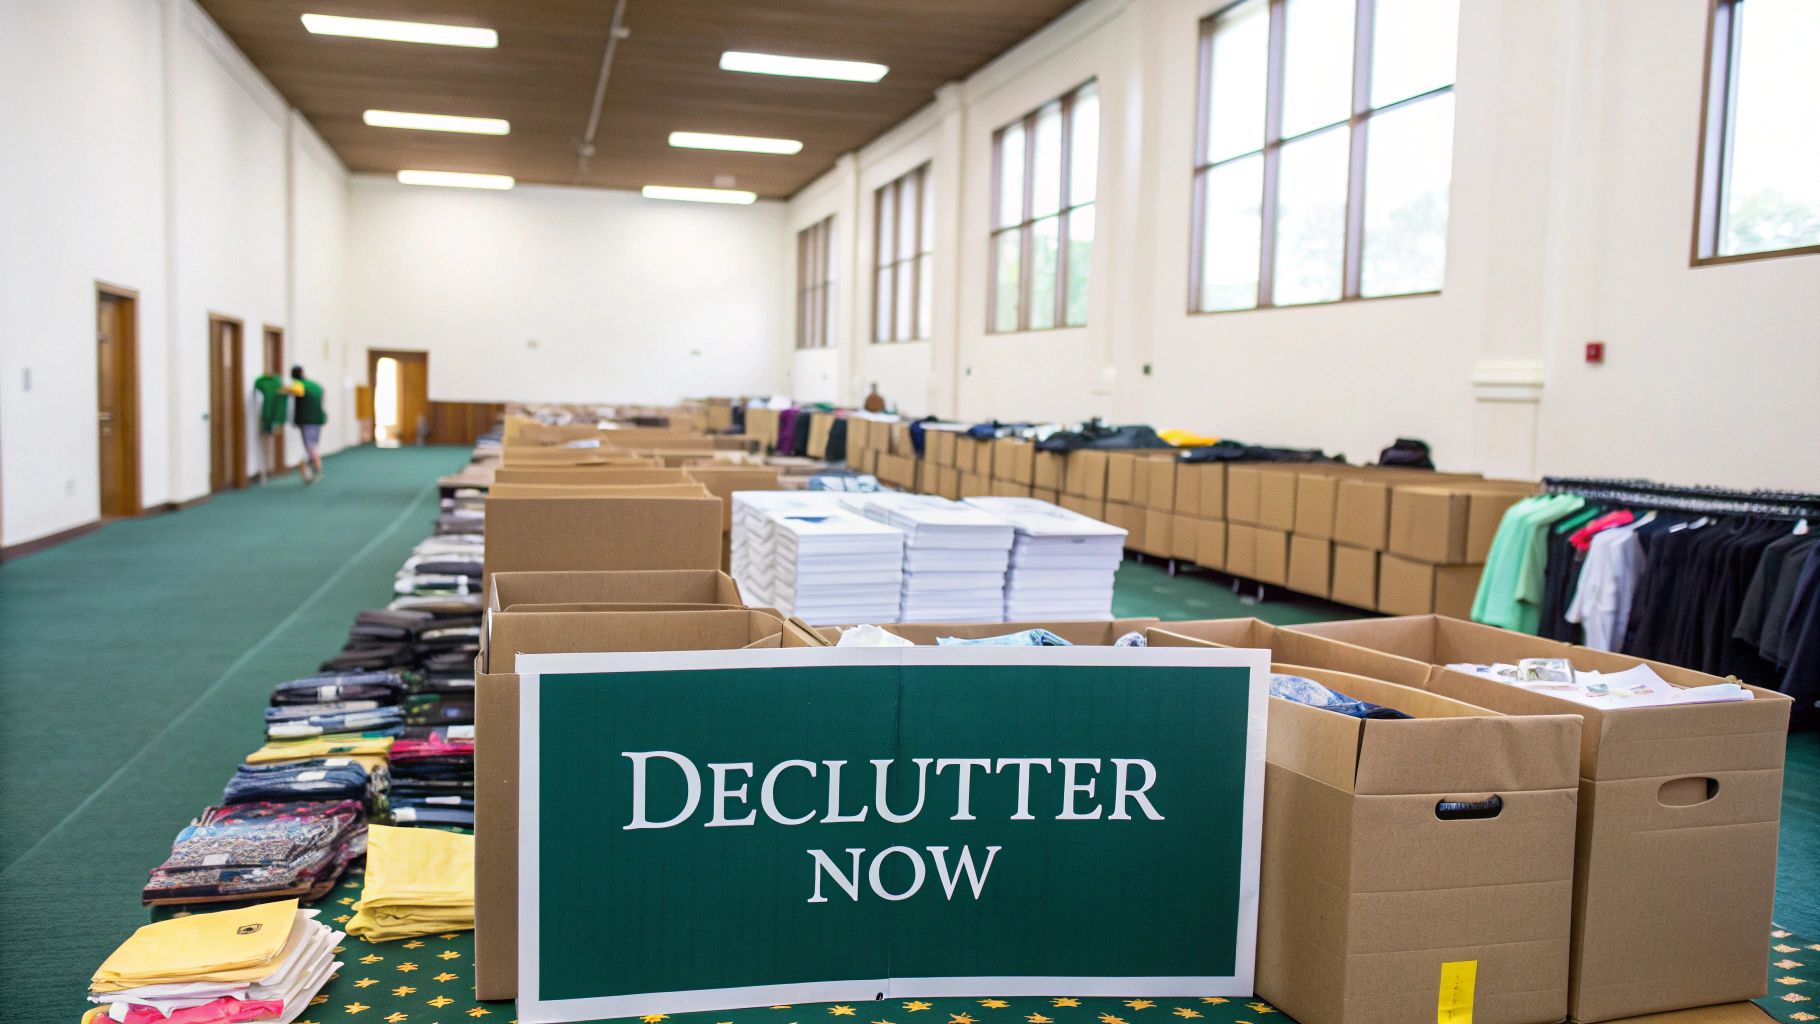
This phase transforms a logistical challenge into an opportunity for a fresh start. Simultaneously creating a detailed home inventory protects your assets by providing a clear record for movers and a crucial document for any potential insurance claims, making this a non-negotiable part of a well-organized move.
How to Systematically Declutter and Inventory
Begin the process room by room to avoid feeling overwhelmed. Create four distinct categories: Keep, Sell, Donate, and Discard. As you handle each item, make a decisive choice. This methodical approach, popularized by organizers like Marie Kondo, helps streamline decision-making. To get started, you can explore some effective strategies to declutter before moving for a more structured plan.
Once you know what you're keeping, create your inventory.
- Create a Master List: Use a spreadsheet or a dedicated app to list all items being moved. Include columns for the item description, its condition, and its estimated value.
- Take Photographic Evidence: For high-value items like electronics, antiques, and artwork, take clear photos. Be sure to capture any existing damage and record serial numbers.
- Organize by Room: Structure your inventory list by room. This makes it much easier to check items off as they are unloaded at your new destination, ensuring nothing gets lost in transit.
Real-World Example: A military family moving across the country created a detailed photo inventory of their belongings. When an antique dresser was damaged during the move, their clear, time-stamped photos and documented value made the insurance claim process quick and straightforward, resulting in a full reimbursement.
Actionable Tips for Success
- Start Early: Begin decluttering 2-3 months before your move date. This allows for thoughtful, unhurried decisions and gives you time to sell or donate items effectively.
- Use the 'One-Year Rule': If you haven't used an item in the past year and it holds no significant sentimental value, it's a prime candidate for donation or sale. Be ruthless but reasonable.
- Monetize Your Clutter: A family from Seattle reduced their belongings by 40% before a move to Austin. They not only saved nearly $2,500 in moving costs but also earned $1,800 by selling furniture and electronics on Facebook Marketplace and OfferUp.
3. Handle Address Changes and Administrative Tasks
A cross-country move involves more than just physically transporting your belongings; it requires a systematic update of your personal and professional life. Properly managing the complex web of address changes and administrative tasks is a crucial step in any cross country move checklist. This process prevents missed mail, service disruptions, and potential legal or financial complications, ensuring a seamless transition into your new community.
This administrative phase is about maintaining continuity. From your driver's license and voter registration to your magazine subscriptions and insurance policies, every entity you interact with needs to know you've moved. Proactive management ensures your life continues without a hitch from one state to the next.
How to Systematically Update Your Information
Begin by creating a master list of every person, company, and government agency that needs your new address. A spreadsheet is ideal for tracking who has been notified and when. This list should include financial institutions, utilities, employers, and personal contacts. For a comprehensive guide, it's helpful to learn more about how to change your address when moving to ensure you cover all your bases.
Once your list is compiled, start the notification process methodically.
- Government Agencies: Prioritize official entities like the IRS, Social Security Administration, and your state’s Department of Motor Vehicles (DMV). Research your new state's requirements for obtaining a driver's license and registering your vehicle, as timelines are often strict.
- Financial Institutions: Notify all banks, credit card companies, loan providers, and investment firms. This is critical for receiving statements and preventing potential fraud alerts triggered by transactions in a new location.
- Utilities and Subscriptions: Contact your current utility providers to schedule a disconnection date and your new ones to arrange for service activation. Update all subscriptions, from streaming services and magazines to online shopping accounts like Amazon.
Real-World Example: A small business owner relocating from Oregon to Colorado created a spreadsheet tracking 47 different accounts and services requiring address updates. By tackling five per day, she completed all notifications two weeks before moving, preventing any disruption to her business operations or personal finances.
Actionable Tips for Success
- File with USPS Early: Submit your official change of address form with the U.S. Postal Service about two weeks before your move date. This ensures mail forwarding begins promptly, catching any correspondence you may have missed.
- Keep a Digital and Physical File: Scan or save digital copies of all change-of-address confirmations and keep the physical copies in your dedicated moving binder. This creates a paper trail in case any issues arise.
- Check Professional Licensing: A teacher moving from Illinois to Florida researched teaching license reciprocity requirements six months in advance. This early diligence allowed her to complete the necessary paperwork and exams, ensuring she was certified and ready to work upon arrival.
4. Plan the Moving Timeline and Schedule
A cross-country move is a complex project with hundreds of interconnected tasks. Without a structured plan, critical steps like transferring medical records or enrolling children in a new school can be missed. Developing a detailed, week-by-week timeline is the essential framework for your entire cross country move checklist, ensuring every action is completed in the correct sequence and on time. This master schedule is your single source of truth, preventing chaos and keeping you in control.
This planning phase transforms an overwhelming list of duties into a manageable, step-by-step process. By mapping out your move from the initial research to your first night in the new home, you create a clear path forward, reducing stress and ensuring nothing falls through the cracks during this major life transition.
How to Create Your Master Moving Timeline
The most effective strategy is to work backward from your moving day. Start with your target move-in date and plot out key milestones in reverse. Use a digital tool like a spreadsheet, a project management app, or a simple notebook. A comprehensive moving checklist and timeline can provide an excellent template to customize for your specific needs.
Once you have your end date, begin scheduling tasks week by week.
- 12-16 Weeks Out: This is the research and planning phase. Start decluttering, request school records, and begin researching your new neighborhood and potential moving companies.
- 8-10 Weeks Out: Finalize your moving method. Book your moving company, rental truck, or storage container. Start collecting packing supplies and begin packing non-essential items.
- 4-6 Weeks Out: This is the administrative heart of the move. Begin the change of address process, notify utilities, and confirm travel arrangements.
- 1-2 Weeks Out: Focus on final preparations. Confirm all moving day details, pack essentials boxes, and arrange for pet or childcare for moving day.
Real-World Example: A military family facing a Permanent Change of Station (PCS) from Hawaii to Virginia used a 12-week timeline template. By scheduling tasks like vehicle shipping, housing office appointments, and school registration well in advance, they successfully coordinated the complex move with no major issues, arriving on schedule and prepared for in-processing.
The following timeline visualizes the critical early stages of planning for your move.

This visual progression highlights that foundational decisions, such as researching movers and securing your booking, must be made months in advance to ensure a smooth relocation.
Actionable Tips for Success
- Build in a Buffer: Add a one to two-week buffer into your timeline to account for unexpected delays. This could be a delayed closing date, a travel issue, or a moving company scheduling conflict.
- Prioritize Time-Sensitive Tasks: Identify and schedule the most critical, date-sensitive items first. These often include school enrollment deadlines, new job start dates, and lease-signing appointments.
- Use Digital Tools: A corporate relocator used a project management app to create a detailed Gantt chart. This tool helped them visualize dependencies between selling their old house, closing on the new one, transferring their children's schools, and their official job start date, ensuring a seamless transition.
5. Research and Secure Housing in Destination City
Securing a place to live is one of the most critical and complex parts of a cross country move checklist. This step involves more than just finding a house or apartment; it's about choosing a community, understanding local market dynamics, and making a major decision from a distance. A well-executed housing search ensures you land in a location that fits your lifestyle, budget, and logistical needs, preventing the stress of being homeless upon arrival or settling for a subpar living situation.
This process often begins months before the actual move and requires a blend of online research, virtual tours, and potentially a quick, focused visit to your new city. Whether you're renting or buying, thorough investigation into neighborhoods, schools, commute times, and local amenities is essential for a smooth transition into your new life.
How to Research and Secure Your New Home
Start by defining your non-negotiables: budget, number of bedrooms, commute distance, and school district quality. Use this criteria to narrow your search on real estate websites like Zillow, Realtor.com, or Apartments.com. The key to success when moving cross-country is leveraging local expertise to bridge the distance gap.
- Engage a Local Real Estate Agent: Find a realtor or leasing agent who specializes in relocations. They can be your eyes and ears on the ground, offering neighborhood insights, conducting video walk-throughs, and navigating local market nuances you wouldn't know otherwise.
- Utilize Digital Tools: Use Google Maps Street View to explore neighborhoods virtually. Check sites like GreatSchools.org for school ratings and Walk Score to assess the walkability and access to amenities like grocery stores and parks.
- Plan a Scouting Trip: If possible, schedule a dedicated weekend trip to your destination city. A focused house-hunting blitz allows you to see properties in person, experience commute times, and get a real feel for different areas before making a final commitment.
Real-World Example: A family relocating from Seattle to North Carolina for a new job spent a long weekend on a scouting trip. Their local agent scheduled 12 property viewings across three pre-researched neighborhoods, enabling them to confidently place an offer and secure a purchase contract before returning home.
Actionable Tips for Success
- Consider Temporary Housing: Book a short-term rental or an extended-stay hotel for your first 30-60 days. This relieves the pressure of finding a permanent home immediately and gives you time to explore neighborhoods in person before signing a long-term lease or mortgage.
- Research School Districts Early: If you have children, make school district boundaries your primary search filter. Contact school administration offices directly to understand enrollment procedures and deadlines, as these can vary significantly.
- Prepare Your Finances: Whether renting or buying, have your financial documents ready. For renters, this includes proof of income and reference letters. For buyers, get pre-approved for a mortgage to show sellers you are a serious and qualified candidate. This preparation is a crucial part of any cross country move checklist.
6. Transfer Medical and Educational Records
A cross-country move involves more than just transporting furniture; it requires the careful transfer of your family’s essential life documents. Ensuring the continuity of healthcare and education by properly moving medical and school records is a critical step on any cross country move checklist. This process prevents dangerous gaps in medical care and ensures a smooth academic transition for children, which is especially important for those with ongoing health conditions or special educational needs.
This logistical task is about proactive planning to safeguard your family’s well-being. By managing these transfers well in advance, you can avoid the stress of trying to access critical health information or enroll children in school with incomplete paperwork after you've already arrived in your new state.
How to Manage Record Transfers
Begin by compiling a list of all current healthcare providers and schools for every family member. Contact each office to understand their specific procedures for transferring records, as processes can vary significantly. Some may use secure electronic portals, while others require signed physical release forms.
Once you have identified new providers and schools in your destination city, you can initiate the official transfer process.
- Initiate Official Requests: Formally request that your current doctors, dentists, specialists, and schools send records directly to their new counterparts. Do this at least 4-6 weeks before your move to account for processing times.
- Secure Personal Copies: Always obtain physical or certified digital copies of all essential documents for your personal files. This includes immunization records, academic transcripts, Individualized Education Programs (IEPs), and critical medical histories.
- Manage Prescriptions: Speak with your doctors about getting extended refills, such as a 90-day supply, for any necessary medications. This provides a buffer to find a new doctor and pharmacy without interrupting treatment.
Real-World Example: A family with a diabetic child moving from Florida to Oregon arranged for a 90-day prescription supply of insulin two months before their move. They also had the child's complete endocrinologist records, including treatment history and lab results, transferred to a new pediatric specialist in Portland six weeks in advance, ensuring zero interruption in care.
Actionable Tips for Success
- Create a Records Binder: Keep all your personal hard copies of medical and school documents in a single, clearly labeled binder. Carry this binder with you during the move; do not pack it in the moving truck.
- Research New Providers Early: Don't wait until you arrive to find new doctors and schools. Research and select them weeks in advance so you know exactly where records need to be sent.
- Leverage Digital Portals: An elderly relocator successfully coordinated the transfer of a complex medical history from their cardiologist, oncologist, and primary care physician by using each provider's secure online patient portal to download and share summaries, which expedited their intake process at a new multi-specialty clinic.
7. Plan Cross-Country Travel Logistics
Once your belongings are packed and the moving truck is scheduled, the next critical item on your cross country move checklist is planning the actual journey. This phase involves organizing your personal travel from your old home to your new one. It’s a multi-day marathon that requires careful coordination of transportation, accommodations, and timing, especially when traveling with family or pets.
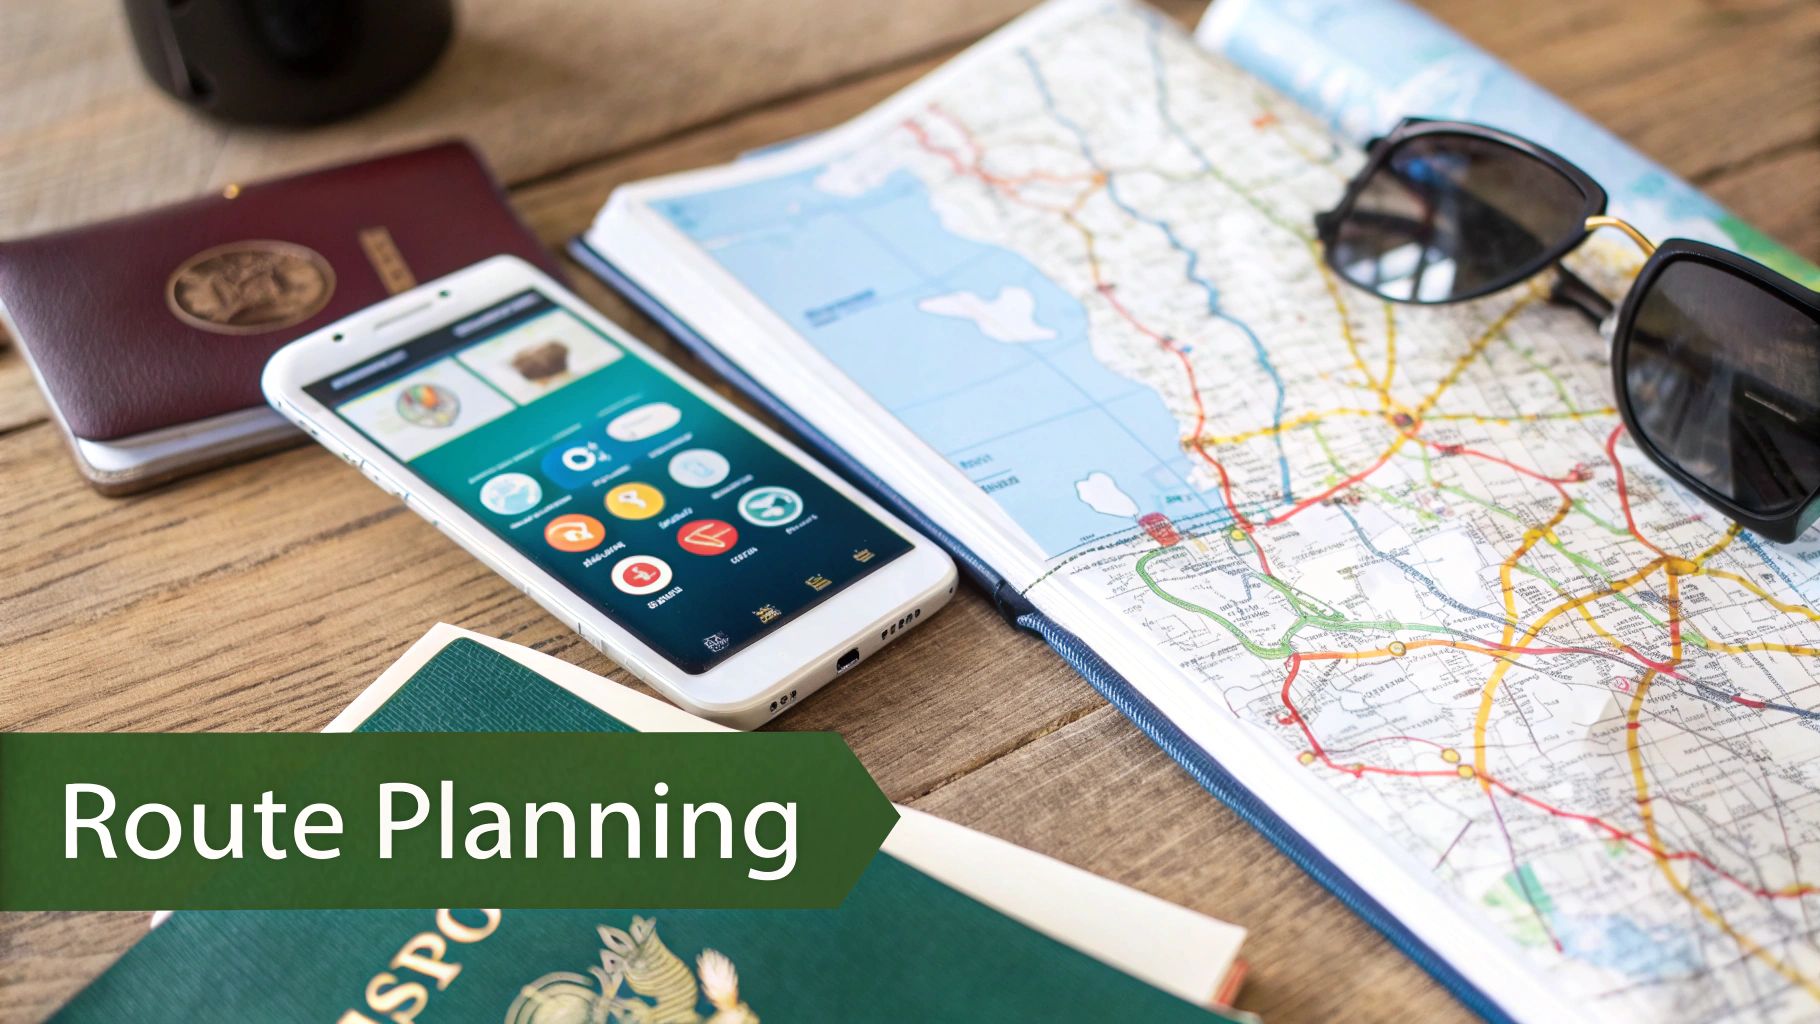
This step is about more than just getting from point A to point B; it’s about ensuring the trip is safe, comfortable, and synchronized with your moving company's delivery schedule. Proper planning prevents logistical nightmares like arriving days before your furniture or facing unexpected travel hurdles on the road.
How to Organize Your Journey
Start by mapping out your route and creating a day-by-day itinerary. Decide whether you are driving, flying, or using a combination of methods. For those moving with pets, arranging safe and reliable transport is paramount. Explore options for domestic pet moving services to ensure your furry family members have a secure and comfortable trip. For a more detailed guide, it's beneficial to explore various long-distance moving tips to cover all your travel bases.
Once your transportation is set, focus on accommodations and timing.
- Book Accommodations in Advance: If driving, identify your overnight stops and book pet-friendly hotels or motels well ahead of time, particularly during peak travel seasons. Confirm pet policies and any associated fees.
- Coordinate with Movers: Maintain clear communication with your moving company about their estimated delivery window. Plan your arrival to coincide with theirs, but build in a buffer of a day or two.
- Prepare Your Vehicle: If you're driving, get your car fully serviced before the trip. Check the tires, oil, brakes, and fluid levels to prevent breakdowns on the road.
Real-World Example: A professional couple coordinated their arrival in a new city with their moving truck's delivery window. They booked an extended-stay hotel for the first week, giving them a comfortable home base to operate from while their belongings were unloaded and they began to unpack, which significantly reduced their stress.
Actionable Tips for Success
- Limit Daily Driving: When traveling with family, plan for a maximum of 6-8 hours of driving per day. This prevents exhaustion and makes the journey more enjoyable for everyone.
- Pack a Travel Essentials Box: Keep a separate box or suitcase with essentials for your journey: toiletries, medications, a change of clothes for each person, important documents, chargers, and snacks.
- Plan for Pet Emergencies: A pet owner moving from Florida to Colorado researched and mapped out emergency veterinary clinics along their entire route. This preparation provided peace of mind in case of an unexpected health issue during the long drive.
Cross-Country Move Checklist: 7 Key Steps Comparison
From Checklist to New Beginning
Embarking on a cross-country move is more than just a logistical challenge; it's a monumental life transition. You've navigated the complexities of budgeting, decluttering, scheduling, and planning, transforming what once seemed like an overwhelming mountain of tasks into a manageable series of steps. This detailed cross country move checklist was designed to be your roadmap, guiding you from the initial decision to the final box being placed in your new home. By methodically addressing each phase, from administrative updates to the physical journey itself, you’ve built a powerful foundation for a smooth and successful relocation.
The journey from one coast to another, or from north to south, is a testament to careful preparation. You didn't just move your belongings; you strategically relocated your entire life. Now, as you stand in your new space, the real adventure begins.
Key Takeaways for a Seamless Transition
Reflecting on the comprehensive process, a few core principles stand out as the pillars of a successful long-distance move. Mastering these concepts will not only help you during this move but will also equip you with skills for any future life changes.
Proactive Planning is Non-Negotiable: The most crucial takeaway is the power of early and detailed planning. Actions like creating your moving budget three months out, researching moving companies meticulously, and scheduling your travel logistics well in advance prevent last-minute chaos and costly mistakes. A well-thought-out plan is your best defense against the unexpected.
Decluttering is Liberation, Not a Chore: The process of sorting, donating, and selling items is one of the most impactful steps. It's not just about saving money on moving costs; it's about starting fresh. By intentionally curating what you bring into your new life, you create physical and mental space for new experiences and memories.
Administrative Diligence Pays Off: It’s easy to focus on the physical aspects of moving, but neglecting the administrative side can lead to significant headaches. Forwarding mail, transferring medical records, and updating your address with financial institutions are small tasks with major consequences. Completing them early ensures a seamless continuation of your life with no interruptions.
Beyond the Checklist: Embracing Your New Chapter
Your cross country move checklist has served its purpose, but the journey isn't quite over. The post-move phase is where you truly begin to build your new life. As you unpack and settle in, give yourself grace and time. It’s normal for a new house or apartment not to feel like "home" immediately. This feeling is cultivated over time through personal touches, new routines, and exploring your surroundings.
Key Insight: The final, unwritten step on any moving checklist is this: Be patient with the adjustment period. Allow yourself to explore your new neighborhood, introduce yourself to neighbors, find a new favorite coffee shop, and discover local parks. This process of discovery is what transforms a new address into a genuine home.
Remember that flexibility is your greatest asset now. Your initial furniture layout might not work, or you may discover you have less storage space than anticipated. Instead of letting these challenges cause stress, view them as opportunities to be creative and resourceful. This is where your new beginning truly takes shape, not from a pre-written list, but from your own experiences in a new environment.
As you organize your new space, you might find that some cherished belongings don't quite fit your current layout. Instead of cluttering your new home or parting with valuable items, let Endless Storage provide a simple, modern solution. Visit Endless Storage to see how our convenient, box-based storage service can help you settle in seamlessly, keeping your items safe and accessible until you need them.
Frequently Asked Questions
Unveiling the Secrets to Effortless Storage
Endless Storage is available nationwide. You pick a plan, tell us where to pickup, and we'll send a UPS van to collect, whichever state you're in.
Your shipping label will be sent to your email within a few minutes, if not instantaneously. It can also be accessed through your customer profile.
Your box will be shipped to one of our climate controlled self storage facilities in our closest self storage facility. Our manager will accept your package, notify you that your box has been received, and securely stored. Only our managers will have access to Endless Storage boxes.
Email us at admin@endless-storage.com click to live chat with us, or send us a message below.
Never! We're committed to transparent pricing with no surprises. You'll lock in your rate with no hidden fees and no long-term contracts.
Fast access guaranteed! Your boxes will arrive at your doorstep within 48 hours of requesting them back. Need to check on delivery? We provide tracking information for complete peace of mind.
Totally flexible! Store month-to-month with no long-term commitment and cancel anytime.
Everything's online! Use your account dashboard to:
• Set up automatic monthly payments
• Request box returns
• Update your address
• Order additional boxes
• Track shipments
Your boxes are insured up to $100 each. Our customer service team will help you file any necessary claims and resolve issues quickly.
Don't worry – we'll email you right away if there's a payment issue. Your items stay safe, though you may have temporary service interruption or late fees until payment is resolved.
When you request our free storage kits, you'll have 30 days to send in your boxes to activate your 3 months of free storage. Think of it like starting a gym membership – your activation window begins when you receive your kits, and your full free trial begins once you send in your first box. During your free months, you'll experience our complete storage service at no cost.
Your 30-day activation window begins when you receive your storage kits. We'll send you an email confirmation when your kits are delivered, marking the start of your activation period.
If you haven't sent any boxes for storage within your 30-day activation window, your free trial will expire and we'll begin charging the regular monthly rate of $9.99 per box. This helps ensure our storage kits go to customers who are ready to use our service.
A box costs $9.99 per month to store (plus sales tax). This price includes free shipping for standard boxes under 50 lbs. and smaller than 16"x16"x16"
Log into your Endless Storage account, locate the box you would like returned, and simply click Return My Box.
Yes, each box stored with us is insured for up to $100 throughout transit as well as the duration of storage within our facilities.
Your box will be at your doorstep within 48 hours of you requesting it back.
Store 10+ boxes? We'll pick them up for free! After your purchase, we'll contact you to schedule a convenient pickup time and arrange UPS collection.
We trust UPS with all shipments, and every box includes $100 insurance coverage. You'll receive tracking information to monitor your items' journey.
Yes! Visit any of our locations by appointment. Just bring a photo ID matching your customer profile.
For everyone's safety, we can't store hazardous materials, firearms, or perishables. All items must fit within our standard boxes.
It's easy! Order your storage kit online, and we'll ship it to you within 1-2 business days. Your shipping labels will be emailed instantly and available in your account.
We're here to help! Email us at admin@endless-storage.com, use our live chat, or send us a message through your account.
To cancel your storage service with Endless Storage, please email your cancellation request to admin@endless-storage.com. Our team will process your request within 2 business days and confirm your cancellation via email.
We understand packing takes time. However, to maintain your free trial benefits, you'll need to send at least one box within the 30-day activation window. If you need more time, you can always start with one box to activate your trial and send the rest later. You can always reach out to admin@endless-storage.com if you have any issues or concerns.
When you request our free storage kits, you're starting a 30-day window to begin using our storage service.
Important: To activate your free trial, send at least one box for storage within 30 days. If no boxes are sent within this 30-day window, a one-time $50 fee applies to cover materials and shipping costs. This fee is clearly disclosed before you sign up.
Think of it like reserving a hotel room – we're setting aside space and sending specialized packing materials for your use. The fee only applies if you request materials but don't begin storage, similar to a hotel's no-show charge.