
Tackling your out-of-season clothes doesn't have to be a dreaded chore. At its core, the process is simple: declutter what you don't need, clean every last item, and pick the right storage containers. Done right, this seasonal ritual not only frees up a surprising amount of closet space but also protects your garments from damage, ensuring they’re pristine and ready to go when the weather turns.
Your Game Plan for a Flawless Wardrobe Swap
Switching your closet from winter coats to summer dresses (or vice versa) can feel like a huge project. But what if you treated it like a strategic reset? This is your best chance all year to reclaim valuable space, preserve the clothes you love, and make getting dressed every morning a little bit easier. This guide breaks down how to store out-of-season clothes with a real-world approach, turning a messy task into a satisfying habit.

This isn't just about shuffling clothes from one spot to another; it's about preparing them for a long nap. We'll walk through everything from the initial sort-out to finding the perfect storage spot, giving you a clear roadmap for success.
For a quick overview of what's ahead, here's a look at the essential phases of a successful seasonal clothing swap. This table breaks down the entire process into manageable stages, so you know exactly what to focus on and why it's so important.
Seasonal Storage Quick-Start Guide
Each of these steps plays a crucial role in keeping your clothes in top shape. By following this framework, you're not just storing clothes—you're investing in their longevity and making your future self's life much easier.
The Essential First Step: Declutter and Sort
Before a single item goes into a box, you need to decide what’s worth keeping. It’s a well-known organizing secret that most of us only wear about 20% of our clothes 80% of the time. The seasonal changeover is the perfect opportunity to get brutally honest about what you actually wear.
Go through your closet and make three piles:
- Keep: These are the pieces you love and wear regularly. They’re in good shape and are the only things that should be heading into storage.
- Donate or Sell: Clothes that are still in great condition but just aren’t you anymore. Maybe they no longer fit your style or your body—let someone else enjoy them.
- Toss or Recycle: Anything with holes you can’t fix, stubborn stains, or is just plain worn out.
This first cut makes every other step easier. You’ll have less to clean, less to fold, and fewer boxes to find a home for. It instantly makes the project feel less daunting. For more ideas on clearing out your closet, check out our guide to maximize closet space with smart storage solutions.
By taking the time to declutter first, you simplify every subsequent step. You’ll have less to wash, less to fold, and fewer containers to manage, making the entire project feel less overwhelming.
Think of this as your strategy for extending the life of your favorite pieces and making every seasonal transition surprisingly simple. A well-executed plan today saves you time, money, and frustration tomorrow.
Prepping Your Clothes for Long-Term Storage
Before a single sweater gets tucked away, there's some prep work to do. Honestly, this is what separates a successful wardrobe swap from opening a box of musty, stained clothes next year. Getting this part right is non-negotiable if you want your clothes to look just as good coming out of storage as they did going in.
The golden rule here is to clean every single item. I know it's tempting to toss in that sweater you only wore for an hour, but don't. Even clothes that look clean can have invisible traces of body oils, perfume, or deodorant. Over time, these residues can oxidize and create stubborn yellow stains that are a nightmare to get out. They're also basically a dinner bell for pests like moths.
Wash, Dry, and Repair Everything
Properly cleaning each piece is your best line of defense. Since you're dealing with different fabrics, you can't just throw everything in one load. Cottons and denim are pretty tough and can usually handle a standard wash cycle, but always give the care label a quick glance.
For your more sensitive items, you'll need a gentler touch.
- Delicate Silks & Linens: These usually need a careful hand wash or a trip to the dry cleaner to avoid any damage.
- Wool & Cashmere: Always use a wool-safe detergent. You can either use a cold, delicate machine cycle or wash them by hand. The key here is to never wring them out—gently press the water out and lay them flat on a towel to dry. This helps them keep their shape perfectly.
After washing, make sure every piece is 100% dry before it goes anywhere near a storage box. Even a little bit of dampness can lead to that awful musty smell and mildew, which can ruin everything in the container.
Finally, do a quick once-over for any minor repairs. Sewing on a loose button or stitching up a tiny seam tear now will save you a headache later. You want your clothes to be ready to wear as soon as you unpack them, not sitting in a "to-fix" pile. If you really want to get into the weeds of textile care, this expert guide to storage for fabrics is a great resource.
Think of this prep phase as an investment. Spending an hour or two on cleaning and mending now prevents the disappointment of finding stained or damaged favorites later.
This detailed preparation is the cornerstone of any strategy for how to store clothes long-term, ensuring your wardrobe stays in pristine condition season after season.
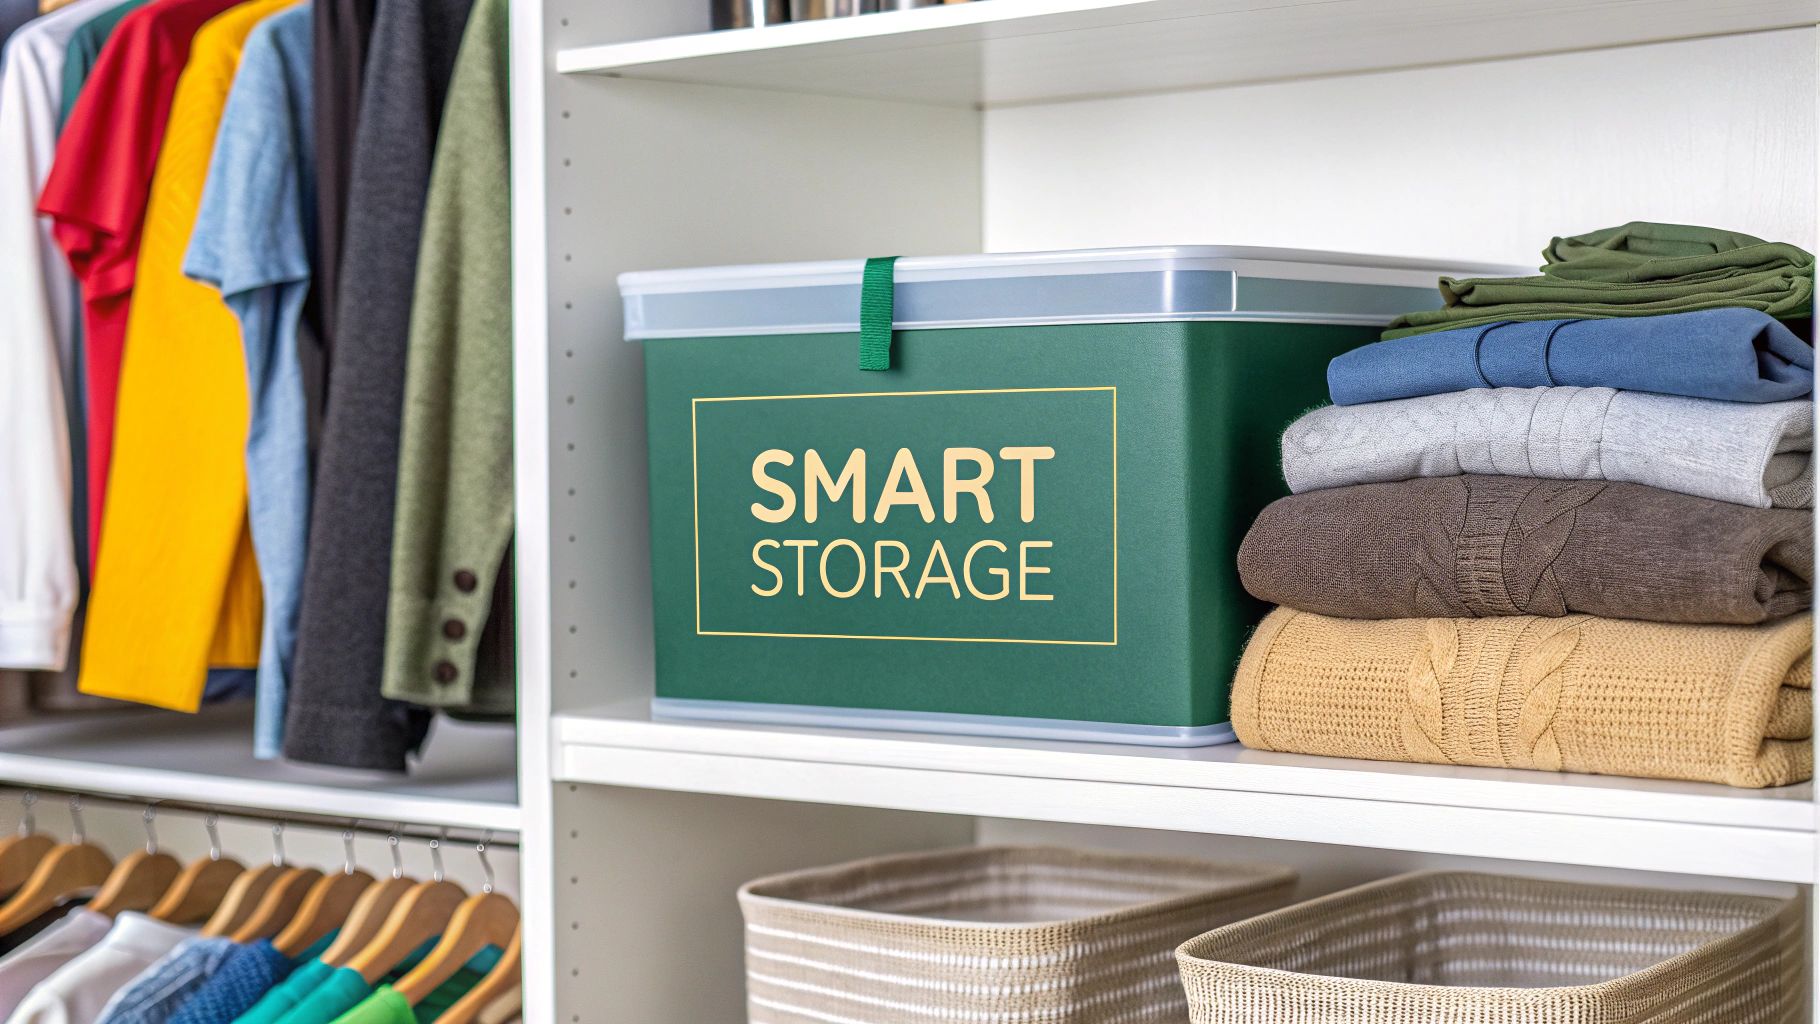
Choosing Containers That Actually Protect Your Clothes
The bins and bags you choose to store your off-season clothes in can be their best friend or their worst enemy. I know it’s tempting to just grab whatever leftover cardboard boxes you have lying around, but trust me, that's a recipe for disaster. Cardboard is a magnet for pests like silverfish, it soaks up moisture from the air, and offers absolutely zero protection if your basement has a minor leak. Your favorite sweater deserves better.
Making the right choice from the get-go is the best way to protect your wardrobe. There's a reason the market for organization tools is booming—the global closet organizers market is expected to hit $7.5 billion by 2033. More and more people, especially those in smaller homes, are looking for smart ways to tuck away seasonal items without adding to the daily clutter.
Breathable vs. Airtight Containers
You’ve basically got two main choices here: breathable fabric bins or airtight plastic tubs. The right one really just depends on what you're packing away. Natural fibers like wool, cashmere, and silk need to breathe to keep moisture from getting trapped, which can lead to that dreaded yellowing or even mildew.
- Breathable Fabric Bins: These are perfect for your delicate sweaters and anything made from natural fibers. They let air circulate, which prevents musty smells, but still keep the dust out. Just make sure you're storing them in a clean, dry, climate-controlled spot, like the back of a guest room closet.
- Airtight Plastic Tubs: For your more durable stuff—think cotton t-shirts, denim, and synthetic activewear—clear plastic bins are a fantastic option. They give you top-notch protection from water, pests, and dust. The fact that they're see-through is a huge bonus, letting you spot what you need without having to tear open every single box.
Before anything goes into a container, though, it has to be prepped.
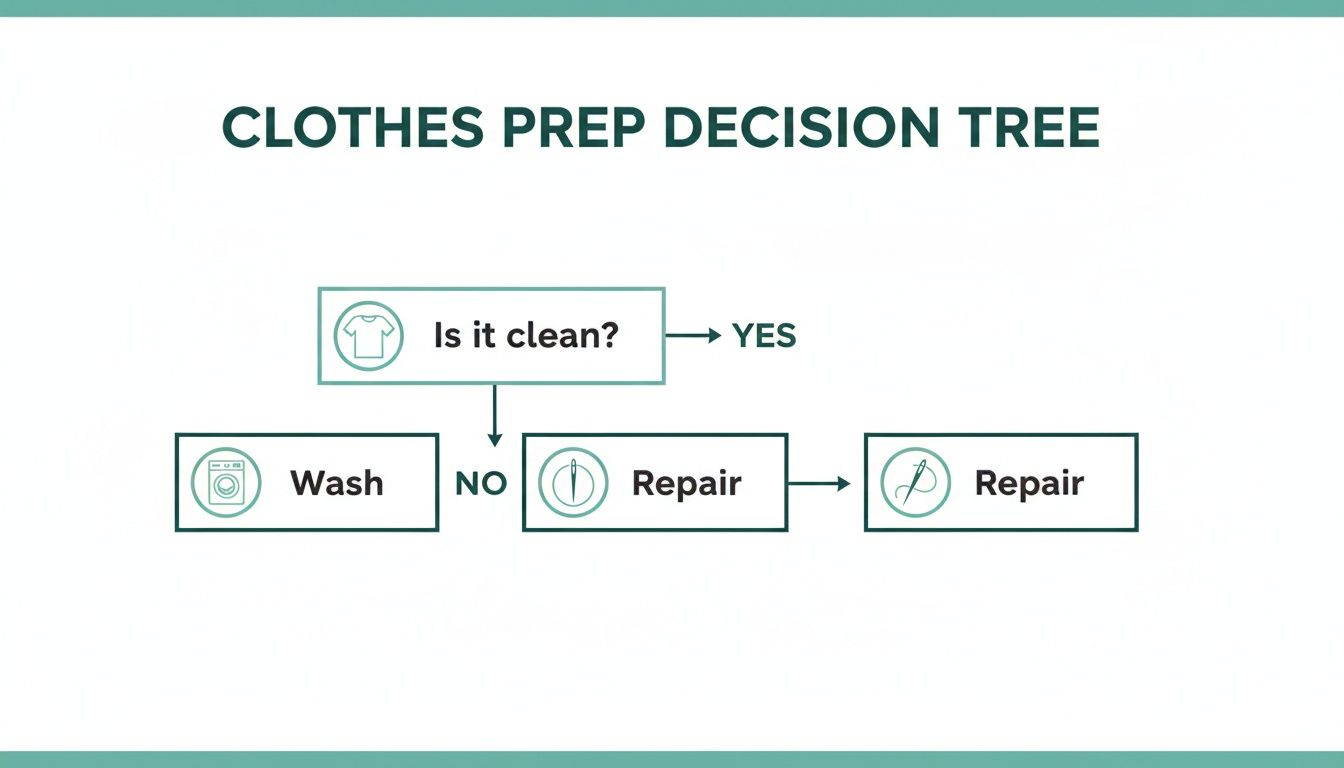
This quick visual just reinforces the golden rule: everything must be clean before it gets packed away. Storing dirty clothes is an open invitation for permanent stains and pests.
The Truth About Vacuum-Sealed Bags
Vacuum-sealed bags are miracle workers for saving space, especially when you're dealing with bulky items like ski jackets, puffer vests, and heavy blankets. Compressing these things down can free up a shocking amount of shelf or under-bed real estate.
But—and this is a big but—they come with a serious warning. That intense compression can create permanent wrinkles in delicate fabrics and completely crush the natural loft of down or puffy insulation. You should never, ever use them for natural fibers like wool or cashmere. It can ruin the structure of the material. And for specific items like shoes, you're much better off with dedicated shoe storage solutions that protect their unique shape.
Pro Tip: If you do use vacuum bags for your sturdy items, don’t suck every last molecule of air out. Leaving a little bit of cushion helps minimize the risk of creating those deep, set-in creases.
For a deep dive into the different options on the market, check out our guide on the https://www.endless-storage.com/blog-posts/best-vacuum-storage-bags to see if they’re a good fit for you. The real key is matching the container not just to the garment, but to where you plan on storing it. A breathable bag isn’t going to do much good in a damp basement, and a plastic bin might be overkill in a perfectly dry, temperature-controlled closet.
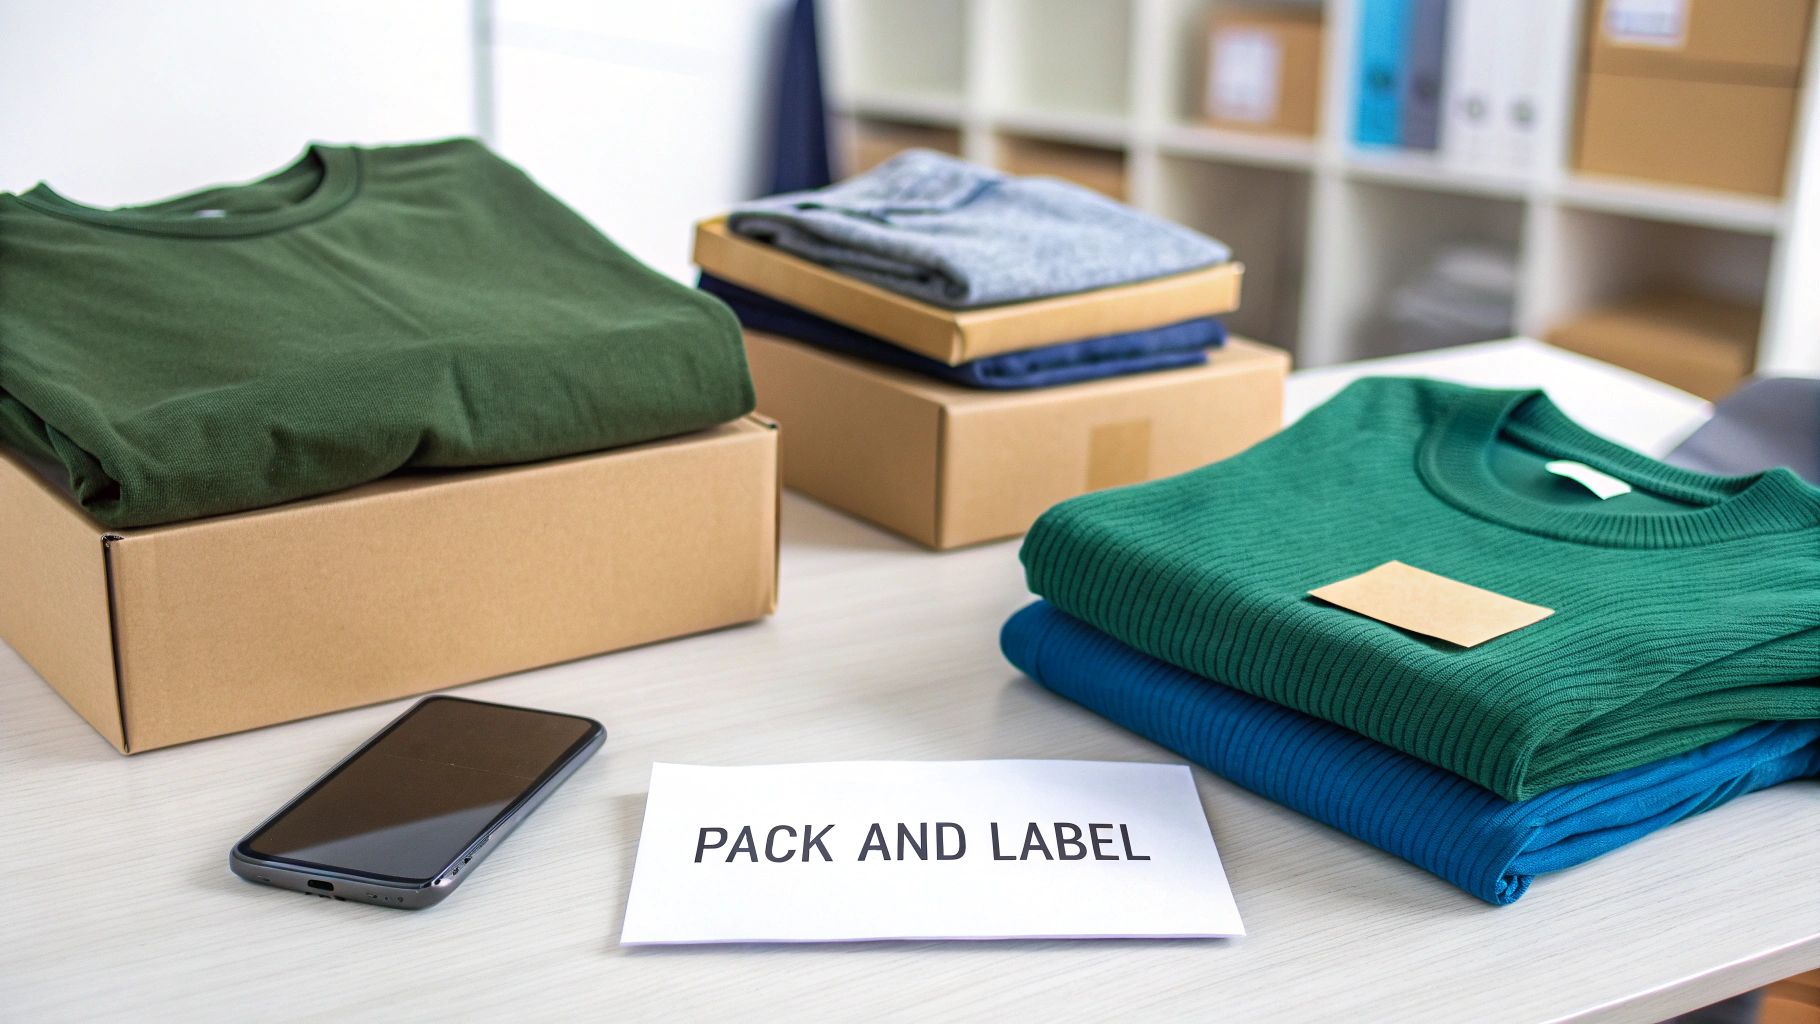
Smart Packing and Labeling to Avoid Future Frustration
How you pack your clothes away is just as important as the containers you pick. If you just toss everything in randomly, you’re setting yourself up for wrinkles, damage, and a massive headache when you need to find that one specific sweater. But a little bit of strategy goes a long way, maximizing space and keeping your garments protected.
The trick is to pack things firmly enough so they don’t shift around, but not so tight that the fabric can't breathe. Always start with the heaviest, sturdiest items at the bottom of the bin. Think jeans, thick cotton pants, and heavy hoodies—these create a solid foundation.
Your lighter, more delicate pieces belong on top. This is a simple but critical step to prevent them from getting crushed. Things like silk blouses, lightweight knits, and thin t-shirts should always make up the final layers in your storage container.
Folding Methods That Make a Difference
Believe it or not, not all folding techniques are created equal. Using the right method can prevent those stubborn creases and let you fit way more into each bin without cramming everything in.
- Flat Folding: This is my go-to for delicate items like cashmere or wool sweaters. Folding them neatly prevents the shoulder bumps and stretching you get from leaving them on hangers for months.
- Military Rolling: Perfect for t-shirts, workout clothes, and everyday cotton items. Rolling these pieces tightly minimizes wrinkles and is a serious space-saver.
- File Folding: This is a game-changer for pants and shorts. When you fold items vertically, like files in a cabinet, you can see everything at a glance and pull one thing out without messing up the whole stack.
Taking a few minutes to learn these techniques is a small investment that pays off big time. For a deeper dive into different methods, check out our complete guide on how to pack clothes for storage.
A Labeling System That Actually Works
Let's be honest, vague labels like "Winter Clothes" are a recipe for disaster. When an unexpected cold snap hits in October and you need just one specific sweater, the last thing you want to do is dump out three different boxes to find it. Smart labeling turns that frantic hunt into a simple, two-minute task.
Your future self will thank you for being specific. A detailed label transforms a box of mysteries into a well-organized, accessible part of your wardrobe.
Instead of a generic description, create a quick inventory for each box. You don't need a complicated spreadsheet—a simple list in your phone's notes app is perfect.
Example Digital Inventory:
Box #1 - Winter Sweaters
- Gray cashmere crewneck
- Navy blue wool cardigan
- 3x Black turtlenecks
- Cream cable-knit sweater
Box #2 - Winter Bottoms/Layers
- 2x Dark wash jeans
- Black fleece-lined leggings
- 4x Long-sleeve thermal shirts
Just label the physical box with its number ("Box #1"). The next time you need something, you can check your phone, grab the right box, and find exactly what you're looking for in seconds. This simple system makes storing and retrieving your clothes completely manageable and stress-free.
Finding the Best Storage Spot in Your Home
Where you tuck away your out-of-season clothes can make or break them. The perfect spot is surprisingly simple: it needs to be cool, dark, dry, and clean. Nailing down a location with a stable environment is the single best thing you can do to prevent damage from mold, mildew, and pests.
Unfortunately, the first places that come to mind—attics and garages—are usually the absolute worst choices. These areas are notorious for wild temperature swings and high humidity, which is basically an open invitation for mildew. Ever pull clothes out of storage and get hit with that damp, musty smell? That's a direct result of unstable conditions. Your favorite sweater deserves better.
Prime Real Estate for Clothing Storage
So, if the attic is out, where should you look? The best real estate for storing clothes is probably closer than you think. The key is to find spaces inside your home that are buffered from the outside climate.
Some excellent alternatives include:
- Under-bed containers tucked away in a climate-controlled bedroom.
- High closet shelves that you don't need for your daily rotation.
- A quiet corner in a guest room closet.
These spots are insulated from extreme heat and moisture, giving your garments the stability they need to survive their off-season hibernation.
The goal is consistency. A stable, indoor environment protects fabric fibers from the expansion and contraction caused by fluctuating temperatures. This simple step preserves their shape and integrity for years to come.
Creative Solutions for Small Spaces
Living in a small apartment doesn’t mean you're out of options. It just means you have to get a little more creative and make your storage work for you. Multifunctional furniture is a total game-changer here.
Consider these clever ideas:
- Storage ottomans: They're perfect for stashing bulky sweaters while giving you extra seating.
- Decorative trunks: An old trunk can add a ton of character to a room while hiding away your winter gear.
- Stylish garment racks: Forget the clunky metal ones; modern racks can act as cool room dividers or accent pieces.
Modern garment racks are really changing the game with space-saving designs. In a world where 70% of households are dealing with space constraints, multifunctional racks that double as room dividers can save 15-20% of floor space. This makes them a fantastic solution for compact apartments. You can find more insights on this trend over at dataintelo.com.
If you absolutely must use a less-than-ideal space like a basement, you'll need to be proactive. Running a dehumidifier can turn a damp basement into a viable option by keeping the moisture in the air under control. By finding—or creating—a stable environment, you can ensure your clothing comes out of storage in perfect, ready-to-wear condition.
Common Questions About Seasonal Clothing Storage
Even with the best plan, little questions always seem to pop up when you're storing seasonal clothes. Getting the details right is what keeps your favorite pieces looking brand new, season after season. Let’s tackle some of the most common dilemmas people run into.
This is about more than just filling boxes; it’s about protecting the investment you've made in your wardrobe. A few smart moves now can save you a lot of disappointment later.
Should I Fold or Hang Sweaters for Long-Term Storage
This is probably the number one question I get, and the answer is simple: always fold heavy sweaters. When you hang knits—especially heavier materials like wool or cashmere—you're putting constant strain on the shoulder seams. Over a few months, gravity will do its work, leaving you with permanently stretched-out sweaters and those awful shoulder bumps.
For the best results, fold them loosely to let the fabric breathe. Stacking them in a breathable fabric bin is perfect. If you're worried about anything snagging, you can tuck a sheet of acid-free tissue paper between delicate items. For your lighter sweaters, rolling is another fantastic option that minimizes creases and saves a surprising amount of space.
Is It Safe to Store Clothes in a Basement or Attic
Honestly, storing clothes in a basement or attic can be a gamble, but sometimes it's your only choice. The biggest issue is that both spots are notorious for wild temperature swings and high humidity, which is a perfect recipe for mold and mildew. That kind of environment can cause damage that’s impossible to reverse.
If you absolutely have to use these spaces, taking the right precautions is non-negotiable.
- Use Airtight Containers: This is your best line of defense. High-quality, airtight plastic bins create a solid barrier against moisture and pests. Cardboard is a definite no-go here, as it acts like a sponge for humidity and is a magnet for insects.
- Elevate Your Bins: Never, ever put containers directly on a concrete basement floor. Moisture can seep right through. Use wooden pallets or some sturdy shelving to get them off the ground.
- Manage the Environment: In a damp basement, a dehumidifier is a worthy investment. In an attic, try to keep your bins away from uninsulated walls where the temperature swings are the most extreme. Our guide on the benefits of a climate-controlled storage unit has some great insights into just how important environmental control is.
Even with all these steps, try to check on your things every so often. A quick peek once or twice a year lets you catch any musty smells or signs of moisture before they become a disaster.
What Is the Best Way to Prevent Moth Damage
Dealing with moths is a two-pronged attack, and it starts way before anything goes into a box. First off, moths are drawn to the leftover scents of perfume, body oils, and tiny food spills on your clothes. That makes washing every single item your most powerful weapon. Clean clothes are just not appealing to them.
Once everything is sparkling clean, your storage method provides the next layer of security.
- Airtight Bins: Moths can't eat what they can't reach. A securely sealed container is the most effective physical barrier you can create.
- Natural Repellents: For an extra layer of protection, especially for your prized wool and cashmere, toss in some natural repellents. Cedar blocks or lavender sachets are classic for a reason—they release scents that moths absolutely hate.
- Double Protection: For something really valuable, like a beautiful wool coat, you can place it in a breathable garment bag with a cedar block before putting the whole thing into the larger plastic bin.
Whatever you do, stay away from traditional mothballs. That potent chemical smell is incredibly hard to get out of fabric and can be toxic.
How Often Should I Check on My Stored Clothing
Making it a habit to do a quick check-in once or twice a year is a great idea. It doesn’t have to be a huge production—just a quick inspection to make sure everything still looks and smells good. You’re looking for any hint of moisture, signs of pests, or any musty odors starting to develop.
This is also a great time to refold a few items, which helps prevent deep-set creases from becoming permanent. If you’re using cedar blocks, give them a quick scuff with sandpaper. This simple trick releases their aromatic oils and refreshes their moth-repelling power for another season.
Ready to reclaim your closet space without the hassle? Endless Storage offers a convenient, box-by-box solution. We send you the boxes, you pack your out-of-season clothes, and we pick them up for storage in our secure, climate-controlled facility. When you need them back, we deliver them right to your door. Visit us at https://www.endless-storage.com to get started.
Frequently Asked Questions
Unveiling the Secrets to Effortless Storage
Endless Storage is available nationwide. You pick a plan, tell us where to pickup, and we'll send a UPS van to collect, whichever state you're in.
Your shipping label will be sent to your email within a few minutes, if not instantaneously. It can also be accessed through your customer profile.
Your box will be shipped to one of our climate controlled self storage facilities in our closest self storage facility. Our manager will accept your package, notify you that your box has been received, and securely stored. Only our managers will have access to Endless Storage boxes.
Email us at admin@endless-storage.com click to live chat with us, or send us a message below.
Never! We're committed to transparent pricing with no surprises. You'll lock in your rate with no hidden fees and no long-term contracts.
Fast access guaranteed! Your boxes will arrive at your doorstep within 48 hours of requesting them back. Need to check on delivery? We provide tracking information for complete peace of mind.
Totally flexible! Store month-to-month with no long-term commitment and cancel anytime.
Everything's online! Use your account dashboard to:
• Set up automatic monthly payments
• Request box returns
• Update your address
• Order additional boxes
• Track shipments
Your boxes are insured up to $100 each. Our customer service team will help you file any necessary claims and resolve issues quickly.
Don't worry – we'll email you right away if there's a payment issue. Your items stay safe, though you may have temporary service interruption or late fees until payment is resolved.
When you request our free storage kits, you'll have 30 days to send in your boxes to activate your 3 months of free storage. Think of it like starting a gym membership – your activation window begins when you receive your kits, and your full free trial begins once you send in your first box. During your free months, you'll experience our complete storage service at no cost.
Your 30-day activation window begins when you receive your storage kits. We'll send you an email confirmation when your kits are delivered, marking the start of your activation period.
If you haven't sent any boxes for storage within your 30-day activation window, your free trial will expire and we'll begin charging the regular monthly rate of $9.99 per box. This helps ensure our storage kits go to customers who are ready to use our service.
A box costs $9.99 per month to store (plus sales tax). This price includes free shipping for standard boxes under 50 lbs. and smaller than 16"x16"x16"
Log into your Endless Storage account, locate the box you would like returned, and simply click Return My Box.
Yes, each box stored with us is insured for up to $100 throughout transit as well as the duration of storage within our facilities.
Your box will be at your doorstep within 48 hours of you requesting it back.
Store 10+ boxes? We'll pick them up for free! After your purchase, we'll contact you to schedule a convenient pickup time and arrange UPS collection.
We trust UPS with all shipments, and every box includes $100 insurance coverage. You'll receive tracking information to monitor your items' journey.
Yes! Visit any of our locations by appointment. Just bring a photo ID matching your customer profile.
For everyone's safety, we can't store hazardous materials, firearms, or perishables. All items must fit within our standard boxes.
It's easy! Order your storage kit online, and we'll ship it to you within 1-2 business days. Your shipping labels will be emailed instantly and available in your account.
We're here to help! Email us at admin@endless-storage.com, use our live chat, or send us a message through your account.
To cancel your storage service with Endless Storage, please email your cancellation request to admin@endless-storage.com. Our team will process your request within 2 business days and confirm your cancellation via email.
We understand packing takes time. However, to maintain your free trial benefits, you'll need to send at least one box within the 30-day activation window. If you need more time, you can always start with one box to activate your trial and send the rest later. You can always reach out to admin@endless-storage.com if you have any issues or concerns.
When you request our free storage kits, you're starting a 30-day window to begin using our storage service.
Important: To activate your free trial, send at least one box for storage within 30 days. If no boxes are sent within this 30-day window, a one-time $50 fee applies to cover materials and shipping costs. This fee is clearly disclosed before you sign up.
Think of it like reserving a hotel room – we're setting aside space and sending specialized packing materials for your use. The fee only applies if you request materials but don't begin storage, similar to a hotel's no-show charge.