How to Protect Furniture When Moving: Your Complete Guide
Why Your Furniture Is In Serious Danger (And You Don't Know It)
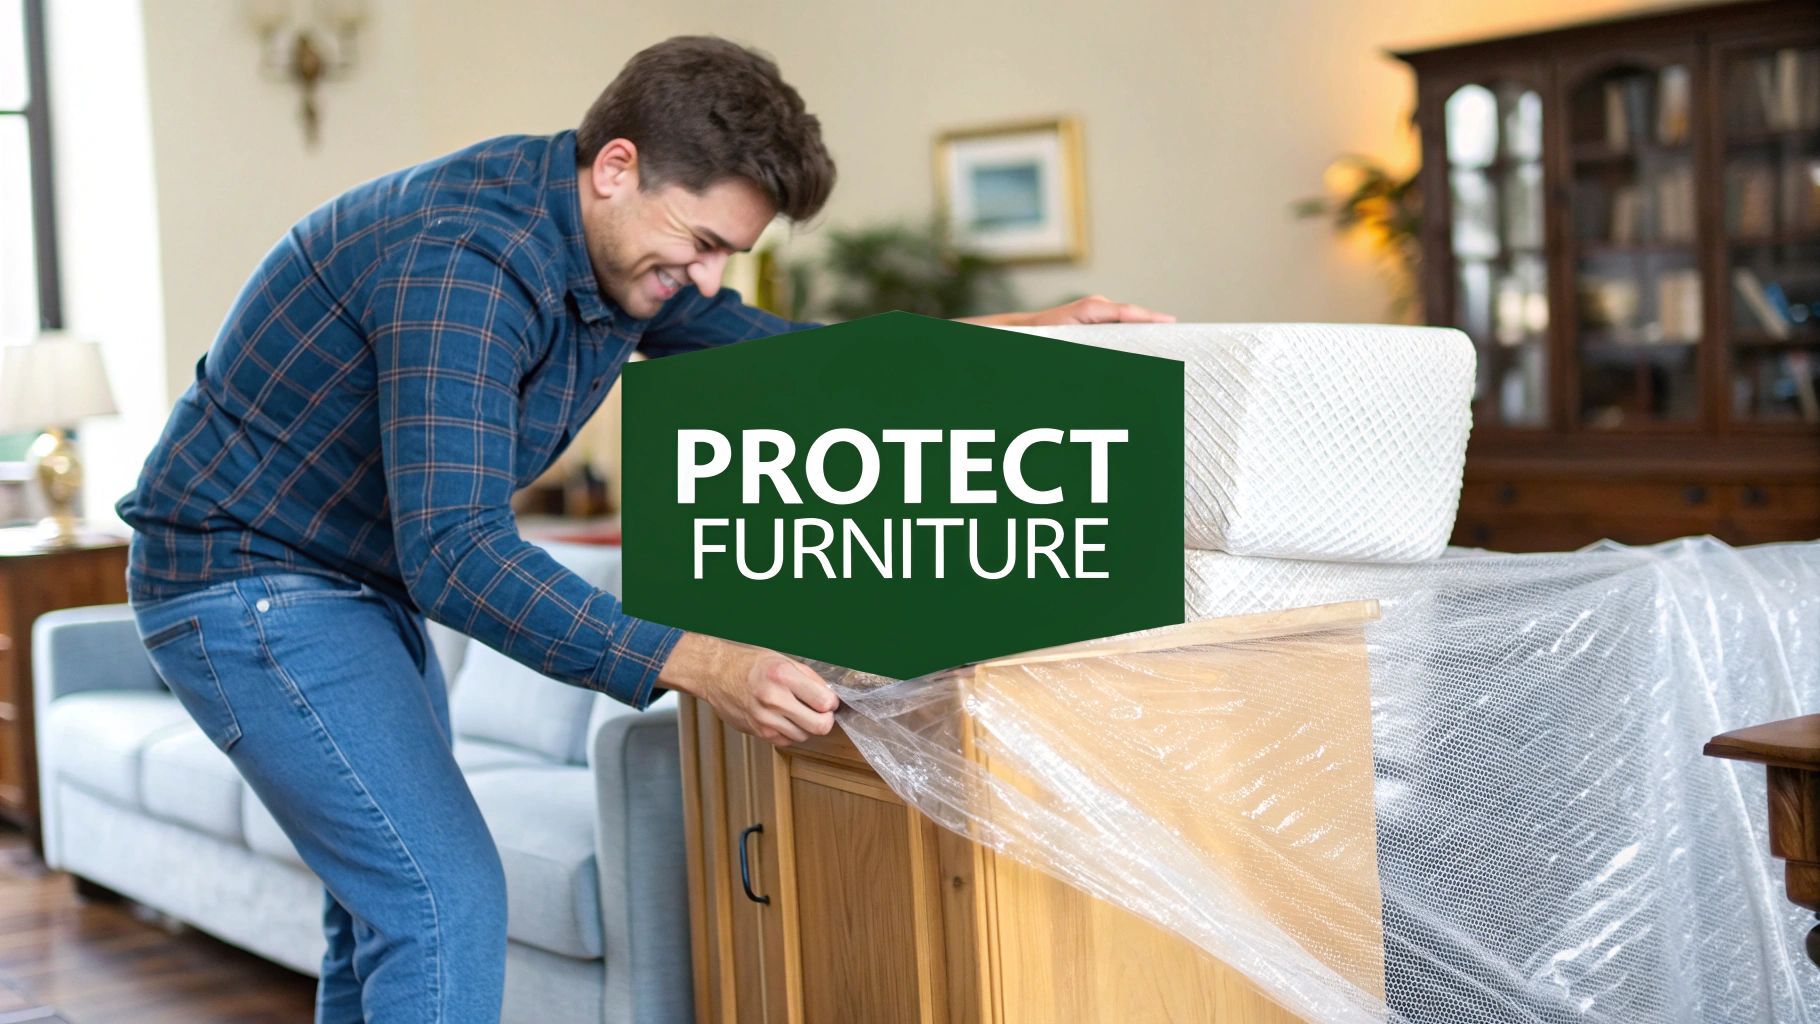
That gorgeous dining room table you love? Your grandmother's antique dresser? Let's face it, they're vulnerable. Moving, even across the street, can be surprisingly risky for your furniture. You might think a short move is no big deal, but take it from someone who's seen it all – things can go south fast. I once heard a mover tell a story about a $3,000 antique cabinet getting completely destroyed just from navigating a tight corner. Ouch.
This isn't about scaring you; it's about being realistic. Think about it: narrow doorways, bumpy roads, the occasional accidental bump. Even the best movers can't prevent every mishap. Protecting your furniture isn't just a good idea, it's crucial. It's about saving yourself the heartache (and the expense) of replacing damaged pieces. A bit of prep work can go a long way.
Protecting Your Furniture: More Than Just Padding
Protecting your furniture during a move is essential because the potential for damage is real. Spills, especially drinks, are a major culprit, accounting for a whopping 54% of furniture damage. Juice alone causes 31% of these spills! That's why proper padding and covers are so important. Want to learn more about the surprising ways furniture gets damaged? Check this out: Discover more insights about furniture damage. And with the global moving services market handling around 650,000 moves every year, it's clear that protecting furniture is a widespread concern.
Identifying Vulnerable Pieces
Think about your most fragile pieces. That glass coffee table? The ornate legs on your vintage chair? These need extra TLC. But even sturdy items like sofas and beds can get scratched, torn, or dented during a move. And if you're moving during extreme temperatures, consider how heat or cold might affect sensitive materials like wood and leather. Speaking of which, climate-controlled storage can be a lifesaver: Climate-Control Self Storage. Before you pack anything, assess your furniture and make a plan. This extra step will make all the difference in getting your belongings safely to your new place.
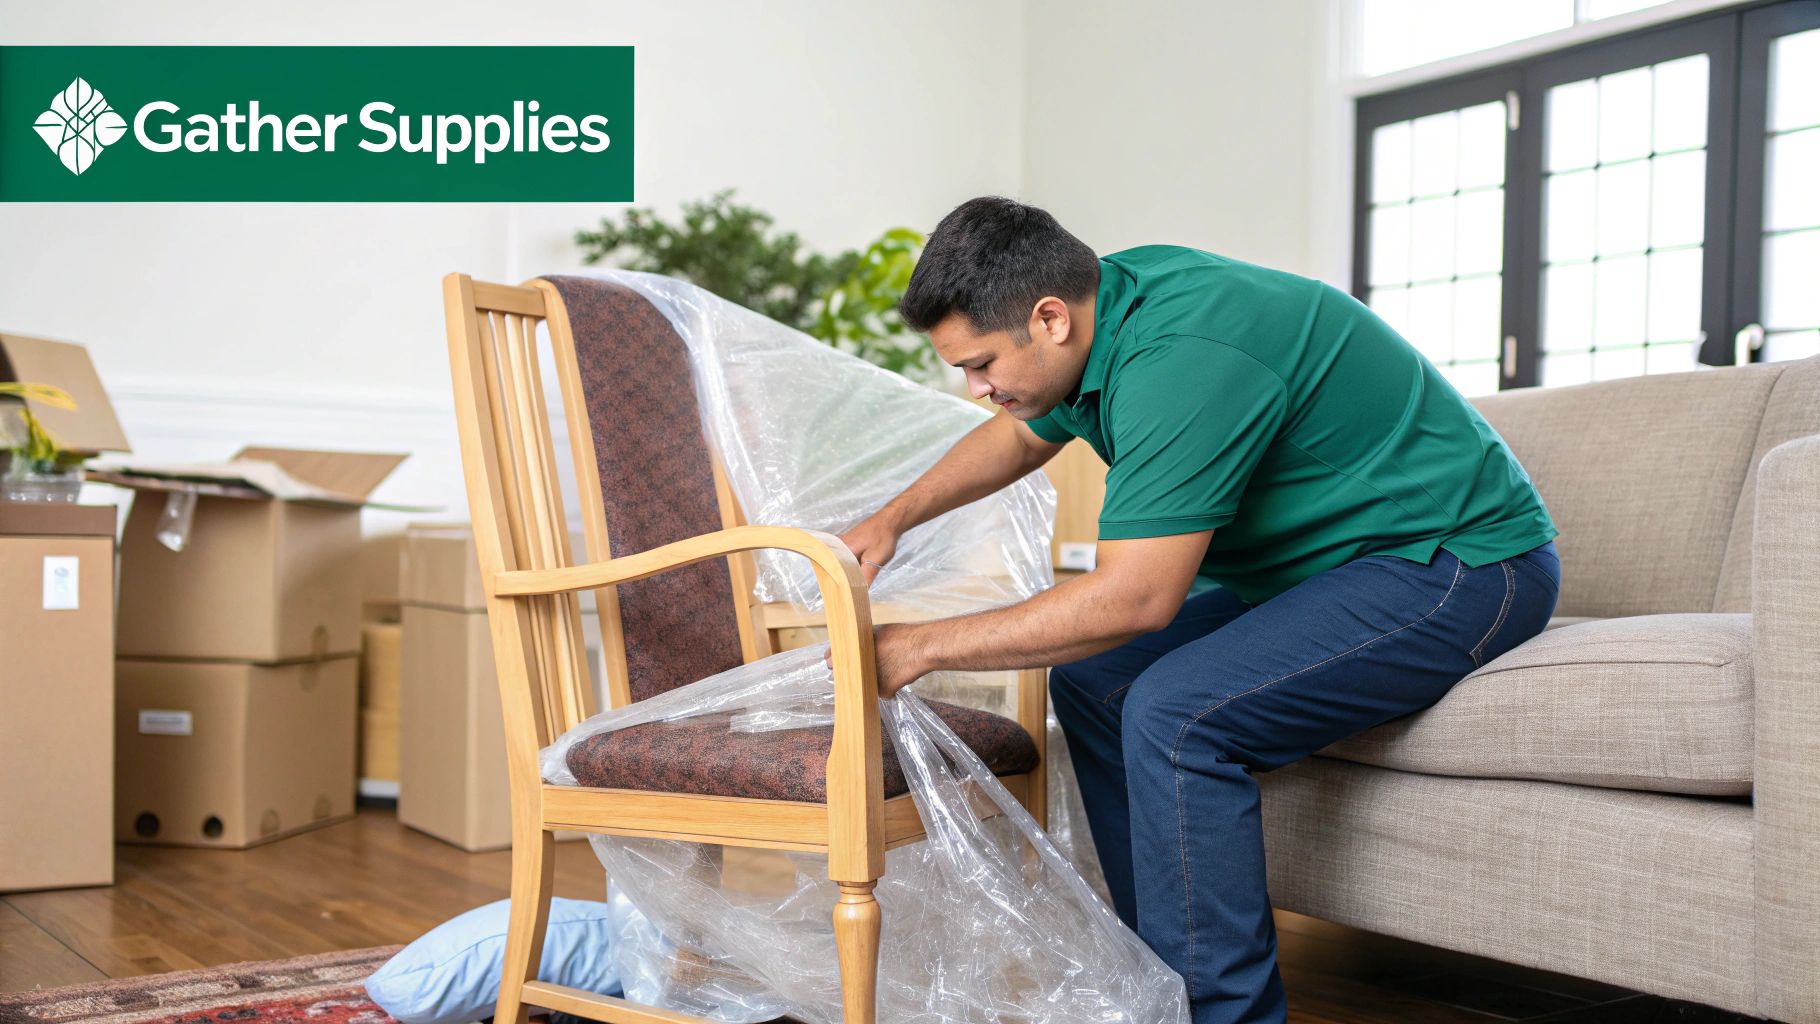
Building Your Furniture Protection Toolkit Like a Pro
Forget grandma's old quilts. Seriously, they just won't cut it. Protecting your furniture during a move takes the right gear, and building a smart toolkit can save you from some serious moving day headaches (and expenses!). Let's talk about creating a truly effective arsenal, based on real-world experience, not marketing hype.
I've learned over the years that it's not about buying the most expensive stuff, but about choosing the right tool for the job. For instance, that pricey roll of specialized packing tape? Totally worth it. But those expensive “furniture” pads? Often not necessary. Basic moving blankets from your local hardware store frequently do a better job than the fancy, “furniture-specific” versions.
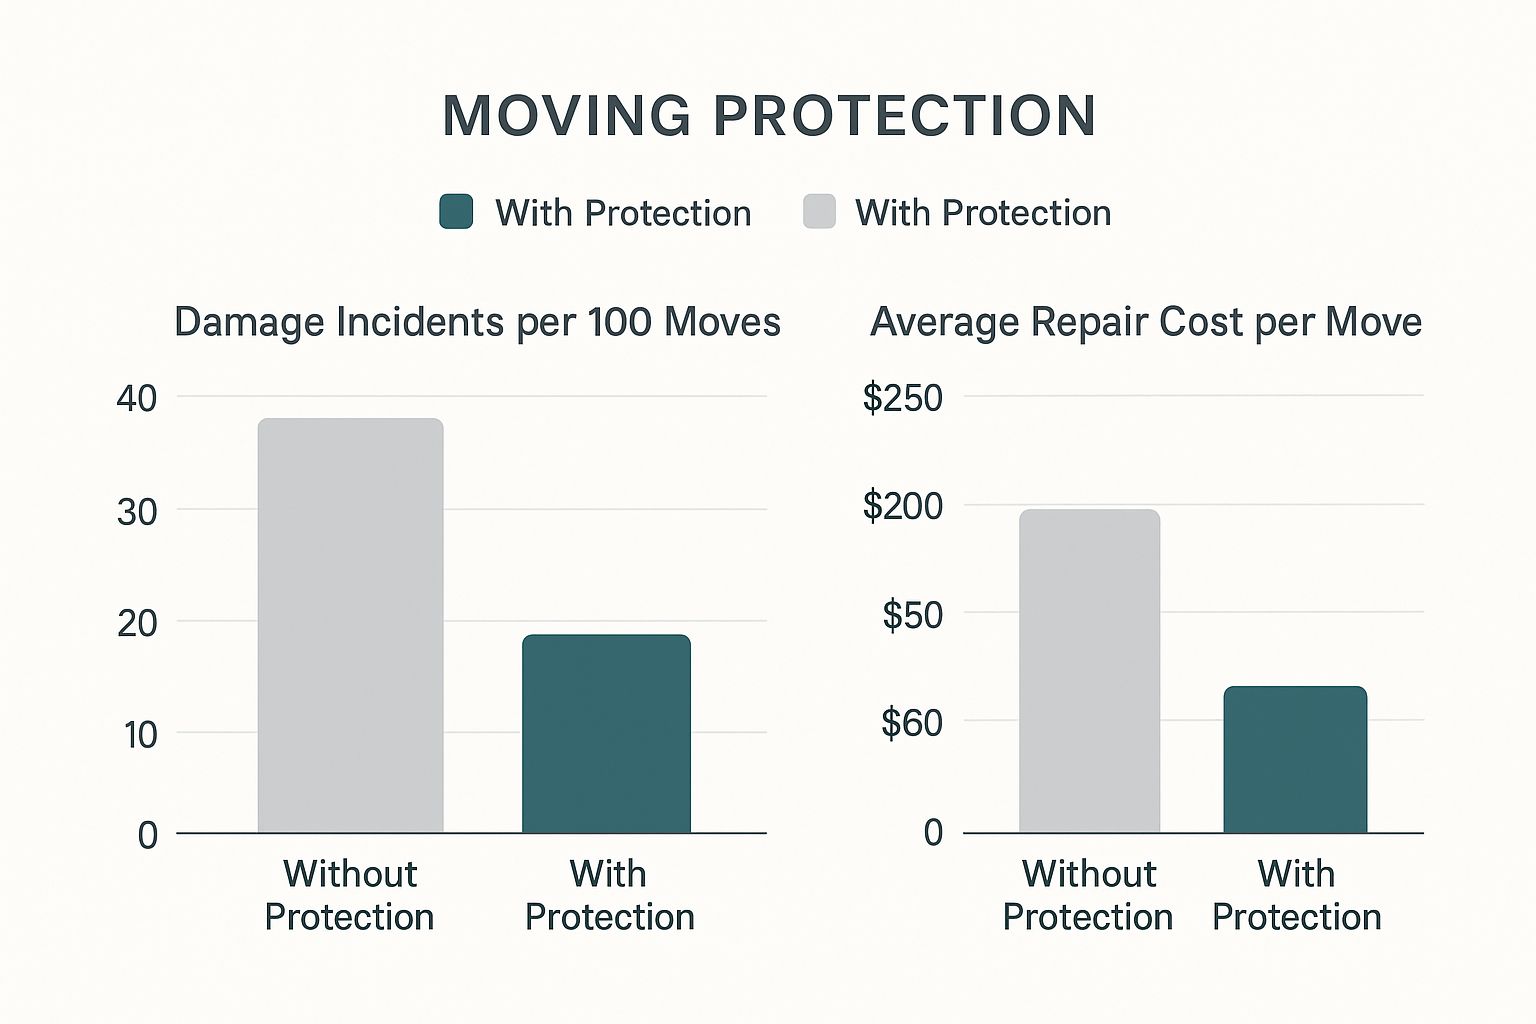
The infographic above really illustrates how important furniture protection is. Look at the difference it makes in damage and cost. Damage incidents go from 40 per 100 moves down to just 10, and the average repair cost plummets from $250 to a mere $60. Convinced you need that toolkit yet?
Essential Protection Materials and Alternatives
Here's what you actually need, plus some budget-friendly swaps that work just as well:
Moving Blankets: These thick, padded blankets are your furniture's first line of defense. Think of them as a suit of armor against scratches, dents, and the general chaos of moving.
Plastic Wrap: We're not talking about the flimsy stuff in your kitchen drawer. Heavy-duty plastic wrap (Duck Brand is a good example) is key for holding blankets in place, adding an extra layer of protection against moisture and dirt, and bundling items together. It's amazing for securing drawers and keeping things from shifting around. Speaking of packing, here's a helpful guide if you're wondering about the best way to pack boxes: Check out our guide on: How to Pack a Box for Moving.
Cardboard Corner Protectors: These little guys are inexpensive but incredibly effective at protecting vulnerable corners and edges, especially on delicate wood furniture. They're a small investment that can prevent big headaches.
Furniture Sliders: If you've ever wrestled a heavy piece of furniture across a floor, you know how valuable these are. They make moving heavy items significantly easier, protecting your floors from scratches and saving your back in the process.
Packing Tape: Don’t skimp on this one. High-quality packing tape is absolutely worth the extra cost. It keeps everything secure and, crucially, won’t leave behind that sticky residue that's a pain to clean up.
This toolkit is the result of countless moves and a lot of trial and error. It strikes a good balance between being effective and not breaking the bank. It's what actually works.
To help you visualize the best materials for your furniture, I've put together this comparison table:
Essential Furniture Protection Materials ComparisonCompare different protective materials, their costs, and best use cases for various furniture types
This table provides a quick overview of the materials, their cost, and what they're best used for. It should help you prioritize and make informed decisions when gathering your supplies. Remember, protecting your furniture now will save you time, money, and stress in the long run.
Wrapping Techniques That Actually Keep Furniture Safe
This screenshot from Wikipedia's "Moving Company" page shows just how involved moving can be. It really highlights why knowing the right techniques for protecting your furniture is so important. Good packing and wrapping are key, whether you're moving across town or across the country.
Let's talk about wrapping furniture the right way. It’s not just about throwing a blanket over things. You want to create a protective shield for your belongings. I've moved a lot over the years, and I'm happy to share some tips that have saved me time and money.
Corner Protection: Your Furniture's Best Friend
Protecting corners is the first thing I focus on. They're the most likely spots to get damaged, especially on wood furniture. Cardboard corner protectors are your best friend here. They’re inexpensive and super effective at preventing dings and dents.
I learned this the hard way. I once moved an antique dresser without corner protectors, and one of the corners got chipped. The repair cost a fortune! Trust me, this small step is worth it.
Wrapping Mastery: Techniques That Work
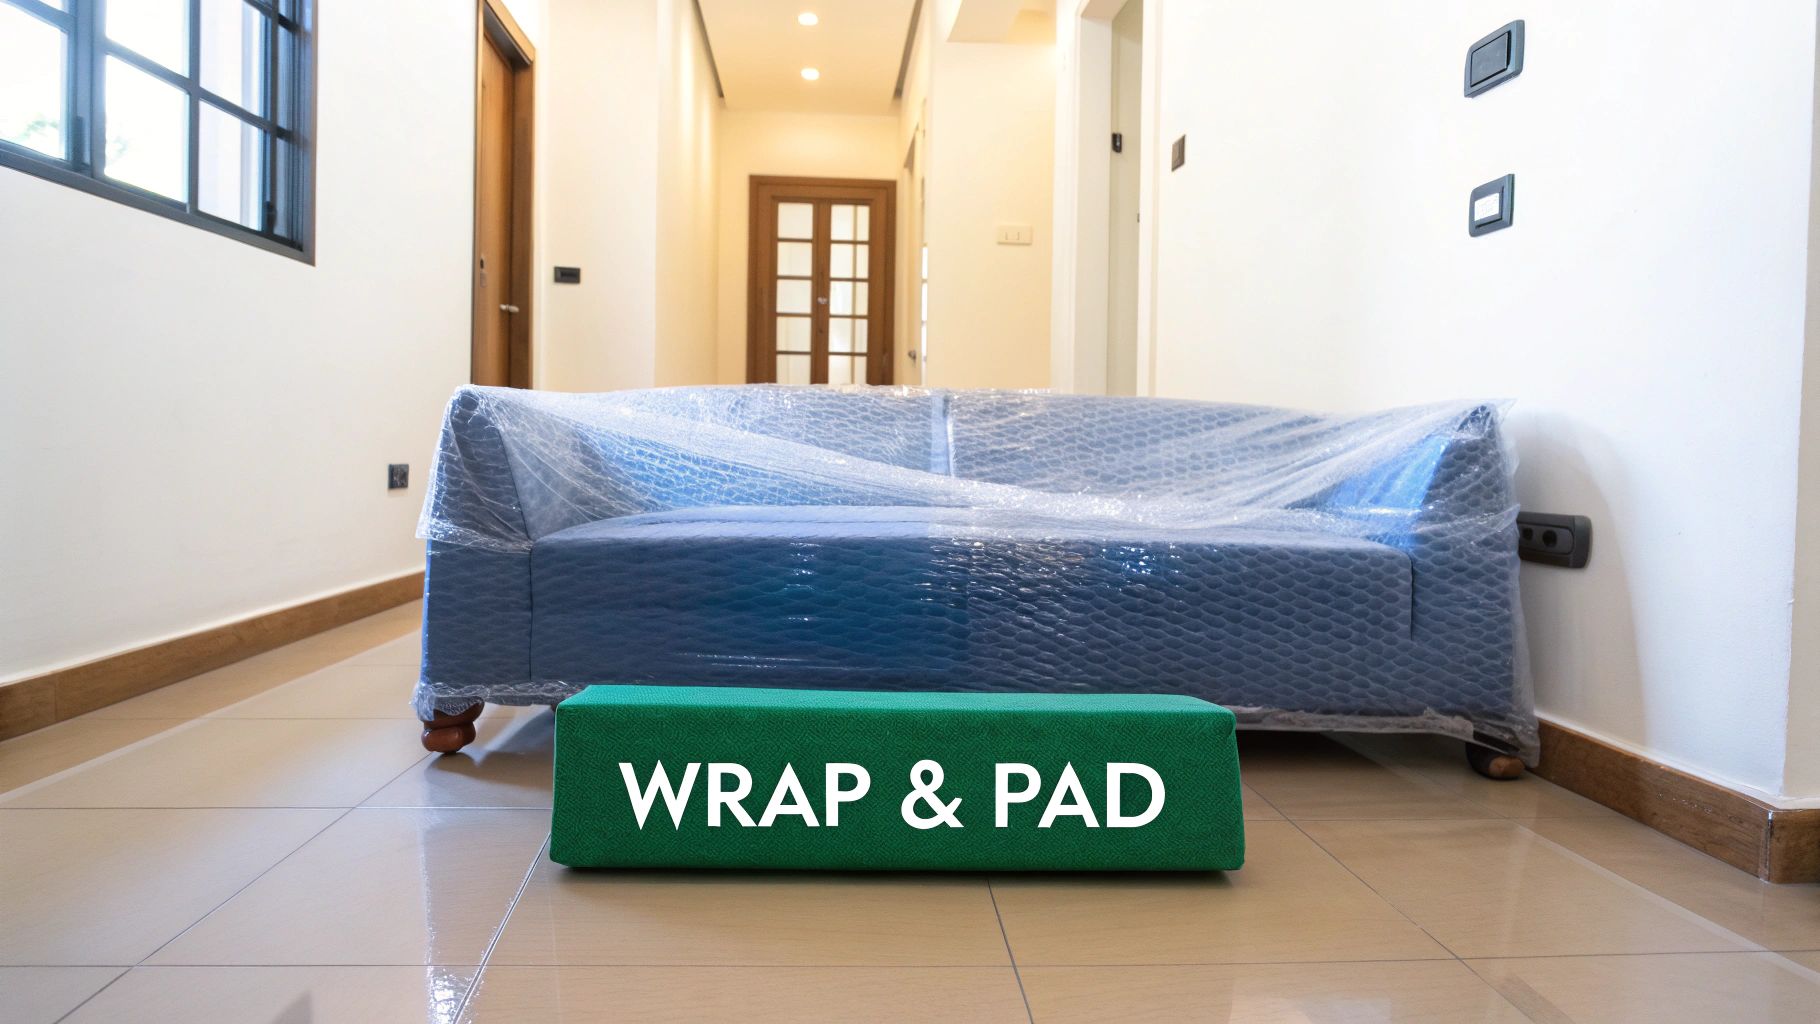
Now for the actual wrapping. Start with a good quality moving blanket. This is your furniture’s main protection. Wrap it snugly around the piece, covering everything.
Then, secure the blanket with heavy-duty plastic wrap. This keeps the blanket in place and protects against dust and moisture. Don't just drape it; wrap it tightly. Think of it like mummifying your furniture! This prevents shifting and keeps those blankets from coming unwrapped.
Troubleshooting Wrapping Disasters
One mistake I see a lot is not overlapping the plastic wrap enough. If you don’t overlap sufficiently, the wrap can tear or come loose during the move.
Also, wrap furniture legs individually, especially if they're delicate. This extra step adds an important layer of protection against scratches and breaks. For similar protective strategies for fragile items, you might find this helpful: Check out our guide on: How To Pack Dishes: Ultimate Guide for Safe Moving.
Time-Saving Tips Without Compromising Safety
Let’s talk about saving time. You can often wrap several chairs together, for example. This saves both time and materials.
Another tip: pre-cut lengths of plastic wrap. This makes the whole process go much faster. Little things like this make a big difference when you're wrapping a lot of furniture.
Protecting your furniture doesn't have to take forever. These are the same practical tips that professional movers use, and they’ll make your move so much smoother.
Smart Furniture Disassembly Without Losing Your Mind
Some furniture pieces just seem destined for disaster during a move. Knowing what to take apart – and what to leave assembled – can save you a ton of money and stress. I’ve learned this the hard way. Reassembling a dresser with a handful of mystery parts leftover is not a fun way to spend your first night in a new home.
Disassembly Decisions: Mover's Intuition
Professional movers seem to have a sixth sense about which furniture benefits from disassembly. It’s not always obvious. That massive entertainment center? Might be easier to move as one unit. A seemingly simple bed frame? Could have hidden connections that are a total pain to reassemble. The trick is to look for structural weaknesses and potential snag points. Anything with long, delicate legs, shelves that stick out, or flimsy attachments is a good candidate for taking apart.
Organized Chaos: Hardware Management 101
The biggest disassembly fear? Losing those tiny screws, bolts, and other weird little bits that hold everything together. My solution: zip-top bags. Label each bag clearly – include the furniture piece and even a quick sketch of where the hardware goes. I also tape the bag directly to the disassembled section. This simple trick has saved me so much grief. Future you will be very grateful.
Documentation: Turning Reassembly Into a Breeze
Remember those instruction manuals you carefully filed away? Time to dig them out! Don’t have them? A quick online search usually works. Taking pictures before, during, and after disassembly is incredibly helpful, too, especially for more complex furniture. For really intricate pieces, I even make a simple diagram with labeled parts. It might seem like overkill, but it makes reassembly a breeze. No more guessing games!
Knowing Your Limits: When To Leave It Alone
Not everything needs to be disassembled. Sometimes, the risk of damage during disassembly is higher than the risk during the move itself. Solid, well-built pieces, like solid wood dressers or tables, might be just fine left intact, especially if it’s a short move. Use your best judgment. If you're not comfortable taking something apart, don't. It's always better to err on the side of caution and protect the piece as is. Moving furniture is all about making smart choices every step of the way.
Loading Your Truck Like a Furniture Protection Expert
Alright, so you’ve got everything wrapped up like a pro. Now comes the real fun: loading the truck. This isn’t just about shoving things in until the doors close; it’s about strategy. Think Tetris, but with your precious furniture as the pieces. Trust me, I’ve seen enough moving day mishaps to know that a poorly packed truck is a recipe for disaster. Let’s break down how to load like an expert and avoid those costly mistakes.
Strategic Placement: The Chess Game of Furniture Protection
Picture your moving truck as a giant puzzle box. The heavy hitters, like appliances and dressers, need to be on the bottom and snug against the front wall. This creates a stable base and stops things from shifting around when you’re on the road. Lighter items, like boxes and chairs, go on top. One trick I’ve learned is to stand mattresses vertically against the side walls. They act as a buffer for other furniture and provide extra padding against those inevitable bumps in the road. Speaking of making moving day smoother, you might be interested in this.
Creating Protective Barriers and Securing Techniques
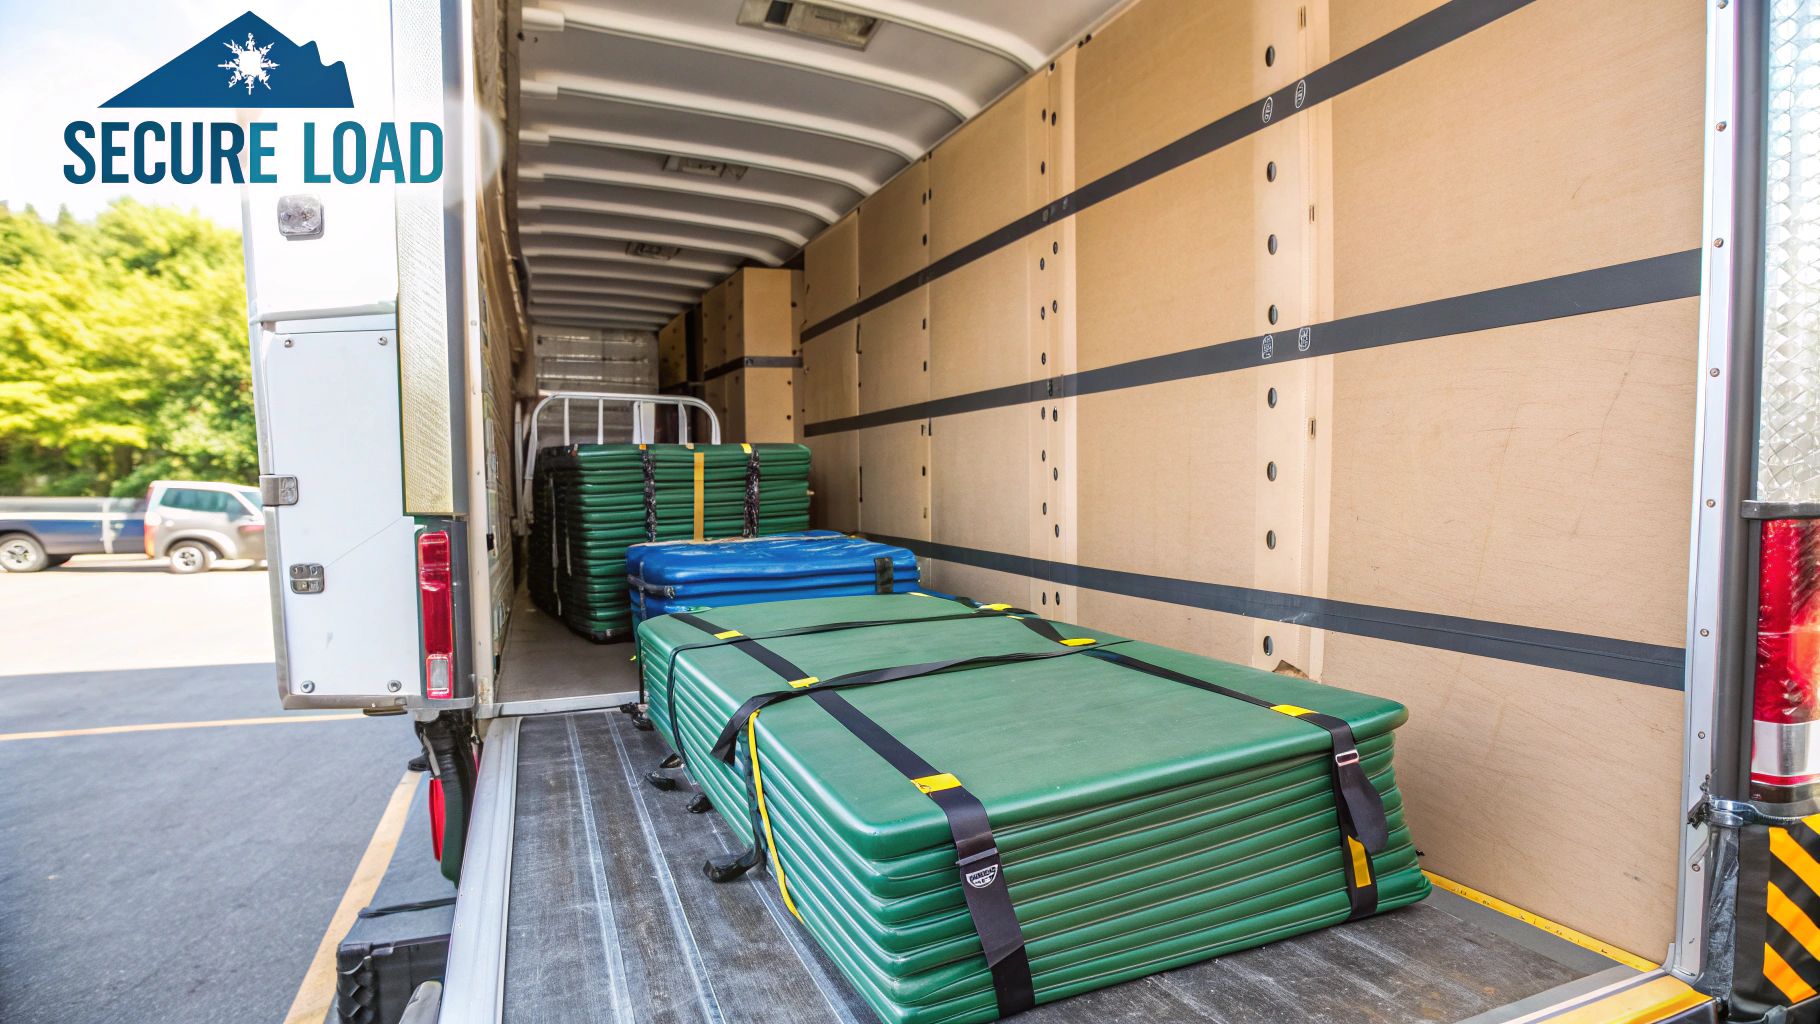
Think about your furniture going on a rollercoaster ride. Every turn, stop, and bump is a potential threat. That's why those protective barriers are so important. Use moving blankets and cardboard to fill in gaps and prevent furniture from rubbing together. It's like giving each piece its own little padded cocoon. Then, secure everything with rope, ratchet straps, or bungee cords. The name of the game is minimizing movement, so nothing shifts or tips over during the trip.
Learning from Loading Disasters: Real-World Examples
I once saw a heavy dresser take a tumble during a sharp turn. It wasn't properly secured, and it ended up damaging itself and a nearby antique table. A simple ratchet strap could have saved the day. Overloading the truck is another common blunder. It makes it near impossible to secure things properly and significantly increases the risk of damage. It’s always better to make a couple of trips or rent a bigger truck than to gamble with your furniture’s safety. This kind of careful handling isn't just about protecting your stuff, it's about personal safety too. In 2018 alone, transportation and material moving workers had 184,470 injuries and illnesses, which really underscores the need for caution. Discover more insights about moving industry safety.
Space Maximization Without Compromising Furniture Protection
Yes, loading the truck efficiently is key, but not at the expense of your furniture. Don't stack things too high or force pieces into tight spots. Disassemble furniture if it makes things easier to manage and creates more space. Sometimes, renting a slightly bigger truck or making multiple trips is the wisest choice. A little extra time and effort upfront can save you a lot of money on repairs down the road. Remember, the goal is to get your furniture to your new home in one piece, not to win a packing competition.
Protecting Your Most Challenging and Valuable Pieces
Moving can be stressful, especially when it comes to those treasured or just plain awkward items. You know the ones: that antique dresser, the oversized armchair, or that entertainment center that seems to defy the laws of physics. These pieces need more than just a quick wrap in a moving blanket. They require a well-thought-out plan.
Climate Control and Sensitive Materials
Think about what your furniture is made of. Wood and leather, for instance, are sensitive to changes in temperature and humidity. Intense heat can warp or crack wood, and leather can dry out and become brittle. If your move falls during a particularly hot or cold spell, consider climate-controlled transport or storage. It might seem like an added cost, but it's often less expensive than repairing or replacing damaged furniture. International moves, like moving to the Netherlands, have even more things to think about in regards to climate and transport.
Documenting for Insurance: Proof That Protects
Before you pack anything, take photos or videos of everything. This is especially important for valuable or antique items. Detailed documentation is your best defense if you need to file an insurance claim. Close-ups of existing damage are key. Don’t just snap a quick picture; thoroughly document the condition. Trust me, it's much less of a hassle than dealing with insurance company headaches down the road.
Creative Solutions for Awkward Shapes
Oddly shaped items sometimes require out-of-the-box thinking. I once moved a large, unusually shaped sculpture by building a custom crate out of plywood and foam. It took some effort, but it provided the perfect protection. For items made of different materials, use a combination of packing methods. A glass-topped table, for example, might need cardboard corner protectors for the wood, bubble wrap for the glass, and a moving blanket over the whole thing.
To help illustrate the different approaches you might take with various challenging furniture pieces, I've put together a table outlining some best practices. This should give you a good starting point for figuring out your own packing strategy.
Special Furniture Protection Requirements
This table gives you a general idea of how to protect different kinds of furniture. Remember, each piece is unique, so adjust these methods as needed.
Professional Help vs. DIY: Knowing Your Limits
Sometimes, the best move is to call in the pros. If you’re dealing with extremely valuable or delicate antiques, or furniture that requires specialized disassembly, professional movers have the experience and tools to do the job safely. They’re also insured, which provides valuable protection. Don’t hesitate to ask for help. Moving is already stressful; don't add the worry of damaging your prized possessions. Knowing when to DIY and when to get professional help is key to a successful move. Remember, some wear and tear is normal, especially with older furniture. Concentrate on preventing avoidable damage. Take a deep breath, you've got this!
Your Complete Furniture Protection Action Plan
So, you’ve learned all about prepping your furniture for a move – from bubble wrap to ratchet straps. Now, how do you put it all together for moving day? Let's create a practical plan to keep your furniture safe and you sane. We'll cover prepping, room-by-room checks, troubleshooting, and even what to do after the move.
Realistic Prep Timelines and Room-by-Room Checklists
Don't wait until moving week to start packing! Seriously, I've learned that lesson the hard way. Create a realistic timeline. Begin by taking a full inventory of your furniture. Then, work backward from moving day, scheduling specific times for each room. Room-by-room checklists are a lifesaver for staying organized. It’s like having a personal moving assistant. You might also find our Ultimate Moving Checklist Template Guide helpful.
Troubleshooting Common Challenges and Final Inspections
Things will go wrong. You'll run out of tape, find a hidden screw, or realize your grandma's armoire doesn't fit through the door. Don't panic! Keep extra supplies handy and be flexible. Before the movers arrive (or you load up), do one last check of every piece. Is everything securely wrapped and protected? This final walkthrough prevents major headaches later.
Good Enough vs. Perfection: Advice From Moving Veterans
You don’t need to be a furniture-wrapping expert. Sometimes, "good enough" is just fine. That sturdy, everyday coffee table? It probably doesn't need three layers of protection. Concentrate on the valuable or fragile items. Think about it like this: seasoned movers know what to prioritize. They know when to aim for perfection and when to let it go.
Post-Move Strategies and Damage Control
Even the best plans can go sideways. After the move, check your furniture carefully. If you spot any damage, take pictures immediately and contact your movers or insurance company. The faster you act, the better. Having a plan for dealing with potential damage makes the post-move period much less stressful. Prioritize repairs – what’s essential and what can wait? If you have time or budget limits, focus on the most important pieces first.
Moving doesn't have to be a furniture disaster. With some planning and the right approach, your belongings will reach your new home safe and sound. Need a stress-free way to store some items during your move? Check out Endless Storage. We offer convenient storage-by-the-box with free shipping and climate-controlled facilities.