
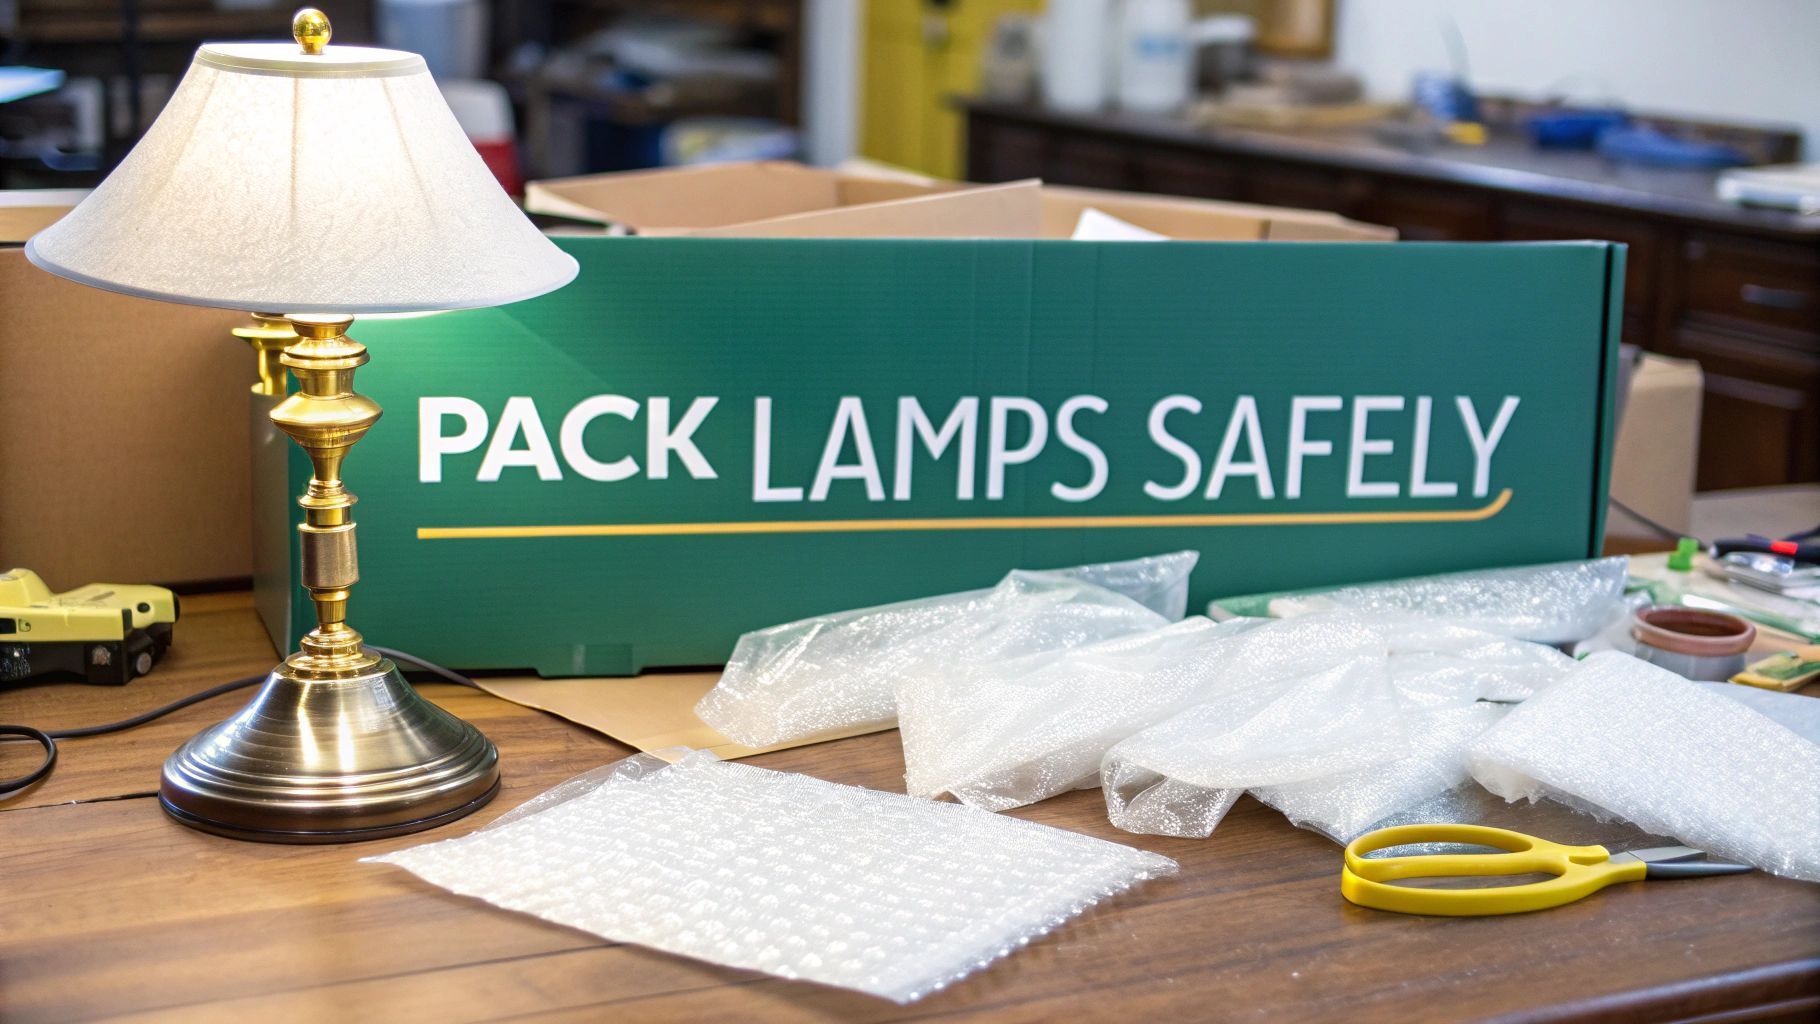
Before you even think about unplugging a single lamp, let's talk supplies. Getting this part right is half the battle. The last thing you want is to have a delicate porcelain lamp half-wrapped on your living room floor while you hunt for the tape dispenser.
Setting up a dedicated packing station with everything you need within arm’s reach will make the entire process a hundred times smoother.
Gathering the Right Packing Supplies
The specific supplies you’ll need will vary. Obviously, a massive floor lamp requires a different game plan than a small adjustable desk lamp. That said, there are a few non-negotiables that apply to pretty much any light fixture you’re packing.
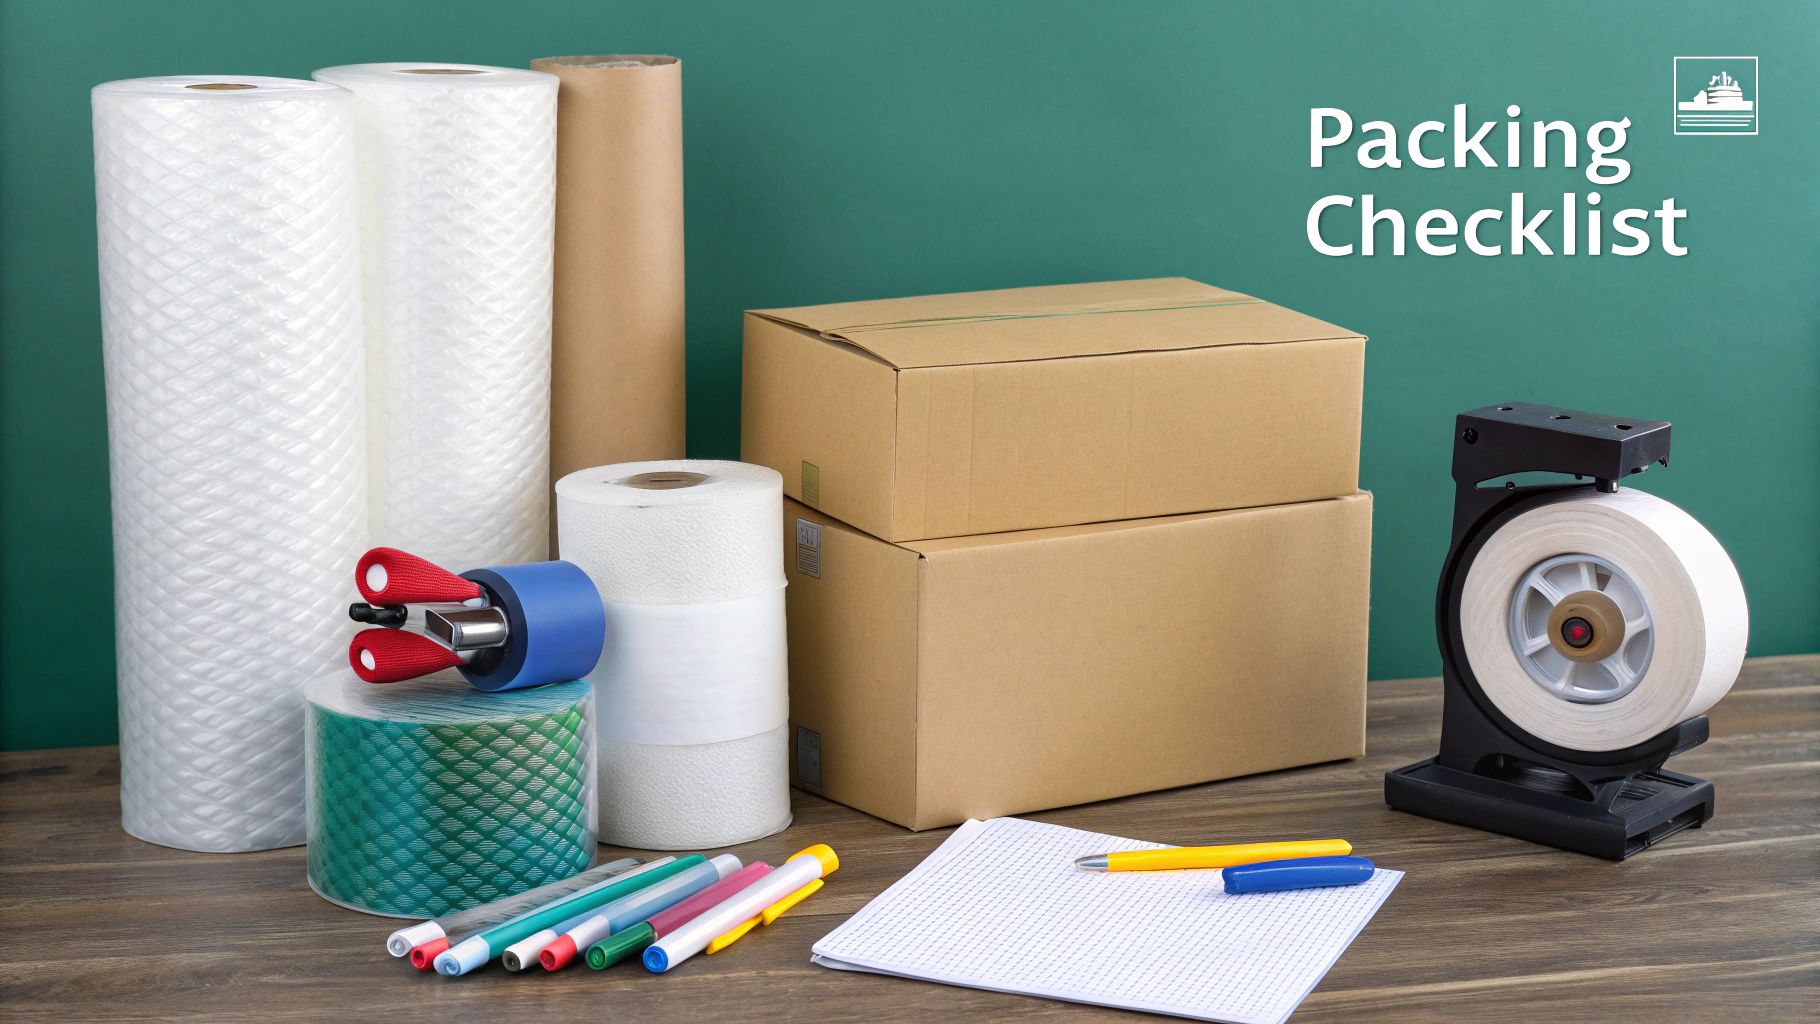
The Essential Lamp Packing Supplies Checklist
To make things simple, I've put together a quick-reference table of the absolute must-haves for this job. Think of this as your shopping list before you get started.
Having these items ready to go will prevent delays and ensure you’re giving each lamp the protection it deserves.
Beyond the Basics: Cost and Considerations
Protecting your lamps properly is an investment. According to industry data, the cost to have a single lamp professionally packed can run anywhere from $25 to $140, mostly depending on how fragile or valuable it is. If you're going the DIY route, a roll of packing paper can set you back $20 to $33, and bubble wrap can add another $5 to $40 to your moving budget.
Don't forget twist ties for bundling up electrical cords—this simple step prevents the plug from scratching the lamp base during transit. For a full rundown of materials you might need for your entire move, check out our comprehensive guide to the best packing supplies for moving.
Pro Tip: If you have a few particularly expensive or antique lamps, look into a lamp-specific moving kit. These often come with reinforced boxes and special cardboard inserts that brace the lamp base, keeping it from shifting around. It's a small extra cost for some serious peace of mind.
Trying to pack a fully assembled lamp is a classic moving mistake, and trust me, it’s one that often ends in disappointment. Every part of a lamp, from the delicate shade to the sturdy base, has its own level of fragility. Giving each component the specific protection it needs is the key to getting it to your new home in one piece.
It really helps to get familiar with your lamp before you start taking it apart. For instance, if you have something like a clear seeded table lamp, knowing how the pieces connect beforehand can prevent you from accidentally forcing or breaking something delicate. A few moments of planning makes all the difference.
Removing the Lampshade and Finial
Always start at the top. The first thing you'll likely deal with is the finial, which is that small, often decorative, knob that holds the lampshade securely in place.
Go ahead and unscrew the finial by turning it counterclockwise. These little guys are notorious for getting lost in the shuffle, so I always pop them straight into a small plastic bag and label it.
Next, gently lift the lampshade straight up and off the lamp. It’s best to handle it by the metal frame (the spider fitter) instead of the fabric or paper. This little trick helps you avoid leaving fingerprints or, even worse, causing dents. Just set the shade aside on a clean, soft surface where it won’t get knocked over.
Detaching the Harp and Lightbulb
With the shade safely out of the way, it's time for the harp and the lightbulb. The harp is that U-shaped metal wire structure that the lampshade sits on.
Most harps are designed for easy removal. Look for the small metal sleeves right where the harp’s prongs slot into the base. All you have to do is gently squeeze the sides of the harp together and pull straight up. It should pop right out of its saddle without much fuss.
Key Takeaway: Make sure the lightbulb has had plenty of time to cool down before you touch it. A hot bulb can give you a nasty burn and is also much more likely to break. Once it's cool, unscrew it and give it a good wrap in packing paper or even a small towel.
For more essential tips to get your move organized from top to bottom, check out our complete guide to packing and moving.
Handling Cords and Special Cases
Last but not least, deal with the electrical cord. A common mistake is wrapping it tightly around the lamp base, but this can strain the connection point and even scratch the lamp’s finish. A better way is to loosely coil the cord and use a simple twist tie to keep it neat.
Not all lamps are created equal, and some require a slightly different approach:
- Floor Lamps: These often have heavy bases and long poles that can be unscrewed into smaller, more manageable sections. Taking them apart this way makes packing them infinitely easier and safer.
- Adjustable Desk Lamps: With all their joints and arms, these can be awkward. The best thing to do is fold the arm into its most compact position before you start wrapping. If any of the joints come apart easily without needing tools, go ahead and disassemble them, making sure to bag up any hardware.
- Antique Lamps: Be extra gentle here, especially with older, brittle wiring. You’ll want to coil the cord very loosely to avoid cracking the old insulation.
Wrapping and Boxing Each Lamp Component
Alright, you've got your lamp disassembled and all the parts laid out. Now comes the most important step: getting everything wrapped and boxed up securely for the move. Think of this less like just stuffing things into a box and more like creating a custom suit of armor for each individual piece.
To help you visualize what we're working with, here’s a quick breakdown of the main components you’ll be packing separately.
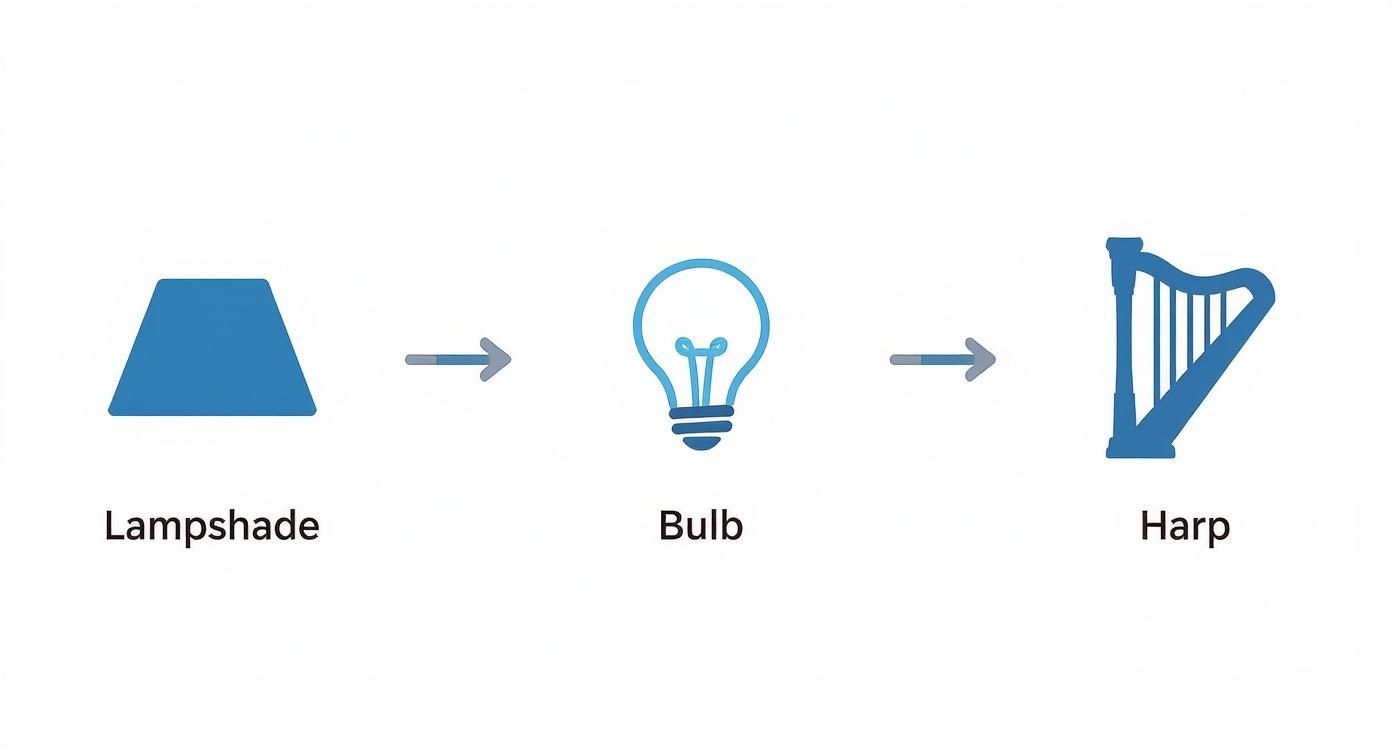
As you can see, the lampshade, bulb, and harp all need to be handled on their own to give them the best shot at arriving in one piece.
Securing the Lampshade
The lampshade is, without a doubt, the most delicate part of any lamp. The golden rule here is simple: never pack anything else in the same box with it. Ever.
First, find a sturdy box that’s just a bit larger than the shade. Line the bottom with a generous cushion of crumpled packing paper. Then, gently wrap the shade in a single, loose layer of clean packing paper. You'll want to avoid bubble wrap for this part—it can easily dent or damage delicate fabric or paper shades.
Once wrapped, place the shade upright in the box. Finish by softly filling the empty space around the outside and inside of the shade with more crumpled paper until it's snug and can't shift around.
Protecting the Lamp Base
The base is usually the heaviest part, so it needs some serious protection. Start by wrapping the entire base in a layer of packing paper. This first layer is crucial for protecting the finish from scuffs and scratches.
Next, give it at least two layers of bubble wrap, taping it securely. If the lamp has any fragile details, like a ceramic body or a thin, delicate neck, pay extra close attention to those spots. Place the wrapped base upright in a box lined with packing paper and make sure it sits snugly. Any wiggle room should be filled with crushed paper to keep it from tipping over during transit.
Expert Insight: Don't let the plug become a menace. After you coil the cord, wrap the plug in a small piece of paper or bubble wrap. This simple step prevents the metal prongs from scratching or chipping the lamp base while it's all packed up.
Managing Small Components and Bulbs
It’s way too easy to lose those small bits and pieces like the harp and finial. The best way to keep track of them is to pop them into a labeled plastic bag along with the coiled cord. For extra security, you can tape this bag directly to the wrapped lamp base so everything stays together.
Bulbs need their own special care. It’s no surprise that the packaging industry has boomed, partly because modern bulbs have gotten more fragile. In fact, the bulb packaging market is on track to hit $7.2 billion by 2035, a trend driven by delicate LED lamps needing tough, temperature-stable packaging.
If you still have the original box the bulb came in, use it! If not, wrap each bulb individually in bubble wrap.
If you want to take a deeper dive into the best materials for the job, our guide on packing materials for fragile items has a ton of great information.
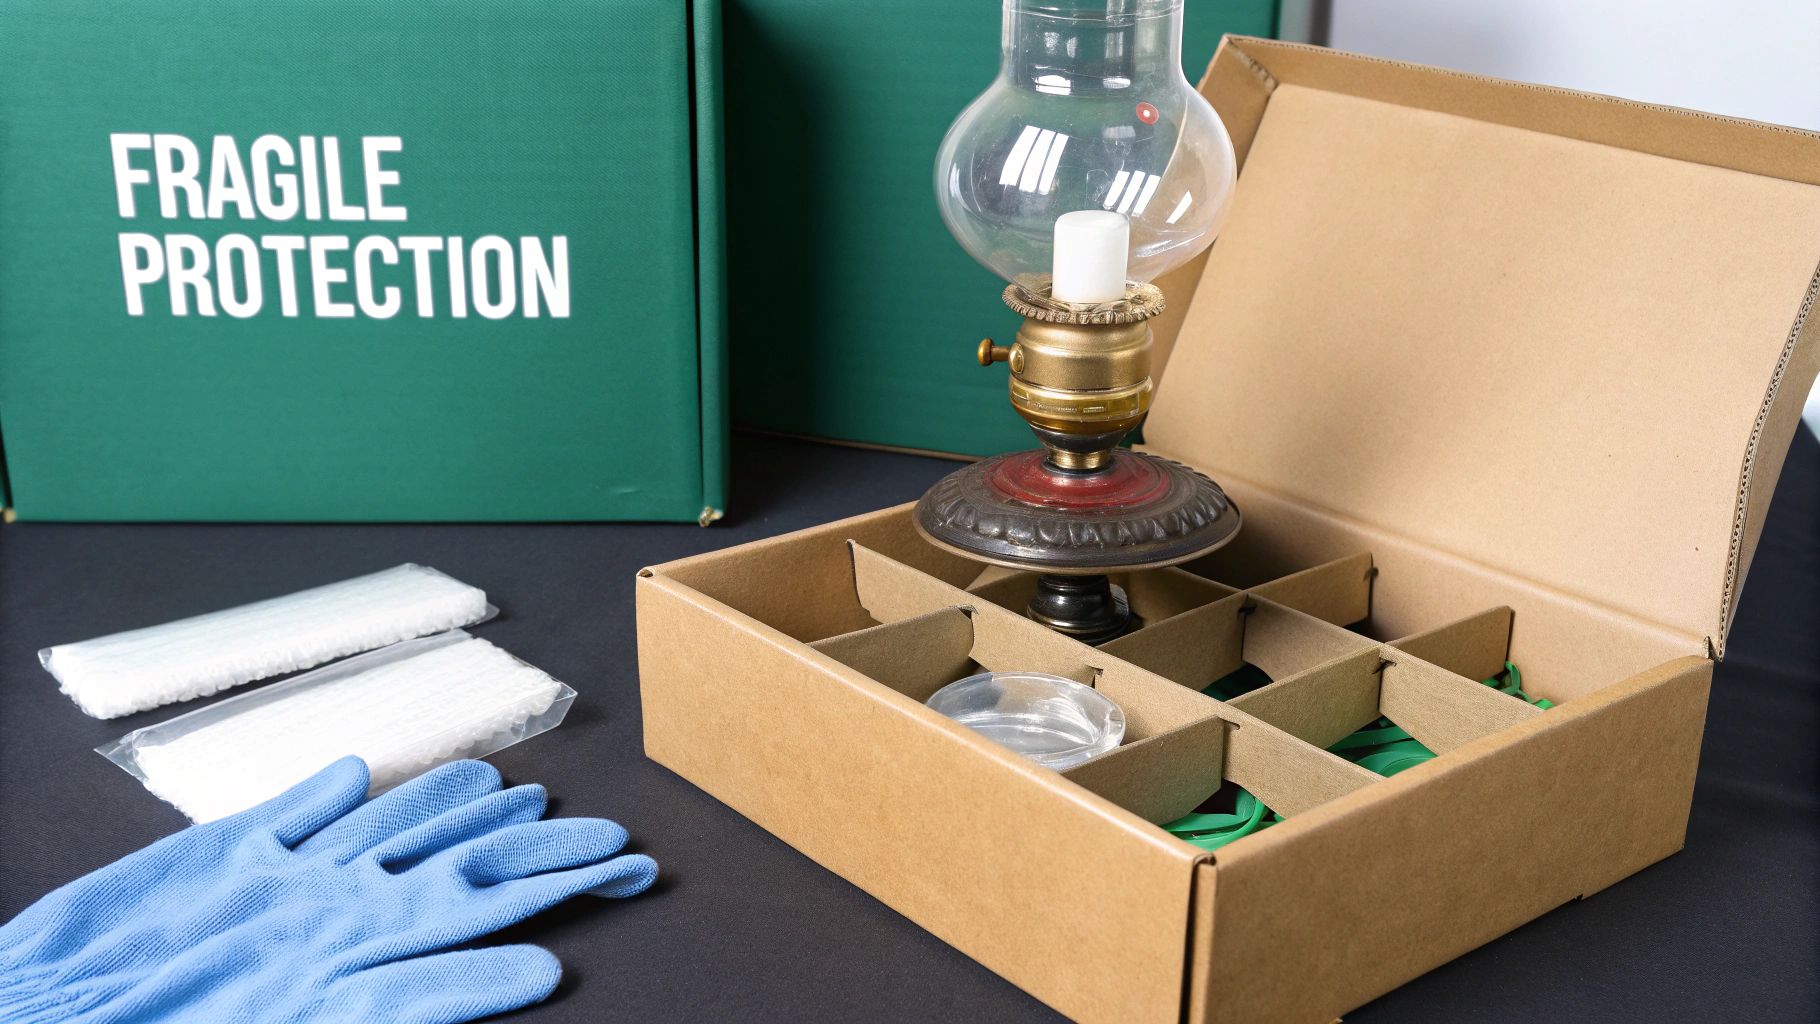
When you're packing a truly special lamp—that fragile Tiffany-style shade you inherited or an antique porcelain piece—standard methods just won't cut it. These aren't just lamps; they're irreplaceable parts of your home's story.
These cherished items demand more than a single layer of bubble wrap. They need a careful, deliberate strategy that anticipates every bump and jostle of the move. It’s all about creating peace of mind.
The Double-Boxing Method for Superior Protection
For maximum security, the double-boxing method is the gold standard. I can't recommend this enough for anything truly fragile. It’s a simple concept: you place your already-packed box inside a second, larger box, creating a protective buffer zone.
Here’s how to do it right:
- First, pack your delicate lamp base or shade into its own snug box, using all the wrapping and cushioning techniques we’ve already covered. Make sure nothing can shift inside.
- Next, grab a new, sturdy box that's at least two to three inches larger than the first box on every side. Line the bottom of this outer box with a generous layer of packing peanuts or crumpled paper.
- Center the smaller box inside the larger one, right on top of that bottom cushion. Then, fill every gap around the sides and on top with more packing material. The inner box should be completely immobilized, like it's floating in a protective cocoon.
This box-within-a-box setup is a fantastic shock absorber. It defends against drops, vibrations from the truck, and accidental bumps. For any lamp you couldn't bear to lose, this step is non-negotiable.
Custom Solutions for Awkward Shapes
But what about those lamps with funky, irregular shapes or ornate details that are a nightmare to wrap? For these, you’ll have to get a bit creative and build custom supports to keep them perfectly still.
You can actually craft your own braces by cutting up a spare cardboard box. The trick is to cut pieces that fit snugly against the lamp's unique curves, building a support structure inside the box that prevents even the slightest movement.
For really delicate surfaces or antique finishes, consider a softer first layer. Materials like specialized packaging foam offer a non-abrasive cushion that protects without scratching.
A quick word on antique wiring: handle it with extreme care. Old fabric-covered cords can get brittle over the years. Instead of coiling them tightly, which can cause cracks, make a very loose loop and gently secure it with a twist tie.
For a deeper dive into protecting your most precious belongings, our complete safe shipping guide for fragile items is a great resource.
How to Label and Transport Your Packed Lamps
All your hard work wrapping and padding can be for nothing if a box gets dropped or crushed during the move. That’s why the final steps—labeling and loading—are just as critical as the packing itself.
Think of your labels as your voice when you're not there. They're your instructions to anyone who picks up that box, telling them exactly how to handle it. Clear, bold labels are your best insurance policy against moving-day mishaps.
Labeling So Everyone Gets the Message
Your goal here is simple: communicate what's inside and how to handle it, instantly. A well-labeled box not only protects your lamp but also saves you a massive headache when it's time to unpack.
Grab a thick permanent marker and write on at least two sides of every box. You want the information to be visible from any angle.
Here’s what every lamp box needs:
- Be Specific About Contents: Don’t just write "Lamp." Is it the "Living Room Floor Lamp - Base" or the "Master Bedroom - Lampshade"? Specificity prevents guesswork.
- Give Clear Handling Instructions: This is non-negotiable. Write "FRAGILE - HANDLE WITH CARE" in big, bold letters. You can't assume everyone will know what's inside.
- Show the Right Orientation: Draw large, clear arrows pointing up and write "THIS SIDE UP." This is crucial for lamp bases, which can easily tip and break if stored incorrectly.
- Assign a Destination: Mark the box with its destination room, like "Office" or "Guest Bedroom." This simple step keeps things organized and makes unpacking feel less chaotic.
For a deeper dive into creating a foolproof system for all your boxes, check out our complete guide on how to label moving boxes effectively.
To make labeling even more effective, it helps to have a consistent format. The table below breaks down the essential information to include on every box for maximum clarity and safety.
Lamp Box Labeling Guide
Following this simple guide ensures anyone who handles your boxes knows exactly what to do, protecting your lamps from unnecessary damage.
Pro Tip: Keep a running inventory on your phone. Number each box (e.g., "Box #7 - Office Lamp") and make a quick note. When the truck is unloaded, you can do a fast headcount to make sure everything arrived.
Loading Lamps for a Safe Journey
Once labeled, the placement in the moving truck is everything. Never, ever put a lamp box on the floor of the truck. One shift from a heavy piece of furniture, and it’s game over.
The sweet spot for lamp boxes is high up, placed gently on a stable, flat surface like the top of a dresser or a solid stack of other boxes. This "top-load" strategy keeps them out of the fray and away from the bumps and jostles of the road.
Interestingly, professional movers have this down to a science. In the logistics world, consolidated freight services often group fragile household goods together. This approach has led to a 15-20% drop in shipping costs and ensures delicate items are part of a larger, more stable load. This is a great example of how minimizing risk is all about smart positioning.
Common Questions About Packing Lamps
Even with the best instructions, a few tricky questions always seem to pop up when you're figuring out how to pack lamps for a move. Let's tackle some of the most common uncertainties I hear from people, so you can pack every lamp you own with total confidence.
Think of this as the final check-in before you tape up the boxes, addressing those specific scenarios that can leave you scratching your head.
Can I Pack Multiple Lampshades in One Box?
While it’s incredibly tempting to save a little space, the golden rule is to give each lampshade its own box. They are ridiculously easy to dent or crush, and stacking them creates pressure points that almost guarantee permanent damage.
If you’re in a real pinch and absolutely must combine them, you can try "nesting" shades of different sizes. The key here is that the smaller shade must fit completely inside the larger one without touching the sides at all. Use plenty of soft, crumpled packing paper as a buffer between them, but never, ever force them together.
Key Takeaway: Packing lampshades separately is the single best way to make sure they arrive without dents, tears, or creases. The small cost of an extra box is nothing compared to the price of a new shade.
What Is the Best Box for a Tall Floor Lamp?
For a tall floor lamp, your best bet is a dedicated tall lamp box or even a mirror/picture box. These are specifically designed for long, slender items and give you the structural support you need.
Always place the heavy base at the bottom of the box to keep it stable. I recommend wrapping the entire lamp pole and base thoroughly in bubble wrap or a moving blanket. Once it's inside, fill any and all empty space with crumpled packing paper. This stops it from shifting around during the trip. And don't forget to label the box clearly: "TALL LAMP - FRAGILE" and "DO NOT LAY FLAT."
How Should I Handle the Electrical Cord When Packing?
Whatever you do, don't wrap the electrical cord tightly around the lamp base. This is a super common mistake that can put a serious strain on the connection point where the cord enters the lamp. It’s also a surefire way to scratch the finish.
Instead, gently coil the cord and secure it with a twist tie or a rubber band. You can then tape this neat little coil to the bubble-wrapped base or just pop it in the small plastic bag with the harp and finial. For older lamps with brittle, fabric-covered cords, create a much looser coil to avoid cracking that fragile insulation.
Is It Really Necessary to Take the Lamp Apart?
Yes, absolutely. Trying to pack a lamp while it's still fully assembled is just asking for trouble. The lampshade is far too fragile to survive the journey attached, the lightbulb can easily shatter, and the harp can bend, snap, or even puncture the side of the box.
Each component—the base, harp, shade, and bulb—has a different weight, shape, and fragility level. They all need their own specific packing method. Taking a few extra minutes to disassemble your lamp is the most critical step you can take to make sure it arrives at your new home in perfect condition.
No matter what you need to pack, from a single lamp to an entire apartment, Endless Storage has a solution for you. Our storage-by-the-box service and climate-controlled facilities make it easy to keep your belongings safe during a move or decluttering project. Learn more about our convenient, nationwide service at https://www.endless-storage.com.
Frequently Asked Questions
Unveiling the Secrets to Effortless Storage
Endless Storage is available nationwide. You pick a plan, tell us where to pickup, and we'll send a UPS van to collect, whichever state you're in.
Your shipping label will be sent to your email within a few minutes, if not instantaneously. It can also be accessed through your customer profile.
Your box will be shipped to one of our climate controlled self storage facilities in our closest self storage facility. Our manager will accept your package, notify you that your box has been received, and securely stored. Only our managers will have access to Endless Storage boxes.
Email us at admin@endless-storage.com click to live chat with us, or send us a message below.
Never! We're committed to transparent pricing with no surprises. You'll lock in your rate with no hidden fees and no long-term contracts.
Fast access guaranteed! Your boxes will arrive at your doorstep within 48 hours of requesting them back. Need to check on delivery? We provide tracking information for complete peace of mind.
Totally flexible! Store month-to-month with no long-term commitment and cancel anytime.
Everything's online! Use your account dashboard to:
• Set up automatic monthly payments
• Request box returns
• Update your address
• Order additional boxes
• Track shipments
Your boxes are insured up to $100 each. Our customer service team will help you file any necessary claims and resolve issues quickly.
Don't worry – we'll email you right away if there's a payment issue. Your items stay safe, though you may have temporary service interruption or late fees until payment is resolved.
When you request our free storage kits, you'll have 30 days to send in your boxes to activate your 3 months of free storage. Think of it like starting a gym membership – your activation window begins when you receive your kits, and your full free trial begins once you send in your first box. During your free months, you'll experience our complete storage service at no cost.
Your 30-day activation window begins when you receive your storage kits. We'll send you an email confirmation when your kits are delivered, marking the start of your activation period.
If you haven't sent any boxes for storage within your 30-day activation window, your free trial will expire and we'll begin charging the regular monthly rate of $9.99 per box. This helps ensure our storage kits go to customers who are ready to use our service.
A box costs $9.99 per month to store (plus sales tax). This price includes free shipping for standard boxes under 50 lbs. and smaller than 16"x16"x16"
Log into your Endless Storage account, locate the box you would like returned, and simply click Return My Box.
Yes, each box stored with us is insured for up to $100 throughout transit as well as the duration of storage within our facilities.
Your box will be at your doorstep within 48 hours of you requesting it back.
Store 10+ boxes? We'll pick them up for free! After your purchase, we'll contact you to schedule a convenient pickup time and arrange UPS collection.
We trust UPS with all shipments, and every box includes $100 insurance coverage. You'll receive tracking information to monitor your items' journey.
Yes! Visit any of our locations by appointment. Just bring a photo ID matching your customer profile.
For everyone's safety, we can't store hazardous materials, firearms, or perishables. All items must fit within our standard boxes.
It's easy! Order your storage kit online, and we'll ship it to you within 1-2 business days. Your shipping labels will be emailed instantly and available in your account.
We're here to help! Email us at admin@endless-storage.com, use our live chat, or send us a message through your account.
To cancel your storage service with Endless Storage, please email your cancellation request to admin@endless-storage.com. Our team will process your request within 2 business days and confirm your cancellation via email.
We understand packing takes time. However, to maintain your free trial benefits, you'll need to send at least one box within the 30-day activation window. If you need more time, you can always start with one box to activate your trial and send the rest later. You can always reach out to admin@endless-storage.com if you have any issues or concerns.
When you request our free storage kits, you're starting a 30-day window to begin using our storage service.
Important: To activate your free trial, send at least one box for storage within 30 days. If no boxes are sent within this 30-day window, a one-time $50 fee applies to cover materials and shipping costs. This fee is clearly disclosed before you sign up.
Think of it like reserving a hotel room – we're setting aside space and sending specialized packing materials for your use. The fee only applies if you request materials but don't begin storage, similar to a hotel's no-show charge.