How to Pack Kitchen for Moving Like a Pro
Tackling the kitchen during a move often feels like the final boss battle. It’s a mix of everything complicated: fragile glassware, heavy appliances, sharp objects, and pantry items you forgot you even had. A smart strategy, however, can turn this overwhelming task into a series of manageable steps.
The secret isn't just throwing things in boxes. It's about having a plan that covers four key phases: decluttering, gathering the right supplies, packing systematically, and prepping a first-night essentials box. This approach breaks the beast down, protects your breakables, and makes unpacking a whole lot less painful.
Your Smart Strategy for Packing the Kitchen
There’s a reason the kitchen is consistently ranked as the most challenging room to pack. It's not just one type of item; it's a dozen different categories all crammed into one space. From delicate wine glasses to that beast of a stand mixer, every item needs special attention. Without a solid plan, it’s a recipe for chaos.
A successful kitchen pack starts weeks, not days, before the moving truck arrives. The goal is logical packing. You want to open boxes in your new home and know exactly where things go. This process always begins with a good, honest decluttering session. It's time to go through every single drawer, cabinet, and pantry shelf.
Create a Sorting System
Before a single roll of packing tape is unsealed, you need to sort. This initial purge will dramatically shrink the mountain of stuff you actually need to pack, saving you time, money, and a whole lot of effort on moving day.
Keep your system simple. Three piles are all you need:
- Keep: These are the non-negotiables. The items you use every day and genuinely love.
- Donate: That extra set of silverware, the bread maker you used twice, or the dishware that no longer fits your style. A local charity or shelter can give them a new life.
- Toss/Recycle: Be ruthless. Get rid of expired spices, chipped mugs, broken gadgets, and that one Tupperware container with no lid.
Pro Tip: When in doubt, use the one-year rule. If you haven't touched that specialty pan, fondue set, or serving dish in the last 12 months, it's a prime candidate for the donate pile.
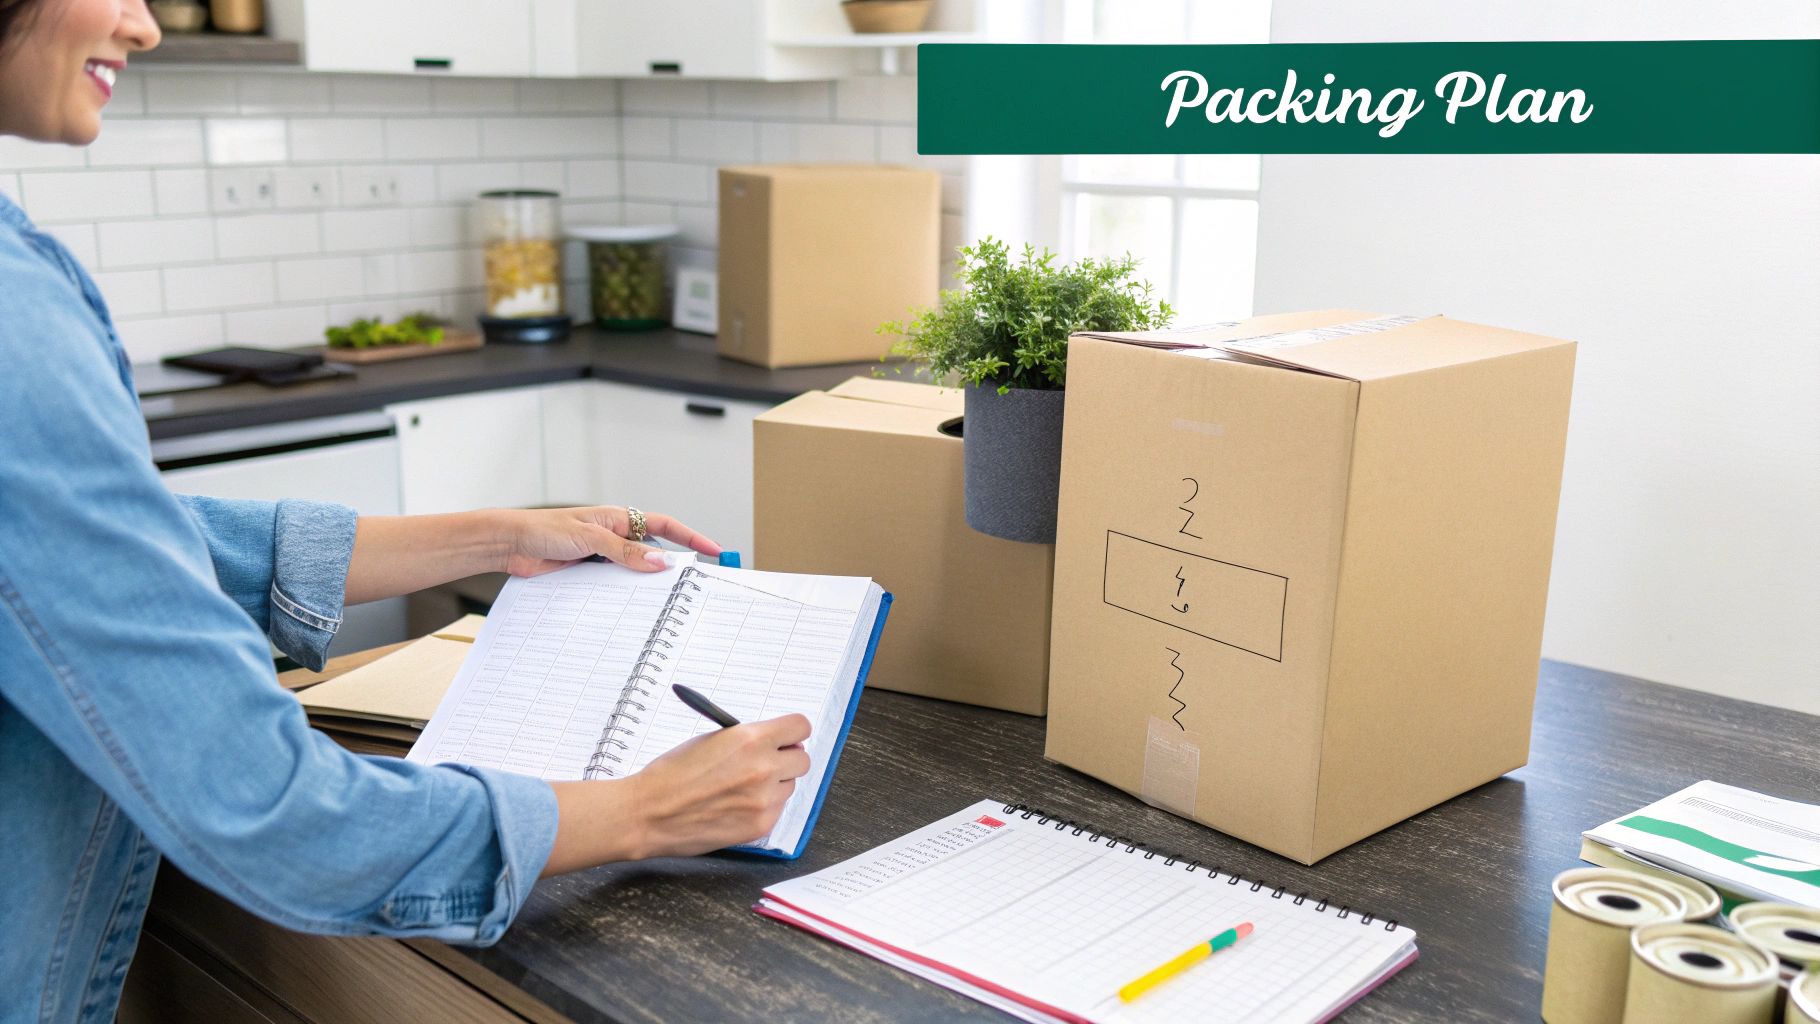
Establish a Realistic Timeline
Trying to pack your entire kitchen the weekend before you move is a terrible idea. Trust me. It leads to broken dishes and frayed nerves. Instead, break the job down into smaller, less intimidating tasks spread out over a few weeks. A well-paced schedule prevents burnout and ensures you aren't rushing when it’s time to wrap your fragile items.
Here’s a quick look at a timeline that actually works.
Kitchen Packing Timeline At-a-Glance
This simple schedule helps you pace yourself, transforming a monumental chore into a series of achievable goals.
Following a structured timeline like this is the difference between a chaotic, stressful move and a smooth transition. It allows you to walk into your new kitchen feeling organized, in control, and ready to unpack with ease.
Gathering Your Essential Packing Supplies
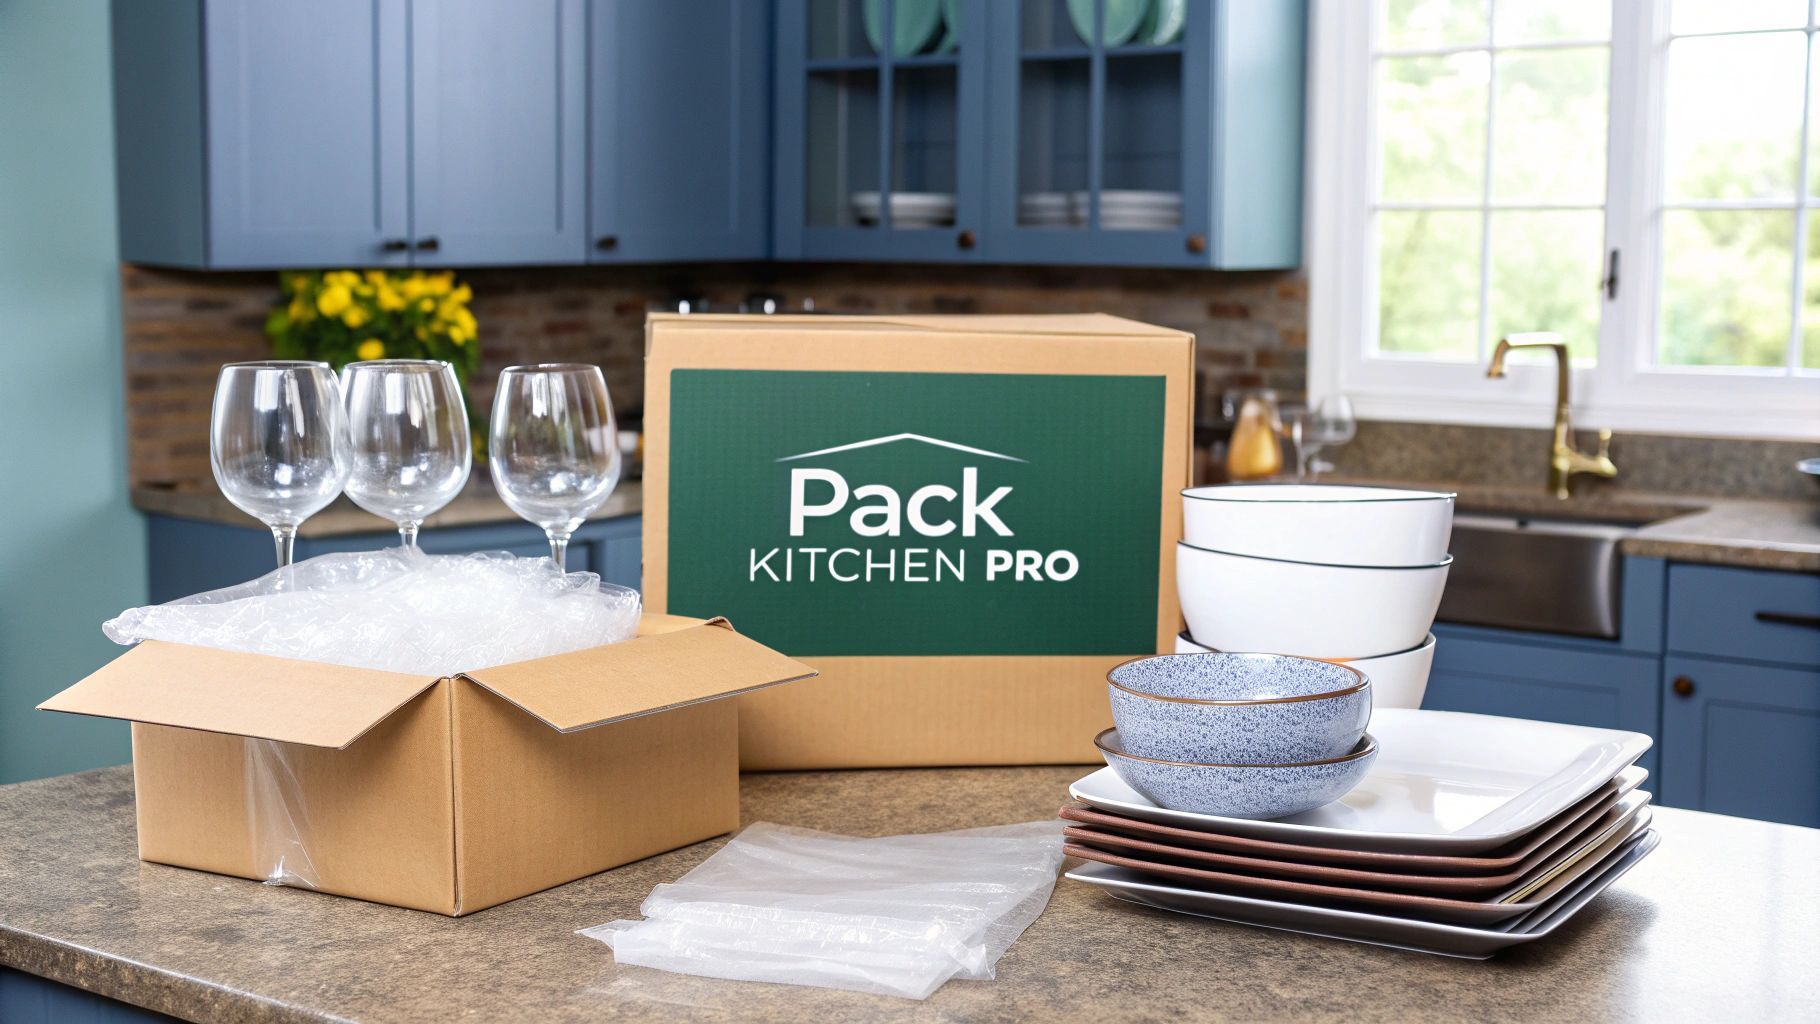
Trying to pack a kitchen with the wrong supplies is a one-way ticket to broken dishes and a whole lot of frustration. Before you wrap a single plate, you need to arm yourself with the right gear. This isn’t just about grabbing any old box from the grocery store; it’s about choosing materials specifically designed for the unique challenges of a kitchen.
Think of it like cooking a recipe—you need the right ingredients. Skimping on quality tape or using flimsy boxes is like using salt instead of sugar. The results will be disastrous. Your kitchen is a chaotic mix of heavy pots, delicate glassware, and oddly shaped appliances, and each one needs the right kind of protection.
Beyond Just Boxes and Tape
When you’re planning how to pack a kitchen for a move, the quality of your supplies is everything. It directly impacts whether your belongings arrive in one piece. This is one area where investing in specialized items really pays off.
- Dish Pack Boxes (Dish Barrels): These aren't your average moving boxes. They’re made with heavy-duty, double-walled cardboard that can actually handle the weight of stacked plates and glassware without buckling.
- Cell Dividers: These brilliant cardboard grids slide right into your boxes, creating individual compartments for glasses, stemware, or mugs. They stop things from clinking together and are an absolute must-have for preventing chips and cracks.
- Packing Paper: Be generous with this stuff. It’s perfect for wrapping individual dishes, glasses, and wadding up to fill empty spaces inside boxes to stop items from shifting around. Best of all, unlike newspaper, it won't leave ink stains all over your best china.
- Bubble Wrap: Save this for your most delicate and valuable items. Think wine glasses, fragile porcelain figurines, or that fancy blender that needs extra cushioning. Don't go overboard and use it on everything, though, as it takes up a lot more space than paper.
- High-Quality Packing Tape: Seriously, buy a better brand than you think you need. A strong seal on the top and bottom of your boxes is non-negotiable, especially for those heavy boxes full of cookware or canned goods.
The right supplies are more than just a good idea; they're part of a massive, growing industry. The global market for moving boxes was valued at $233.06 billion and is expected to hit $349.62 billion by 2032. This huge demand highlights just how critical durable, moisture-resistant cardboard is for protecting sensitive goods like your cookware and glassware. You can dive deeper into these insights over at Maximize Market Research.
Smart Supply Management
Creating a full checklist from the start will save you from those annoying, last-minute runs to the store. For a complete rundown of what you'll need, check out our guide on the best packing supplies for moving. It covers everything from stretch wrap for keeping silverware trays intact to the best permanent markers for labeling.
Trust me on this: starting with the right tools makes the entire job of packing your kitchen significantly less stressful. A little preparation here goes a long, long way in protecting your valuables—and your sanity.
Packing Fragile Dishes and Glassware Safely
There’s a unique kind of anxiety that comes with hearing the faint clink of glass from inside a moving box. Let’s be honest, plates, bowls, and glassware are usually the most nerve-wracking items to pack in any kitchen. But getting them to your new home in one piece is less about luck and more about having a solid game plan for wrapping and cushioning.
We’ve all been tempted to just stack paper between plates and call it a day, but that’s a recipe for disaster. The pros know the real secret is creating a shock-absorbent nest inside every box. This means giving each fragile item some individual attention before it even thinks about getting cozy next to its neighbor.
The Art of Wrapping Individual Plates
Here’s the biggest mistake I see people make: packing plates flat. When you stack them horizontally, all the weight from the top items presses down on the one at the very bottom, making it a prime target for cracks and chips from every little bump in the road.
The solution is surprisingly simple: pack plates vertically, on their edges. Picture them like vinyl records standing in a crate. This simple shift in orientation distributes pressure and dramatically lowers the risk of something breaking.
Here’s how to do it right:
- Lay a Thick Foundation: Before you pack a single plate, create a generous cushion at the bottom of a heavy-duty box. Crumple up packing paper and build a base that’s at least 4-6 inches deep.
- Wrap Every Single Plate: Place a plate in the middle of a few sheets of packing paper. Pull one corner over and tuck it in, then fold the next corner over, and repeat until the plate is snug inside its own paper cocoon.
- Tape It Secure: A small piece of packing tape will keep the paper from coming undone.
- Place It on Edge: Carefully set the wrapped plate inside the box, resting on its edge. Keep packing the rest of your plates the same way, sliding them in snugly next to each other.
This method ensures no two plates are actually touching, giving each one a protective buffer from all sides.
The real culprit behind broken dishes isn't usually a big, dramatic drop. It's the constant, subtle vibrations and shifting that happens in the back of a moving truck. Individual wrapping and vertical packing are your best defenses against that kind of damage.
Securing Glasses and Stemware
Glasses and stemware are a whole different ballgame because of their hollow shapes and delicate stems. The strategy here is to give them support from the inside out.
Always start by stuffing each glass, mug, or wine glass with crumpled packing paper. It seems like a small step, but it reinforces the structure and helps absorb shock from within, preventing the glass from getting crushed.
You don't need a mountain of supplies for this part of the job.
As you can see, it really boils down to having sturdy boxes, plenty of protective paper, and good tape to hold it all together.
After stuffing them, wrap each glass in paper just like you did with the plates. For the ultimate protection, I highly recommend using a cell divider kit in your box. These cardboard grids create individual compartments that stop glasses from clanking against each other. If you don't have dividers, you can still pack them safely by arranging them in a single layer and meticulously filling every single gap with more crumpled paper.
Just remember to put heavier items like thick mugs on the bottom layer and save the delicate, fragile stemware for the top. To get an even better handle on protecting your delicate belongings, you can learn more about how to pack fragile items for moving.
For even more pro-level strategies, check out our complete how to pack fragile items safe shipping guide. Taking a little extra time here will give you total peace of mind, knowing your favorite glasses are wrapped up tight and ready for the ride.
How to Pack Pots, Pans, and Small Appliances
Alright, with the delicate dishes out of the way, it’s time to tackle the heavyweights of your kitchen. Pots, pans, and small appliances are often bulky and oddly shaped, but the right technique makes packing them a breeze. You’ll be able to get them packed up securely without scratching any surfaces or losing crucial parts.
The secret sauce here is a simple combination: nesting, padding, and making sure nothing can shift around in the box.
Before you start, gather up all your pots and pans. Give everything a good cleaning and make sure it’s bone-dry before a single piece of packing paper touches it. This is a critical step to prevent any trapped moisture, which can quickly lead to mildew during transit or in storage.
Efficiently Packing Cookware
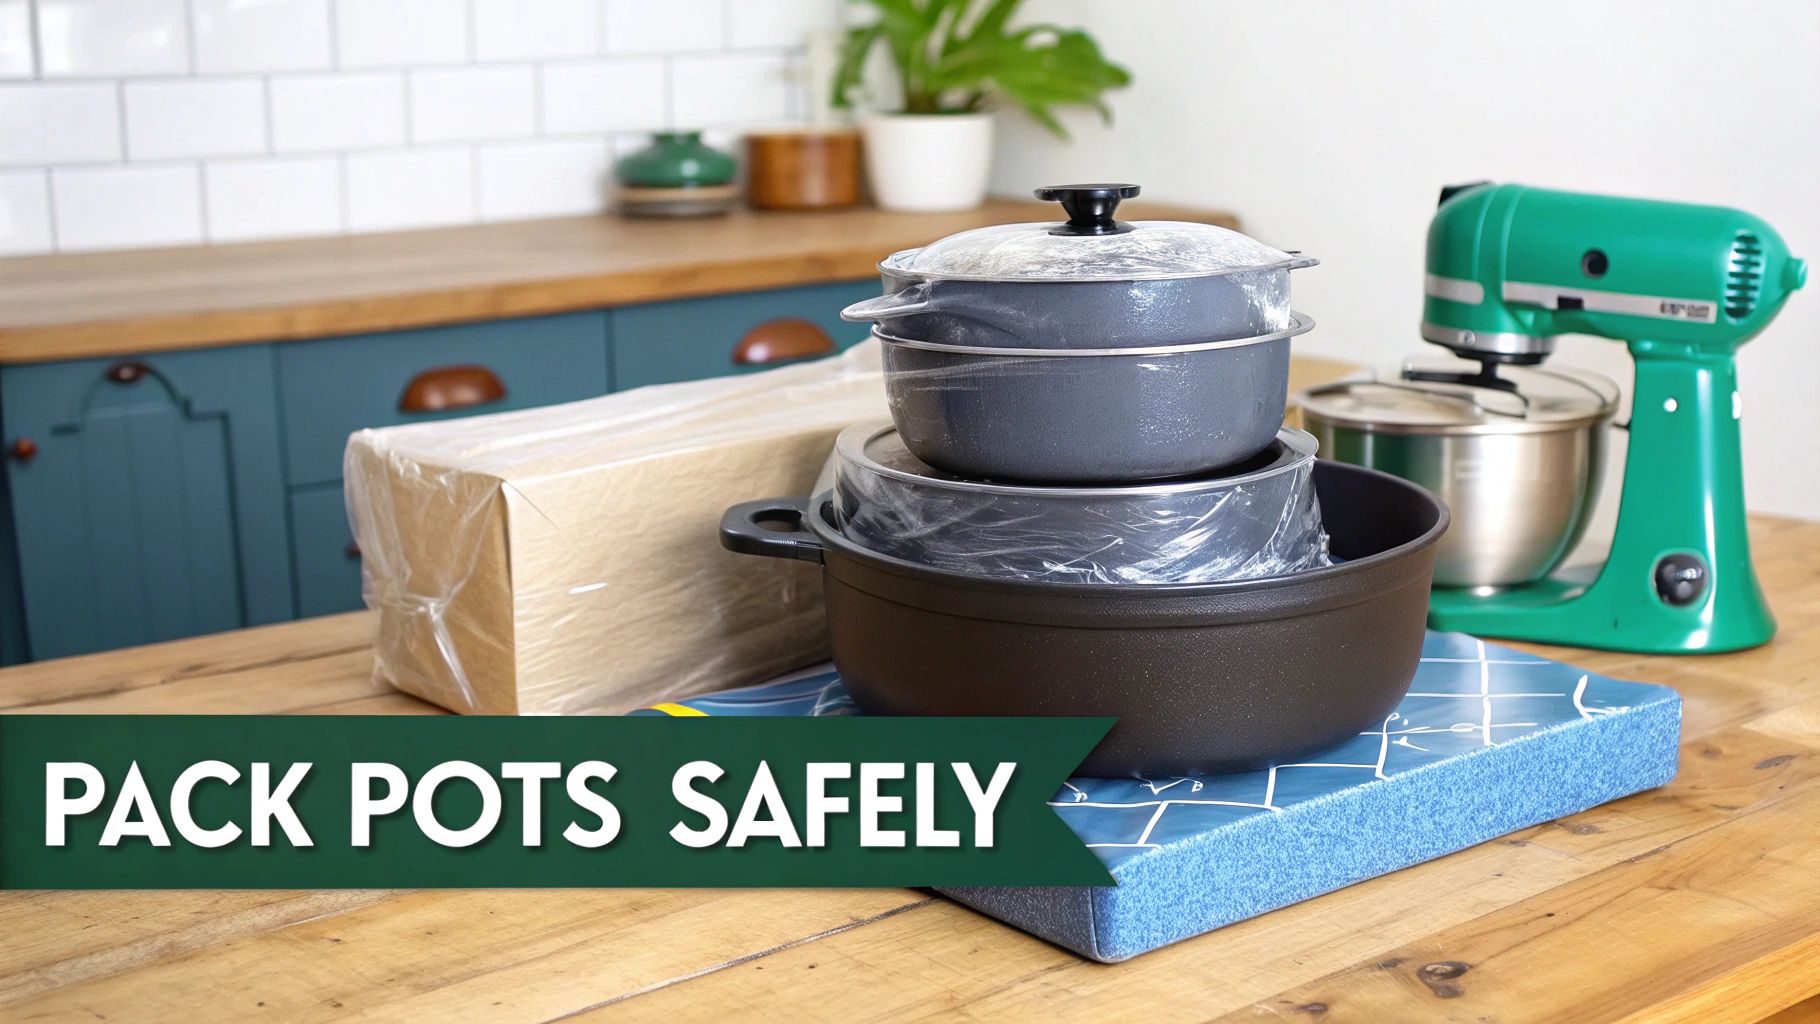
Your collection of pots and pans can eat up a surprising amount of box space if you just toss them in. The best approach I’ve found is to nest them, placing smaller pots inside larger ones. It’s a simple trick that saves a ton of room.
But don’t just stack them directly on top of each other. Ever. Always place a layer of packing paper, a foam sheet, or even a clean dish towel between each pot. This is non-negotiable for preventing scratches, especially on non-stick or coated surfaces.
When it comes to the lids, you have a couple of solid options:
- Wrap Separately: Just wrap each lid individually in packing paper and slide them vertically into the box, right alongside the nested pots.
- Invert and Secure: Flip the lid upside down so the handle sits inside the pot. Cover it with a piece of paper, then nest the next smallest pot right on top.
Super heavy items, like a cast iron skillet or that big Dutch oven, should be wrapped individually. Always place these at the bottom of a sturdy, medium-sized box. It's tempting to grab a big box, but that's a classic rookie mistake that leads to dropped boxes and strained backs.
Key Takeaway: Stick to medium boxes for heavy items like cookware and appliances. A large box crammed with metal pots can easily top 50 pounds, turning it into a major safety hazard to lift and move.
Handling Small Kitchen Appliances
Small appliances like your toaster, coffee maker, and stand mixer need a little extra TLC. If you happened to save the original boxes, now is their time to shine. Nothing protects an appliance better than the box it came in.
No original packaging? No problem. Just find a box that’s just a little bit larger than the appliance itself.
Before you pack anything, run through this quick checklist:
- Clean and Dry: Give every appliance a thorough cleaning. You’ll thank yourself later. Empty the crumb tray from the toaster, descale the coffee pot—get it all done now.
- Secure Loose Parts: Take off any detachable parts, like the glass carafe from the coffee maker or the beaters from a mixer. These should be wrapped separately.
- Bundle Cords: Neatly coil the electrical cord and tape it directly to the appliance so it doesn’t dangle, snag, or scratch anything.
Wrap the entire appliance in a few layers of packing paper or bubble wrap, giving extra attention to any delicate knobs or glass components. Place it upright in the box and stuff any empty space around it with crumpled paper. This ensures it can't shift an inch during the move.
For more in-depth tips, you can learn all about how to store kitchen appliances safely. A little prep work here guarantees they’ll arrive in perfect, ready-to-use condition in your new home.
Managing Food and Creating Your Essentials Box
As moving day gets closer, the focus inevitably shifts from your hard goods—like furniture and dishes—to the perishable contents of your fridge and pantry. Tackling food requires a bit of strategy to minimize waste and avoid hauling things you don't need. The best first step? A full inventory of everything you have.
This is the perfect opportunity to get creative in the kitchen. I always tell people to challenge themselves to use up as much perishable and frozen food as possible in the final weeks before the move. Plan your dinners around what needs to be eaten first. It’s a simple trick that prevents a ton of last-minute food waste. For any non-perishables you don't plan on taking, a local food bank would be more than happy to take them off your hands.
Packing Your Pantry Items
Once you've sorted out what’s coming with you, it's time to pack it properly. Non-perishable items like canned goods, pasta, and rice travel well, but they can get incredibly heavy, fast.
- Use small, sturdy boxes: Trust me on this one. A huge box filled with cans is a recipe for a broken box or a pulled back muscle. Keep the weight of each food box under 30 pounds.
- Secure your liquids: For anything that can spill, like cooking oil or vinegar, here's a pro tip: open the lid, place a small piece of plastic wrap over the opening, and then screw the cap back on tightly. This creates a secondary seal and has saved me from countless messy cleanups.
- Tape spice jars shut: A simple piece of tape over the lids of your spice jars is all it takes to stop them from popping open and dusting your entire box with paprika.
For a deeper dive into getting your pantry in order before you even grab a box, check out our guide on how to organize kitchen pantry. A little prep work here makes the whole process so much smoother.
Your "Open First" box, often called an essentials box, is your moving day survival kit. It’s the very last thing you pack onto the truck and the absolute first thing you open at your new home. Seriously, it's a sanity-saver when you're exhausted and just need a cup of coffee.
Assembling Your Lifesaver Box
Think of this box as your personal care package for the first 24 hours in your new place. It should contain everything you need to function without having to tear through a dozen different boxes just to find a fork. Picture your first morning or your first simple meal after a long day of moving.
Here's what I always recommend putting inside:
- Coffee maker and coffee grounds (or tea bags!)
- A couple of mugs and spoons
- Paper towels and dish soap
- A multipurpose cleaner
- A few easy snacks, like granola bars
- Disposable plates and utensils
- A box cutter for opening all the other boxes
Having these items immediately accessible can completely change the vibe of move-in day, turning it from a chaotic scramble into a manageable transition. It gives you the space to take a breath, refuel, and then tackle the rest of the unpacking with a clear head.
A Smart Labeling System That Simplifies Unpacking
Proper labeling is the secret weapon for a stress-free move. Just scribbling "Kitchen" on a box with a permanent marker is a rookie mistake that almost guarantees chaos later. Trust me, when you're exhausted on moving day, the last thing you want to do is rip open five different boxes just to find the coffee maker.
Think of your labels as a roadmap for your future, tired self. A little extra detail now saves you an incredible amount of time and frustration when you’re trying to settle in. This means going beyond just the room name and getting specific about what’s actually inside.
Beyond Basic Box Labels
To really make your life easier, you need more than just words; it's about creating visual cues your brain can process in a flash. An effective system is a key part of a smooth move, and there are plenty of resources out there covering things like smart name labels for organization if you want to dive deeper.
A few simple techniques can make a world of difference:
- Color-Coding System: Assign a color to each room. For the kitchen, maybe it’s green. Use green packing tape or green-colored labels on every single kitchen box. This lets you (and your movers) see at a glance where everything belongs without reading a single word.
- Detailed Content Lists: Instead of just "Kitchen," get specific. Try "Kitchen – Everyday Plates & Bowls" or "Kitchen – Small Appliances (Toaster, Blender)." This little detail helps you prioritize which boxes to open first. Coffee maker, anyone?
- Numbering System: Give every box a unique number, like K-01, K-02, and so on for the kitchen. Then, keep a running list in a notebook or on your phone that details the contents of each numbered box. It feels like a lot of work, but you'll thank yourself later.
The real power of a good labeling system isn’t just about finding things—it’s about reducing decision fatigue. When every box has a clear purpose and destination, you can unpack methodically instead of feeling overwhelmed by a sea of brown cardboard.
Deciding When to Call the Pros
Let's be honest: packing a kitchen is uniquely complicated. It's why so many people throw in the towel and hire professional help, even if it's just for this one room. The sheer volume of fragile, awkward, and valuable items makes it a prime candidate for a partial or full-service packing job.
This decision usually comes down to balancing your time, your budget, and your sanity. A recent survey from This Old House revealed that 42% of movers opt for full-service packing, and the kitchen is a huge reason why. Professional movers have the right materials and the experience to protect everything from delicate glassware to heavy appliances, which is especially critical for long-distance moves where boxes get handled a lot more.
For more expert advice on creating a system that works for you, our guide on how to label boxes for moving offers even more practical strategies. Ultimately, a well-labeled box is the final, crucial step in protecting your belongings and setting yourself up for a smooth transition into your new home.
When moving gets complicated, let Endless Storage simplify the process. We provide hassle-free, by-the-box storage solutions, perfect for decluttering your kitchen or storing items you don’t need right away. Visit us at https://www.endless-storage.com to see how we can help.