
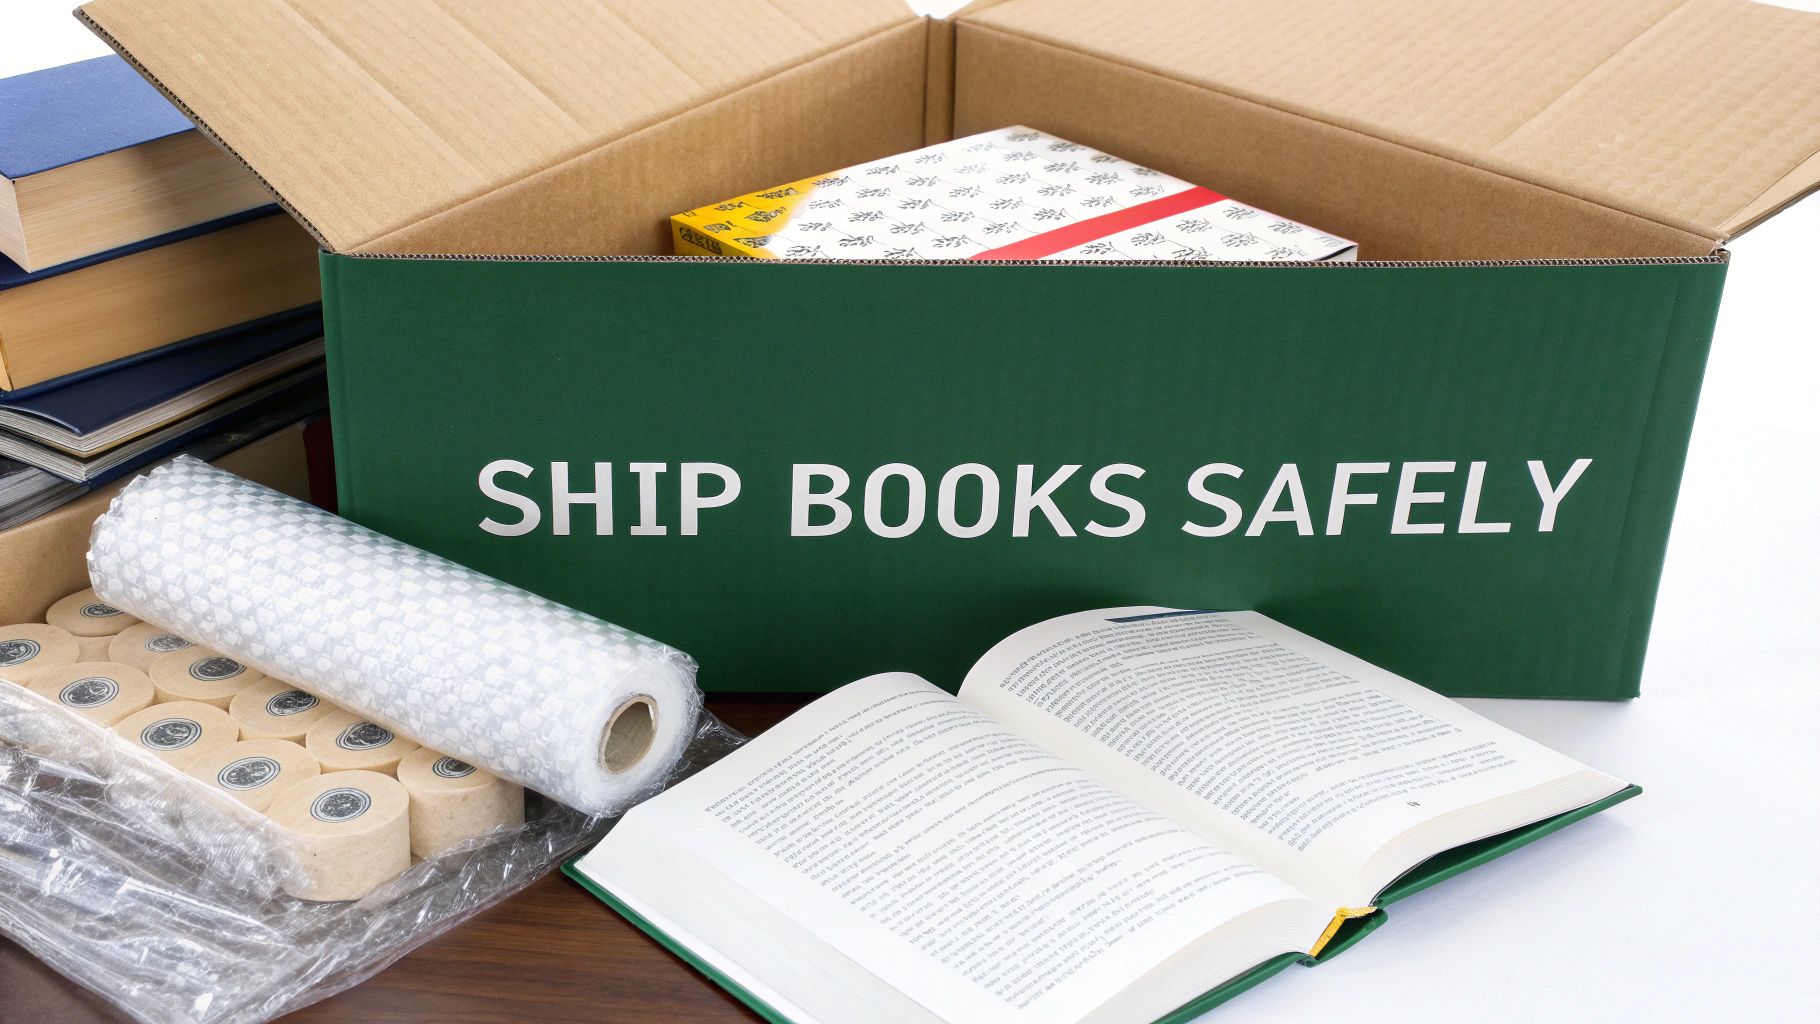
Getting your materials right is the secret sauce to shipping books without a single bent corner or scuffed cover. It all starts with a sturdy, correctly-sized box, some quality bubble wrap, and strong packing tape. Nailing this first step is the single most important thing you can do to make sure your books arrive looking just as good as when you sent them.
Choosing the Right Materials to Protect Your Books
Before you even think about how to pack, you need to gather the right tools. Your choice of box and cushioning material is the foundation of a secure shipment. It’s what stands between your book arriving safely and it becoming another unfortunate damage statistic. Skimping on supplies is a classic rookie mistake that often leads to bent covers, crushed corners, and disappointed recipients.
Making smart choices upfront saves you a world of headaches later. If you're selling books online, this is especially critical. Damaged books are a real problem, accounting for an estimated 1-3% of all returns in the online book trade. Investing a little extra in good supplies can slash those damage rates, protecting both your reputation and your wallet. For more insights into these industry trends, check out the analysis over on Newprint.com.
Boxes vs. Mailers: A Quick Comparison
The first decision you'll usually make is whether to go with a rigid mailer or a classic cardboard box. A flat, rigid mailer can be a great, cost-effective option if you're sending a single, lightweight paperback. Its snug fit keeps the book from sliding around.
But for hardcovers, multiple books, or anything valuable, a corrugated cardboard box is non-negotiable. You want a box that's just slightly larger than your book. That little bit of extra space is crucial because it allows you to add the cushioning that provides real crush protection.
Pro Tip: Never, ever use a box that’s way too big. All that empty space is a recipe for disaster. It lets the book slide and slam against the inner walls of the box with every bump and jolt in transit.
Cushioning Your Shipment Effectively
Once you've picked the perfect box, it's time to fill any empty space. Different cushioning materials shine in different situations:
- Bubble Wrap: This is the gold standard for protecting individual books, especially hardcovers or valuable editions. The air-filled pockets are fantastic at absorbing shock and preventing scratches on delicate dust jackets.
- Packing Paper: When you need to fill larger gaps in a box with multiple books, crumpled packing paper is your best friend. It’s affordable and does a great job of keeping everything from shifting around.
- Air Pillows: These are best for filling significant voids in larger boxes. They're incredibly lightweight and keep the contents firmly in place.
If you want to take a deeper dive into the pros and cons of different materials, have a look at our guide on the best packing supplies for moving. Many of the same principles apply here!
To help you decide at a glance, here’s a quick breakdown of your options.
Packing Materials Comparison Guide
Ultimately, combining the right box with the right cushioning gives you a one-two punch against shipping damage.
Your Guide to Securely Packing Books for Transit
Okay, you’ve got the right materials. Now comes the part that really counts: the technique. How you wrap and arrange your books inside the box is just as critical as the box itself. The whole point is to create a solid, unmoving block that can take the inevitable bumps and tumbles of shipping, ensuring every book shows up looking pristine.
First things first, wrap each book on its own. This is an absolute must for hardcovers with delicate dust jackets or any book with a special embossed cover. Bubble wrap is your best friend for this initial layer—it protects against scuffs, moisture, and impact. A single, snug layer is usually all it takes.
This infographic breaks down the essential steps for wrapping and securing a single book.

As you can see, the main goal is to protect the most vulnerable parts. It's always the corners and the spine that take the brunt of any damage.
Mastering the Art of Packing Multiple Books
When you're shipping more than one book in a box, your mission is simple: prevent any movement. Books that can slide around will rub against each other, leading to scuffed covers and bent pages. A snug fit is everything.
Stick to these simple rules for a perfect multi-book pack:
- Heaviest on the Bottom: This one’s a classic for a reason. Always put your bigger, heavier books at the bottom of the box. This creates a stable foundation and stops lighter paperbacks from getting crushed.
- Alternate Spines: As you stack the books, alternate their spines—one facing left, the next facing right. This little trick helps distribute the weight evenly and usually creates a flatter, more stable stack inside the box.
- Use Cardboard Inserts: For some extra peace of mind, especially with valuable books, slide a thin sheet of cardboard between each one. It's a small step that makes a huge difference in reducing friction and scuffing.
Once your books are arranged, it's time to deal with any leftover space. This is where your crumpled packing paper or air pillows come into play. Stuff the empty space tightly on all sides. When you're done, nothing inside should shift when you give the box a gentle shake. For more general tips, check out our guide on how to pack boxes for shipping, which goes into more detail on these principles.
Key Takeaway: The perfect pack is a silent one. If you can hear or feel the contents shifting when you shake the sealed box, you need to add more cushioning material. A quiet box is a secure box.
Advanced Packing for Valuable and Collectible Books
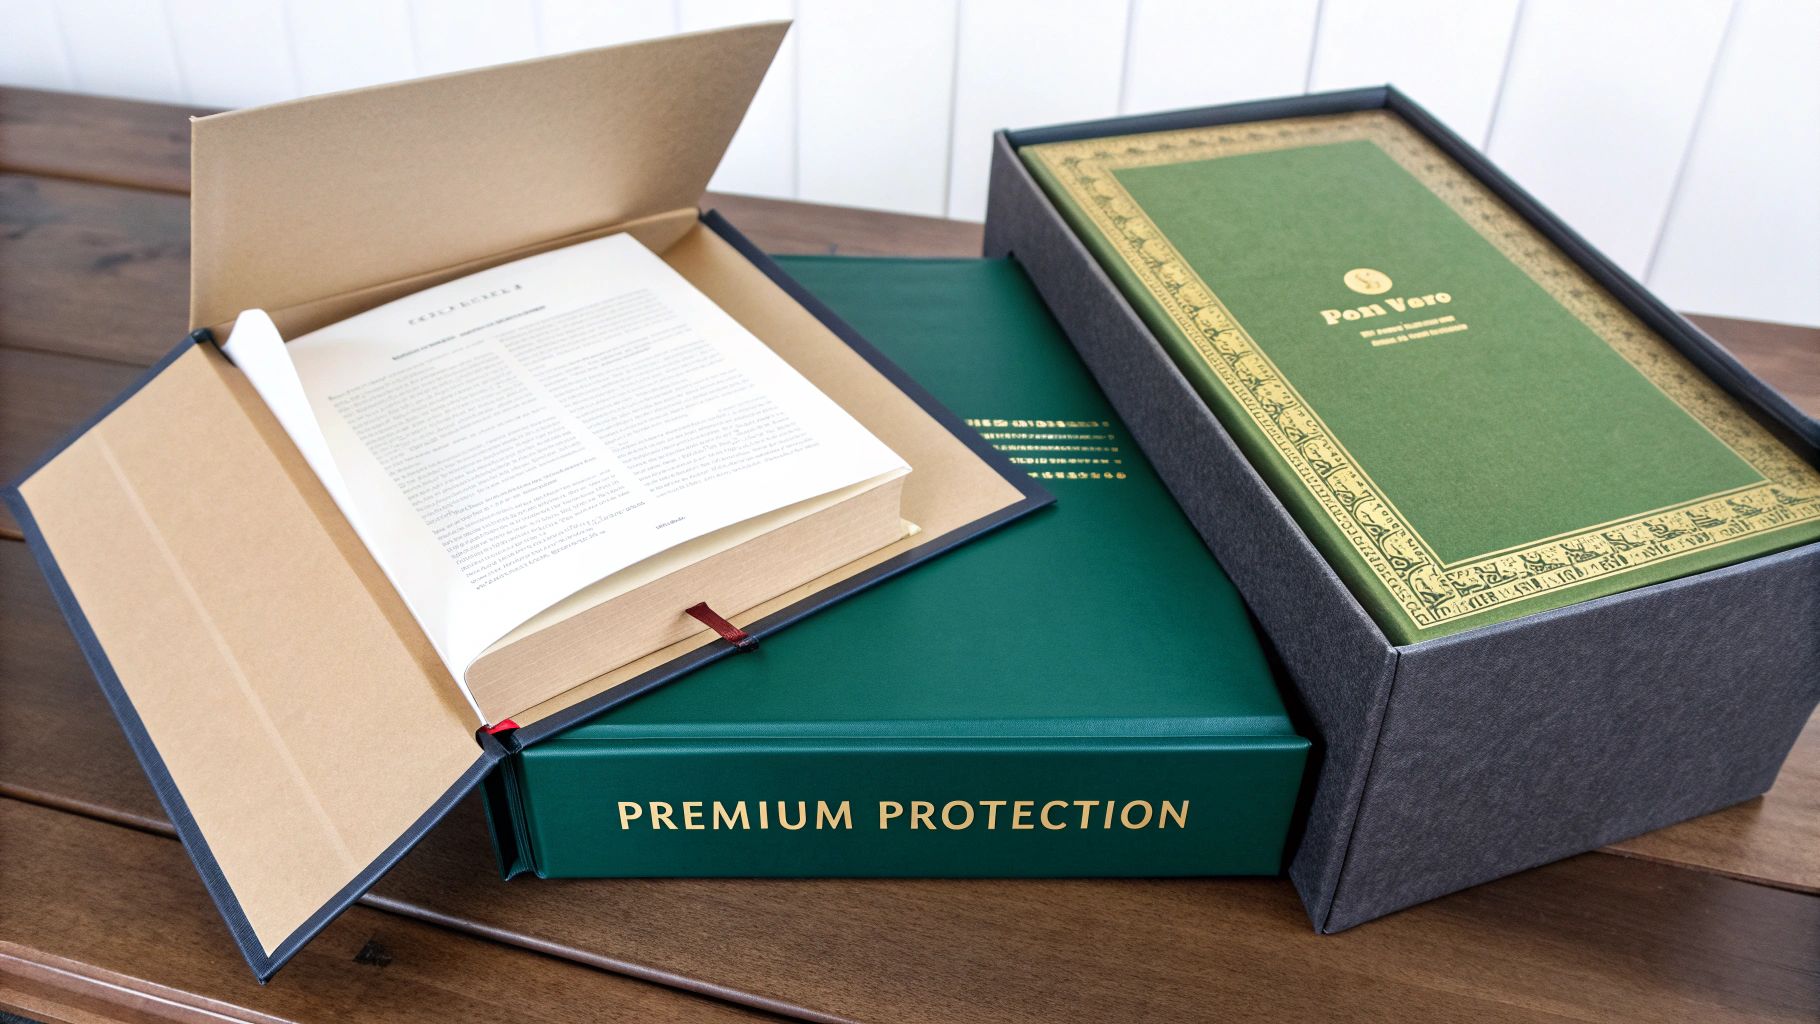
When you’re dealing with a rare first edition or a fragile antique book, the usual packing methods just won’t do. These are the kinds of items that need more than a simple box; they need a fortress built around them to stand up to crushing forces, moisture, and even the packing materials themselves.
Your absolute first line of defense is waterproofing. Before you do anything else, slide the book into a sealed plastic bag, like a Ziploc. It’s a simple step, but it’s the single most effective way to guard against a sudden downpour on a loading dock or humidity seeping in during transit.
The Box-in-a-Box Method
For truly serious crush protection, the “box-in-a-box” technique is the gold standard among collectors and dealers. The idea is to pack your book into a small, snug box, and then suspend that entire box inside a larger shipping box, cushioned on all sides.
Think of it like creating a shock-absorbing buffer zone. Here’s how it works:
- The Inner Box: First, wrap the waterproofed book in bubble wrap. Place it inside a small box where it fits snugly without much room to shift. A little bit of filler can take care of any minor gaps.
- The Outer Box: Grab a larger shipping box and line the bottom with at least two inches of packing peanuts or crumpled bubble wrap to create a soft landing pad.
- Combine and Cushion: Set the smaller box right in the center of the larger one. Now, fill every bit of empty space—top, bottom, and all four sides—with more cushioning. The goal is to make sure the inner box is completely immobilized.
When you’re done, the inner box should feel like it’s floating inside the outer one, protected from any serious bumps or drops.
When you're shipping collectibles, the materials you choose are just as critical as your packing method. Using the wrong stuff can cause irreversible damage over time—a major concern that also comes up when you’re learning how to store books long term for perfect preservation. Always use acid-free paper or tissues as the first layer touching the book to protect delicate bindings and old pages from chemical burns.
Handling International and Bulk Shipments
When your books are headed overseas or you're shipping a large volume at once, the game changes. International packages face a much tougher journey—they're in transit longer, handled more often, and exposed to all sorts of weather. This demands a much more serious packing strategy than a simple domestic shipment.
Moisture is the big enemy here, especially for anything traveling by sea. And since the maritime shipping industry moves about 90% of all global trade, there's a good chance your books could spend time on a ship. To be safe, I always wrap each book (or a small stack) in a waterproof plastic layer first, before any bubble wrap goes on. Tossing a few silica gel packets into the box is another pro move for absorbing any ambient moisture. You can get a sense of this massive global network by checking out the latest maritime industry outlook.
Mastering Bulk Shipments
Packing a big, heavy box of books is about more than just filling it to the top. All that weight puts immense pressure on the seams, and a standard box can easily split open mid-trip. The real goal is to create a solid, immovable brick of books that can handle being tossed around and stacked.
Here are a few tips I've learned from experience for packing bulk orders:
- Reinforce Your Box: Before a single book goes in, grab your packing tape and run extra strips along the bottom seams, both inside and out. This is where the box is most likely to fail, so give it some extra strength right from the start.
- Distribute the Weight: It’s all about creating a stable foundation. Place your heaviest hardcovers flat along the bottom, then work your way up to the lighter paperbacks. I also like to alternate the direction of the spines to keep the stack level and dense.
- Kill the Empty Space: Any wiggle room is bad news. Crumple up packing paper and stuff it into every single gap until it's tight. A perfectly packed box should have zero internal movement when you shake it.
One of the biggest hurdles with international shipping isn’t the packing—it’s the paperwork. Properly filled-out customs forms are absolutely critical if you want to avoid your package getting stuck for weeks. For a comprehensive guide on what’s needed, our international moving checklist has some excellent insights that apply to shipping books, too.
Getting It Sealed and Labeled for a Safe Trip
All that careful packing doesn't mean much if the box bursts open halfway to its destination. This is where good tape and a solid sealing method come in. Skip the scotch or masking tape—they just won't hold up. You need strong packing tape.
The best technique I’ve found is the “H-tape” method. It's simple and incredibly effective at reinforcing all the potential weak spots on a box.
- First, run a strip of tape down the center seam where the top flaps meet.
- Then, tape along both edge seams on the top of the box.
When you’re done, the tape pattern looks just like a capital “H,” giving your box the maximum structural support for its journey.
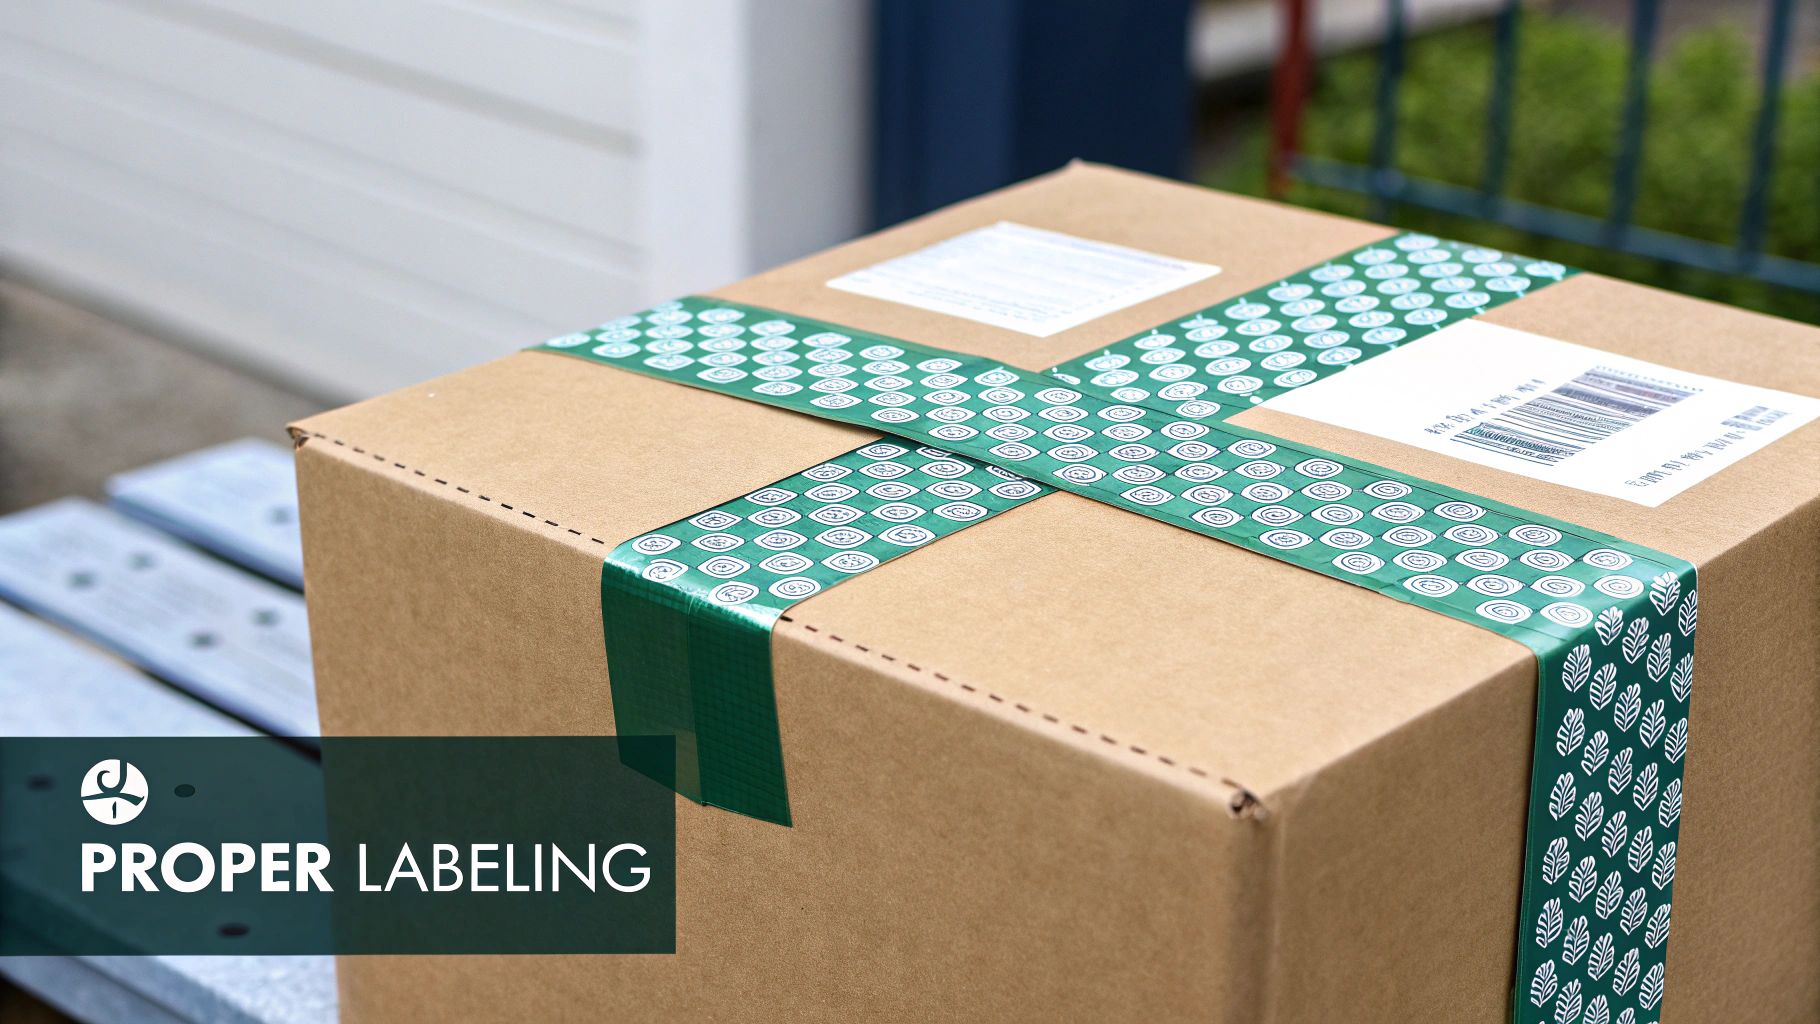
Placing the Shipping Label Properly
With the box sealed up tight, it’s time to add the label. Where you stick it actually matters a lot, especially with all the automated sorting machines in warehouses these days.
Always place the shipping label on the largest, flattest surface of the package. Never wrap it over a seam or an edge. You also want to avoid putting it directly on top of your sealing tape, since that can cause scanning errors or get ripped off if the tape peels.
For a little extra peace of mind, I like to put a layer of clear packing tape over the entire label. This acts as a waterproof shield, protecting the barcode and address from getting smudged, wet, or torn.
Crucial Tip: If you're reusing an old box, make absolutely sure you've removed or completely blacked out any old shipping labels, barcodes, or addresses. A stray barcode can easily confuse an automated scanner and send your package on an unexpected detour, delaying it for days.
Proper labeling is a final, critical step. To really dive into the details, check out our complete guide on how to label boxes for any kind of move or shipment.
Common Packing Mistakes and How to Avoid Them
Even with the best intentions, a few simple missteps can undo all your hard work. I've seen it happen time and again. Learning from the most common packing mistakes is the fastest way to get your books shipped like a pro, ensuring they arrive safely and your customers stay happy.
Using a Box That’s Way Too Big
One of the biggest (and most frequent) errors is grabbing a box that's far too large for the book. It might seem harmless, but all that extra space is your enemy. An oversized box is just an invitation for the book to slide around, slam against the inner walls, and get dinged-up corners with every jolt during its journey.
Pro Tip: Always pick a box that’s just slightly larger than the book or stack of books. You’re aiming for no more than one to two inches of empty space on any side, which you’ll then fill completely with cushioning.
Skimping on Cushioning Material
Another classic mistake is being too sparse with your protective materials. Just tossing a book in a box with no padding is a surefire way to end up with bent covers and crushed corners. Think of it this way: every empty space inside that package is a potential point of impact.
The fix is simple: be generous with your filler. The goal is to completely immobilize the book.
- Wrap the Book First: Before it even goes in the box, give the book its own layer of bubble wrap or sturdy paper.
- Fill Every Void: Use crumpled packing paper, air pillows, or more bubble wrap to fill all the gaps around the book—top, bottom, and all four sides.
- Do the Shake Test: Before you tape it up, give the box a gentle shake. If you can hear or feel anything moving inside, you need to add more cushioning. A secure package is a silent one.
Using the Wrong Kind of Tape
Finally, don't underestimate the power of good tape. Using household tape, masking tape, or some cheap, thin packing tape is a critical error. These weaker adhesives often fail under the pressure and friction of shipping, causing your carefully packed box to pop open mid-journey.
Always use a high-quality, pressure-sensitive packing tape that is at least two inches wide. Apply it using the H-tape method—sealing the middle seam and then the two edge seams—to make sure every potential opening is securely reinforced. This small detail provides the strength your package needs to complete its trip intact.
Got Questions About Packing Books?
Even with the best guide, a few questions always pop up when you're getting ready to ship books. Here are the answers to some of the ones we hear most often.
Can I Just Ship a Book in a Padded Envelope?
You can, but whether you should is another story. For a cheap, mass-market paperback you don't mind getting a little dinged up, a padded mailer might be okay. It’s a risky move, though.
Those envelopes offer almost zero protection from the most common shipping hazards, like bent corners or a crushed spine from a heavier box being tossed on top. If you're shipping a hardcover or anything with sentimental or monetary value, a snug-fitting box is always the way to go.
What’s the Cheapest Way to Ship Books?
For shipping within the United States, USPS Media Mail is almost always your most budget-friendly choice. The service was created specifically for educational materials, which includes books.
The trade-off is speed—it’s much slower than other services. Also, be aware that these packages are subject to inspection by the post office to make sure the contents actually qualify for the special rate.
Pro Tip: If your book needs to get there fast, check the rates for USPS Priority Mail, UPS, and FedEx. For lighter books traveling shorter distances, the price difference can sometimes be surprisingly small.
How Do I Keep the Corners from Getting Damaged?
Protecting the corners is crucial. The best way to do it is by wrapping the book tightly in bubble wrap, giving the corners an extra layer of cushioning.
For valuable or collectible books, go one step further. Before you wrap it, tape small, folded pieces of cardboard over each corner. This creates a hard, rigid buffer that absorbs impact and keeps those corners sharp.
If you find yourself shipping books often or need a place to keep them between moves, managing all those boxes can be a real chore. Endless Storage simplifies the whole process by handling the packing, pickup, and storage for you. Learn more about our storage-by-the-box service at Endless Storage.
Frequently Asked Questions
Unveiling the Secrets to Effortless Storage
Endless Storage is available nationwide. You pick a plan, tell us where to pickup, and we'll send a UPS van to collect, whichever state you're in.
Your shipping label will be sent to your email within a few minutes, if not instantaneously. It can also be accessed through your customer profile.
Your box will be shipped to one of our climate controlled self storage facilities in our closest self storage facility. Our manager will accept your package, notify you that your box has been received, and securely stored. Only our managers will have access to Endless Storage boxes.
Email us at admin@endless-storage.com click to live chat with us, or send us a message below.
Never! We're committed to transparent pricing with no surprises. You'll lock in your rate with no hidden fees and no long-term contracts.
Fast access guaranteed! Your boxes will arrive at your doorstep within 48 hours of requesting them back. Need to check on delivery? We provide tracking information for complete peace of mind.
Totally flexible! Store month-to-month with no long-term commitment and cancel anytime.
Everything's online! Use your account dashboard to:
• Set up automatic monthly payments
• Request box returns
• Update your address
• Order additional boxes
• Track shipments
Your boxes are insured up to $100 each. Our customer service team will help you file any necessary claims and resolve issues quickly.
Don't worry – we'll email you right away if there's a payment issue. Your items stay safe, though you may have temporary service interruption or late fees until payment is resolved.
When you request our free storage kits, you'll have 30 days to send in your boxes to activate your 3 months of free storage. Think of it like starting a gym membership – your activation window begins when you receive your kits, and your full free trial begins once you send in your first box. During your free months, you'll experience our complete storage service at no cost.
Your 30-day activation window begins when you receive your storage kits. We'll send you an email confirmation when your kits are delivered, marking the start of your activation period.
If you haven't sent any boxes for storage within your 30-day activation window, your free trial will expire and we'll begin charging the regular monthly rate of $9.99 per box. This helps ensure our storage kits go to customers who are ready to use our service.
A box costs $9.99 per month to store (plus sales tax). This price includes free shipping for standard boxes under 50 lbs. and smaller than 16"x16"x16"
Log into your Endless Storage account, locate the box you would like returned, and simply click Return My Box.
Yes, each box stored with us is insured for up to $100 throughout transit as well as the duration of storage within our facilities.
Your box will be at your doorstep within 48 hours of you requesting it back.
Store 10+ boxes? We'll pick them up for free! After your purchase, we'll contact you to schedule a convenient pickup time and arrange UPS collection.
We trust UPS with all shipments, and every box includes $100 insurance coverage. You'll receive tracking information to monitor your items' journey.
Yes! Visit any of our locations by appointment. Just bring a photo ID matching your customer profile.
For everyone's safety, we can't store hazardous materials, firearms, or perishables. All items must fit within our standard boxes.
It's easy! Order your storage kit online, and we'll ship it to you within 1-2 business days. Your shipping labels will be emailed instantly and available in your account.
We're here to help! Email us at admin@endless-storage.com, use our live chat, or send us a message through your account.
To cancel your storage service with Endless Storage, please email your cancellation request to admin@endless-storage.com. Our team will process your request within 2 business days and confirm your cancellation via email.
We understand packing takes time. However, to maintain your free trial benefits, you'll need to send at least one box within the 30-day activation window. If you need more time, you can always start with one box to activate your trial and send the rest later. You can always reach out to admin@endless-storage.com if you have any issues or concerns.
When you request our free storage kits, you're starting a 30-day window to begin using our storage service.
Important: To activate your free trial, send at least one box for storage within 30 days. If no boxes are sent within this 30-day window, a one-time $50 fee applies to cover materials and shipping costs. This fee is clearly disclosed before you sign up.
Think of it like reserving a hotel room – we're setting aside space and sending specialized packing materials for your use. The fee only applies if you request materials but don't begin storage, similar to a hotel's no-show charge.