
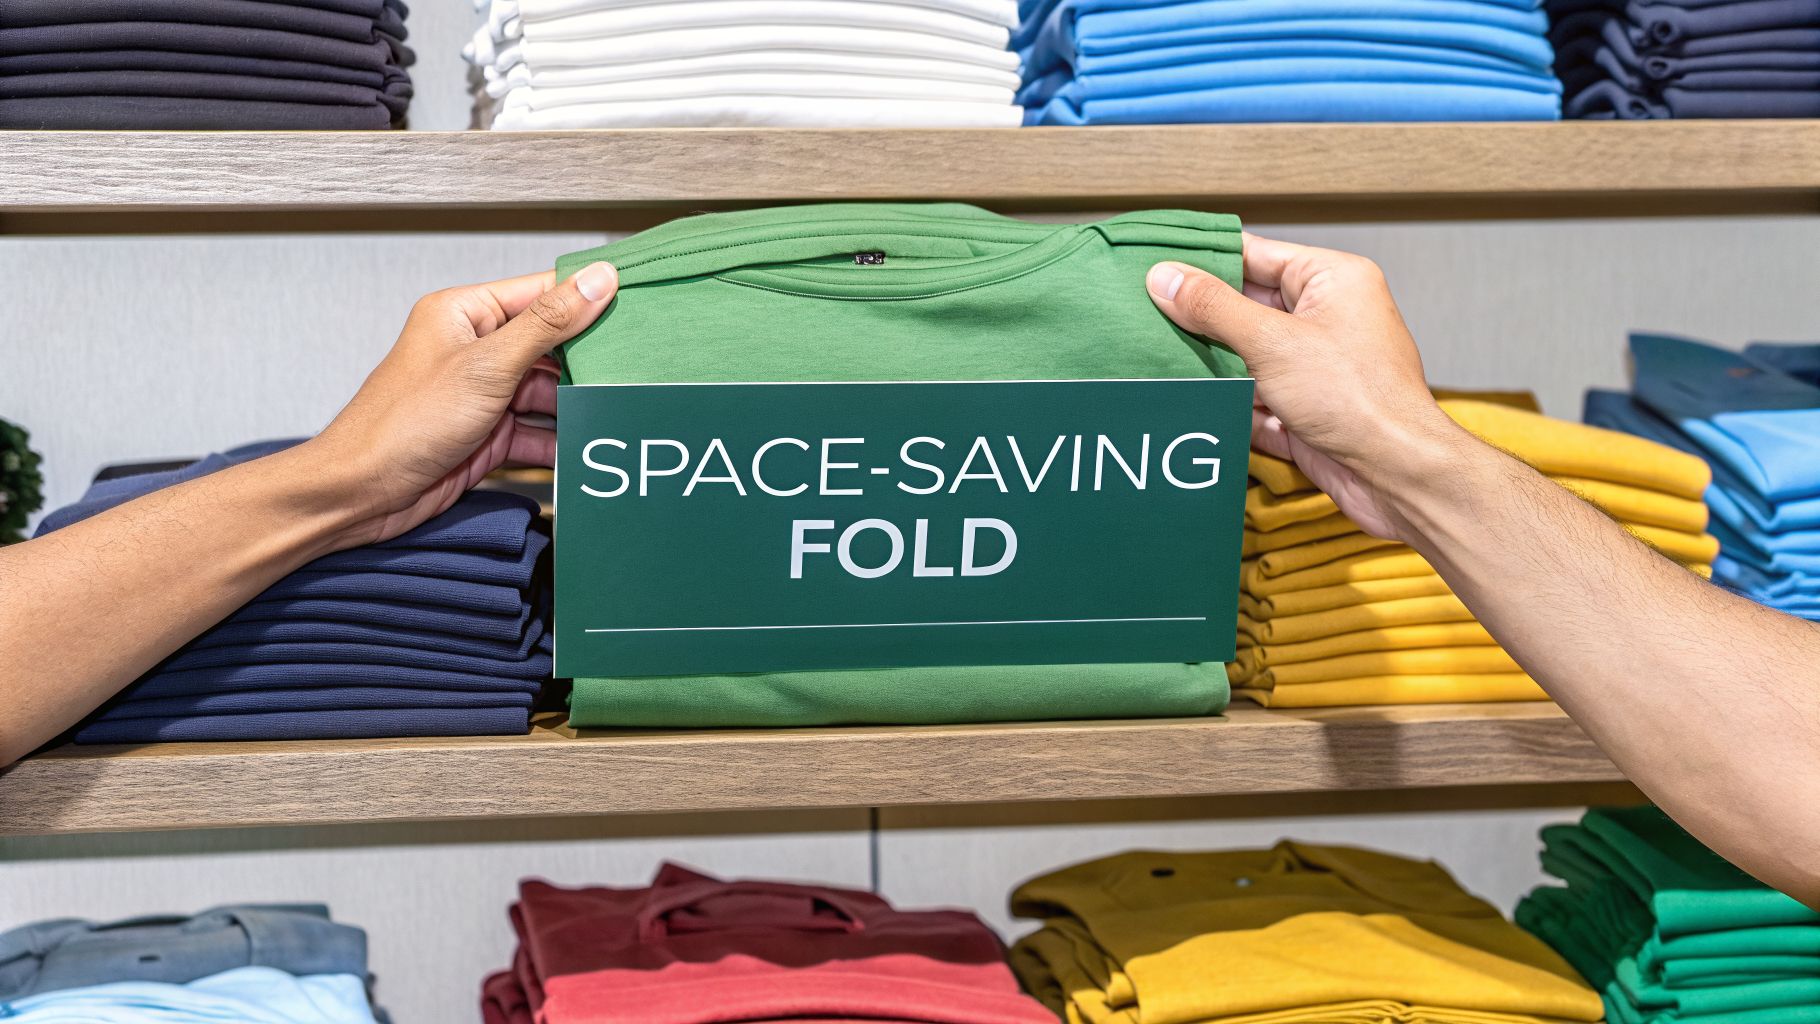
Learning how to fold a t-shirt might seem basic, but doing it right is a game-changer. The classic method turns a shapeless tee into a neat rectangle, perfect for stacking. This one simple skill can transform a messy drawer into a model of organization, saving space and keeping wrinkles at bay.
It’s the first step toward a tidy closet, a perfectly packed suitcase, or a ready-to-move storage box.
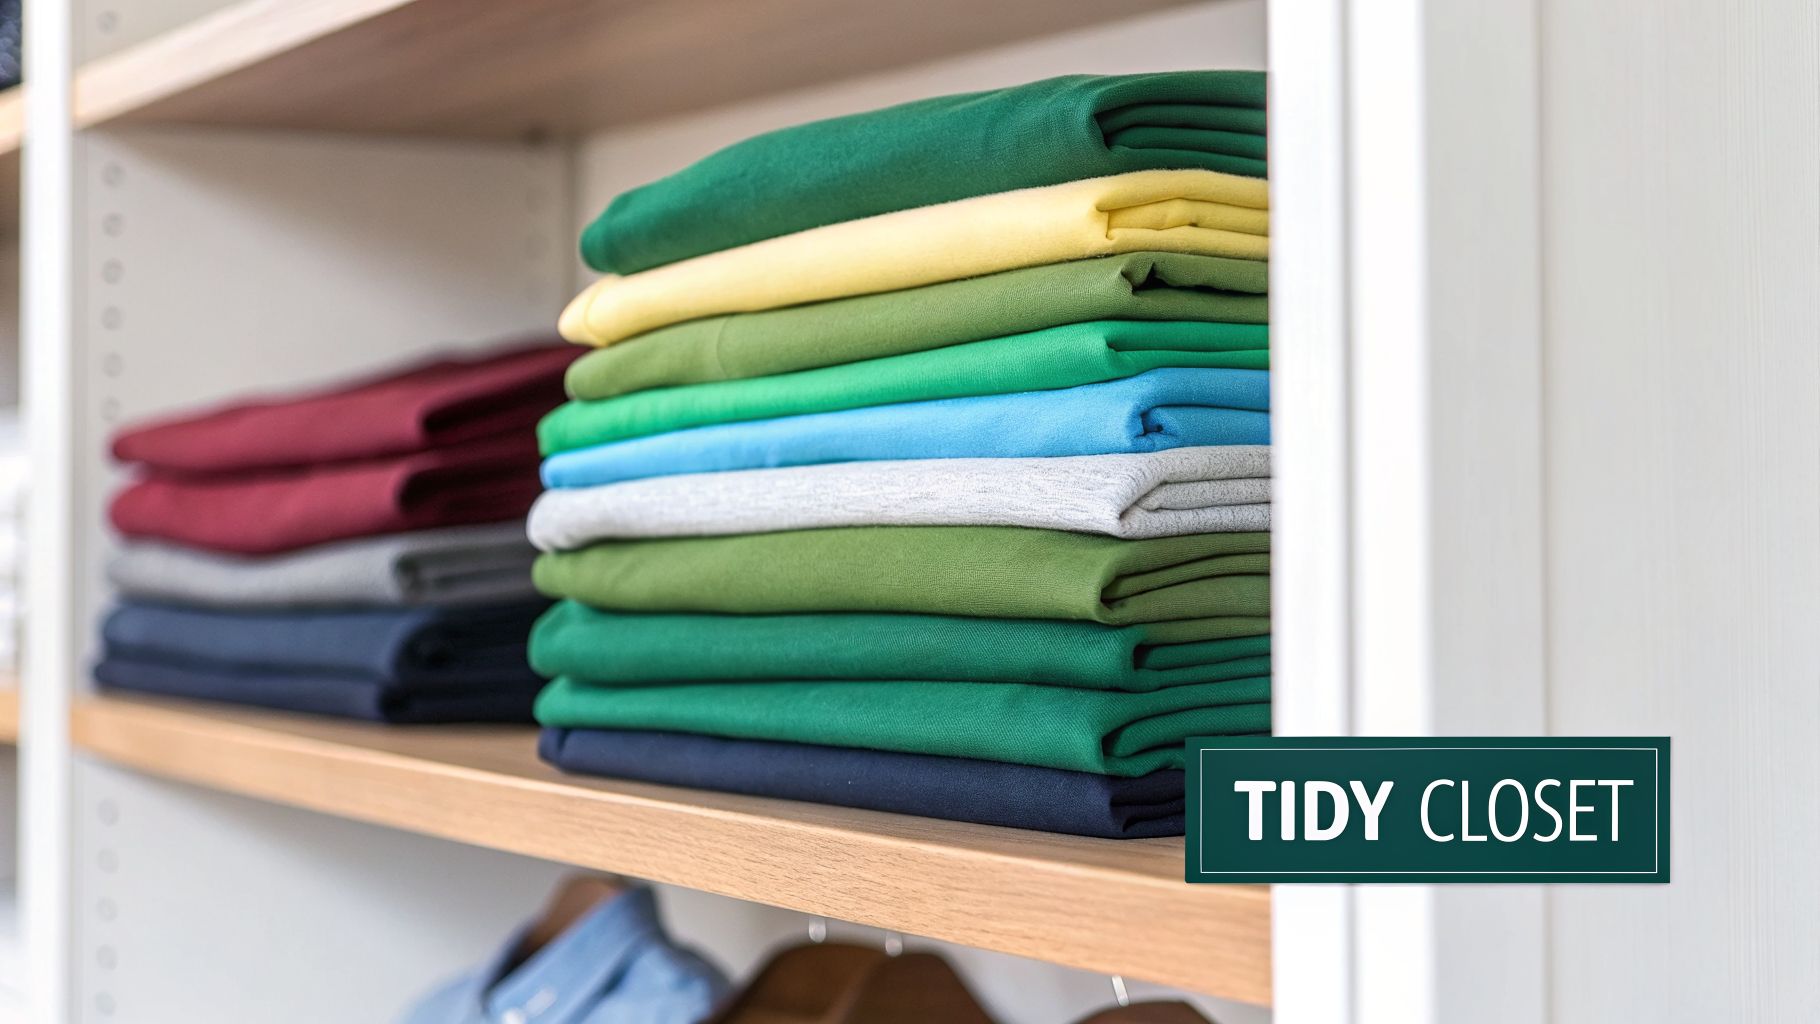
The Art of the Fold for a Tidy Closet
Folding isn't just about cleaning up—it's about taking back precious real estate in your drawers, closet, and luggage. Think of it less as a chore and more as a superpower for anyone dealing with a small apartment or a perpetually chaotic closet. The right technique really does make all the difference.
Why Your Folding Method Matters
How you fold a shirt affects everything. It determines whether your shirts get wrinkled, how much you can fit in a drawer, and how quickly you can find what you’re looking for. A pile of poorly folded tees can eat up to 40% more space, which explains why so many of us are constantly fighting with overstuffed drawers.
It’s no surprise that people are desperate for a better way. Folding tutorials racked up a staggering 100 million views on YouTube in 2025 alone. Many of these videos teach quick-flip methods that have helped people in tight urban spaces save 30% more closet space per shirt.
This guide will walk you through several of the most effective folding techniques. We’ll cover how to choose the right fold for the right situation, whether you’re organizing for:
- Daily use in your drawers.
- Compact travel to keep your suitcase tidy.
- Long-term storage to protect clothes in boxes.
Here's a quick comparison of the four main folding methods we'll cover, highlighting their best use case and key benefits to help you choose.
Which Folding Method Is Right for You?
| Method | Best For | Key Benefit |
|---|---|---|
| Basic Flat Fold | Stacking on shelves and in drawers | Quick, easy to learn, and creates uniform stacks. |
| Quick Retail Fold | Folding large batches of laundry quickly | The fastest method, ideal for using with a folding board. |
| KonMari Fold | Storing shirts vertically in drawers | Maximizes drawer space and lets you see every shirt at a glance. |
| Travel Roll | Packing a suitcase or duffel bag | Minimizes wrinkles and fits more clothes into a small space. |
Each fold we’ll cover has its place, from the everyday flat fold to the space-saving travel roll. Mastering them gives you a versatile toolkit for any organizational challenge you run into. For even more tips, check out our guide on clever clothes storage ideas.
Achieve Perfect Stacks with the Classic Flat Fold
This is the fold you see in retail stores that makes you want to buy a whole stack of t-shirts. It’s the classic for a reason: it turns any tee into a perfect, uniform rectangle that’s easy to stack on a shelf or file in a drawer.
The whole point is to create a shape you can grab without making the entire pile topple over. It’s the foundation of a tidy closet.
Before you start, lay the shirt face-down on a flat, clean surface like your bed or a table. The most overlooked step is smoothing out all the wrinkles first. A wrinkled shirt will never fold neatly, so take a few seconds to smooth it flat.
Creating the Perfect Rectangle
Once the shirt is completely smooth, you’ll start by folding one side toward the center. Just eyeball a line running straight down from the middle of the collar to the bottom hem. Bring one shoulder and sleeve over to meet that imaginary center line.
The sleeve will now be lying across the back of the shirt. Simply fold it back on itself so it lines up with the new folded edge you just made.
Now, just do the exact same thing on the other side. Fold the second sleeve and side inward to meet the first. What you’re aiming for is a long, narrow rectangle. Take a second to make sure both sides are even—if one is wider, your final stack will be wobbly.
Pro Tip: For graphic tees, I always lay them face-up instead. This lets you fold the sides in without covering the design, so you can easily see which shirt you’re grabbing from the drawer later on.
You should now have a long, armless rectangle. The last move is to fold this shape either in half or into thirds. For stacking on a shelf, folding it in half from bottom to top gives you a really sturdy, stable shape.
Common Mistakes to Avoid
Most messy stacks come from rushing the process. It’s easy to get it right if you just sidestep these common mistakes.
- Uneven Sides: If you don't bring each side to the center evenly, you end up with a skewed rectangle. This is what causes those leaning towers of t-shirts that eventually fall over.
- Forgetting to Smooth: I can't say it enough—starting with a wrinkled shirt just means you’re folding the wrinkles in. Smooth it out first!
- Inconsistent Final Folds: Sticking to one final fold is key. If you fold some shirts in half and others in thirds, your stack will be a mess. Pick one and stick with it for a perfectly uniform look.
If you’re staring down a mountain of laundry, a t-shirt folding board can be a lifesaver. These simple tools make every fold perfectly symmetrical, giving you that crisp, store-bought look with almost no effort.
A folding board helps you get consistent results across dozens of shirts, turning a boring chore into something quick and satisfying. The result is a drawer filled with identical rectangles, ready to go.
Master the Japanese Quick Fold for Ultimate Speed
If you’ve ever stared down a mountain of clean laundry and felt completely defeated, this next fold is a total game-changer. The Japanese quick fold, which you might have seen in viral videos, is all about getting the job done with incredible speed and efficiency. It honestly looks like a magic trick, but it's a simple technique you can pick up in just a few minutes.
The whole point is to turn a flat shirt into a neat rectangle in one single, fluid motion. We’re talking under three seconds flat. This method first exploded back in 2010 when a video of a 74-year-old grandma from Oregon showed her folding a t-shirt in a flash. She slashed the average folding time from 45 seconds to just 3 seconds per shirt—a massive 93% efficiency boost that sparked a global trend you can read more about in this analysis of the clothes folding market.
Breaking Down the Motion
The "magic" behind this fold is all about where you place your hands. To get started, lay the t-shirt flat in front of you. The collar should be on your left and the bottom hem on your right.
Think of two imaginary lines on the shirt. One runs vertically straight down the middle, from the collar to the hem. The second line cuts horizontally across the middle of the shirt.
Here comes the key movement:
- With your left hand, pinch the fabric right where your two imaginary lines cross in the middle of the shirt.
- Now, reach over your left hand with your right hand and pinch the shoulder of the shirt, staying on that same vertical line.
- Don't let go. Uncross your arms by lifting the shirt up. As you lift, bring your right hand down to the bottom hem and pinch the fabric there as well.
- Lift the shirt completely off the surface. You'll see one side has already folded itself neatly underneath.
- Finally, lay the shirt back down, face down, and fold the remaining sleeve over to create a perfect rectangle.
This is going to feel awkward the first few times, but stick with it. After three or four practice runs, the muscle memory kicks in, and you’ll be folding shirts faster than you ever thought possible.
This visual guide breaks down the core principles of creating that neat rectangle, which is really the end goal for any good folding method.
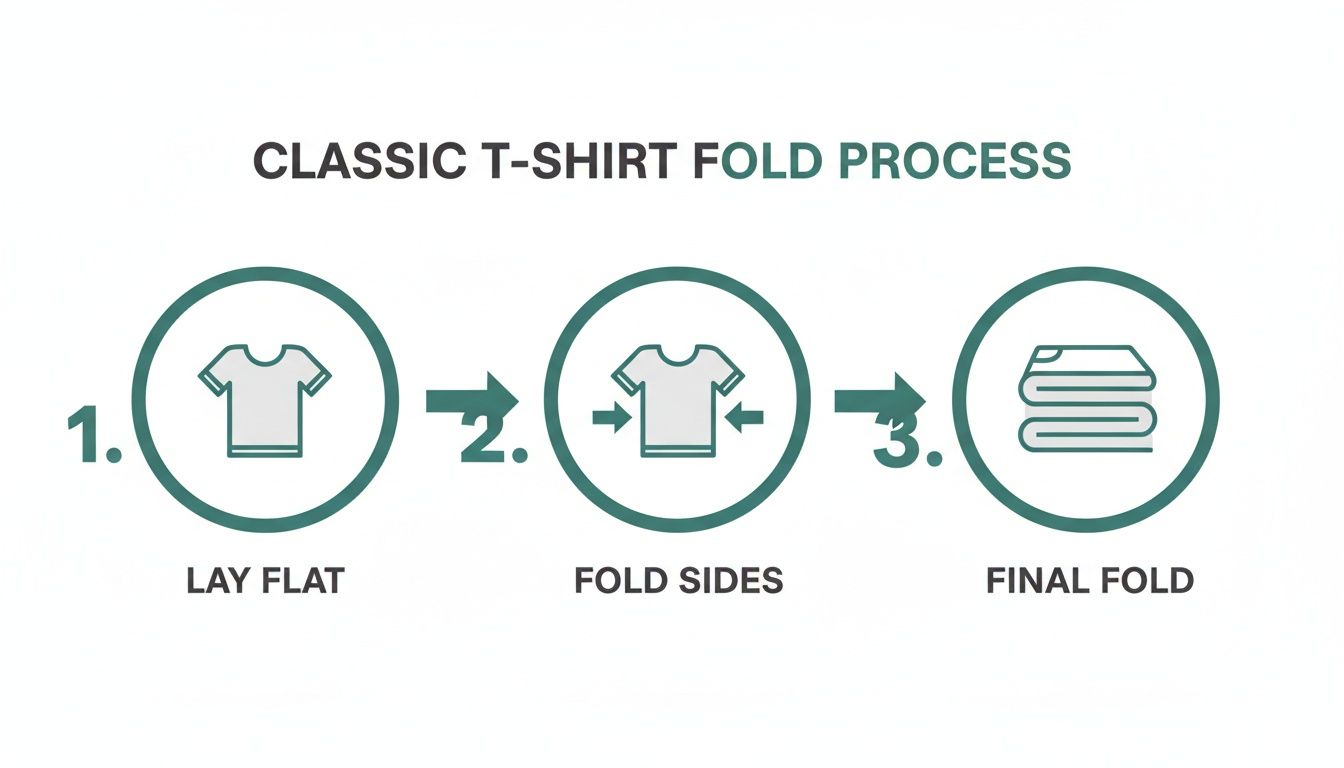
As the diagram shows, whether you’re folding fast or slow, the process boils down to laying the shirt flat, bringing the sides in, and making a final fold to get a stackable shape.
Adapting for Long-Sleeved Shirts
You can absolutely use this technique for long-sleeved tees, too. The process is exactly the same right up until the last step. Once you’ve made your initial folded rectangle, you’ll just have two long sleeves hanging off the sides.
All you have to do is fold each sleeve back over onto the body of the shirt before making your final fold. This adds maybe an extra second but keeps everything perfectly contained. It’s a fantastic way to power through a huge batch of laundry without losing your mind.
Tidy Up Your Drawers with the KonMari Method
If you’ve ever felt the frustration of digging through a messy t-shirt drawer, the KonMari fold is for you. This isn’t just another folding technique; it's a whole new way of looking at your clothes and your space.
Forget about those wobbly, flat stacks that crush the shirts at the bottom. This method transforms each t-shirt into a neat, compact rectangle that stands up on its own.
Imagine opening your drawer and seeing every single t-shirt lined up like files in a cabinet. No more lost-and-forgotten shirts at the bottom of the pile. This approach respects your clothes and, honestly, makes getting dressed in the morning so much easier.
Why the Vertical Fold Works So Well
The magic of the KonMari fold lies in creating a small, sturdy package that can support itself. This simple change instantly brings order to your drawers and lets you see everything you own in a single glance. It's a game-changer if you're dealing with limited drawer space or just want to simplify your routine.
Plus, it practically eliminates those deep, set-in wrinkles you get from stacking. When each shirt stands up on its own, it’s not being crushed by the weight of everything on top of it. If this philosophy of mindful organizing resonates with you, you'll love our complete guide on how to declutter your home.
How to Master the KonMari Fold
Ready to give it a try? Start by laying a t-shirt flat, face up. Take a second to smooth out any wrinkles—a clean slate makes for a cleaner fold.
- First, take one side of the shirt and fold it toward the center.
- Fold the sleeve back on itself so you have a nice, straight edge.
- Repeat on the other side. You should now have a long, skinny rectangle. The width of this rectangle will determine the final height of your folded shirt.
Now, working from the bottom hem, fold the rectangle up toward the collar, but leave about an inch of space at the top. From here, you’ll fold the shirt into thirds. Fold the bottom third up, then fold the top third down to finish it off.
The real test? See if it stands up on its own. If it does, you've found the KonMari sweet spot. If it flops over, it just needs a little adjustment—try one more or one less fold to get that perfect balance.
This isn't just about looking neat; it’s incredibly efficient. A perfectly executed rectangle fold can slash your stack height by 50%, letting you fit 20% more shirts in the same drawer. A 2015 poll even found that 78% of people saved 10 minutes on their weekly laundry routine just by learning a better folding technique.
Once you have a drawer full of these tidy little fabric packages, arrange them vertically from front to back. To really perfect your drawer organization, learning the best way to fold t-shirts for drawers will help you achieve that satisfying visual harmony.
Roll T-Shirts for Wrinkle-Free Travel
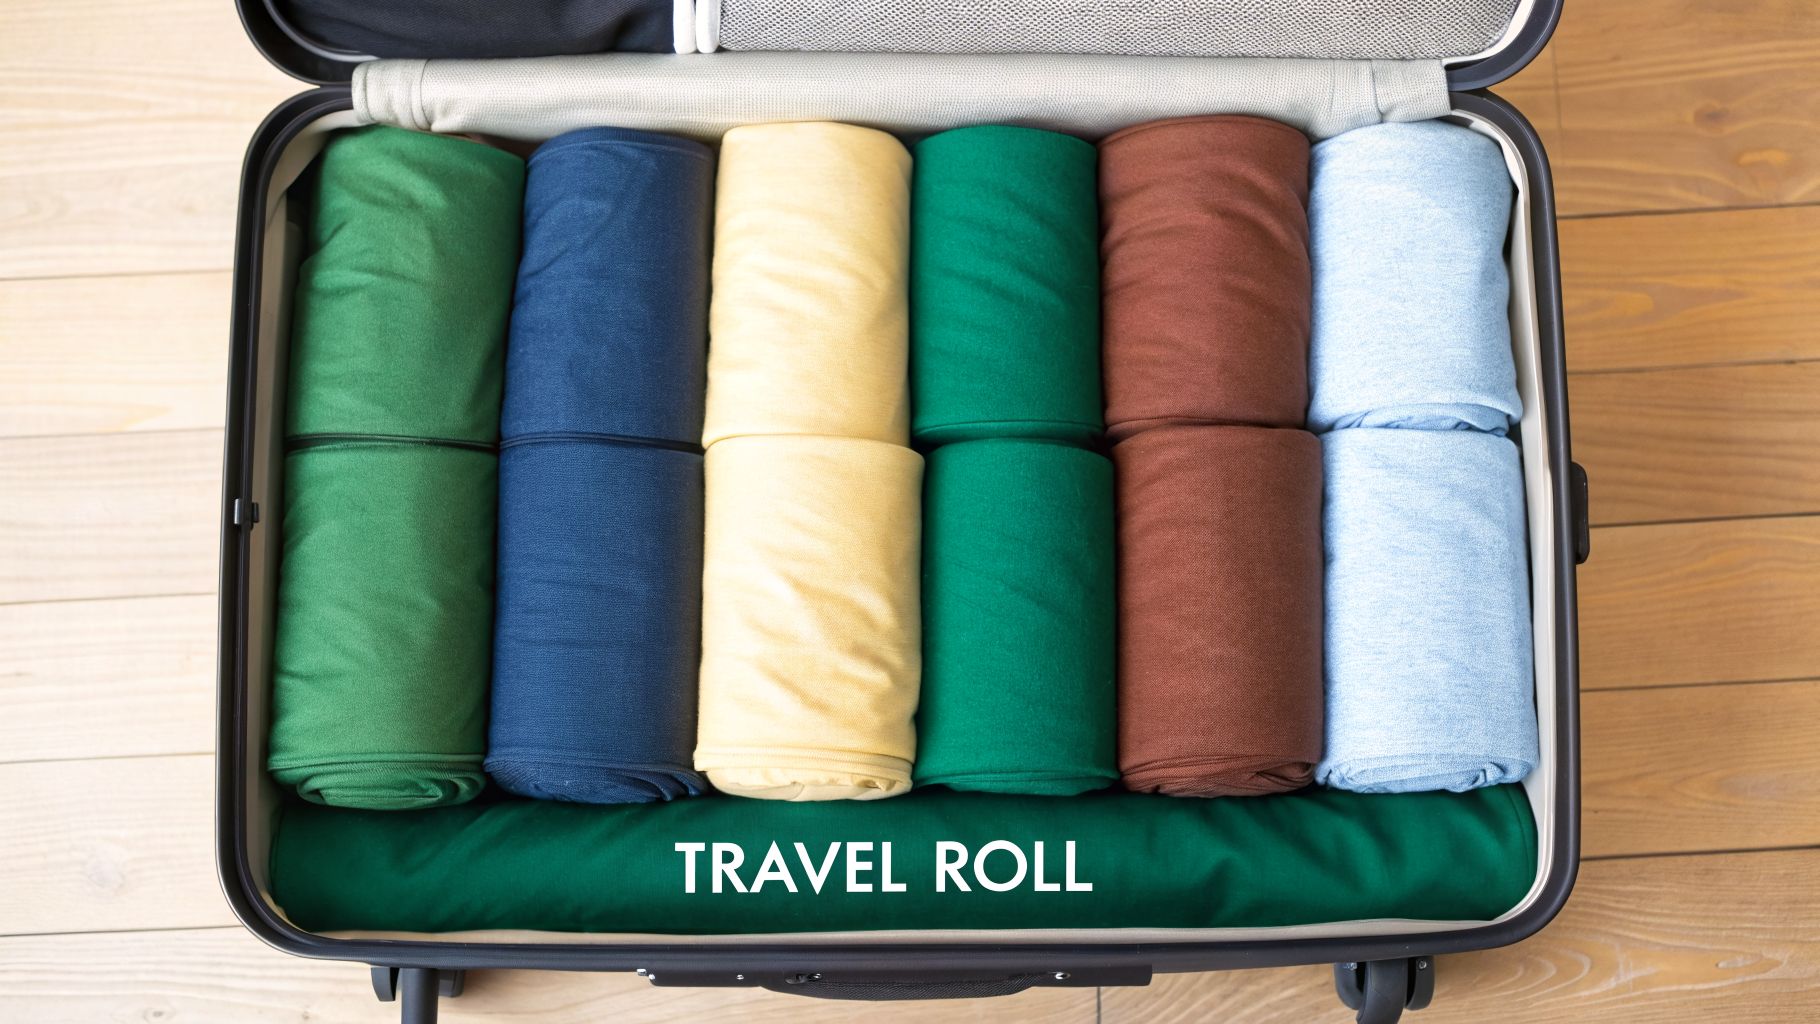
When it comes to packing, there’s one technique that’s a total game-changer for keeping your clothes fresh and saving space: rolling. Forget flat-folding your t-shirts into a suitcase. Rolling compresses the fabric to prevent those hard, set-in creases you get from stacked clothes, so your shirts arrive looking ready to wear.
This method is my absolute go-to for frequent travelers, backpackers, or really anyone trying to cram a few extra items into a carry-on. The best version is what's known as the "Ranger Roll," a military-style technique that creates a tight, self-contained bundle that simply won't come undone, no matter how much your luggage gets tossed around.
Perfecting the Ranger Roll
To get started with the Ranger Roll, lay your t-shirt out on a flat surface. The first step is to create a small cuff by folding the bottom hem of the shirt inside-out, about two to three inches up. This little pocket is the secret sauce that locks the roll in place later.
Next, smooth out any wrinkles. Fold one side of the t-shirt toward the center, then fold the sleeve back over itself to create a clean, straight edge. Do the same thing on the other side. You should now have a long, neat rectangle with the cuffed hem at the bottom.
Now, starting from the collar, begin rolling the shirt downward as tightly as you can. A tight roll is a wrinkle-free roll.
The key is to maintain consistent pressure as you go. A loose, sloppy roll will unravel and won’t provide the compression needed to prevent wrinkles. Think of it like rolling a sleeping bag—you want it as compact as possible.
Once you’ve rolled the entire shirt down to the cuffed hem, it’s time to use that pocket you made at the start. Take one side of the cuff and pull it over one end of the roll, then stretch the rest of the cuff around the entire bundle to secure it. You'll be left with a perfect, tight t-shirt "burrito" that’s ready for packing.
If you’re looking to master every aspect of packing, check out our guide on how to pack clothes without wrinkles.
Prepare T-Shirts for Long-Term Storage
When you're packing clothes away for a move or just putting seasonal stuff in a bin, the way you fold matters more than you think. This isn't just about being neat—it’s your first line of defense against the deep-set wrinkles and potential fabric damage that happens after months of being compressed in a box.
For this job, you’ll want to stick with either the Classic Flat Fold or the KonMari fold. Both methods create tidy, uniform bundles that stack or "file" perfectly without putting weird stress points on the fabric. You're aiming for stable, sturdy little packages that can handle being packed tightly together.
Folding for Boxes and Bins
If you’re packing shirts into a storage box, think of it like building neat rows instead of just tossing in a loose pile. This is where the KonMari method really shines. By filing your folded shirts vertically, you can squeeze more into a single box, and nothing gets crushed under the weight of the shirts above it.
For those flatter, stackable containers, the classic flat fold is a perfect fit. It lets you create neat stacks that sit side-by-side, which helps spread the weight out evenly. It’s a small change in technique that makes a massive difference when you’re unpacking everything months down the road.
Recent laundry lab tests give a pretty compelling reason to take this extra step. Unfolded tees wrinkle 50% faster under pressure and can increase ironing time by an average of 22 minutes per week. Taking a moment to fold properly before boxing them up can slash the time you spend dealing with wrinkled clothes by as much as 70%.
Packing and Protection Best Practices
Knowing how to fold is only half the battle. How you pack that box is what ensures your clothes come out looking fresh and ready to wear, not like a crumpled mess.
- Never Overstuff: Jamming too many shirts into a box is a guaranteed recipe for wrinkles. Always leave a little breathing room to prevent the fabric from getting crushed and to let air circulate.
- Use Clean, Dry Bins: This one’s a no-brainer, but it’s critical. Always start with storage containers that are completely clean and dry. Any moisture is a fast track to mildew, which will absolutely ruin your clothes.
- Consider Pest Protection: For real peace of mind, especially with natural fibers like cotton, you can’t overlook pests. Investing in quality moth-proof storage solutions like specialized garment bags is a smart move.
Following these tips will make sure your t-shirts look just as good coming out of storage as they did going in. For a complete roadmap, check out our in-depth guide on how to properly store clothes long-term.
Even after you've mastered a few folding techniques, some common questions always pop up. From fighting wrinkles to deciding whether to fold or hang, let’s clear up a few things.
The global t-shirt market is huge—expected to grow from $185.2 billion in 2024 to $221.5 billion by 2032. With that many shirts floating around, knowing how to properly care for them really matters. While cotton is king for comfort, proper folding is key to fighting the wrinkles that plague over 70% of polyester blends, a detail highlighted in market research on apparel trends.
Should I Fold or Hang My T-Shirts?
For most of your t-shirts, especially the standard cotton or jersey knit ones, folding is almost always the better choice. Hanging can stretch the fabric out over time, especially around the shoulders and neckline. This is what causes those dreaded "hanger bumps" and can completely ruin the fit of your favorite tee. The shirt's own weight is the enemy here.
There is an exception, though. If you have shirts made from very delicate or slinky fabrics like silk, rayon, or a thin linen blend, hanging might be better to avoid deep creases. If you go this route, make sure you use wide, padded hangers to distribute the weight evenly and protect the fabric.
Key Takeaway: Fold your everyday cotton tees to preserve their shape. Reserve hangers for very delicate fabrics that crease easily, and always use a quality, padded hanger.
Folding Shirts for Packing in a Box
When you're packing t-shirts into a box for a move or for long-term storage, your main goal is to stop deep, set-in wrinkles from forming. The KonMari vertical fold or the classic flat fold are your two best bets.
Whatever you do, don't just toss them in a pile. A little organization goes a long way.
- Vertical Filing: The KonMari method lets you "file" your shirts upright in a box. This is a fantastic space-saver and keeps them from getting crushed under their own weight.
- Flat Stacking: The classic flat fold is perfect for creating stable, even stacks. This works great in wider, flatter storage bins where you can lay everything out neatly.
Taking a few extra minutes to fold properly makes unpacking so much easier. For more in-depth advice on this, be sure to check out our complete guide on how to pack clothes for storage.
Frequently Asked Questions
When it comes to folding t-shirts, a few questions come up again and again. Here are quick answers to help you get the best results for your clothes.
| Question | Answer |
|---|---|
| What Is the Best Way to Fold a T-Shirt to Avoid Wrinkles? | The travel roll and the KonMari method are excellent for minimizing wrinkles. Rolling the shirt tightly prevents hard creases from setting in, while the KonMari fold avoids pressure on the fabric. |
| How Do You Fold a T-Shirt in 3 Seconds? | The quick "Japanese fold" is the fastest method. It involves a series of pinches and a quick shake to fold the shirt into a perfect rectangle in just a few seconds. It takes practice, but it's incredibly efficient. |
| Should I Fold or Hang My T-Shirts? | Fold most t-shirts. Hanging can stretch out the fabric, especially at the shoulders. Only hang very delicate fabrics like silk or rayon on padded hangers to prevent creases. |
| How Do I Fold T-Shirts for Packing in a Box? | Use either the KonMari method to file them vertically or the classic flat fold to stack them. Both methods maximize space and prevent deep wrinkles during moving or storage. |
Hopefully, these tips clear up any confusion and help you keep your t-shirts looking great, whether they're in your closet or packed away for later.
Frequently Asked Questions
Unveiling the Secrets to Effortless Storage
Endless Storage is available nationwide. You pick a plan, tell us where to pickup, and we'll send a UPS van to collect, whichever state you're in.
Your shipping label will be sent to your email within a few minutes, if not instantaneously. It can also be accessed through your customer profile.
Your box will be shipped to one of our climate controlled self storage facilities in our closest self storage facility. Our manager will accept your package, notify you that your box has been received, and securely stored. Only our managers will have access to Endless Storage boxes.
Email us at admin@endless-storage.com click to live chat with us, or send us a message below.
Never! We're committed to transparent pricing with no surprises. You'll lock in your rate with no hidden fees and no long-term contracts.
Fast access guaranteed! Your boxes will arrive at your doorstep within 48 hours of requesting them back. Need to check on delivery? We provide tracking information for complete peace of mind.
Totally flexible! Store month-to-month with no long-term commitment and cancel anytime.
Everything's online! Use your account dashboard to:
• Set up automatic monthly payments
• Request box returns
• Update your address
• Order additional boxes
• Track shipments
Your boxes are insured up to $100 each. Our customer service team will help you file any necessary claims and resolve issues quickly.
Don't worry – we'll email you right away if there's a payment issue. Your items stay safe, though you may have temporary service interruption or late fees until payment is resolved.
When you request our free storage kits, you'll have 30 days to send in your boxes to activate your 3 months of free storage. Think of it like starting a gym membership – your activation window begins when you receive your kits, and your full free trial begins once you send in your first box. During your free months, you'll experience our complete storage service at no cost.
Your 30-day activation window begins when you receive your storage kits. We'll send you an email confirmation when your kits are delivered, marking the start of your activation period.
If you haven't sent any boxes for storage within your 30-day activation window, your free trial will expire and we'll begin charging the regular monthly rate of $9.99 per box. This helps ensure our storage kits go to customers who are ready to use our service.
A box costs $9.99 per month to store (plus sales tax). This price includes free shipping for standard boxes under 50 lbs. and smaller than 16"x16"x16"
Log into your Endless Storage account, locate the box you would like returned, and simply click Return My Box.
Yes, each box stored with us is insured for up to $100 throughout transit as well as the duration of storage within our facilities.
Your box will be at your doorstep within 48 hours of you requesting it back.
Store 10+ boxes? We'll pick them up for free! After your purchase, we'll contact you to schedule a convenient pickup time and arrange UPS collection.
We trust UPS with all shipments, and every box includes $100 insurance coverage. You'll receive tracking information to monitor your items' journey.
Yes! Visit any of our locations by appointment. Just bring a photo ID matching your customer profile.
For everyone's safety, we can't store hazardous materials, firearms, or perishables. All items must fit within our standard boxes.
It's easy! Order your storage kit online, and we'll ship it to you within 1-2 business days. Your shipping labels will be emailed instantly and available in your account.
We're here to help! Email us at admin@endless-storage.com, use our live chat, or send us a message through your account.
To cancel your storage service with Endless Storage, please email your cancellation request to admin@endless-storage.com. Our team will process your request within 2 business days and confirm your cancellation via email.
We understand packing takes time. However, to maintain your free trial benefits, you'll need to send at least one box within the 30-day activation window. If you need more time, you can always start with one box to activate your trial and send the rest later. You can always reach out to admin@endless-storage.com if you have any issues or concerns.
When you request our free storage kits, you're starting a 30-day window to begin using our storage service.
Important: To activate your free trial, send at least one box for storage within 30 days. If no boxes are sent within this 30-day window, a one-time $50 fee applies to cover materials and shipping costs. This fee is clearly disclosed before you sign up.
Think of it like reserving a hotel room – we're setting aside space and sending specialized packing materials for your use. The fee only applies if you request materials but don't begin storage, similar to a hotel's no-show charge.