
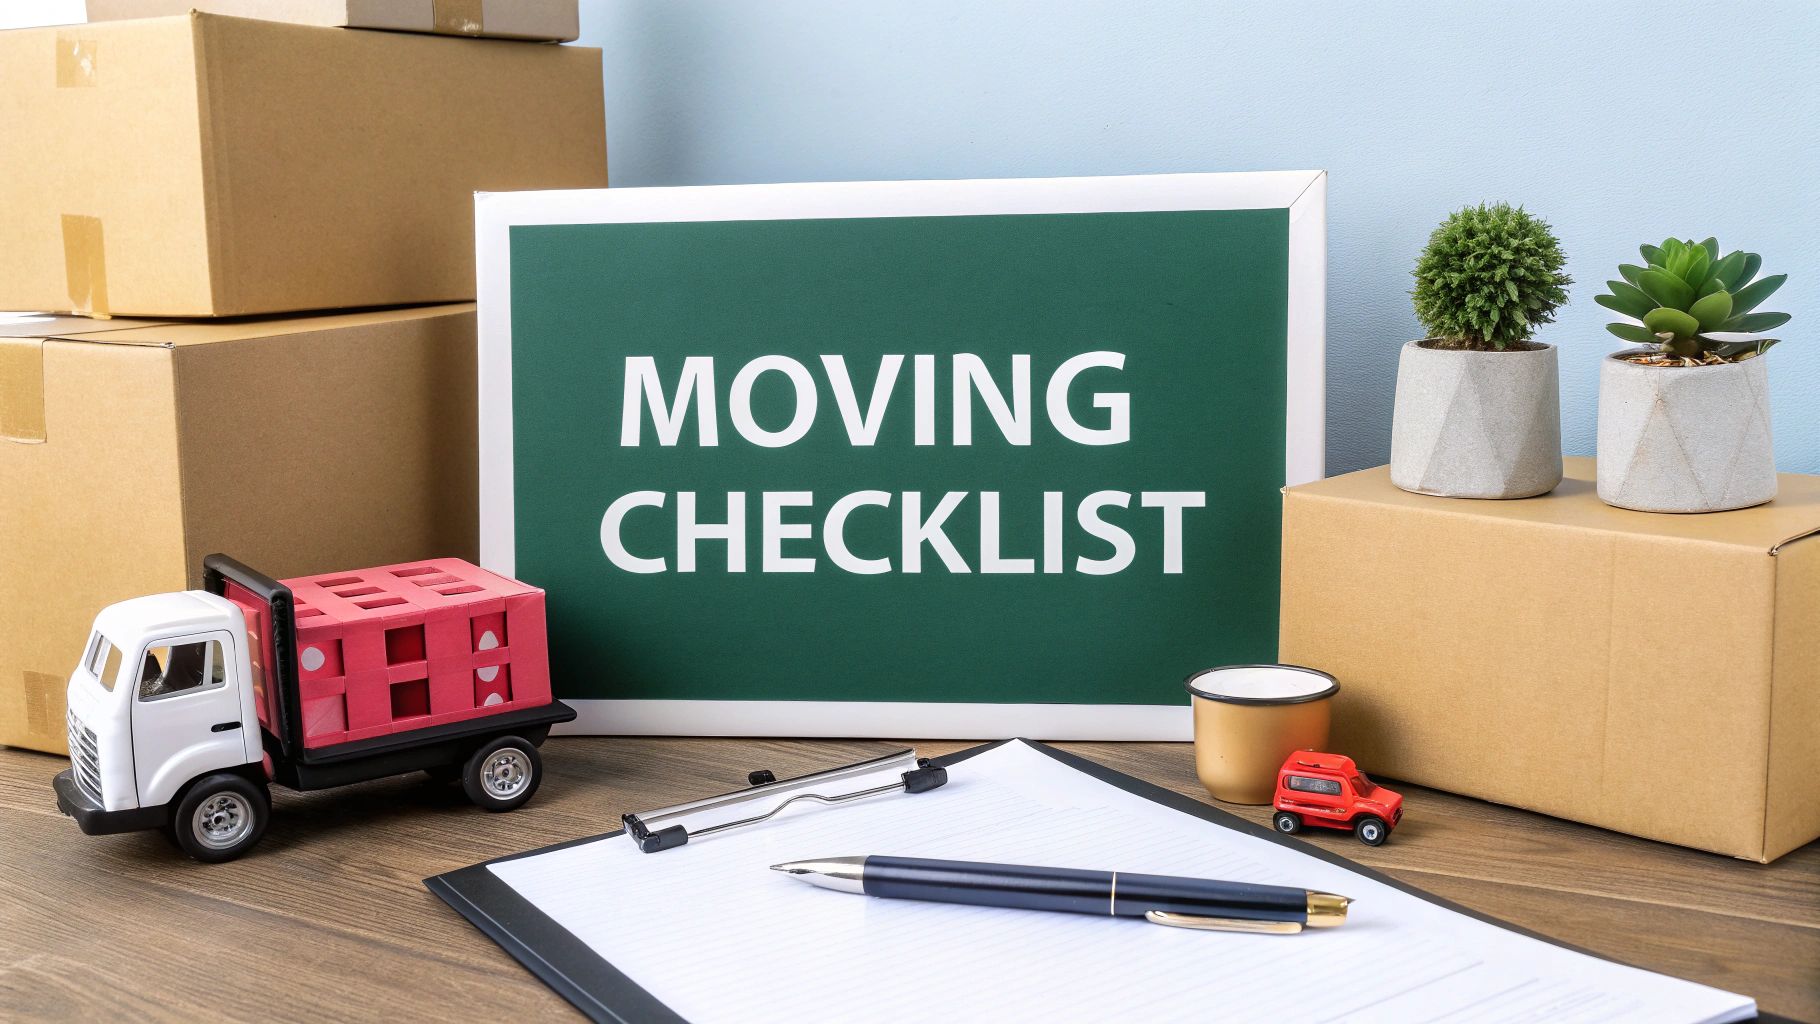
Moving across the country is more than just a change of address; it's a major life transition that demands meticulous planning and precise execution. A successful long-distance move hinges on organization, timing, and making smart decisions about what to take, what to store, and what to leave behind. Without a structured plan, you risk facing overwhelming stress, unexpected costs, and logistical chaos that can turn an exciting new chapter into a frustrating ordeal. This is where a comprehensive cross country moving checklist becomes your most valuable tool.
This guide breaks down the entire process into 10 manageable, chronological steps. We'll guide you from the initial decluttering phase eight weeks out, through the critical tasks of researching movers, transferring utilities, and updating your address with key institutions. You’ll find practical advice on everything from strategically packing your belongings and creating a detailed inventory to arranging safe transport for your pets.
Our goal is to transform your move from a daunting task into a smooth, efficient, and even exciting journey to your new home. This isn't just a list of things to do; it's a strategic roadmap. It provides actionable insights, specific timelines, and modern solutions, including how to leverage flexible storage options for items that don't fit your new space or lifestyle immediately. Whether you're moving from a spacious house to a city apartment or simply starting fresh, this checklist will ensure you cover every critical detail with confidence, leaving no stone unturned.
1. Declutter and Categorize Belongings
The first, most impactful step in any cross-country moving checklist is a thorough decluttering session. Moving is expensive, and the cost is often determined by the weight and volume of your possessions. By sorting through everything you own and deciding what to keep, sell, donate, or discard, you significantly reduce moving costs and simplify the entire logistical process.
This process is more than just spring cleaning; it’s a strategic reassessment of your lifestyle. For urban residents in smaller apartments, it’s a non-negotiable step to ensure everything fits into the new space. For families, it’s an opportunity to discover unused seasonal items or outgrown clothes that don't need to make the long journey.

How to Systematically Declutter
A proven strategy is the four-box method. Designate four areas or containers labeled: Keep, Sell, Donate, and Trash. As you go through each room, place every item into one of these categories. This method removes the guesswork and keeps you focused. For clothing, this is especially important. Before you begin packing, a crucial step is to lighten your load by going through your possessions. For detailed guidance on decluttering your wardrobe, ensure you only move what you truly need and love.
Pro Tip: For items you're unsure about, consider a temporary solution. Place these "maybe" items in a box and use a flexible service like Endless Storage. If you don’t find yourself needing anything from that box after a few months, it’s a clear sign you can let it go.
Actionable Decluttering Tips
- Set a Deadline: Give yourself a firm end date for sorting to maintain momentum and avoid last-minute stress.
- Schedule Pickups: Contact organizations like Goodwill or The Salvation Army well in advance to schedule a pickup for your donation pile.
- Digitize Memories: Take high-quality photos of sentimental items you can't keep, like children's artwork or bulky memorabilia.
- Start Small: Tackle one drawer or one closet at a time to avoid feeling overwhelmed.
For a more in-depth look at making smart choices before you move, explore these pro tips for decluttering before a move.
2. Research Moving Companies and Get Quotes
Once you've decluttered, the next critical task in your cross country moving checklist is to research professional movers and gather quotes. Securing a reliable and fairly priced moving company is fundamental to a successful long-distance relocation. This step involves more than just finding the cheapest option; it’s about vetting companies for legitimacy, understanding service tiers, and finding a partner you can trust with all your possessions.
For a cross-country move, you have several options, from full-service movers like Allied Van Lines or North American Van Lines, who handle everything, to DIY truck rentals from U-Haul or Penske. A hybrid approach is also popular, where you hire movers for large furniture but handle smaller boxes yourself. Platforms like Moving.com can help you compare multiple quotes quickly.
How to Systematically Compare Movers
The key is to get at least three to five binding estimates. A binding estimate locks in the price and prevents unexpected charges, provided the inventory of items doesn't change. Insist on an in-home or video survey for the most accurate quote; estimates given over the phone are often unreliable and can lead to surprise fees on moving day. Always verify a company's credentials, including their USDOT number and insurance coverage.
Pro Tip: Consider a hybrid storage solution to lower moving costs. Move only your immediate essentials and place seasonal or less-needed items into a flexible service like Endless Storage. This reduces the weight and volume of your shipment, which directly translates to significant savings with traditional movers.
Actionable Mover Vetting Tips
- Verify Credentials: Check each company's USDOT number on the Federal Motor Carrier Safety Administration (FMCSA) website to confirm they are licensed and insured.
- Read Reviews: Look beyond the company website. Check the Better Business Bureau (BBB) and Google Reviews for unbiased customer feedback.
- Request a Written Inventory: A professional mover will provide a detailed, itemized inventory list. Ensure this document is accurate before signing any contract.
- Ask About Insurance: Understand the difference between "released value protection" (minimal coverage) and "full value protection" (comprehensive coverage) and choose what’s right for you.
For a complete guide on vetting potential movers, review these essential steps on how to choose the right moving company.
3. Create a Moving Timeline and Schedule
A well-structured moving timeline is the backbone of any successful cross-country move. This crucial step transforms a daunting relocation into a series of manageable, weekly tasks. A typical cross-country moving checklist requires at least 6-8 weeks of planning, and a detailed schedule ensures nothing critical falls through the cracks, preventing the chaos of last-minute scrambling.
This isn’t just about marking a date on the calendar; it's about reverse-engineering the entire process from your move-in day. By assigning specific tasks to each week, you create a clear roadmap. For urban professionals balancing a move with a demanding job, this structured approach is essential for maintaining control and minimizing stress.
How to Systematically Create Your Timeline
Start by breaking down the 6-8 weeks leading up to your move into distinct phases. Assign major milestones to each phase to create a logical workflow. For instance, the initial weeks should focus on research and planning, the middle weeks on physical sorting and packing, and the final weeks on logistics and final preparations.
A sample timeline might look like this:
- Weeks 6-8: Research and book movers; begin decluttering.
- Weeks 4-5: Order packing supplies; begin packing non-essential items; notify landlords and employers.
- Weeks 2-3: Finalize moving logistics; change your address; arrange utility transfers.
- Final Week: Pack essentials box; confirm details with movers; complete final cleaning.
Pro Tip: Use a digital project management tool like Trello or Asana. Create a board for your move and make lists for each week. You can assign due dates, add detailed notes, and share the board with anyone helping you move to keep everyone coordinated and on track.
Actionable Timeline Tips
- Build in a Buffer: Add an extra week to your timeline as a contingency for unexpected delays or tasks that take longer than planned.
- Color-Code Priorities: Use a color-coding system for your tasks (e.g., Red for urgent, Yellow for important, Green for flexible) to quickly see what needs immediate attention.
- Schedule Reminders: Set digital calendar alerts for critical deadlines, such as utility disconnection dates and mover confirmation calls.
- Track Your Items: Integrate your timeline with your inventory. Note which boxes are going with the movers versus which are heading to a storage unit.
4. Measure Your New Home and Plan Room Layout
One of the most overlooked steps in a cross-country moving checklist is to measure your new home before the moving truck arrives. This proactive step prevents the logistical nightmare of discovering that your oversized sofa won't fit through a narrow doorway or that your king-sized bed overwhelms a smaller bedroom. Taking accurate measurements allows you to create a functional room layout, ensuring a smooth and damage-free move-in day.
This process is critical for anyone downsizing, especially urban professionals moving from a spacious suburban house to a compact city apartment. A virtual or in-person measurement session can reveal that a significant portion of your furniture simply won't work in the new space, saving you the cost and effort of moving it across the country only to get rid of it later. It shifts your planning from guesswork to a strategic, data-driven approach.
How to Plan Your New Space
Start by obtaining a floor plan from your landlord or realtor. If one isn't available, request a video walkthrough where you can ask them to measure key areas like doorways, hallways, and staircases. Use smartphone apps like MagicPlan or RoomSketcher to create a digital layout where you can virtually place your furniture. This helps you visualize the flow of each room and identify potential issues before they become expensive problems.
Pro Tip: Don't just measure the room dimensions; account for obstacles. Note the location of radiators, vents, light switches, and built-in shelving that could interfere with furniture placement. A little extra detail goes a long way.
Actionable Layout Planning Tips
- Request a Virtual Tour: If you can't visit in person, ask your realtor or landlord for a FaceTime or video tour to see tight corners and tricky entry points.
- Allow for Clearance: Plan for at least 6-12 inches of space around major furniture pieces to allow for comfortable movement and access.
- Prioritize Essential Pieces: Identify the non-negotiable furniture items you need first and plan the layout around them.
- Store What Doesn't Fit: For sentimental or valuable furniture that won't fit in your new home, don't sell it in a rush. Use a flexible service like Endless Storage to keep it safe until you have a larger space or decide its future.
5. Arrange for Utility Transfers and Services
One of the most critical logistical tasks in any cross country moving checklist is coordinating the transfer of your essential utilities. A seamless transition requires careful timing to disconnect services at your old home and activate them at your new one. This process involves everything from electricity and gas to internet and water, and mismanagement can lead to arriving at a dark, unconnected home or paying for services you no longer use.
This step is about more than just flipping a switch; it's a strategic part of your move that ensures comfort and functionality from the moment you arrive. For those moving to a new city or state, it's also the perfect opportunity to research and compare providers like Spectrum, Comcast, or Google Fiber, potentially locking in a better rate or service package than you had before.
How to Systematically Transfer Utilities
The key to a smooth utility transfer is a well-organized timeline. Begin by creating a master list of all current and future service providers, including their contact information, your account numbers, and scheduled dates for disconnection and activation. This central document will be your guide, preventing any crucial service from being overlooked.
Pro Tip: When scheduling your new service activations, always request a morning appointment on your move-in day. This ensures that essentials like electricity and water are running before your movers arrive, allowing you to test appliances and settle in without delay.
Actionable Utility Transfer Tips
- Start Early: Initiate transfer requests at least 3-4 weeks before your move. This gives companies ample time to process your request and schedule technicians if needed.
- Schedule a Smart Overlap: Arrange for utilities at your old home to be disconnected the day after you move out. This provides a buffer for any last-minute cleaning or unexpected delays.
- Keep Detailed Records: Document every interaction. Save confirmation numbers, email correspondences, and the names of any customer service representatives you speak with.
- Confirm Final Readings: Request a final meter reading to ensure you are only billed for what you used. Follow up to confirm any security deposits are being returned.
For a comprehensive guide on managing this process, review these steps on how to transfer utilities when you move.
6. Notify Important Institutions and Update Address
One of the most critical administrative tasks in any cross-country moving checklist is updating your address with key institutions. This step ensures a seamless transition of your financial, legal, and personal affairs. Neglecting to inform government agencies, financial institutions, and service providers can lead to missed bills, undelivered packages, and even potential identity theft risks.
Properly managing your change of address prevents disruptions in communication and services. For city dwellers relying on subscriptions and frequent deliveries, this is essential for maintaining their lifestyle without interruption. For anyone moving a long distance, it’s a foundational step for establishing residency and ensuring all important documents, from tax forms to credit card statements, arrive at the new home.
How to Systematically Update Your Address
The most efficient approach is to start with the U.S. Postal Service (USPS). Filing an official Change of Address form online at usps.com/move will forward most of your mail automatically for up to a year. While this is an excellent safety net, you should still update your address directly with each important organization. Create a master checklist of every account and service that needs your new information.
Pro Tip: Keep digital or physical copies of all address change confirmation emails and letters. This documentation is invaluable if you need to resolve any mail delivery issues or prove your new residency after the move.
Actionable Address Change Tips
- Start Early: Begin the process 2-3 weeks before your move date to allow for processing time.
- Prioritize a Checklist: List all institutions to notify, including the DMV, Social Security Administration, banks, credit card companies, and your employer.
- Update Legal Documents: Be aware of state-specific deadlines for updating your driver's license. For example, California gives you 10 days, while Texas allows 30 days.
- Notify Providers: Inform insurance providers (auto, health, renters), subscription services, and medical offices of your move.
- Track Your Progress: Use a spreadsheet or a digital password manager to check off each account as you update it.
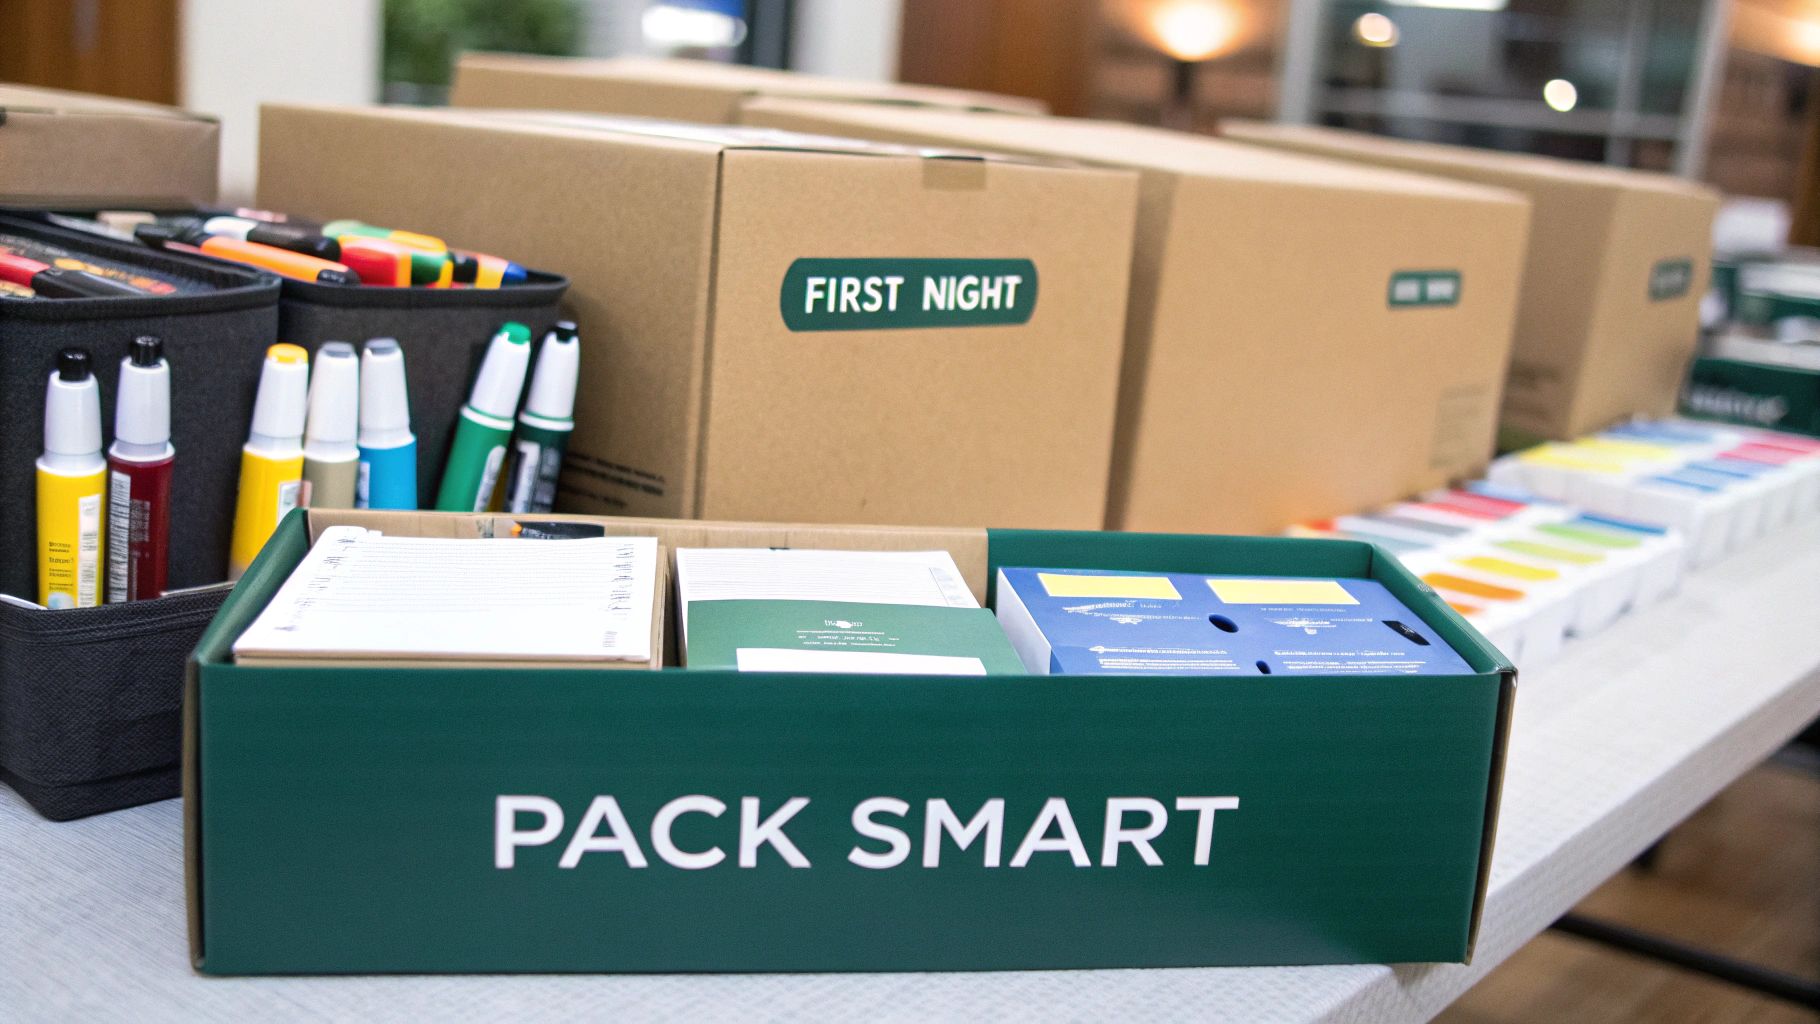
7. Pack Strategically and Label All Boxes
Once you've decided what to keep, the next crucial step in your cross-country moving checklist is packing with a clear strategy. Strategic packing isn't just about putting items in boxes; it's a system designed to protect your belongings during a long journey and, more importantly, to make unpacking a seamless, stress-free experience. A well-organized system ensures you can find what you need, when you need it, preventing chaos in your new home.
This process is vital for cross-country moves where transit times are longer and the risk of damage is higher. For families, it means knowing exactly where the kids' favorite toys are. For urban professionals moving into a new apartment, it ensures essential work-from-home equipment is accessible immediately.
How to Implement a Labeling System
A consistent labeling system is the backbone of strategic packing. Choose one method and stick with it. Popular options include color-coding (e.g., blue for the bedroom, red for the kitchen) or a numbered inventory system where each box is numbered and its contents are listed on a corresponding spreadsheet. This detailed approach is invaluable if a box goes missing or for insurance purposes.
Pro Tip: Create a "First Night Box" with absolute essentials like toiletries, medications, phone chargers, a change of clothes, basic tools, and snacks. Label it clearly on all sides and ensure it's the last box loaded onto the truck so it's the first one off.
Actionable Packing Tips
- Pack by Room: Keep items from the same room together to simplify unpacking and organization.
- Label All Sides: Use a permanent marker to label the top and at least two sides of every box with its contents and destination room.
- Weight Distribution: Pack heavy items like books in small boxes and lighter, bulkier items like linens in large boxes to prevent them from becoming too heavy.
- Use Filler: Use soft items you're already moving, such as socks, towels, or t-shirts, as padding for fragile items to save money on packing materials.
- Document Electronics: Take a quick photo of the back of your electronics before unplugging them to serve as a reference for easy reconnection.
For a comprehensive breakdown of packing methods, discover more in this guide on how to pack efficiently for moving.
8. Cancel or Transfer Memberships and Subscriptions
An often-overlooked task in a cross-country moving checklist is auditing your recurring memberships and subscriptions. Failing to manage these services can lead to paying for things you can no longer use, like a local gym or community pool, long after you've moved. This step is about financial hygiene, preventing wasted money and avoiding billing complications down the road.
This process is critical for anyone moving to a new state, as many services are location-specific. For urban dwellers, this could mean subscriptions to local theaters, transit passes, or co-working spaces. For families, it might involve kids’ activity clubs or regional magazine subscriptions that won't be relevant in your new home.
How to Systematically Manage Subscriptions
The most effective method is to audit, categorize, and act. Start by reviewing your bank and credit card statements from the past few months to create a master list of all recurring charges. Don't rely on memory, as small, forgotten subscriptions add up.
Once you have your list, categorize each item into one of three groups: Cancel, Transfer, or Update. A local gym membership will likely need to be canceled, while a nationwide chain like Planet Fitness may allow for a simple transfer. Streaming services like Netflix only require an address update, but subscription boxes need a firm change of address to avoid lost deliveries.
Pro Tip: Use a subscription management app like Trim or Truebill to automatically scan your accounts and identify all recurring payments. These tools can uncover forgotten subscriptions and often assist with the cancellation process, saving you time and hassle.
Actionable Subscription Tips
- Start Early: Begin your audit 4-6 weeks before your move date to allow ample time for notice periods required by some services.
- Get Confirmation: Always request written confirmation via email when you cancel a service to have a record of the transaction.
- Check Transfer Policies: Before canceling, ask if your membership can be transferred. Some companies offer seamless location changes and may even provide a new-member discount to retain you as a customer.
- Update Billing Addresses: For services you are keeping, ensure you update your billing address to prevent payment failures or fraud alerts after you move.
9. Arrange Pet Transportation and Research Pet Services
Moving across the country is a significant undertaking for you, and it's an even bigger one for your pets. Arranging safe, stress-free transportation and establishing a new care network for your animal companions is a critical component of any cross country moving checklist. Different animals have unique needs, and many moving companies have restrictions, making early and thorough planning essential to ensure their well-being.
This step involves more than just getting your pet from Point A to Point B; it’s about ensuring their health, safety, and comfort throughout the entire transition. From coordinating with veterinarians to researching state-specific regulations and identifying pet-friendly services at your destination, a proactive approach prevents last-minute crises and ensures a seamless continuity of care.
How to Systematically Plan Your Pet's Move
The best approach is to create a dedicated timeline for your pet's relocation. Start by consulting your veterinarian 6-8 weeks before the move to obtain health certificates, vaccination records, and any necessary prescription refills. This is also the time to discuss travel-related anxiety and potential solutions. Next, research your transportation options, whether it’s flying with a pet-safe airline, hiring a dedicated ground transport service, or preparing your own vehicle for a long-distance drive.
Pro Tip: Update your pet's microchip information with your new address and contact details before you leave. In the chaos of a move, a lost pet is a devastating possibility, and an up-to-date microchip is their best ticket back home.
Actionable Pet Moving Tips
- Book Early: Pet transportation services and airline spots fill up quickly. Book your pet’s travel 4-6 weeks in advance to secure a spot.
- Research Local Laws: Some states, like Hawaii and California, have strict animal import regulations. Verify these requirements to avoid quarantine or entry issues. For a smooth transition, consult guides on pet transportation across country to cover all necessary aspects.
- Find a New Vet: Identify and contact a new veterinarian in your destination city before you move. Have your pet’s records transferred directly to their office.
- Pack an Essentials Kit: Keep a separate, easily accessible bag with your pet's food, water, medications, toys, and bedding for the journey and the first few days in your new home.
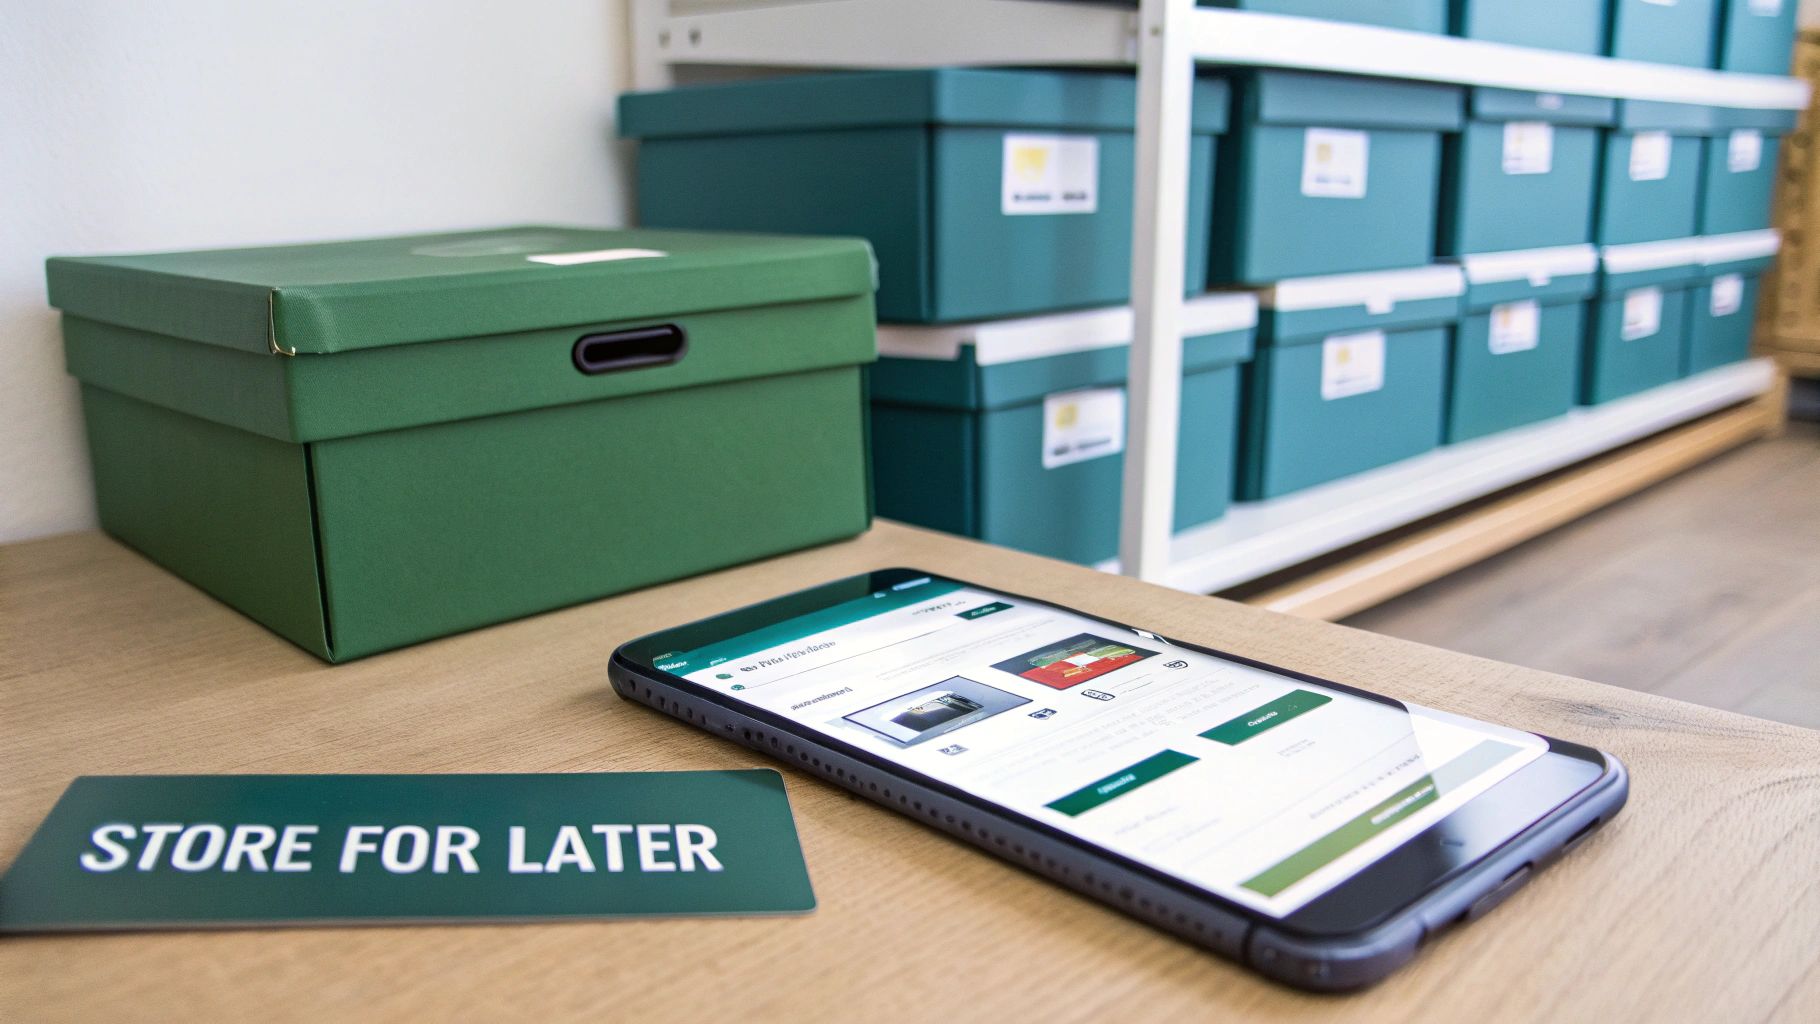
10. Arrange Storage Solutions for Items Not Being Moved
Not everything you own needs to make the expensive cross-country journey with you immediately. Arranging a storage solution for items you want to keep but don't need right away is a strategic step in any cross-country moving checklist. This approach provides flexibility and significant cost savings, especially for seasonal belongings, sentimental items, or furniture that won't fit your new space.
For example, a family storing 15 boxes of holiday decorations and seasonal gear might pay around $120 per month for storage, compared to an additional $400 or more to move those items across the country. Similarly, a couple downsizing into a city apartment can store valuable furniture they plan to use in a future home, avoiding the high cost of moving it twice.
How to Strategically Use Storage
The key is to weigh the cost of moving an item against the cost of storing it. Services like Endless Storage offer a box-based solution, perfect for items you'll need within 6 to 12 months. With climate-controlled units and free shipping, it simplifies logistics. For instance, a professional moving from New York to Los Angeles can store their winter wardrobe and have it shipped when needed, rather than paying to move bulky coats and boots.
Pro Tip: Set a calendar reminder for three to six months after your move to re-evaluate what you've stored. If you haven't needed the items, it may be time to sell, donate, or request their return to sort through them again.
Actionable Storage Tips
- Create a Detailed Inventory: Photograph items before storing them for insurance and reference. Create a list with descriptions and which box each item is in.
- Use Quality Packing Materials: Protect your belongings by using sturdy boxes, packing paper, and bubble wrap to prevent damage during transit and storage.
- Label Everything Clearly: Mark each box with its contents and a unique number corresponding to your inventory list.
- Calculate the Costs: Compare the price to move uncertain items versus storing them. Storing 20 boxes for a six-month trial period might cost around $160 per month, a fraction of the moving expense.
For a deeper dive into organizing your belongings between homes, explore these expert insights on temporary storage between moves.
Cross-Country Moving: 10-Item Checklist Comparison
Your Journey Starts Here: Putting the Plan into Action
You've just navigated a comprehensive, chronological guide designed to transform the monumental task of a long-distance move into a series of manageable, achievable steps. This isn't just a list; it's a strategic framework for a successful relocation. By now, you understand that a smooth cross-country move isn't about luck—it's about meticulous planning, proactive decision-making, and leveraging the right tools at the right time.
The journey from one coast to another, or from a bustling city to a quiet town, is more than a change of address. It's a significant life transition. The power of a detailed cross country moving checklist lies in its ability to free up your mental energy. Instead of constantly worrying about what you might be forgetting, you can focus on the excitement of the new chapter ahead.
Recapping Your Blueprint for Success
Let's distill the core principles we've covered that will make the biggest difference in your move:
- Early and Aggressive Decluttering: The most impactful action you can take is to reduce the volume of what you move. Starting this process two to three months out isn't just a suggestion; it's a financial and logistical necessity. Every item you sell, donate, or discard is one less thing to pack, pay for, and unpack.
- Diligent Mover Vetting: Don't settle for the first quote. Your belongings are your life's assets. Securing at least three detailed, in-writing estimates, verifying USDOT numbers, and checking Better Business Bureau ratings are non-negotiable steps to protect yourself from scams and unforeseen costs.
- Strategic Scheduling and Administration: The timeline is your anchor. From notifying your landlord and scheduling utility transfers to updating your address with the USPS and financial institutions, timing is everything. Missing a key administrative deadline can create frustrating complications upon arrival.
Key Takeaway: The ultimate goal of this checklist is to systematize the process, turning potential chaos into a predictable sequence of events. A successful move is a project managed well, not a frantic scramble.
The True Value of Mastering Your Move
Moving is often cited as one of life's most stressful events, but it doesn't have to be. By following this guide, you are not just moving boxes; you are engineering a better experience for yourself. You are actively minimizing stress, controlling your budget, and setting the stage for a positive start in your new home.
Think of the "empty space" you create, both literally and figuratively. By decluttering, you make physical space for a new life. By using a storage solution for items that don't fit your immediate needs, you give yourself breathing room to settle in without being surrounded by clutter. This strategic approach allows you to make thoughtful decisions about your new environment rather than rushed ones. Your new apartment or house becomes a welcoming sanctuary from day one, not a chaotic warehouse.
Embrace this cross country moving checklist as your personal project plan. Print it out, use a digital version, and check off items as you complete them. This simple act of marking progress provides a powerful sense of accomplishment and control during a period that can often feel overwhelming. Your preparation today is a gift to your future self—the one who will be tired from a long drive but thrilled to be home. The journey is long, but with this plan, you are more than ready to begin.
Ready to simplify your move and create more space in your new life? For those items you love but can't take with you just yet, Endless Storage offers a seamless box-by-box storage solution perfect for urban dwellers. Visit Endless Storage to see how easy it is to schedule a pickup and manage your items digitally, ensuring a clutter-free start in your new home.
Frequently Asked Questions
Unveiling the Secrets to Effortless Storage
Endless Storage is available nationwide. You pick a plan, tell us where to pickup, and we'll send a UPS van to collect, whichever state you're in.
Your shipping label will be sent to your email within a few minutes, if not instantaneously. It can also be accessed through your customer profile.
Your box will be shipped to one of our climate controlled self storage facilities in our closest self storage facility. Our manager will accept your package, notify you that your box has been received, and securely stored. Only our managers will have access to Endless Storage boxes.
Email us at admin@endless-storage.com click to live chat with us, or send us a message below.
Never! We're committed to transparent pricing with no surprises. You'll lock in your rate with no hidden fees and no long-term contracts.
Fast access guaranteed! Your boxes will arrive at your doorstep within 48 hours of requesting them back. Need to check on delivery? We provide tracking information for complete peace of mind.
Totally flexible! Store month-to-month with no long-term commitment and cancel anytime.
Everything's online! Use your account dashboard to:
• Set up automatic monthly payments
• Request box returns
• Update your address
• Order additional boxes
• Track shipments
Your boxes are insured up to $100 each. Our customer service team will help you file any necessary claims and resolve issues quickly.
Don't worry – we'll email you right away if there's a payment issue. Your items stay safe, though you may have temporary service interruption or late fees until payment is resolved.
When you request our free storage kits, you'll have 30 days to send in your boxes to activate your 3 months of free storage. Think of it like starting a gym membership – your activation window begins when you receive your kits, and your full free trial begins once you send in your first box. During your free months, you'll experience our complete storage service at no cost.
Your 30-day activation window begins when you receive your storage kits. We'll send you an email confirmation when your kits are delivered, marking the start of your activation period.
If you haven't sent any boxes for storage within your 30-day activation window, your free trial will expire and we'll begin charging the regular monthly rate of $9.99 per box. This helps ensure our storage kits go to customers who are ready to use our service.
A box costs $9.99 per month to store (plus sales tax). This price includes free shipping for standard boxes under 50 lbs. and smaller than 16"x16"x16"
Log into your Endless Storage account, locate the box you would like returned, and simply click Return My Box.
Yes, each box stored with us is insured for up to $100 throughout transit as well as the duration of storage within our facilities.
Your box will be at your doorstep within 48 hours of you requesting it back.
Store 10+ boxes? We'll pick them up for free! After your purchase, we'll contact you to schedule a convenient pickup time and arrange UPS collection.
We trust UPS with all shipments, and every box includes $100 insurance coverage. You'll receive tracking information to monitor your items' journey.
Yes! Visit any of our locations by appointment. Just bring a photo ID matching your customer profile.
For everyone's safety, we can't store hazardous materials, firearms, or perishables. All items must fit within our standard boxes.
It's easy! Order your storage kit online, and we'll ship it to you within 1-2 business days. Your shipping labels will be emailed instantly and available in your account.
We're here to help! Email us at admin@endless-storage.com, use our live chat, or send us a message through your account.
To cancel your storage service with Endless Storage, please email your cancellation request to admin@endless-storage.com. Our team will process your request within 2 business days and confirm your cancellation via email.
We understand packing takes time. However, to maintain your free trial benefits, you'll need to send at least one box within the 30-day activation window. If you need more time, you can always start with one box to activate your trial and send the rest later. You can always reach out to admin@endless-storage.com if you have any issues or concerns.
When you request our free storage kits, you're starting a 30-day window to begin using our storage service.
Important: To activate your free trial, send at least one box for storage within 30 days. If no boxes are sent within this 30-day window, a one-time $50 fee applies to cover materials and shipping costs. This fee is clearly disclosed before you sign up.
Think of it like reserving a hotel room – we're setting aside space and sending specialized packing materials for your use. The fee only applies if you request materials but don't begin storage, similar to a hotel's no-show charge.