
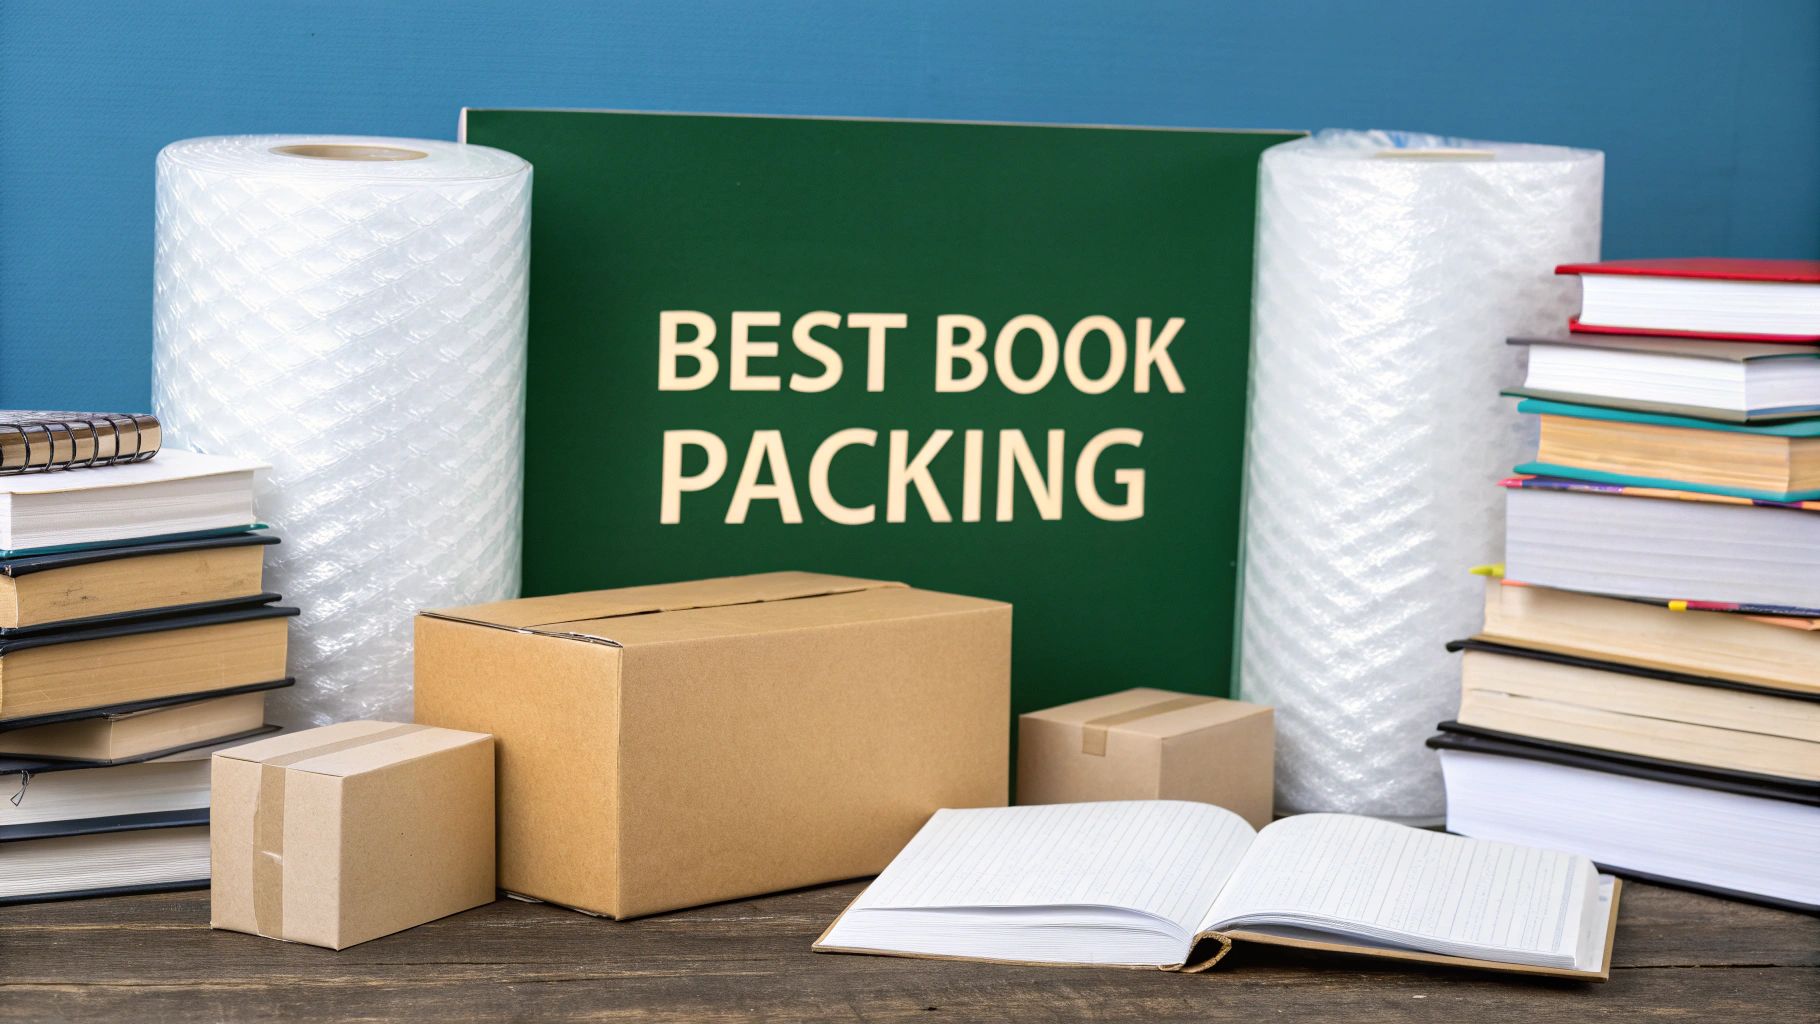
Getting your books packed the right way starts with having the right supplies on hand before you even begin. For most of us, this just means getting ahold of some small, sturdy boxes, a good roll of packing paper, and strong packing tape. It sounds simple, but this trio is your best defense against boxes that are too heavy to lift and the kind of damage that makes book lovers cringe.
Choosing the Right Supplies for Book Protection

Before a single book finds its way into a box, the choices you make about materials will pretty much decide their fate. Picking the right supplies isn't just about avoiding dents and scratches; it’s about making the whole moving process safer and way more efficient. Think of it as cheap insurance for your personal library.
Before you start, it helps to have everything in one place. Here’s a quick checklist of what you'll need to protect your books properly.
Essential Packing Supplies Checklist
Having these items ready will make the packing process go much smoother and ensure your books arrive in the same condition they left.
Why Your Box Choice Matters Most
If there's one mistake I see people make over and over again, it's grabbing a box that’s way too big. It seems like a good idea at first—fewer boxes to pack, right? But a large box filled with books can easily top 40 pounds, which is a recipe for a strained back or, worse, the bottom of the box giving out mid-carry.
The ideal choice is a small moving box, often called a "book box," measuring around 1.5 cubic feet. Its compact size naturally limits the weight, making it easy to handle while still being strong enough to hold a dense, heavy load without buckling.
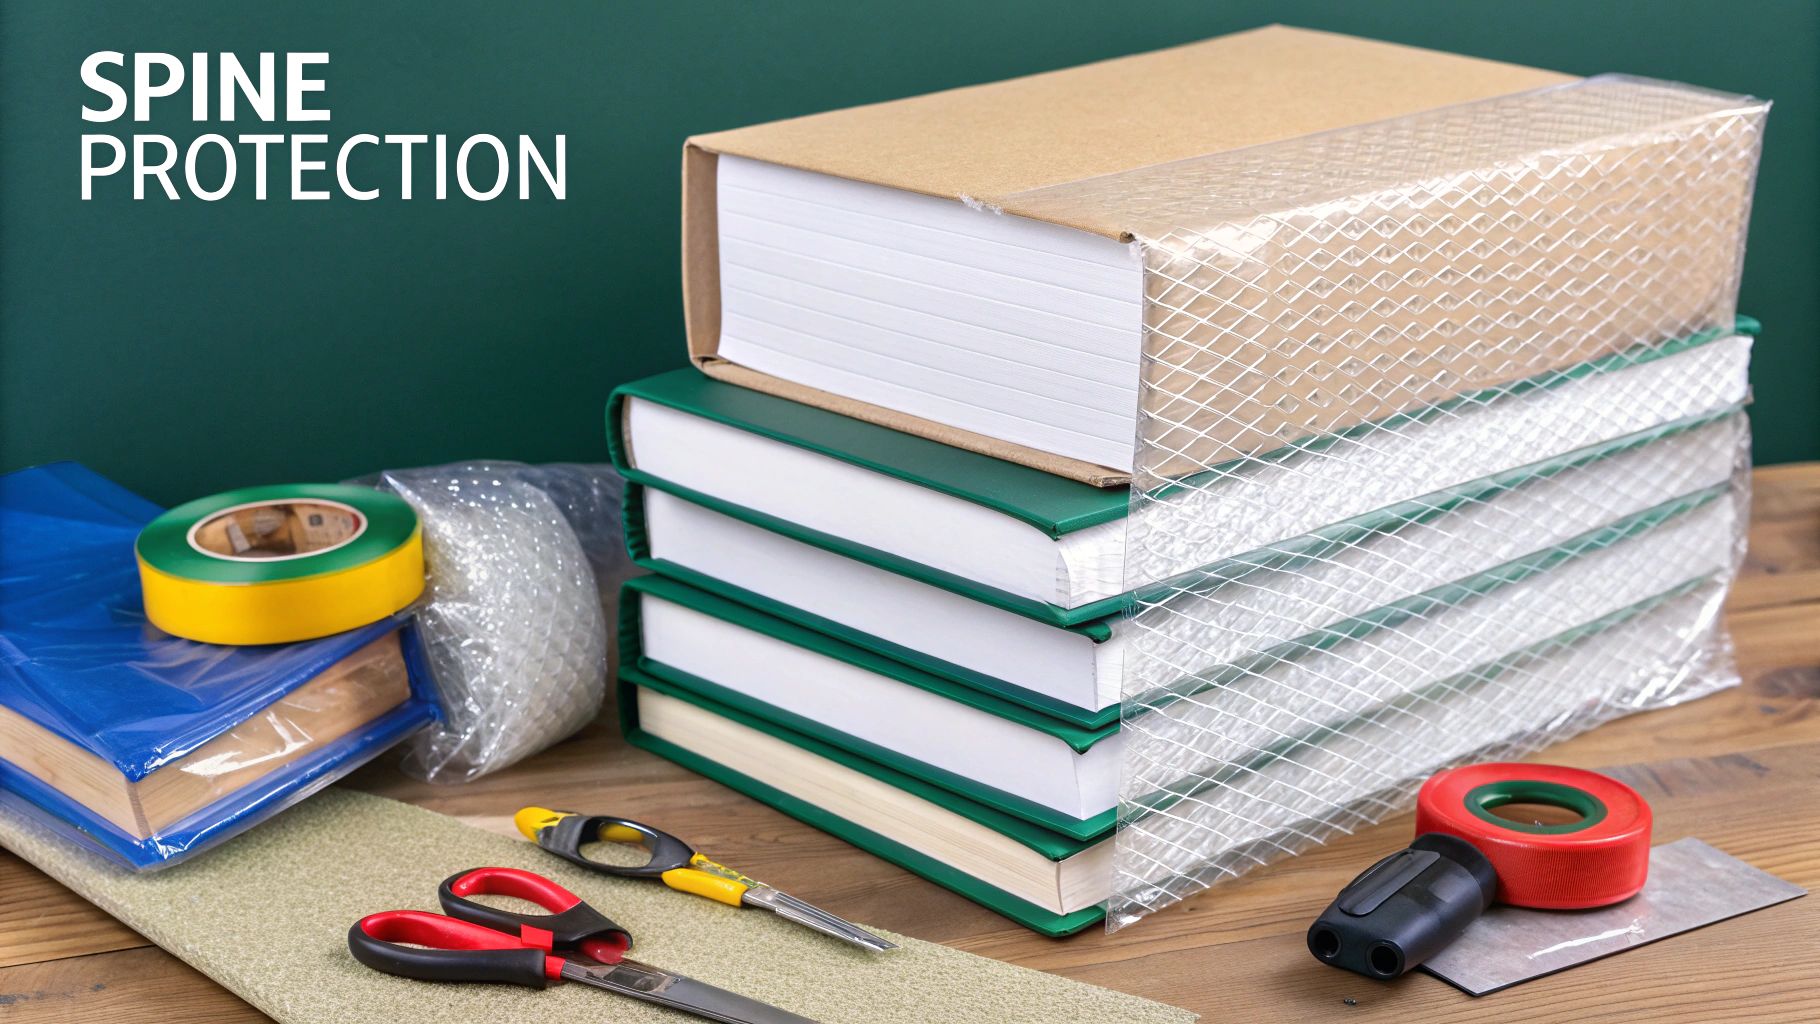
Selecting the Right Protective Wraps
For your average paperbacks and hardcovers, plain packing paper is your best friend. You can use it to wrap individual hardcovers to keep the dust jackets pristine, or simply crumple it up to fill any empty spaces so the books can’t shift around.
Bubble wrap, on the other hand, should be saved for the special cases. Pull it out for:
- Antique or leather-bound books that could use the extra cushioning to protect their fragile covers and spines.
- Signed first editions where keeping the cover in mint condition is the top priority.
- Books with delicate or unusual shapes that need more robust protection from bumps and drops.
The demand for better protective materials has actually grown quite a bit, thanks to the boom in e-commerce. The global market for specialized book wraps was valued at a whopping USD 1.4 billion in 2025, all driven by people wanting their books to arrive damage-free.
If you want to dive deeper into all the options out there, check out our complete guide to the best packing supplies for moving.
How to Prepare Your Book Collection for Packing
I've seen it happen more times than I can count: skipping the prep work turns moving day into a nightmare. Before you even touch a roll of packing tape, spending a little time sorting through your books is the real secret to a smooth, organized move. This isn't just about getting rid of a few old paperbacks; it's about creating a system that will save you a ton of headaches later.
The first thing I always do is categorize the books. Grouping them by size—hardcovers with hardcovers, paperbacks with paperbacks—is the single best thing you can do. It’s a simple trick that prevents smaller, more fragile books from getting crushed and makes it so much easier to stack stable, even layers inside each box.
Sort and Clean for Protection
Once you have your size-based groups, take it a step further and sort by value. Pull out any of those rare first editions, signed copies, or delicate antique books you might own. These treasures will need some extra TLC and special wrapping, so setting them aside now means you won't be frantically digging for them later.
This is also the perfect opportunity for a quick clean. Grab a soft, dry cloth and give the covers and edges of each book a gentle wipe-down. You’d be surprised how much dust and even potential mold spores can accumulate. If you pack that stuff away, you risk permanent damage, especially in storage. Think of it as giving your library a fresh start before its new life.
Taking an hour to sort and dust your collection can save you days of stressful searching and prevent irreversible damage. It transforms the overwhelming task of unpacking into a simple process of placing books back on the shelf.
For a deeper dive into organizing your library before a move, our guide on how to organize books offers more detailed strategies. This prep work ensures that when it’s time to pack, you’re dealing with neat, organized stacks instead of a chaotic mountain of books, making the whole process faster and safer for your collection.
Mastering the Art of Boxing Your Books
So, you've sorted your books and have a stack of boxes ready to go. Now for the fun part: fitting them all in. Packing books is more than just stuffing them into a box; it's a bit like a game of Tetris, where weight distribution and support are everything. Getting this right is the difference between your collection arriving safe and sound versus a heartbreaking pile of bent covers and broken spines.
One of the biggest questions I get is how to place the books: flat, standing up, or spine-down? Honestly, each method has its moment, and the real trick is knowing when to use which. For most of your standard hardcovers and paperbacks, the pro method is to place them upright, almost like they're on a bookshelf. Stand them with their paper edges facing up and their spines snug against the side of the box. This lets them lean on each other for support and is your best defense against warping.

This picture is a perfect example of what you're aiming for. The books are packed snugly together, and there's cushioning to stop any shifting. That's the secret sauce right there.
Mixing and Matching Packing Methods
While standing books upright is a great go-to, it’s not a one-size-fits-all rule. You'll need to adapt your technique to build a solid, stable box. Here's how I approach it:
- Heavy Hardcovers & Coffee Table Books: These monsters always go on the bottom, lying flat. Stacking them horizontally creates a solid, level foundation for everything else you'll pack on top.
- Standard Paperbacks & Hardcovers: Once you've got that flat base, start placing these upright. I like to alternate their direction—spines facing left, then spines facing right—to keep the weight balanced.
- Oddly-Sized Books: This is where the Tetris skills come in. Use smaller paperbacks or uniquely shaped books to fill in any gaps along the sides. This locks the main stack in place and stops things from sliding around.
Here's the golden rule: A book box should be heavy, but always liftable. Try to keep the weight under 40 pounds. If you can't lift it without straining, it’s too heavy—not just for you, but for the box itself.
Once the books are in, your last job is to kill any empty space. Grab your packing paper, crumple it up, and stuff it firmly into any gaps at the top and along the sides. The goal is a box so solid that nothing can shift. A box with no movement is a box that will get your books there safely.
For more general advice on getting this right every time, check out our guide on how to pack a box for moving.
Protecting Valuable and Antique Books
Your everyday paperbacks can usually handle a standard packing job, but when you're dealing with first editions, signed copies, or those beautiful antique leather-bound volumes, you have to shift your mindset. These aren't just books; they're irreplaceable items, incredibly sensitive to damage from acidic materials, moisture, and even minor bumps.
The best way to pack these is to treat each one like the unique, fragile object it is.
Giving Each Book Its Own Protection
Start by wrapping each valuable book individually. Your go-to material here should be acid-free tissue or archival paper. This is non-negotiable. Standard paper contains acids that will cause yellowing and brittleness over time, but this simple layer acts as a perfect barrier against scuffs and environmental shifts.
For books with delicate spines or embossed covers that you want to protect even further, add a layer of small-bubble wrap over the acid-free paper. It adds that extra cushion against impacts.
Creating a Custom-Fit Nest
Once a book is wrapped, it should never just be tossed into a larger box with others. The goal is to create a custom-fit sanctuary for it.
A great method is to place the wrapped book inside a smaller, acid-free archival box first. Then, you can place that box inside your main moving box, making sure it's cushioned on all sides with crumpled packing paper.
For an unusually shaped or extremely fragile book, you might need to build a custom nest. Line a sturdy box with a thick layer of crumpled packing paper, place the book right in the center, and then fill in every single gap around it. The book shouldn't be able to shift at all.
Finally, remember that packing is only half the battle. The conditions these books are stored in are just as critical as how they're packed. Humid basements and scorching attics are the enemy of preservation.
Taking these extra steps ensures your most cherished books not only survive the move but will last for generations to come. For a deeper dive into maintaining your collection, check out our guide on how to store books long-term for perfect preservation.
Labeling and Organizing for an Easy Unpacking Day
Let’s be honest, the effort you put in now is going to pay off tenfold when you’re tired and surrounded by boxes in your new place. A smart labeling system is your best friend for a stress-free unpacking day, turning what could be chaos into a smooth, orderly process.
Forget just scribbling a generic “Books” on the box. Trust me, you’ll thank yourself later if you get a little more specific. On at least two sides of every box, make sure to write down:
- Destination Room: (e.g., Office, Living Room, Bedroom)
- Specific Contents: (e.g., Sci-Fi A-G, Cookbooks, History)
This simple trick immediately tells you where each box needs to go and what’s inside. No more tearing through five different containers just to find your favorite novel. For an even deeper dive into making your move easier, check out our complete guide on how to label boxes for moving.
Create a Master Inventory List
If you have a large collection, creating a digital master inventory list is a total game-changer. A simple notes app on your phone is all you need. Just number each box as you pack it and jot down a brief list of its contents.
Pro Tip: Number your boxes sequentially (like "Box 1 of 15") and keep a running list in your phone's notes app. If you suddenly need a specific book, a quick search will tell you exactly which box to grab.
This might seem like overkill, but it makes finding anything incredibly easy. When you consider that global book production is expected to hit 40 billion units this year, you realize that moving these items is a massive logistical challenge for everyone. A good system really does make all the difference.
Common Packing Mistakes to Avoid
We've all learned a lesson or two the hard way. When it comes to packing books, learning from someone else's mistakes is a much faster (and less heartbreaking) path to getting your collection to its destination safely. It's just as important to know what not to do.
Most of these blunders are surprisingly common and easy to sidestep, yet they can cause some serious damage.
The "Bigger is Better" Myth
One of the first traps people fall into is grabbing the biggest box they can find. It seems efficient at first—fewer boxes to pack, right? But a massive box stuffed with books is a recipe for disaster.
It becomes impossibly heavy, which is a fast track to a strained back for whoever has to lift it. Worse, the box itself is far more likely to split open under all that weight. Stick to smaller, manageable boxes.
Damaging Orientations and Missing Filler
How you place books inside the box is just as critical. A huge mistake is packing books with their spines facing up, leaving the paper edges to bear all the weight. This puts tremendous pressure on the binding, which can cause the pages to sag, warp, and pull away from the spine. It’s a guaranteed way to ruin a book’s structure.
The single most overlooked step? Forgetting to fill the empty spaces. Gaps inside the box are an invitation for your books to shift, slide, and slam into each other during transit. That’s how you end up with bent corners, torn dust jackets, and scuffed covers.
Finally, don't miss the chance to use eco-friendly filler. The industrial packaging world has made a significant shift toward sustainability, which means there are better, greener materials available for packing. You can dig into how these packaging innovations are changing the industry over on databridgemarketresearch.com.
Got Questions About Packing Books? We’ve Got Answers.
When you're figuring out the best way to pack up your library, a few questions always seem to come up. Trust me, getting these details right from the start saves a ton of headaches (and backaches) later on.
What Is the Absolute Best Box for Books?
You're looking for a small, heavy-duty box. In the moving world, these are often sold as a "book box" or a 1.5 cubic foot box. The smaller size is intentional—it keeps you from accidentally creating a box that's impossible to lift. Plus, the sturdier construction is designed to handle the dense weight of books without the bottom giving out.
How Should I Actually Put the Books in the Box?
The gold standard is to place your books standing upright, with their spines pressed against the side of the box, just like they'd be on a bookshelf. If that's not working, your next best bet is to stack them flat.
Whatever you do, never pack books with the paper edges facing down (spine up). This puts a ton of strain on the binding and can lead to warped, damaged pages over time. It's a rookie mistake that can ruin your favorite reads.
Ready to store your perfectly packed boxes? Endless Storage offers secure, climate-controlled solutions delivered right to your door. Learn more about our hassle-free storage options.
Frequently Asked Questions
Unveiling the Secrets to Effortless Storage
Endless Storage is available nationwide. You pick a plan, tell us where to pickup, and we'll send a UPS van to collect, whichever state you're in.
Your shipping label will be sent to your email within a few minutes, if not instantaneously. It can also be accessed through your customer profile.
Your box will be shipped to one of our climate controlled self storage facilities in our closest self storage facility. Our manager will accept your package, notify you that your box has been received, and securely stored. Only our managers will have access to Endless Storage boxes.
Email us at admin@endless-storage.com click to live chat with us, or send us a message below.
Never! We're committed to transparent pricing with no surprises. You'll lock in your rate with no hidden fees and no long-term contracts.
Fast access guaranteed! Your boxes will arrive at your doorstep within 48 hours of requesting them back. Need to check on delivery? We provide tracking information for complete peace of mind.
Totally flexible! Store month-to-month with no long-term commitment and cancel anytime.
Everything's online! Use your account dashboard to:
• Set up automatic monthly payments
• Request box returns
• Update your address
• Order additional boxes
• Track shipments
Your boxes are insured up to $100 each. Our customer service team will help you file any necessary claims and resolve issues quickly.
Don't worry – we'll email you right away if there's a payment issue. Your items stay safe, though you may have temporary service interruption or late fees until payment is resolved.
When you request our free storage kits, you'll have 30 days to send in your boxes to activate your 3 months of free storage. Think of it like starting a gym membership – your activation window begins when you receive your kits, and your full free trial begins once you send in your first box. During your free months, you'll experience our complete storage service at no cost.
Your 30-day activation window begins when you receive your storage kits. We'll send you an email confirmation when your kits are delivered, marking the start of your activation period.
If you haven't sent any boxes for storage within your 30-day activation window, your free trial will expire and we'll begin charging the regular monthly rate of $9.99 per box. This helps ensure our storage kits go to customers who are ready to use our service.
A box costs $9.99 per month to store (plus sales tax). This price includes free shipping for standard boxes under 50 lbs. and smaller than 16"x16"x16"
Log into your Endless Storage account, locate the box you would like returned, and simply click Return My Box.
Yes, each box stored with us is insured for up to $100 throughout transit as well as the duration of storage within our facilities.
Your box will be at your doorstep within 48 hours of you requesting it back.
Store 10+ boxes? We'll pick them up for free! After your purchase, we'll contact you to schedule a convenient pickup time and arrange UPS collection.
We trust UPS with all shipments, and every box includes $100 insurance coverage. You'll receive tracking information to monitor your items' journey.
Yes! Visit any of our locations by appointment. Just bring a photo ID matching your customer profile.
For everyone's safety, we can't store hazardous materials, firearms, or perishables. All items must fit within our standard boxes.
It's easy! Order your storage kit online, and we'll ship it to you within 1-2 business days. Your shipping labels will be emailed instantly and available in your account.
We're here to help! Email us at admin@endless-storage.com, use our live chat, or send us a message through your account.
To cancel your storage service with Endless Storage, please email your cancellation request to admin@endless-storage.com. Our team will process your request within 2 business days and confirm your cancellation via email.
We understand packing takes time. However, to maintain your free trial benefits, you'll need to send at least one box within the 30-day activation window. If you need more time, you can always start with one box to activate your trial and send the rest later. You can always reach out to admin@endless-storage.com if you have any issues or concerns.
When you request our free storage kits, you're starting a 30-day window to begin using our storage service.
Important: To activate your free trial, send at least one box for storage within 30 days. If no boxes are sent within this 30-day window, a one-time $50 fee applies to cover materials and shipping costs. This fee is clearly disclosed before you sign up.
Think of it like reserving a hotel room – we're setting aside space and sending specialized packing materials for your use. The fee only applies if you request materials but don't begin storage, similar to a hotel's no-show charge.